Welcome to the official Janome.com Blog Page!

  • 10/1/2020

    Hello there! I am Alison O’Grady, a Maker with Janome America.

    October is a very special month for me because it is National Breast Cancer Awareness Month.  I’d like to share with you how my battle with breast cancer has altered the way I create my hand crafted wardrobe to be stylish and full of my own style!

    I was diagnosed in 2003 with breast cancer. It devastated me for a number of reasons including that I didn’t have a family history. I had just gotten a new lease on life and this was an incredible setback, or so I thought. Then I decided to take charge of my future starting with the things that brought me so much joy such as sewing.

    My breast cancer was Stage 3 with lymph node involvement. My treatment would require multiple surgeries including a bi-lateral mastectomy, chemotherapy, radiation and probable reconstruction and 5 years of daily drugs that had scary side effects. Was I up for it?

    Let’s back up a bit to before the cancer. I just met Chris through a blind date. He had been widowed for years, but was ready for an introduction. I quizzed him over the phone first that proved he could handle my personality! A fabulous first date told me that this was going to be something very special. After a period of months, I moved 2 hours away from my job, family and friends to pursue my second chance at happiness.

    But then I discovered the lump on my right side of my chest. I had no health insurance. I hadn’t been able to find work. Even though we did have intentions of getting married eventually, this moved it up under the circumstances.  Chris insisted that I get the care I deserved and we would find a way.

    The hospital took great care of me and of the mammogram. Then I saw the surgeon the next day. She said those 3 words that no one ever wants to hear, “You have cancer.”  Well, after  that appointment,  we knew we needed to tell my mom and some of my family members in person just what was ahead for me. At the family dinner to break the news, I said that Chris and I needed to get married, “in a hurry”. Then I quickly announced that I was not pregnant, especially at 43 years of age. I think my adult daughter was quite relieved about that revelation! Now I needed to plan a wedding to get our plan in action.

    It was an incredible wedding complete with more love, support and pink ribbons than I could have ever imagined. We didn’t need to plan a honeymoon because we knew that everyday together after cancer would be our lifelong honeymoon.

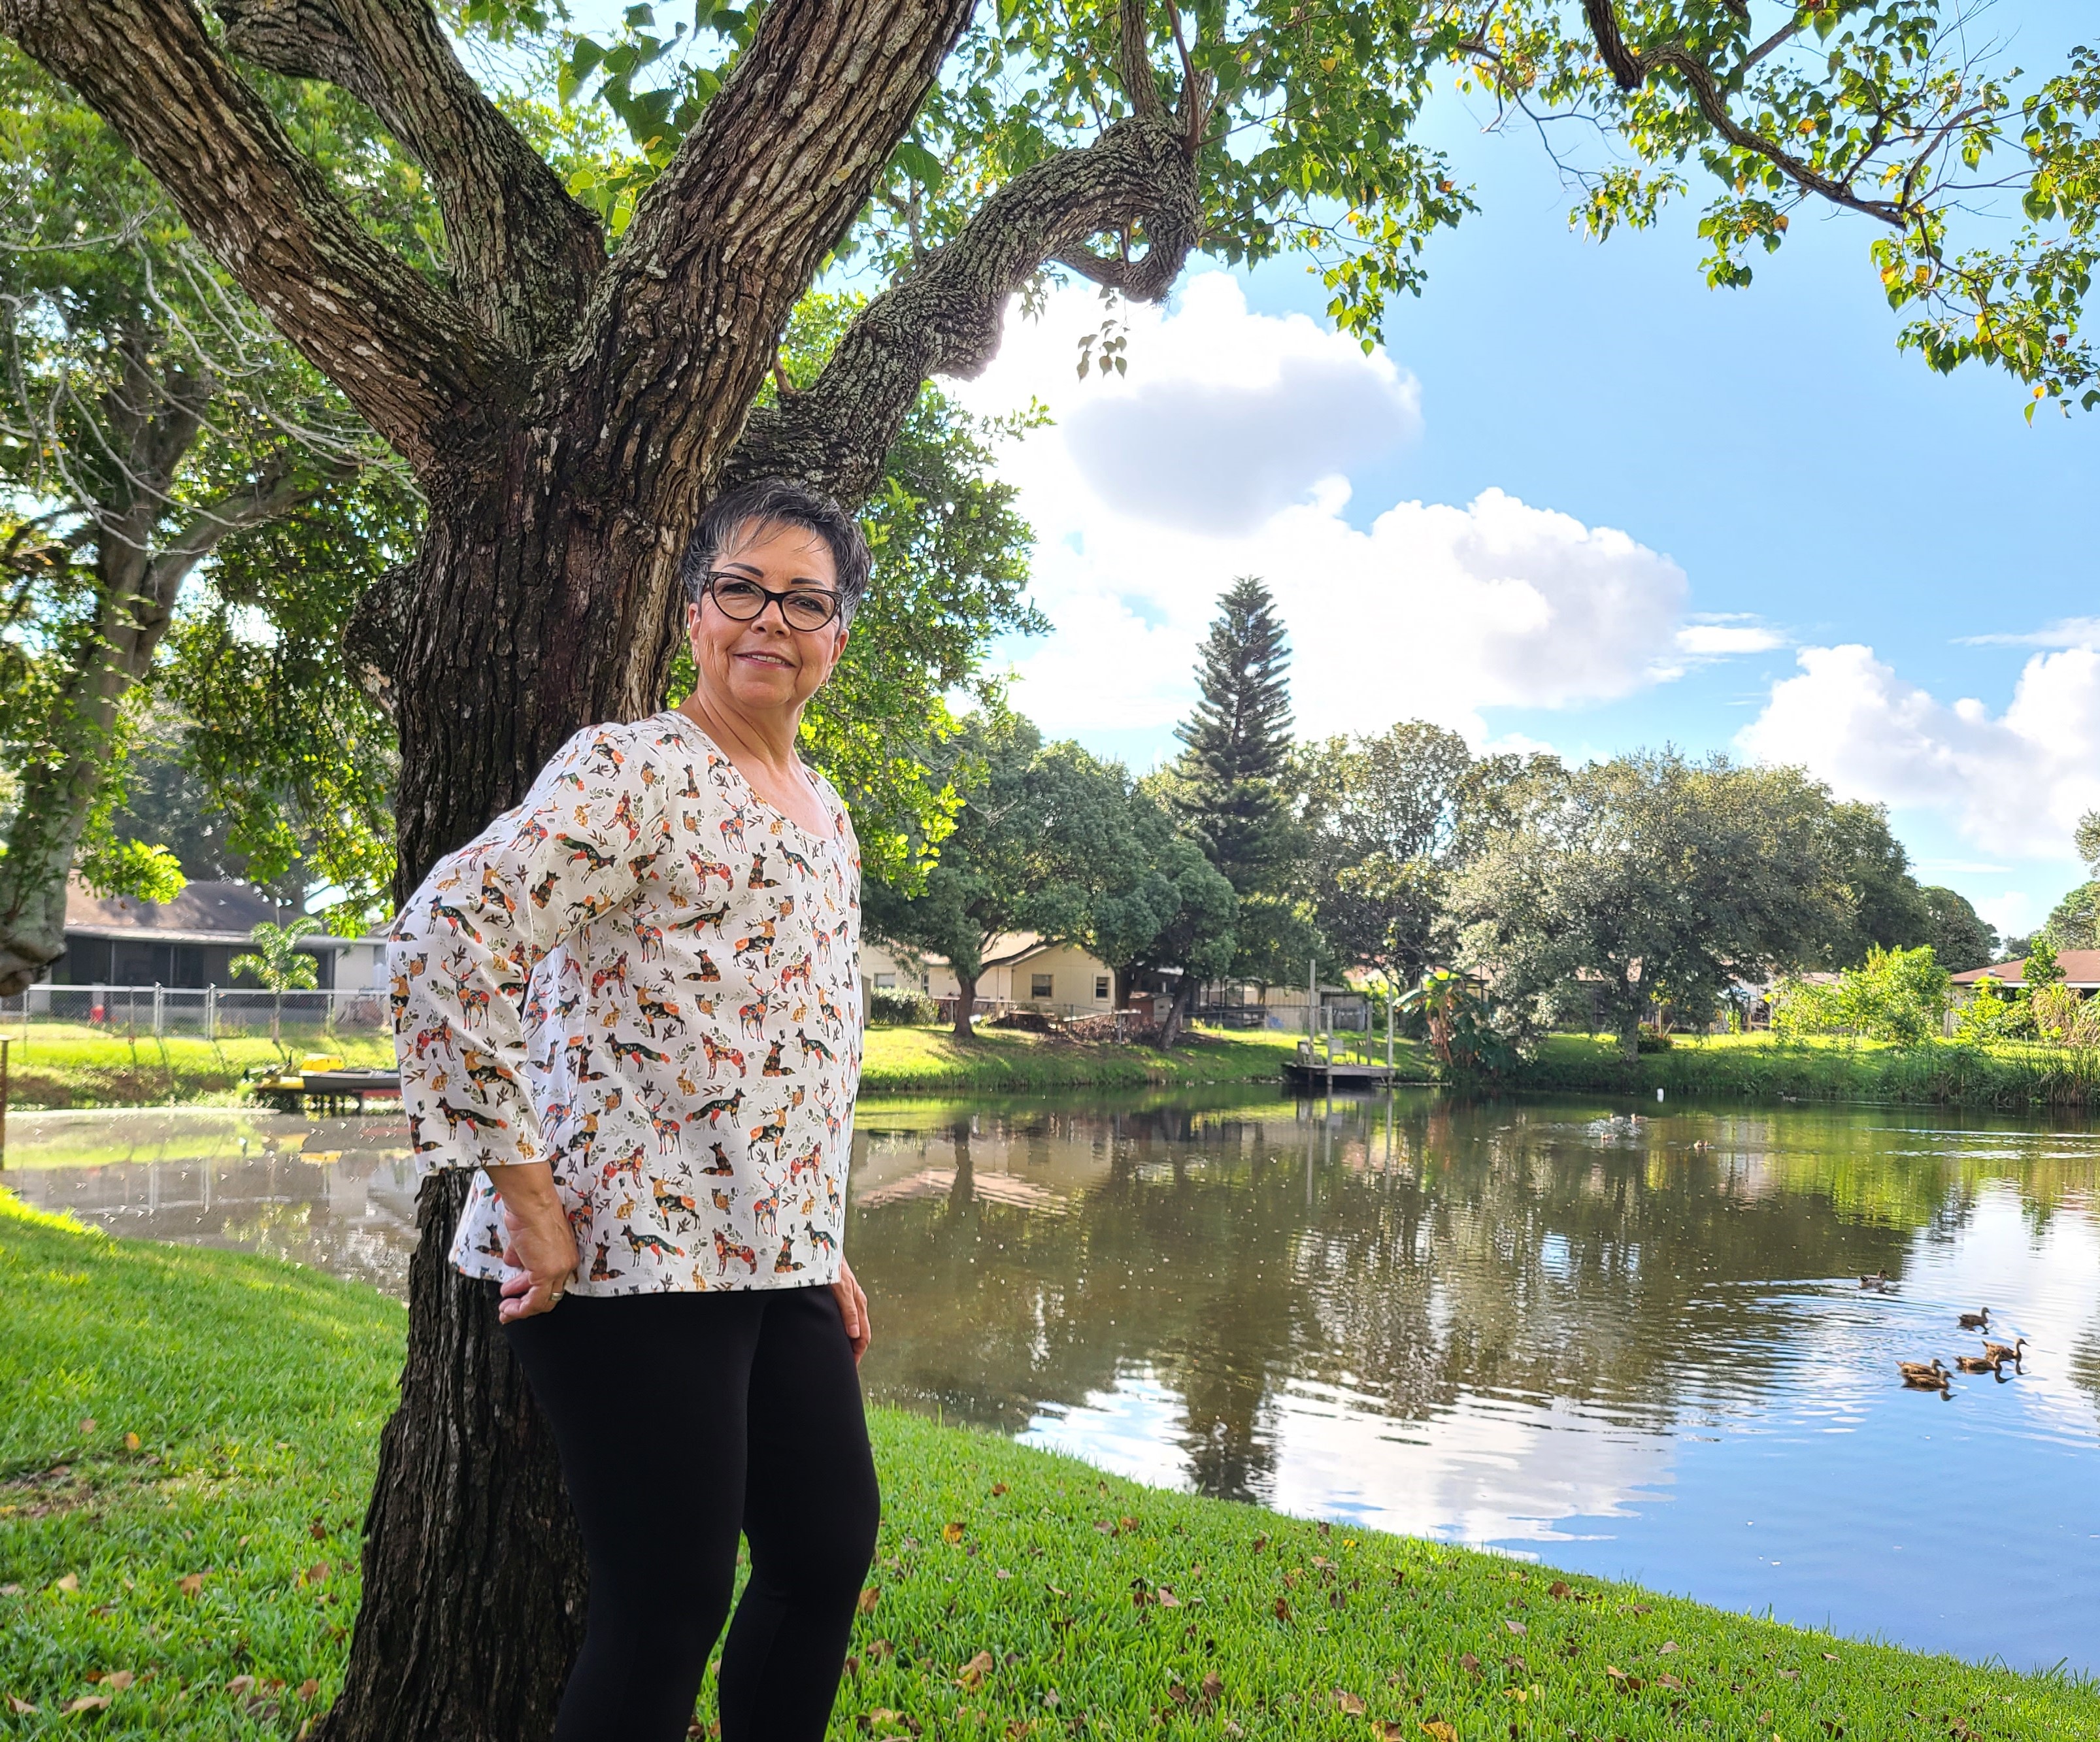
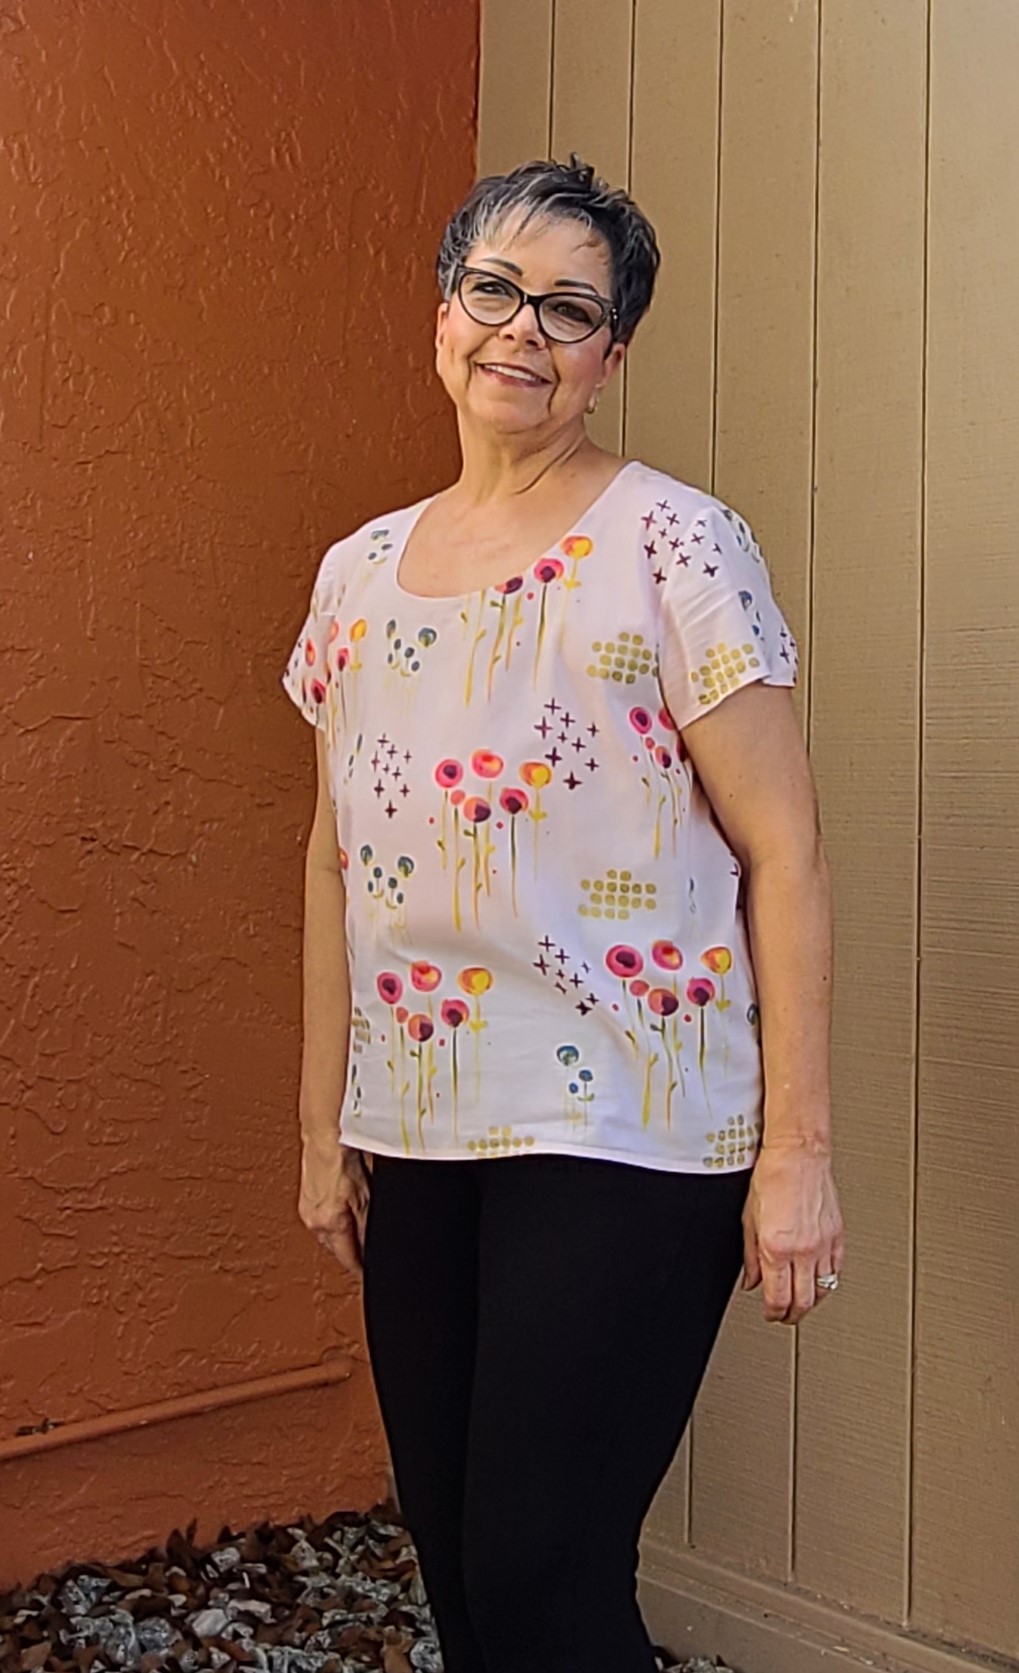
    A few days after the wedding, there would be the first surgery of 3, then chemotherapy treatments. I began to think that I should get busy creating the best wardrobe for chemo with matching tote bags, after all cancer is as good a reason as any to get sewing a new wardrobe. Not to mention matching hats for when my hair was gone.  I wasn’t going into the chemo treatment area without makeup, jewelry and stylish clothes! I was going to search for patterns that were going to flatter me differently, with a flat chest as I had a bi-lateral mastectomy. I searched out patterns that didn’t have bust darts. Patterns like tunics with interesting necklines and bodices were ideal. I could use some contrasting fabrics, embroidery, piping and on and on went my creative mind. I fired up my Janome Memory Craft 8000 and started sewing. It helped so much to keep my mind busy. The satisfaction that comes with making something to wear yourself, was just what I needed. I stayed away from wrap dresses and wrap tops. I knew that type of style would draw attention to what was no longer there. And that was okay. I WAS.


    I did do quite well with my chemo, bed-rest, radiation and following doctor’s orders. My sewing kept me happy and productive for every occasion when I would need to go out.

    When I was enrolled in the Master Seamstress Program back in 1995, one thing said by one of my instructors always stood out in my mind. “Choose a simple design in your pattern style and let the fabric do the talking.”  That seems to continue to be the key to my success in sewing after breast cancer. People aren’t attracted to my body, whether or not I have a bust, it is the fabrics and the way I showcase them on my body via design and pattern. There have been stitch outs that don’t make it out of the studio, but they become learning blocks. I either donate or re-purpose. I don’t let my sewing mishap defeat me. If breast cancer didn’t defeat me, an attempt at a different style of garment sure won’t. Chock it up to experience and continue on.

    After all of my treatments, it was time for the follow-up with my plastic surgeon.I had many conferences with my plastic surgeon about reconstruction as it is such a personal choice. He said that I would look fabulous in my tops and t-shirts after reconstruction. My response was, “Doctor, I don’t look good in a pair of jeans so I guess I’m all set with not having the reconstruction!” He agreed with a big smile and wished me health and happiness.


    I am still cancer free and I live everyday to the fullest. I’ve led many American Cancer Society events, spoken publicly about my experience, and encouraged other women who reach out to me after their own devastating cancer diagnosis.

    My new husband, Chris was diagnosed with prostate cancer 4 months after my diagnosis. He has since had melanoma where I watched the doctor stitch his temple up after removing his cancer. During the procedure, I mentioned to the doctor that she needed to pull those stitches tighter! Well we all needed that laugh. Chris’s prostate cancer returned last year, but he is now in remission. We were certainly meant to be together.

    I have added links to some of my favorite patterns, but there are many! Look for fabrics that you just love.

    Wiksten Shift Dress/Top

    Alder Dress

    Charlie Caftan

    Everyday Dress

    Bondi Top

    Cuff Top

    Fern Top

    Remy Raglan

    The Florence Top

    There are many tutorials out there about how to remove a bust dart in a bodice front pattern piece. If you have a pattern that you just love that has darts, use one of those to create a muslin and see if you like the results.

    Maybe my story or breast cancer doesn't affect you directly. Perhaps you can offer encouragement to someone you know or maybe sew for them.

    I’ve recently had the BracAnalysis to see if I carry the breast cancer gene.  I do not but I still got breast cancer. Please get your mammogram. Encourage your friends to as well. It saved my life. ♥

    Thank you for reading about my journey. I truly believe my work is not done on this earth. I have tons more sewing to do!

  • 9/18/2020

    Hi Janome Friends! It's Melanie, a Janome Maker, who loves her Janome 550E and M7. Check out my fun fabric projects at A Bit of Scrap Stuff Blog or on  Instagram

    Today I'm going to share tips on how to use your Janome 550E embroidery machine to quilt your projects and it's easy with Janome AcuFil Quilting Kit!

     A Frozen Quilt definitely needs snowflake quilting and  I wanted to create perfectly stitched snowflakes at home... so I let my Janome 550E do all the hard work for me! Elsa and Olaf love all the snowflakes!!!

    I used the Janome AcuFil Quilting Kit (ASQ18b) for machine quilting/embroidering my Frozen Quilt.  I chose to use the AcuFil Quilting Kit because it works perfectly with my Janome 550E (it will also work with 500E, 450E, 400E, eXpressive 830L, expressive 830). 


    The Janome AcuFil Quilting Kit contains:

    • 7.2" x 7.2" hoop with magnetic clamps. This is a must have! The magnetic clamps allow you to hoop thicker fabric when machine quilting/embroidering a quilt. Plus it is soooo much easier and quicker to hoop your project.

    • Over 100 quilting designs are included. The snowflake I chose was an included design.

    • AcuFil Tool - This computer program (Windows only at this time) allows you to utilize the included designs plus import other designs into the software. The software resizes the quilting design to best fit your quilt and creates a printable template for perfect placement when quilting/embroidering. 


    How to start machine quilting with your Janome 550E:

    • Assemble quilt sandwich using a low loft batting - such as Hobbs 80/20. Quilt sandwich = pieced quilt top, batting, pieced backing.  

    • READ instructions - Quick Guide for Hoop ASQ18b starts on page 12.

    • Download Janome AcuFil Tool to your Windows Computer. 

    • OPEN AcuFil Tool on computer

    • SELECT Creating Original AcuFil Designs 

    • ENTER quilt dimensions 

    • CHOOSE design 

    • PRINT template

    • WRITE embroidery design to USB flash drive to transfer to Janome 550E

    • START quilting/embroidering


    You might be wondering why you need to print the template???


    Printing the template allows you to precisely position the quilt/hoop so the machine quilting/embroidery designs will stitch out where you want it. I recommended trimming the paper close to the printed image before adhering the printed template to the BACK of the acrylic AcuFil template. Use the grid lines on the printed template to match the grid lines on the acrylic AcuFil template for perfect placement.  Your machine will stitch on the quilting/embroidery design exactly as shown as your printed template.


    Helpful Tips:


    • Batting - Use a low-loft batting (Hobbs 80/20 or Warm & Natural or similar). Remember you will need to hoop ALL 3 layers so this is not the time to choose fluffy thick batting. 

    • Quilt Basting - I prefer to use basting spray adhesive so I don't have to worry about removing pins. You can you use pins if you prefer, but do not forget to remove them. Your embroidery machine will not be happy (nor will you) if you forget. 

    • Quilt backing needs to be at least 4-6" larger on each edge of quilt to allow for fabric to hoop while quilting edges of quilt. 

    • Embroidery tape. If you want to quilt to the very edge of your quilt top- be sure to use embroidery tape to tape the quilt top edge to the batting so your embroidery foot doesn't get stuck on the quilt top edge.

    • Choosing the Quilt Design. As this was my first time machine quilting with my embroidery machine, I chose a single design (NOT a connecting one). This allowed me to place the snowflakes randomly throughout the quilt and I didn't have to try and match up start/stop points for continuous quilting designs. 

    • Thread. Choose a thread that can be washed if you plan on washing/drying your finished quilt. I used a 40wt polyester thread, but I think I will try a 50wt thread (thinner) next time as this was a triple stitched design so it's a bit bold of quilting design.

    • Needle. Use a needle that you would use if you were free motion quilting (Janome Purple Tip).  I used a 90/14 Top Stitch Needle as I was using a 40wt thread.

    • Choose a quilting design that doesn't have multiple start/stops as each start/stop will make a knot on the back of your quilt. 

    • Choose a pattern backing fabric - this will hide the start/stop knots. I snip my thread really close to knot so it's not too noticeable. 

    • Stitch a test stitch out to make sure you like the design and thread you chose.

    • If the embroidery needle is not centered on the AcuFil template - Calibrate the  Center Position of the needle - page 22. 

    • When moving your quilt to a new section to quilt. Leave the hoop attached to the Janome 550E. Remove the quilt only and move the quilt to the next section you want to quilt. Use AcuFil acrylic template to check your quilt is in the correct spot then attach magnetic clamps.

    • Have fun!!!!


    I absolutely love being able to perfectly machine quilt my quilts at home with my Janome 550E!  Since I had so much fun machine quilting this quick Frozen Quilt, I quilted another HUGE quilt with multiple quilting designs. Let me know if you would like another blog post about importing continuous quilting designs into Janome AcuFil. 


    Be sure to follow me on Instagram @Abitofscrapstuff and on my blog: A Bit of Scrap Stuff for more sewing and quilting fun!!!


    Thanks for reading!

    Melanie Call

  • 9/3/2020

    Written by Fran from Cotton + Joy

    Snowball Corners Tutorial - the tape methodConfession time: for a long time I saw this term thrown around “Snowball corners” but did not know what it was. A snowball corner is when you take a small square, place it on a larger square (or rectangle), then sew a perpendicular seam (from corner to corner), then cut 1/4″ from the stitch line and press.

    Chances are you have done this lots of times! That’s because snowballing is more of a technique than a specific block, so rarely is it called that in a pattern. Instead you get the instructions for snowballing according to the pattern.

    We use the snowball technique in lots of quilting “building” blocks such as flying geese, square in a square, economy blocks, etc. It’s probably one of the most common sewing techniques in quilting – you’ll definitely use it in a few of my patterns!

    The snag to snowball corners is that they can be time consuming. Before you can sit down at your sewing machine, you’ll need to mark each of the smaller squares used in the corners. If you were making my Joyful Stars pattern, that would mean marking 128 squares. That’s a lot of squares, and I don’t know about you but ain’t nobody got time for that! haha

    Thankfully, there is a shortcut you can use to speed up the whole sewing process – The Diagonal Tape Method.

    Quick disclaimer: This post and video are meant to show you this shortcut and I’m stitching as called for in my Joyful Stars pattern, but keep in mind that if you are making a different pattern (another of mine or by another designer) you will need to place the snowball square and stitch in the direction your pattern tells you to do so.

    THE DIAGONAL TAPE METHOD

    STEP 1
    Instead of drawing a diagonal line on the wrong side of your smaller squares, reach for your washi or masking tape.

    STEP 2
    Place a piece of washi or masking tape and place the long edge of the tape centered with your needle. I like to use a ruler to ensure my tape is nice and straight.Placing the washi tape on machineSTEP 3
    Place your small square on the corner of your larger square (or rectangle) as required by the pattern. Make sure your smaller square is flush with the edges of the larger square.

    Snowball Corners Tutorial

    STEP 4
    Line up the two diagonal points on your square with the edge of the tape.

    Sewing Snowball Corners

    STEP 5
    Slowly feed your fabric through, making sure the bottom point of the square is following the edge of the tape as you feed it through.

    Sewing a corner triangle

    STEP 6
    Trim 1/4″ away from the sewn line. Press seam.

    Trimming snowball corner triangle

    Snowball Corners Tutorial - Washi Tape Trick

    If you want to see this method in action, check out Fran's video below: 

    https://youtu.be/3fWEhOliSBI

Prev ... 11 12 13 14 15 16 17 18 19 20  ... Next 

Tags

#freesewingtutorial 4th of July Applique Block of the Month Bunny Carolina Oneto Christmas Continental M7 Cosplay Cosplay Tutorial Costume Crafting Decorative Stitches DIY DIY Accessories DIY Father's Day Gift DIY skirt Embroidery Everyday Applique Father's Day Fiesta Weave Lunch Mats Fiesta! Four Fabric Quilted Project Bag Free Bag Pattern Free Pattern Free Quilt Pattern Free Sewing Free Sewing Pattern Free Sewing Tutorial free skirt tutorial Free tutorial Fun Projects Garment Sewing Good Tidings Quilt Along Green Goddess Dress Handmade Gifts Heidi Proffety Historical Costume Tutorial Holiday Sewing Home Decor How To How to Machine Bind How to Make a Quilt How to Make a Quilt. Free Quilt Pattern How to Make Panties How to Quilt How to Sew How to sew a top Janome Janome 9450 Janome AirThread2000D Janome Artisan Janome Artistic Digitizer Janome Conitential M7 Janome Continental M7 Janome HD3000 Janome Maker Janome MamoryCraft 15000 Janome MemoryCraft 15000 Janome MemoryCraft 6700p Janome S9 Janome Sewing Machine Janome Skyline S7 Janome Skyline S9 JanomeHD9 Lifestyle Machine Embroidery Maureen Cracknell MDW Melanie Call Memory Craft 15000 Moon Garden QAYG Quilt Block Mother's Day gift Napkins Patriotic Pattern Pillow Pillows Project QAYG Quilt Block Quilt Quilt As You Go Quilt Block Quilt Block Pattern Quilted Project Bag Quilting Quilting How to Quilt Rainbow Block of the Month Rainbow Quilt Block of the Month Rainbow Quilt BOM Reversible Zippered Pillow Rolled Hem Foot Scrappy Star Pillow Sew Sewing Sewing Machine Sewing Project Sewing Tutorial Skyline S9 SkylineS9 Stuffie Summer Sewing Project The Hype Tutorial Valentine's Day
DEALERS
The TWO Closest Dealers to you are:
1900 CENTRE ST , WEST ROXBURY MA, 02132
(617)323-6200
443 MOODY STREET , WALTHAM MA, 02453
781-893-3331
Find Additional Dealers