We are very fortunate to have so many talented Cosplayers in the Janome Maker Program. It is inspiring to learn how they create spectacular costumes by thinking outside of the box, using items that are not typically thought of as sewing fabrics, and somehow making it all come together seamlessly!
Janome Maker Nipah Dubs wanted to create a chainmail top for his latest Warrior of Light Paladin cosplay that is attainable for everyone! Get ready to be astounded at the look he accomplished and then try it yourself! Thank you, Nipah for this great tutorial!
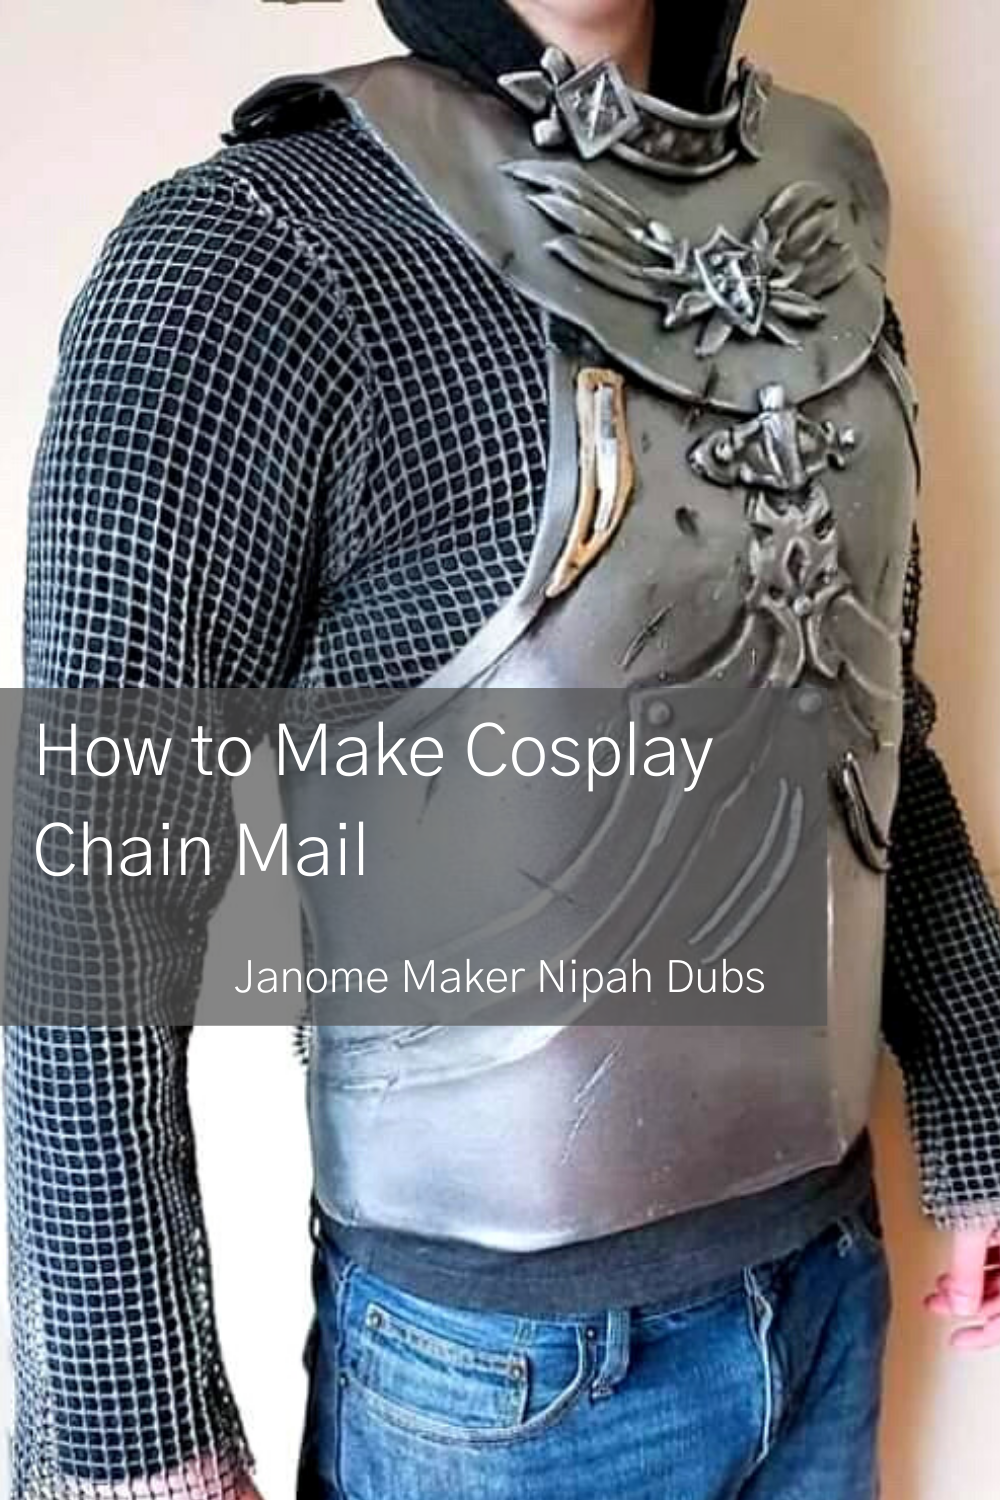
It's REALLY easy and gets the idea of chainmail across rather well in my opinion without needing to spend a lot of real chainmail and also not having to deal with the weight/bulk chain mail has.
Materials
-
Non-slip rug mat
-
Baby Powder
-
Rustoleum Silver spray paint
-
Design Masters Floral Spray (Black)
Hey guys, I wanted to share with you how I went about making my chainmail for my Warrior of Light Paladin cosplay. It's REALLY easy and gets the idea of chainmail across rather well in my opinion without needing to spend a lot of real chainmail and also not having to deal with the weight/bulk chain mail has.
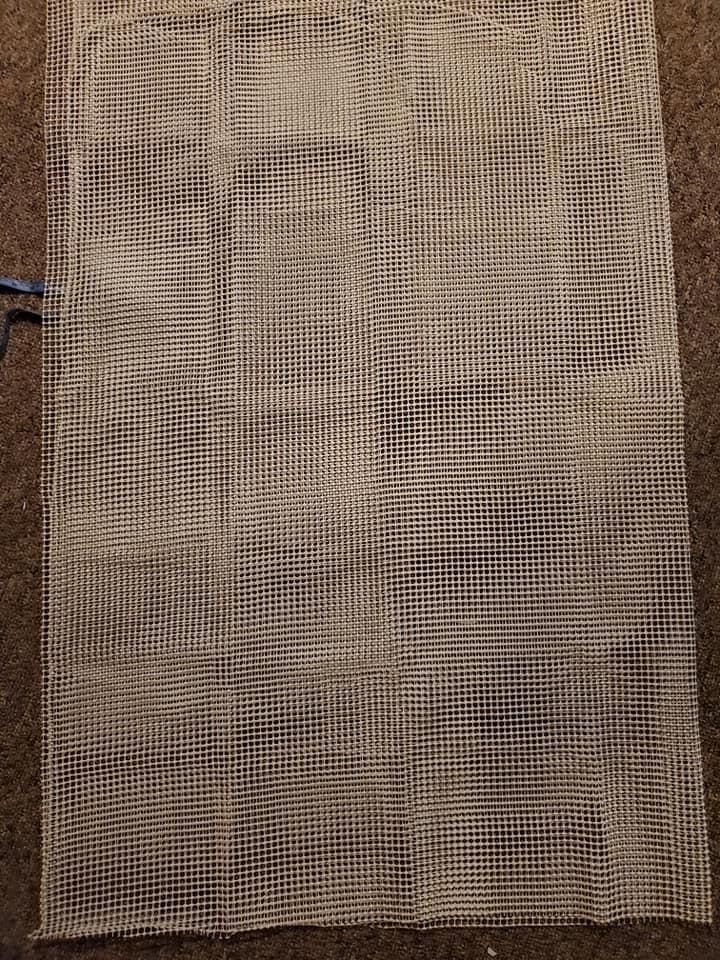
So first off, what is it made out of? Well, it's simply just the rubber floor matting you put under carpets so they don't slip and move around! These come in various styles but you want to get this version where it's a spaced-out grid pattern!

Go ahead and unravel the mat and fold it over so it is double-layered, I will be making just a chainmail top so a standard sweatshirt pattern is all you need. When cutting out your pattern be sure you make it bigger than you need, that way you can take it in as you go, this material DOES NOT stretch at all and can be a pain to get on and off due to its nature being a non-slip rubber.
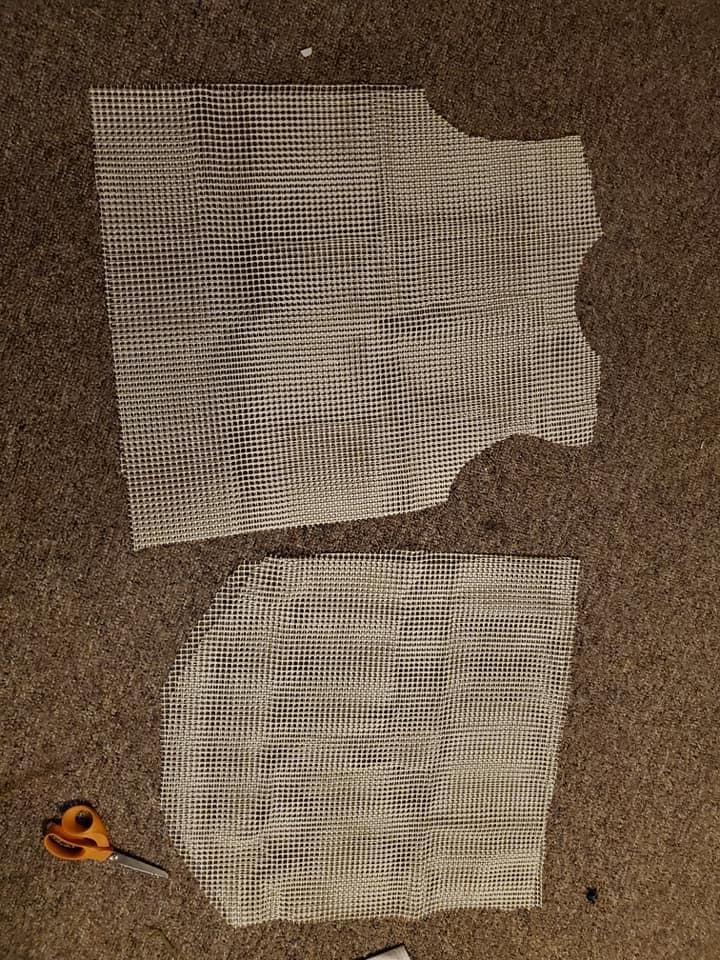
I got the basic shape I needed (Again, making it much larger than myself) and now it was time to sew!

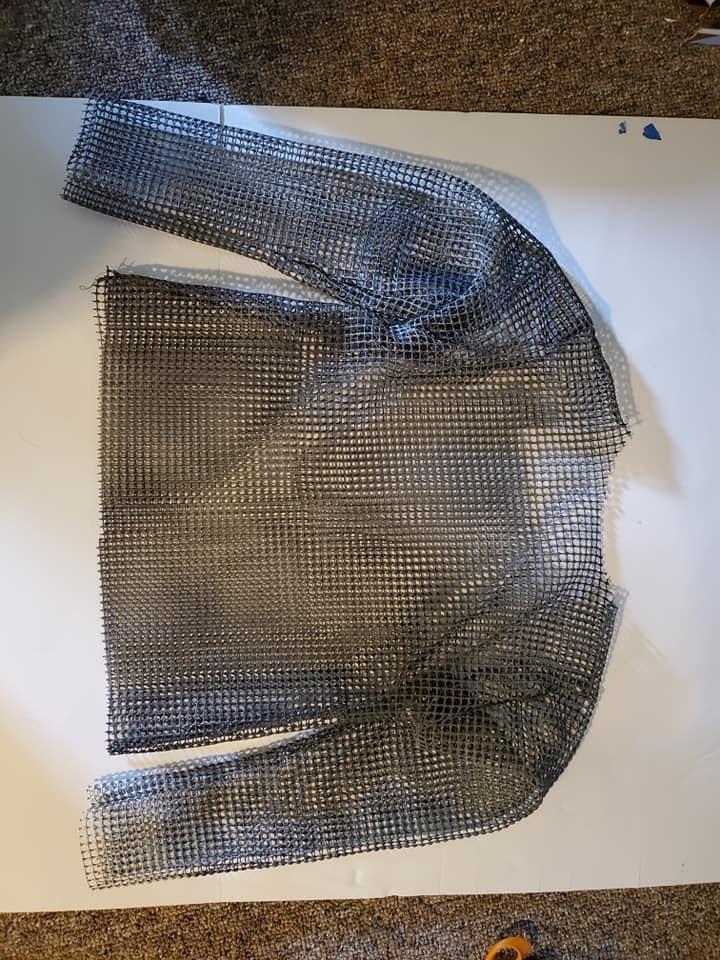
When putting it on your machine to sew, make sure to interlock the grids so that the holes are filled in by the overlapping grid of the top layer, this way you’re not sewing into nothing.

I used your standard Zig-Zag stitch for this, that way it would catch the fabric much easier and had less chance of messing up (ex. if I used a straight stitch it would be much harder to sew). The material is a bit hard to sew through so take your time and go slowly making sure to adjust as you work your way through.

Repeat the last steps while taking it in and keep trying it on till you get to a point where it fits well enough on your body! You don't want it too tight where it's uncomfortable after all, just loose enough to where it's still fitted/flattering on you.

Now comes painting! Be sure to spray in a well-ventilated area using protective gear for safety. Please read all of the manufacturer’s requirements prior to use. Due to this project being rubber and something that will move as it is worn, I am using Design Masters Floral spray in black, this paint is intended to be used on fake flowers and crafts that do move and bend, the paint moves with it and will NOT crack. I usually use this on boots but it also works perfectly as a base for this project. Spray evenly to give a decent coat to both sides and let it dry thoroughly. Next, I am using silver spray paint to get the look of metal.


One thing to note about spray paint against rubber is that it doesn't cure 100% properly due to the material, it leaves it a bit sticky but there is an easy way to get rid of the stickiness. Take some baby powder and put a portion of it inside a plastic bag, then put the top into it. Tie up the bag and shake it around for a couple of minutes, enough time to get the power on all of the spaces it needs to of the chainmail. Once you're done, take it out and shake it off to get rid of the excess powder and ta-dah, no more stickiness!


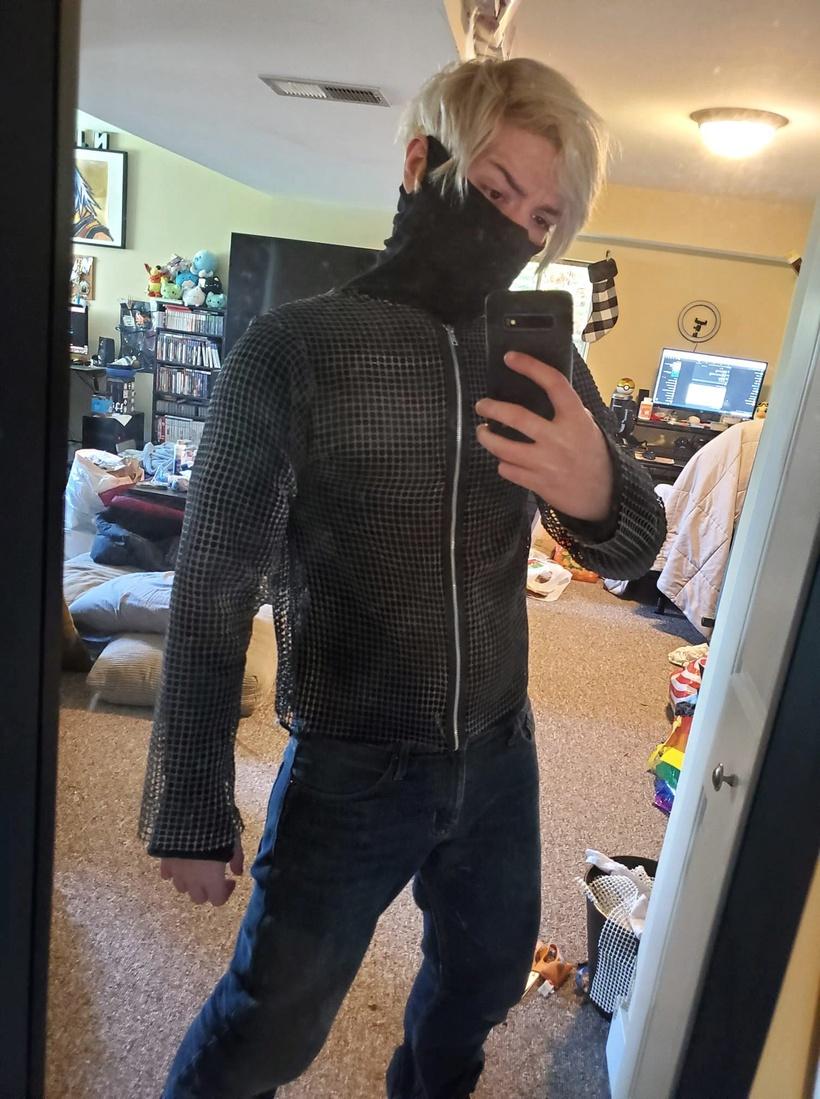
You can opt to leave it like this if you wish but in my opinion, it's rather difficult to take on and off by slipping it over your head so I opted to do something to help with that issue. I installed a zipper down the front, it would not be seen on the cosplay, and this way it would be MUCH easier to put on. I also used a Zig-Zag stitch for this to help catch the chainmail underneath and make sure it was fully stitched onto the zipper. For extra measures, you can go over your zig-zag stitch with a straight stitch if you want!


I installed a zipper down the front, it would not be seen on the cosplay, and this way it would be MUCH easier to put on. I also used a Zig-Zag stitch for this to help catch the chainmail underneath and make sure it was fully stitched onto the zipper. For extra measures, you can go over your zig-zag stitch with a straight stitch if you want!
And with that, it is done! Hope this tutorial helps you out on your cosplay adventures!