Hey there! It’s Meredith from Olivia Jane Handcrafted with another project for you. I’m sharing a quick tutorial on how to make your own patches using scraps! You can totally combine quilty features on felt backed patches which you can sew anywhere. I’ve added mine to a plain hat that needed some personality.
Fabric and Notions Required
• Fabric scraps
• A small scrap of batting
• A small scrap of felt
• Basic tools like cutting mat, ruler, rotary cutter, and iron
Feet used: walking foot, F foot
Instructions
Project Time – Beginner, 30 minutes

If you sew, chances are you have some scraps that you wish you could use. There are a ton of projects out there that aim at scrap reduction, but I’m excited to show you how you can very quickly use even the last tiny bits of your favorite prints. And as a bonus, these patches make great flair for gifting. So grab your scraps and lets go.
I’m using very narrow strips primarily- they are mostly 3/4” wide or less. I thought that making a baby log cabin style block would be a great way to showcase some of my favorite floral prints. Note: you can totally use a block you have already made!

I’m using the walking foot on my Continental M7 to stitch up this block, which should be around 2.5-3” when done for the size patch I want to make.
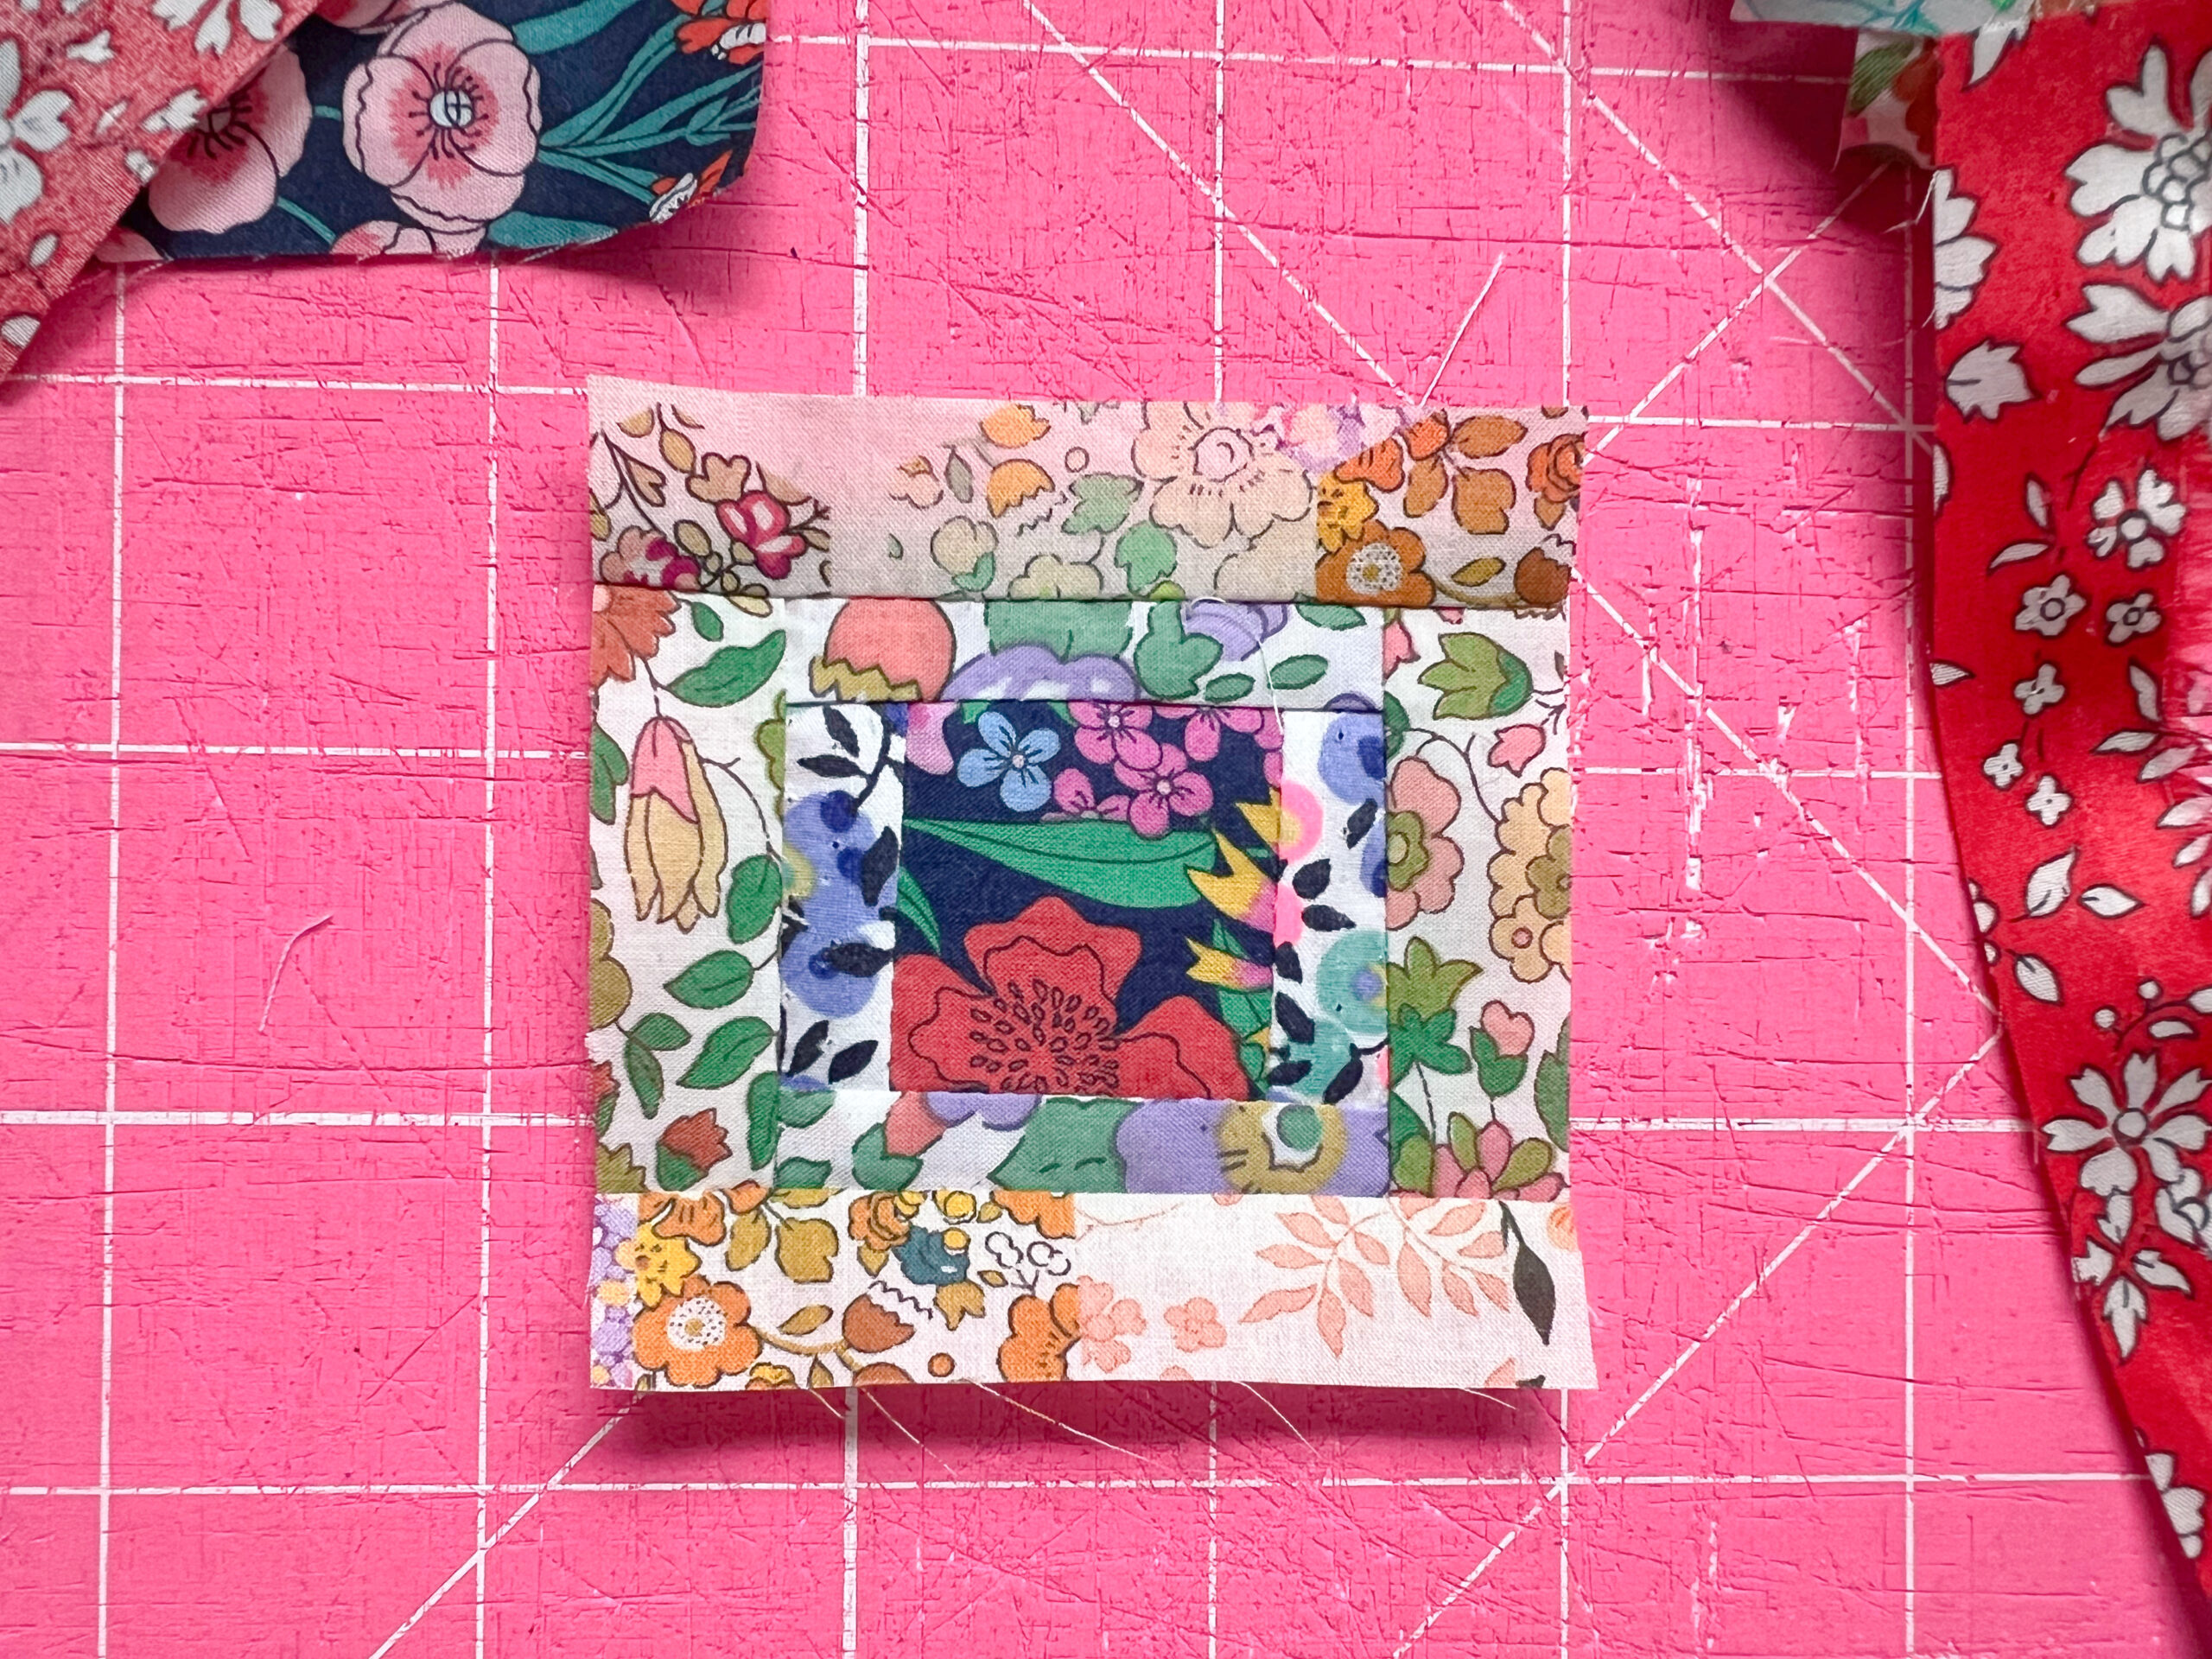
After you are happy with your block, grab a scrap of batting and quilt on your block as much or as little makes your heart happy. You could even add some embroidery at this point if you want to make it extra personal.


Next, trim down your block exactly as you want it, then layer it onto a piece of felt. Felt doesn’t fray and makes a perfect backing for a patch in most any application.

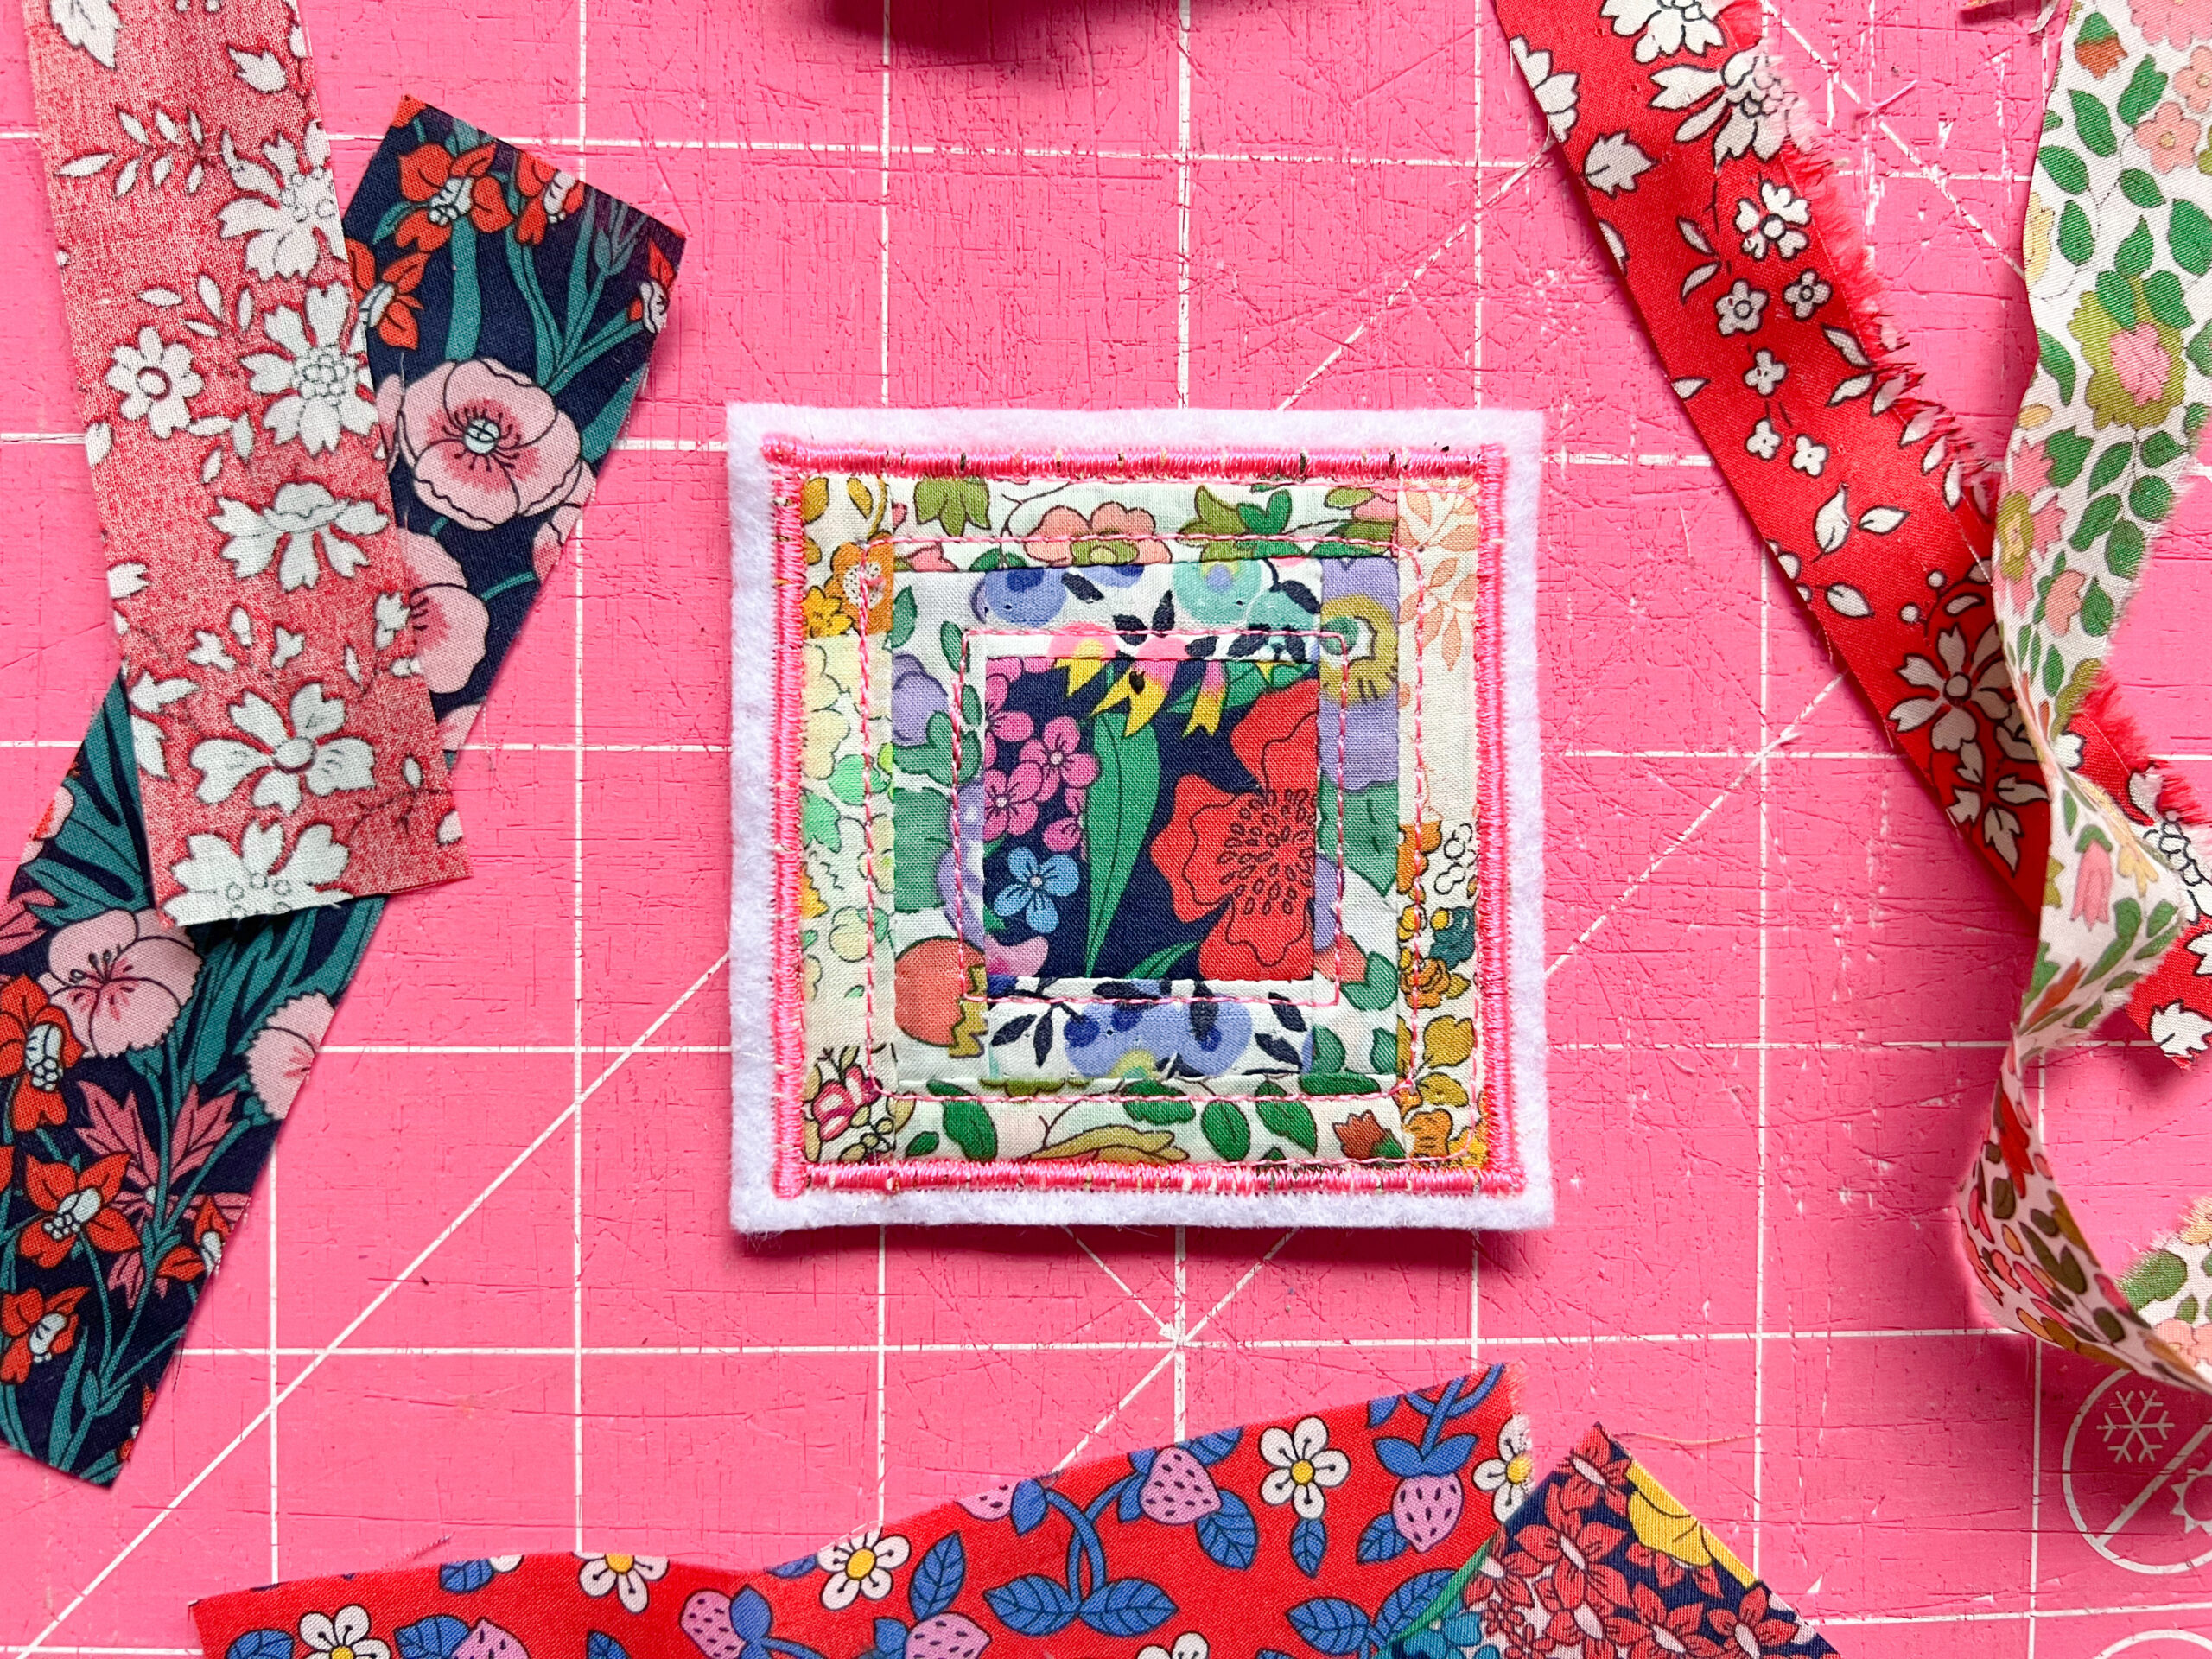
Using your favorite appliqués stitch (I chose a satin stitch) and the proper F foot, align the edge of the patchwork block and stitch down to the felt.


Trim the felt to only about 1/8” beyond your patchwork design, and it is ready to apply to anything!

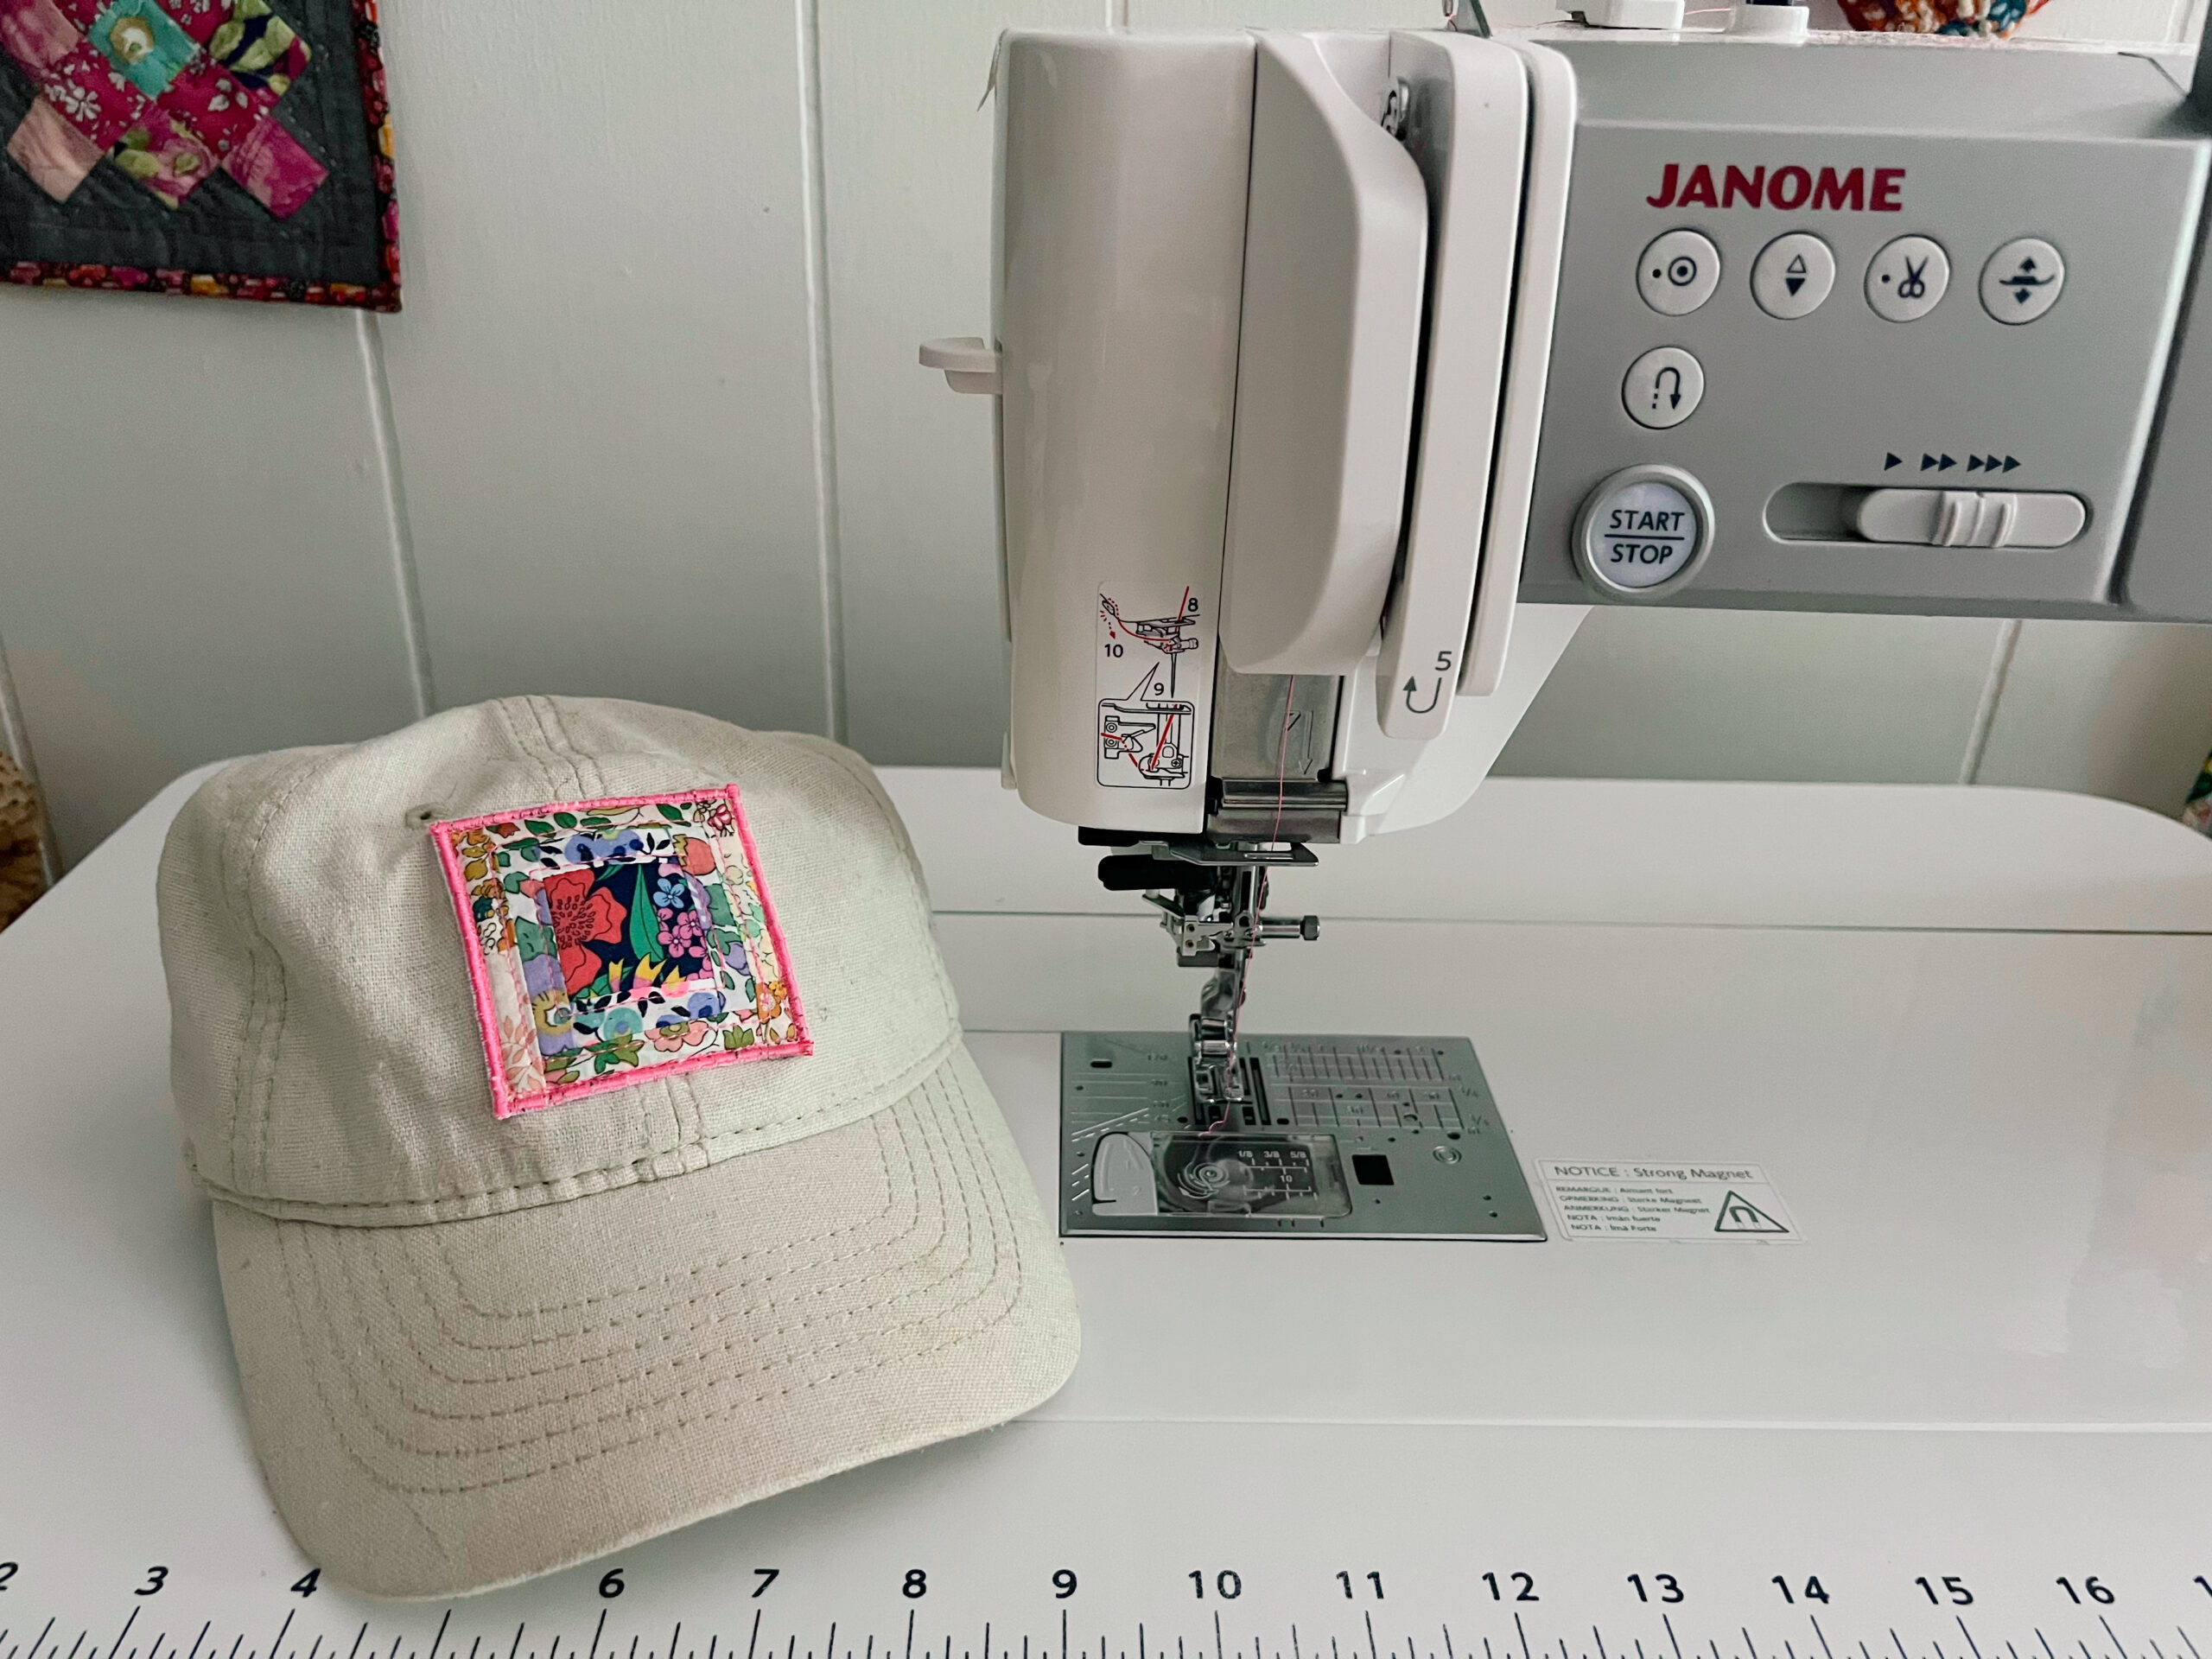
I stitched mine onto a hat which was very plain. I’ve been adding personality to some plain things lately, and I love the new life that it gives to even well-worn older pieces like my hat.
BONUS: you can also quilt as you go, which beautifully combines the sewing and quilting part into a single step. This method makes it super easy to cut out any design that you like- even lettering.
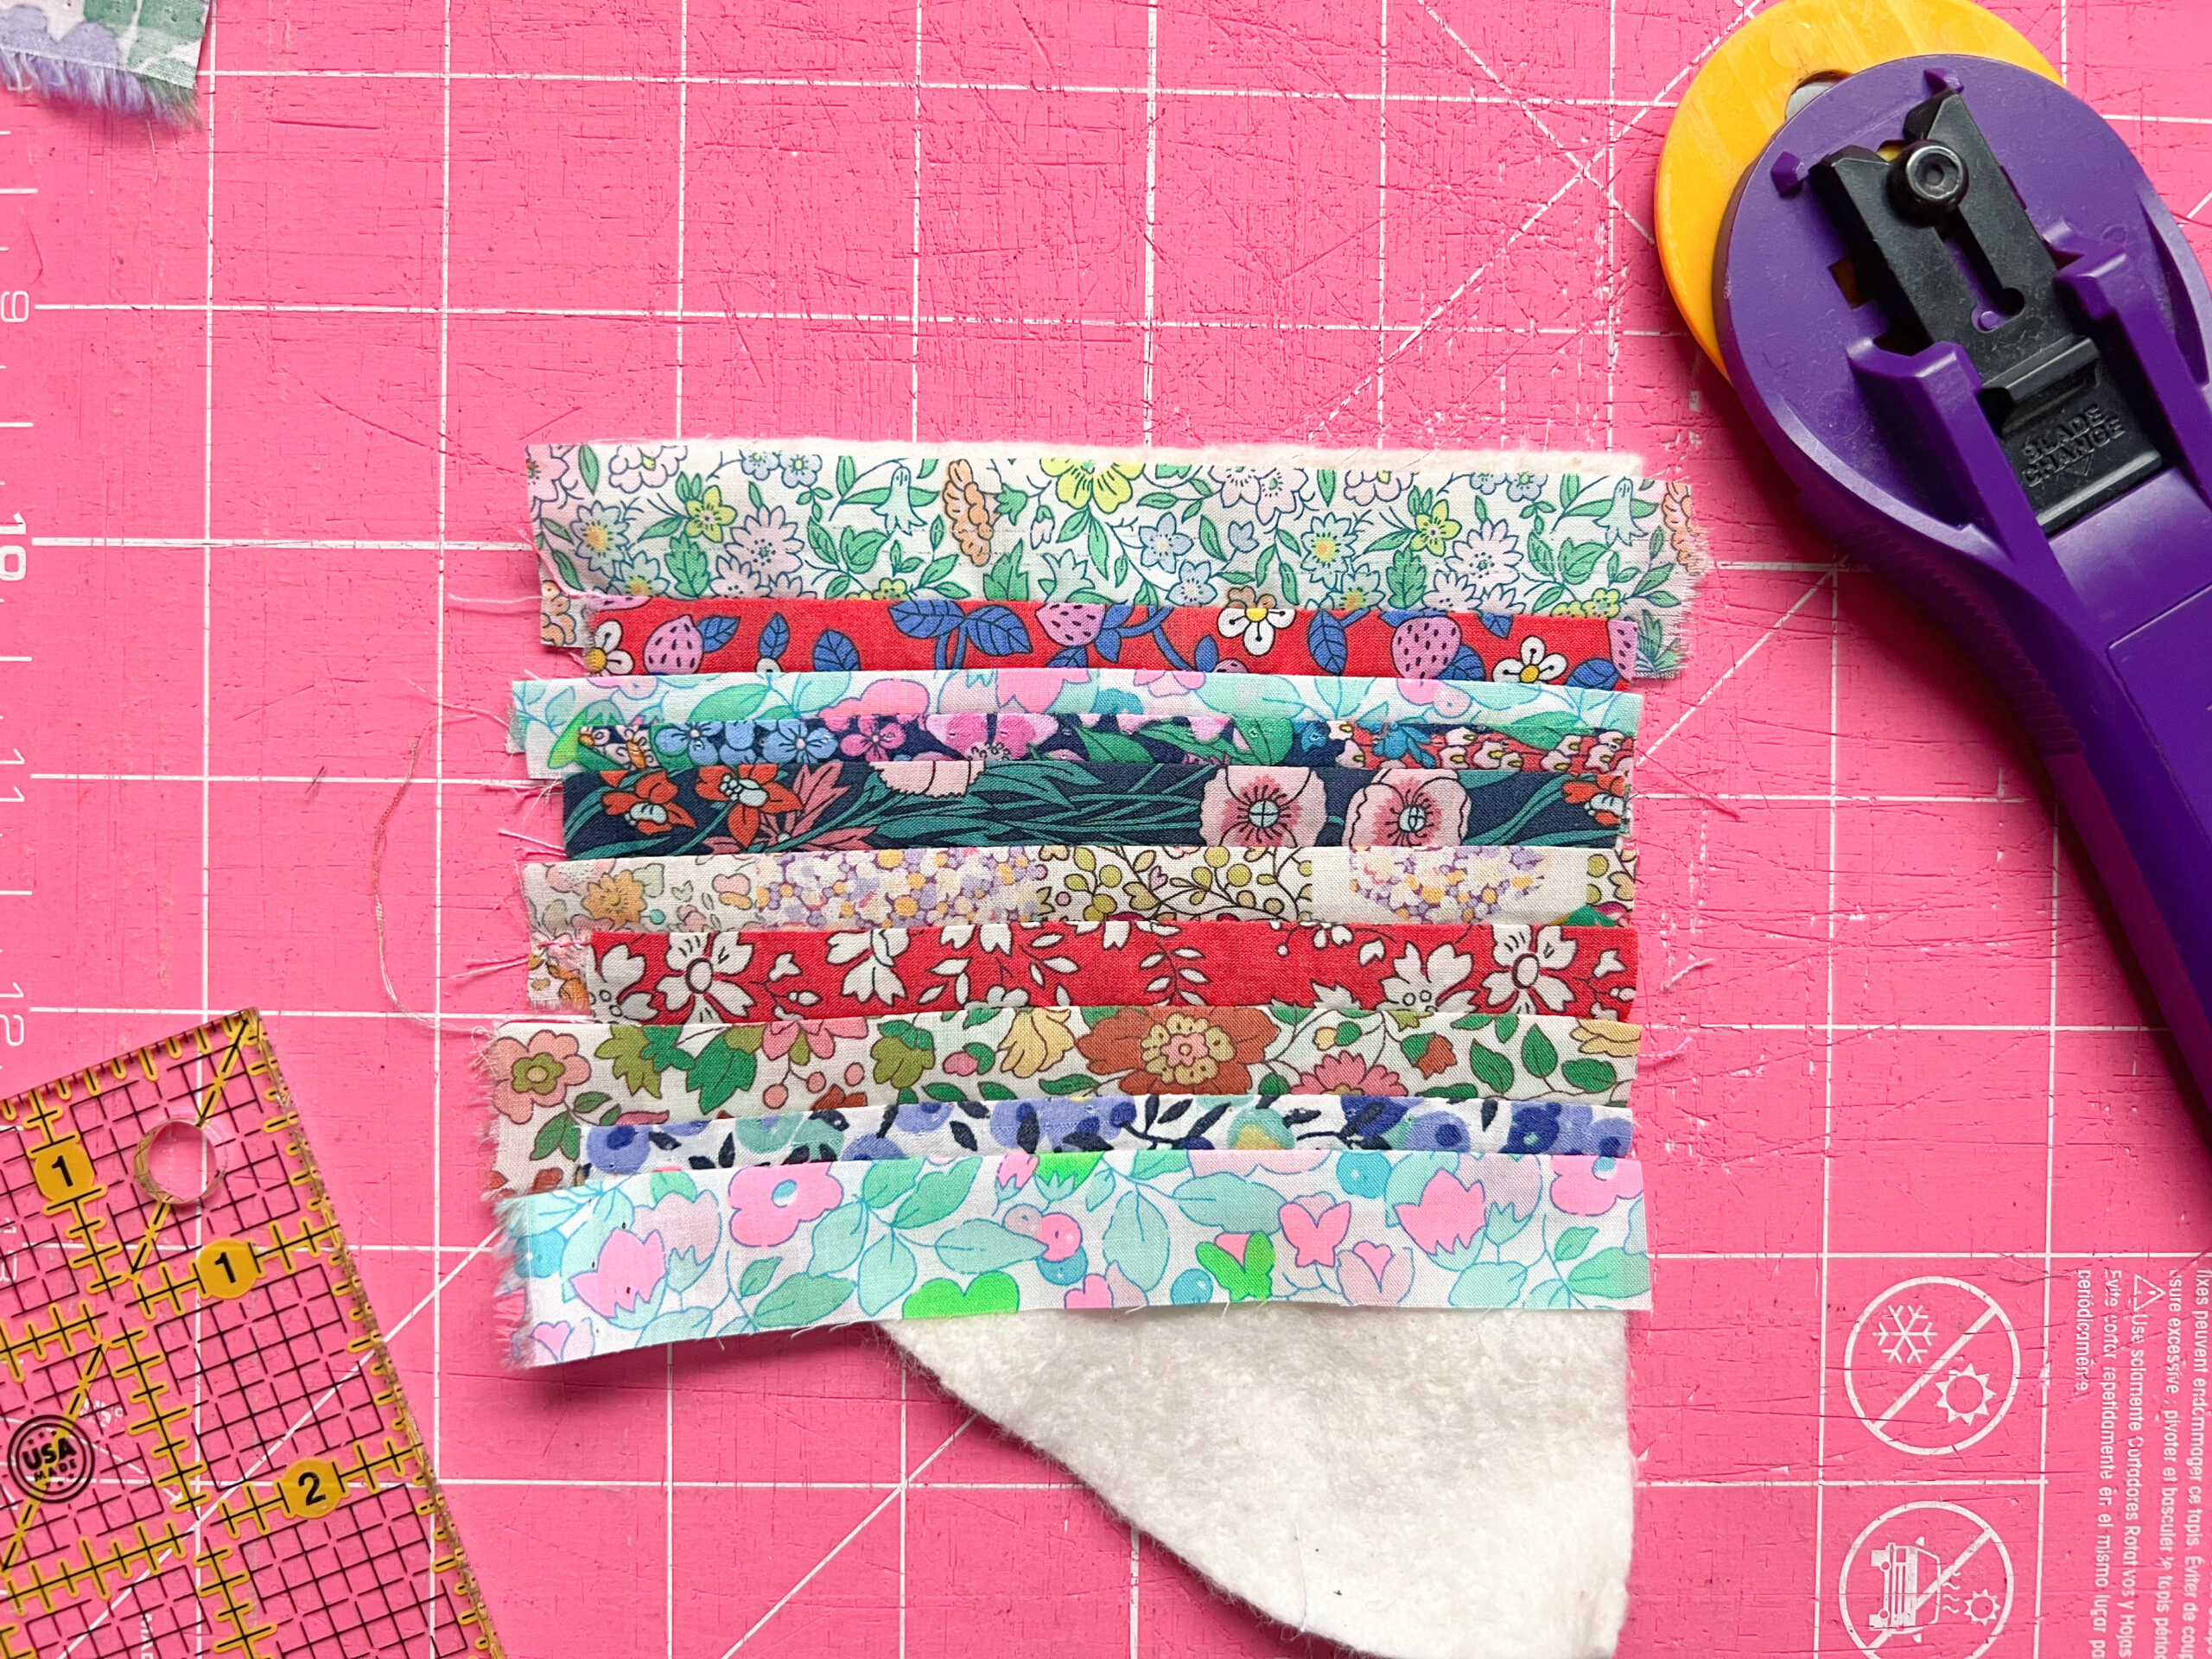
I made a larger heart shaped block using this method.
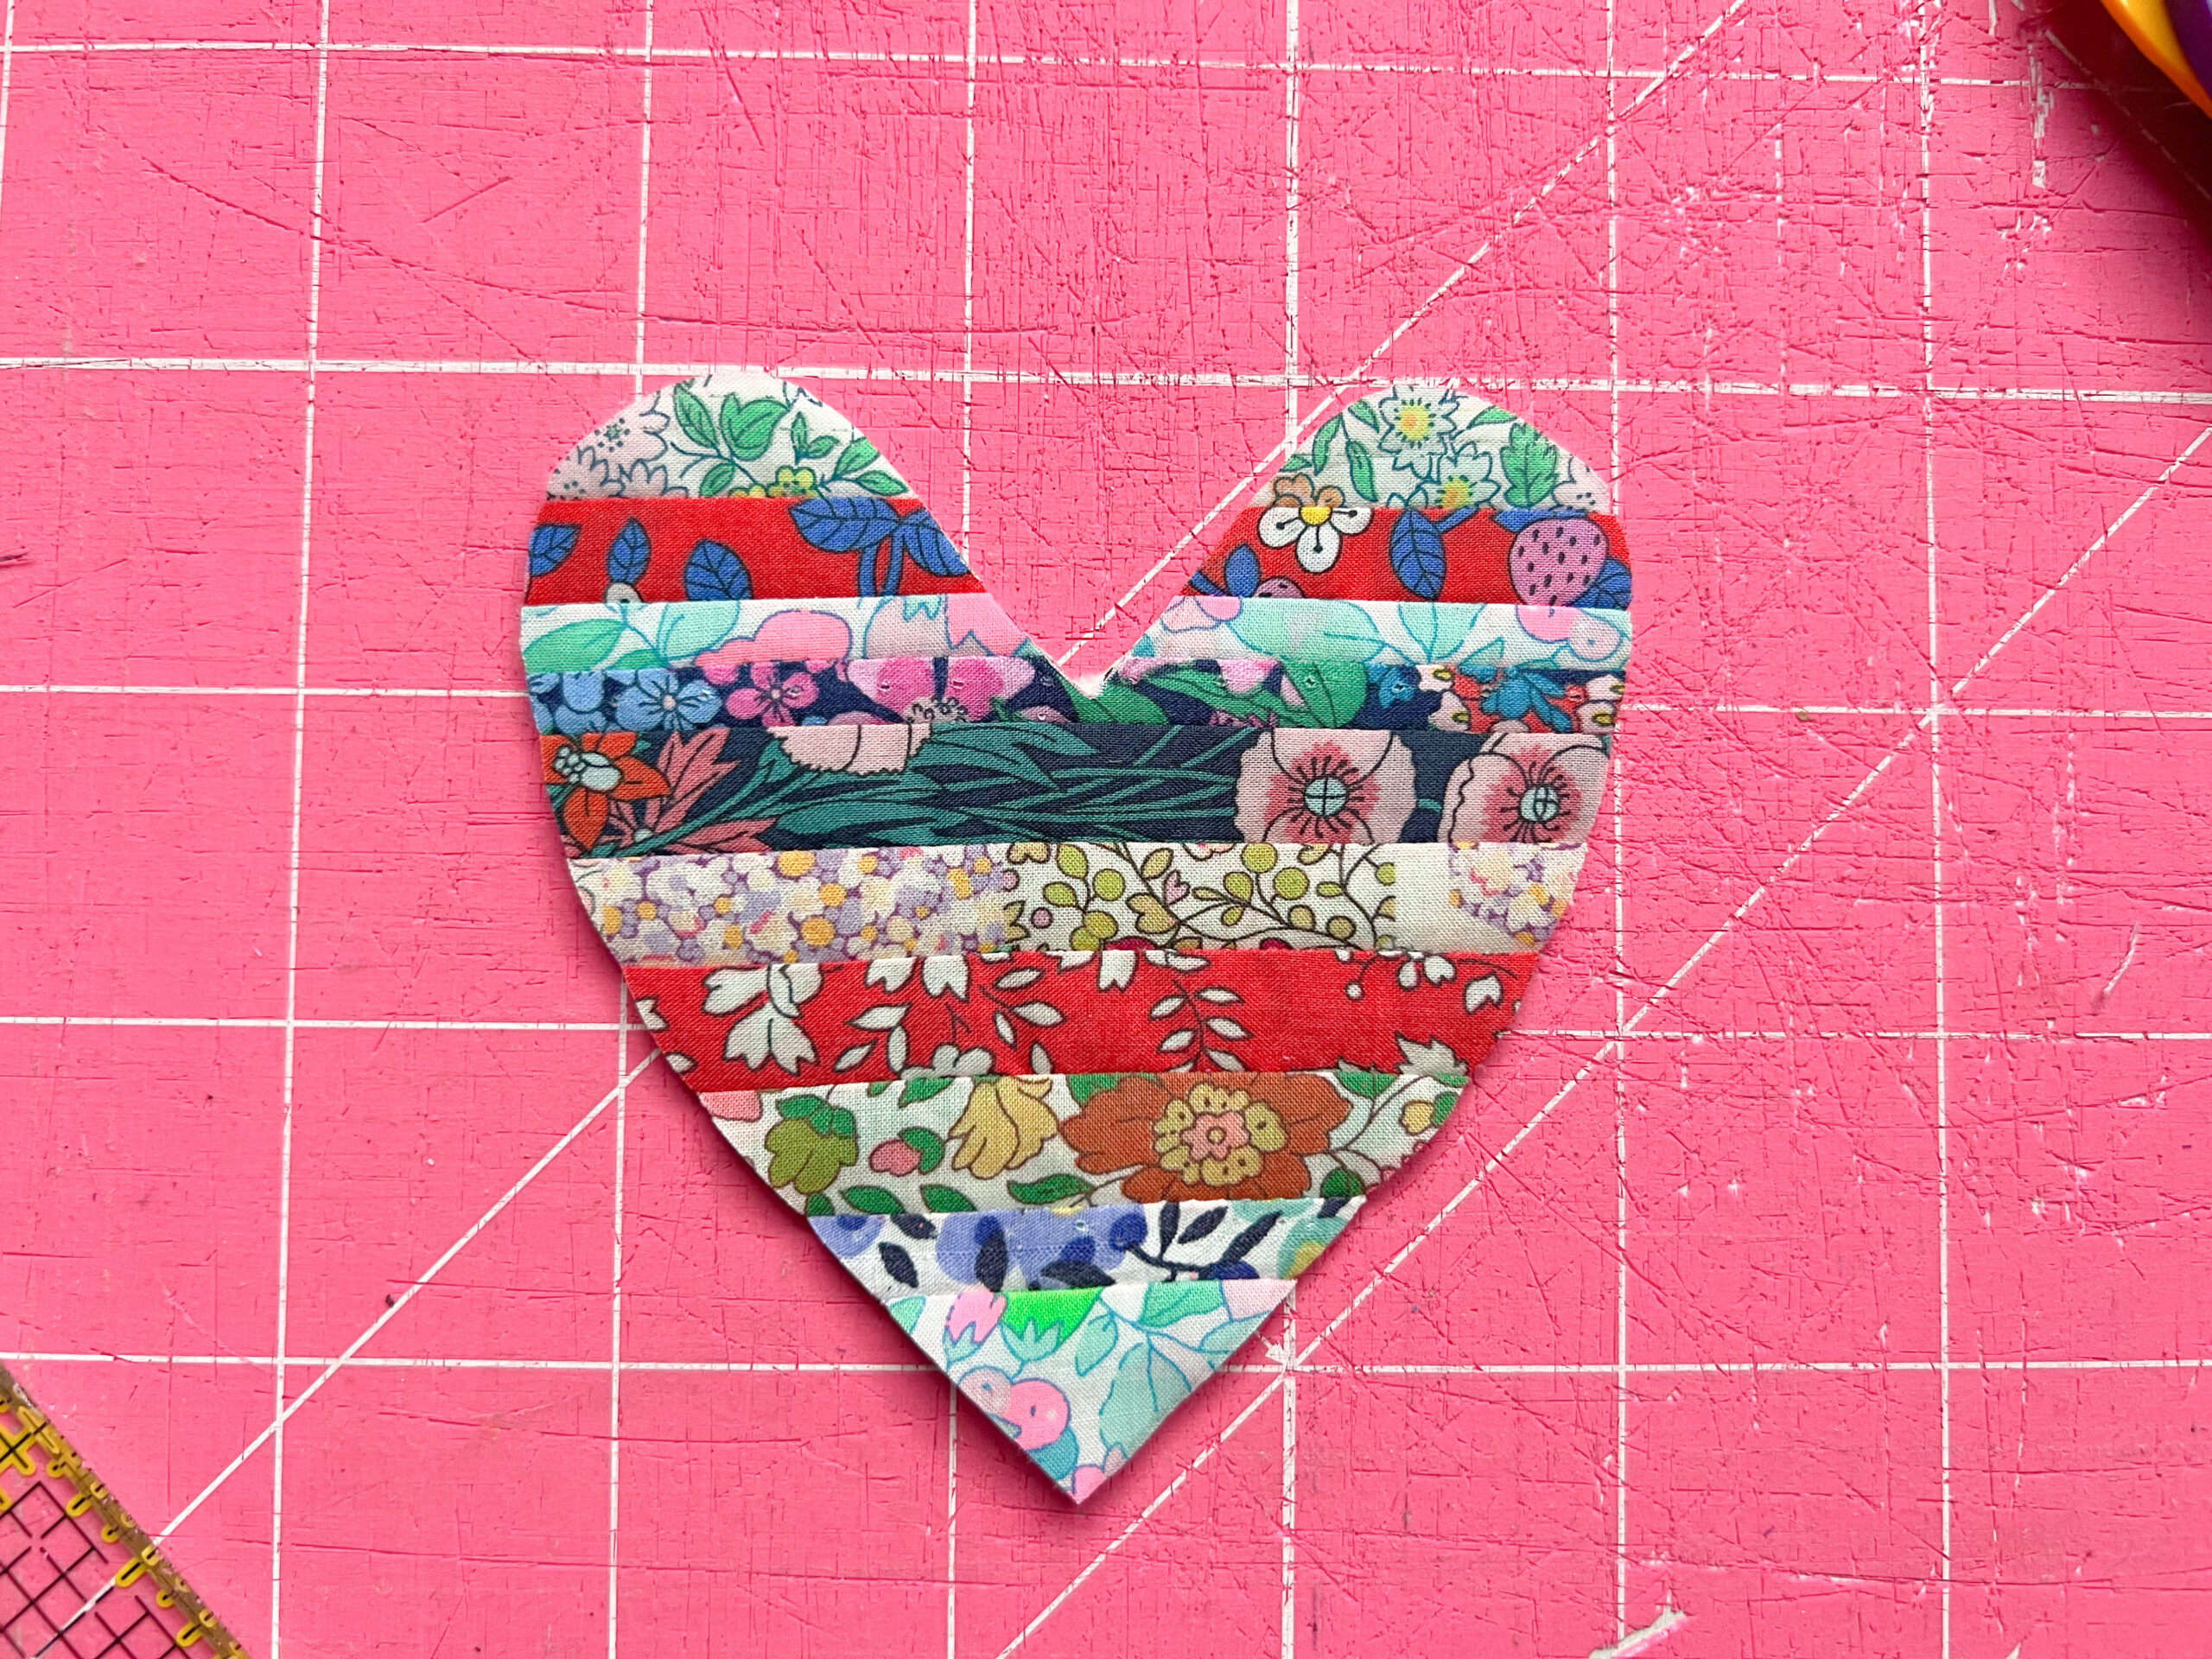


Happy scrap busting! Be sure to tag us on social media if you give this project a try!

