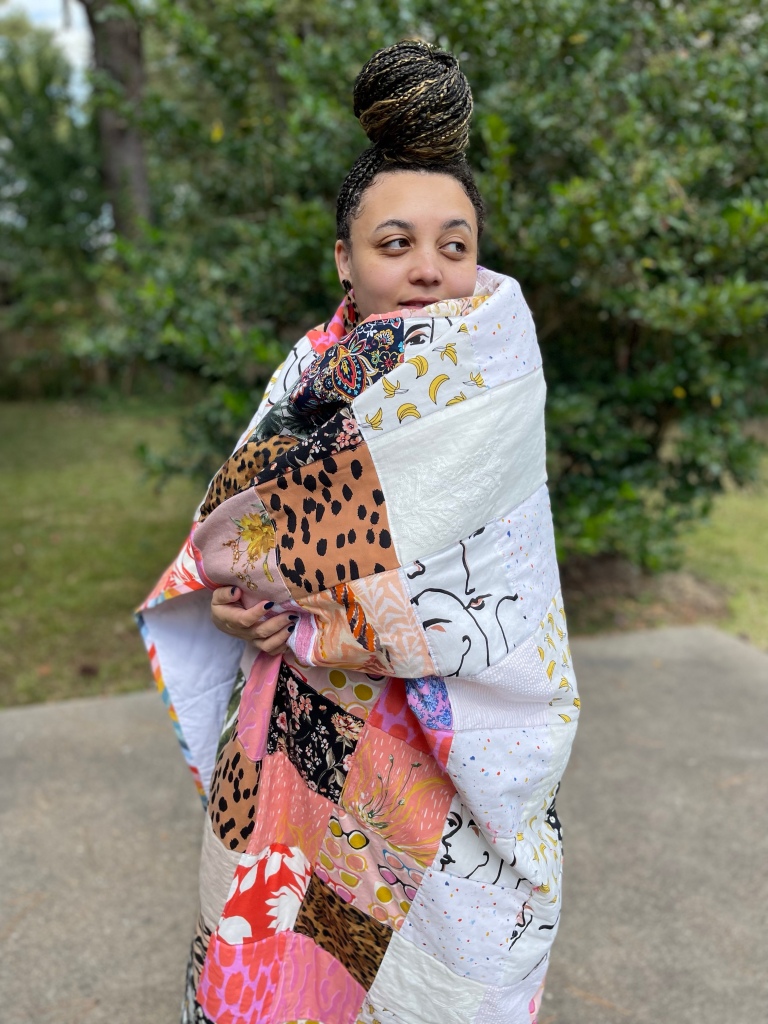
Hey friends! I know it’s been a while but I’m still around working on more intentional projects. And adjusting to married life as well.
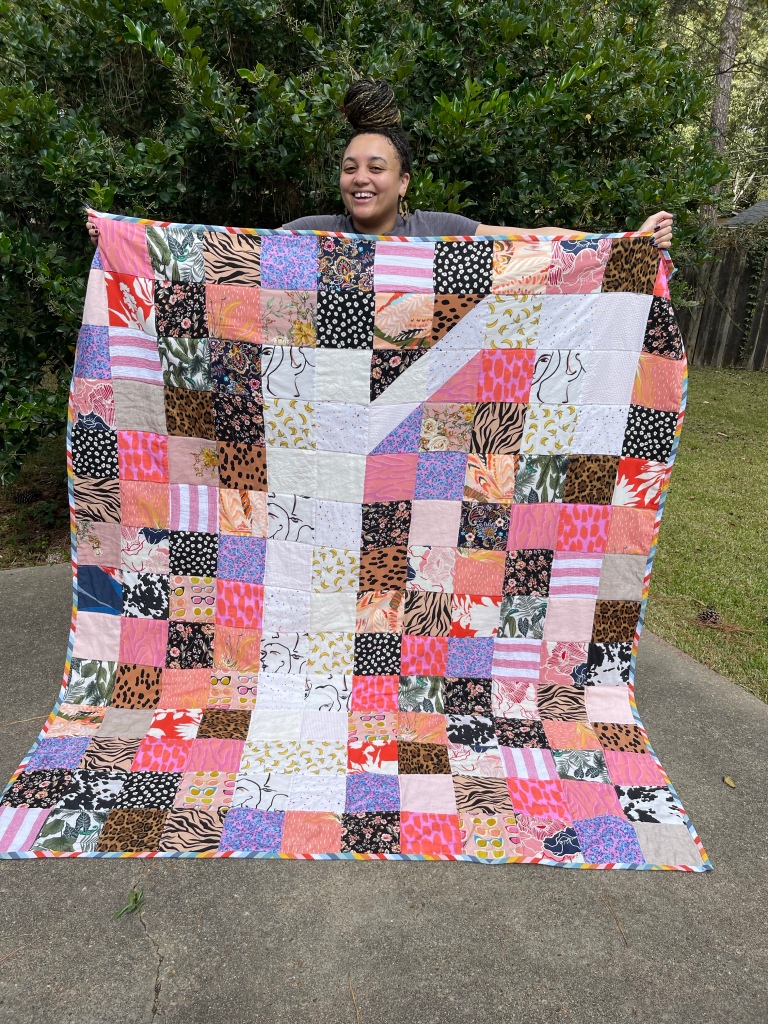

I have been dreaming of a scrap quilt project for a LONG TIME! I mean, I have so much scrap fabric that it was becoming more and more embarrassing to keep hoarding that much. So finally I decided to totally focus on this project. Now, if you’re someone who has never made a quilt and you’re more of the visual learner I highly recommend going to my Instagram and watching my 5 part reel series on how I made this massive quilt in addition to the supplemental information in this post.
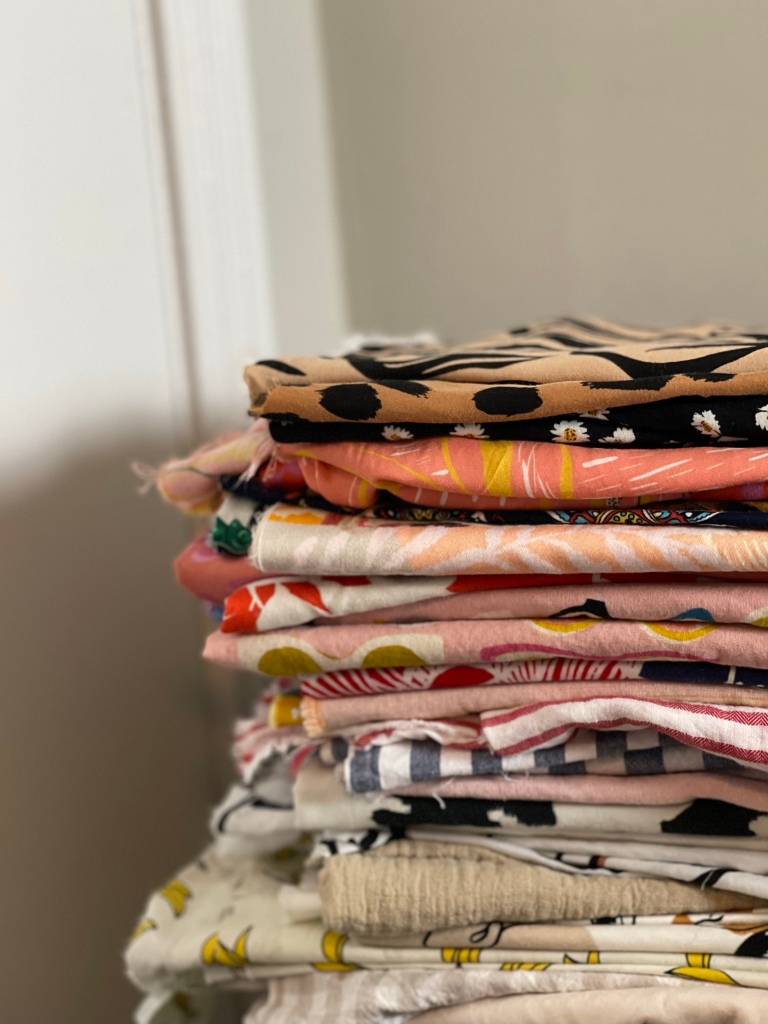
If you’re someone that knows the basics of quilting and just wants a fun project and a template, then keep reading.
I knew I wanted it to be adult size so I made my squares 6x6 inches, 12 rows across and 14 rows down. I made a quick sketch and decided to add some razzle dazzle by putting a lowercase “R” in the middle for my name. I love using grid paper because it’s so easy to trace the squares for the visual. I made sure to use woven fabric for my squares even though I have some jersey knits and others.


Next I alternated my colors light to dark -which means I had to lay out the quilt as I was making it so I wouldn’t duplicate anything right next to each other. I really tried to think about what colors complemented each other on the color wheel as I put the squares together. I really wanted anyone who sees the quilt to really be dazzled by the colors but not overwhelmed. And finally I wanted my “R” to stand out so I used white fabric (with some accents). I made sure to purposely put bolder colors beside the white squares to make it stand out more.
For the construction of the squares I made sure to use a 1/4 inch seam allowance everywhere and backstitch everything. I focused on sewing the squares across first. Once all the rows were completed I made sure to connect the rows by 2. And finally like a pyramid - connect 2x2 until eventually I had two large pieces of the top piece. I sewed those pieces together to make one piece. And I made sure to press every single seam in the process.
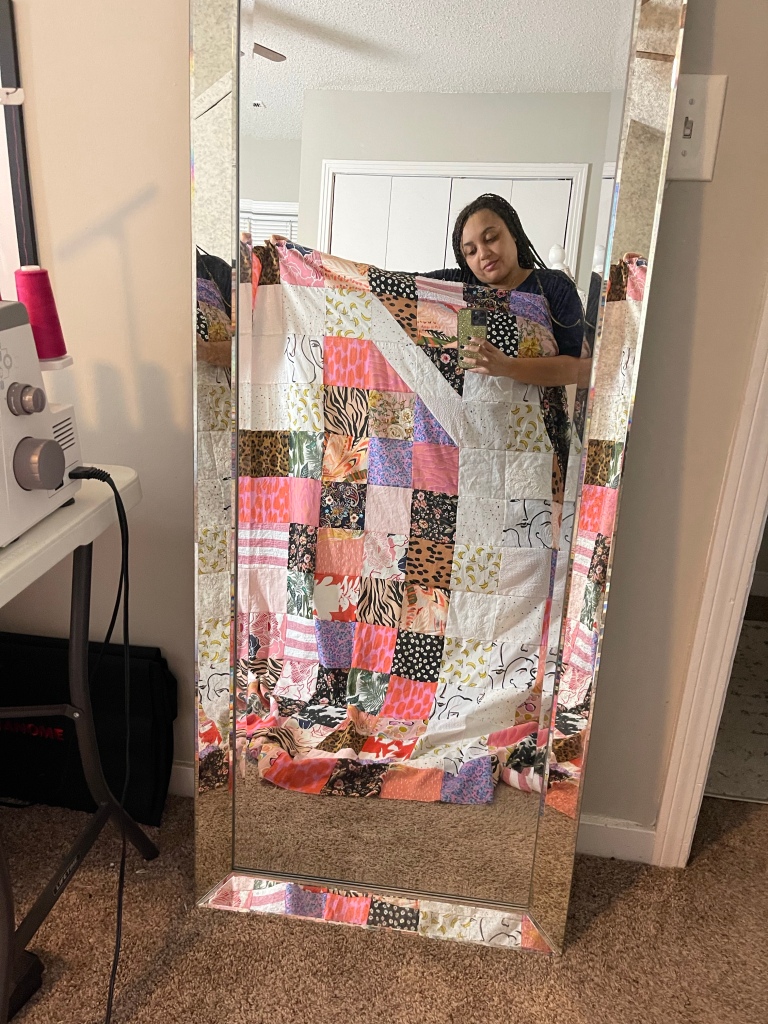
Next I worked on my sandwich. I used the bottom of a thrifted duvet cover since it’s so hard to get 2-4 pieces of fabric together. I never like seeing that seam. The thrifted duvet worked so well. Then I used cotton batting. I learned in a sewing class that cotton batting is a lot better than polyester. It doesn’t shrink as much, etc. Then, I added my quilt top. I smoothed out all the wrinkles and spots. I used safety pins and wonder clips to make sure that it stayed together and didn’t shift during the process.

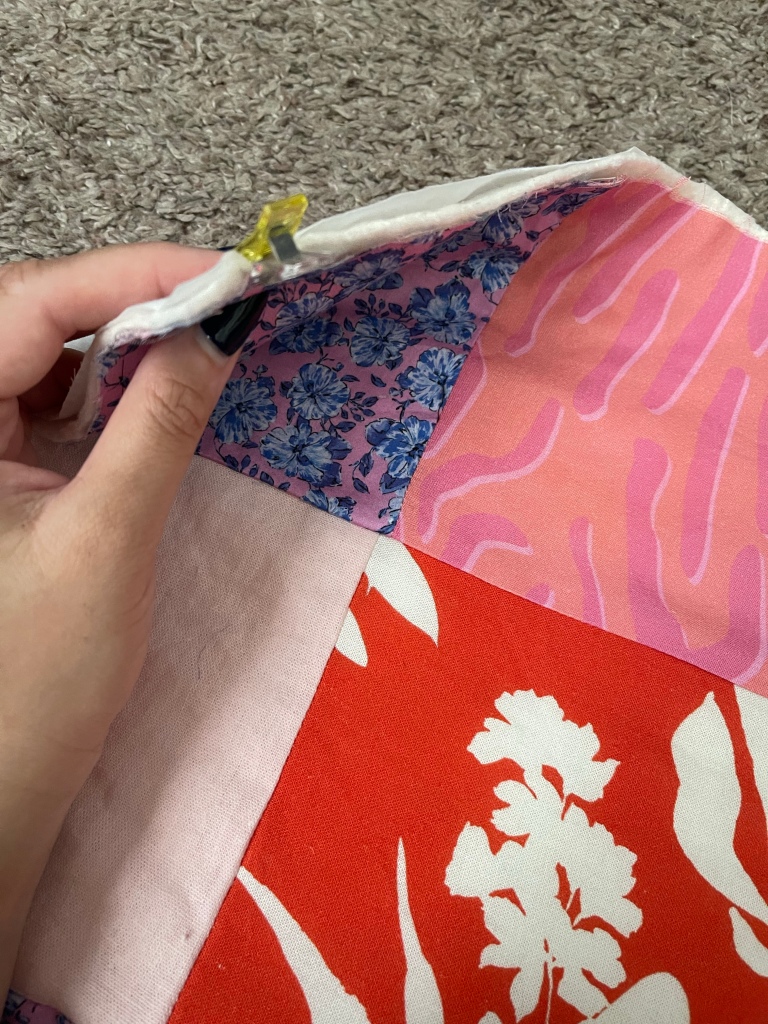
Then I topstitched the entire quilt sandwich together. I don’t own a long arm machine or a darning foot but I managed perfectly fine.
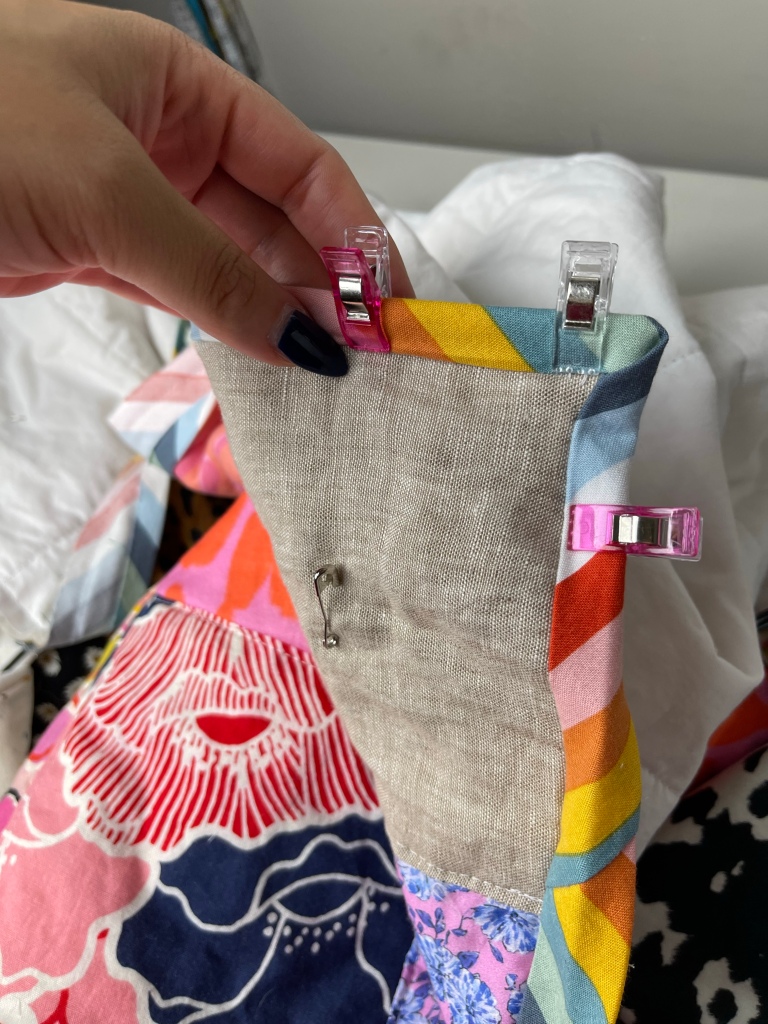
Next I made my own double folded bias tape from some stripe rainbow fabric that I had. I sewed the first part down and then hand stitched the closing because I wanted a cleaner finish. My fingers were sore for an entire day. Whew, but I finished it and it looked perfect.


I know I’m primarily a garment sewist but I do like to do other projects every once in a while. This was my sixth successful quilt. I have made 3 for other people, 2 lap ones for myself and now this one. With each project I learn and improve my process each time. Without a doubt I’m most proud of this one.
Until next time, xo.
