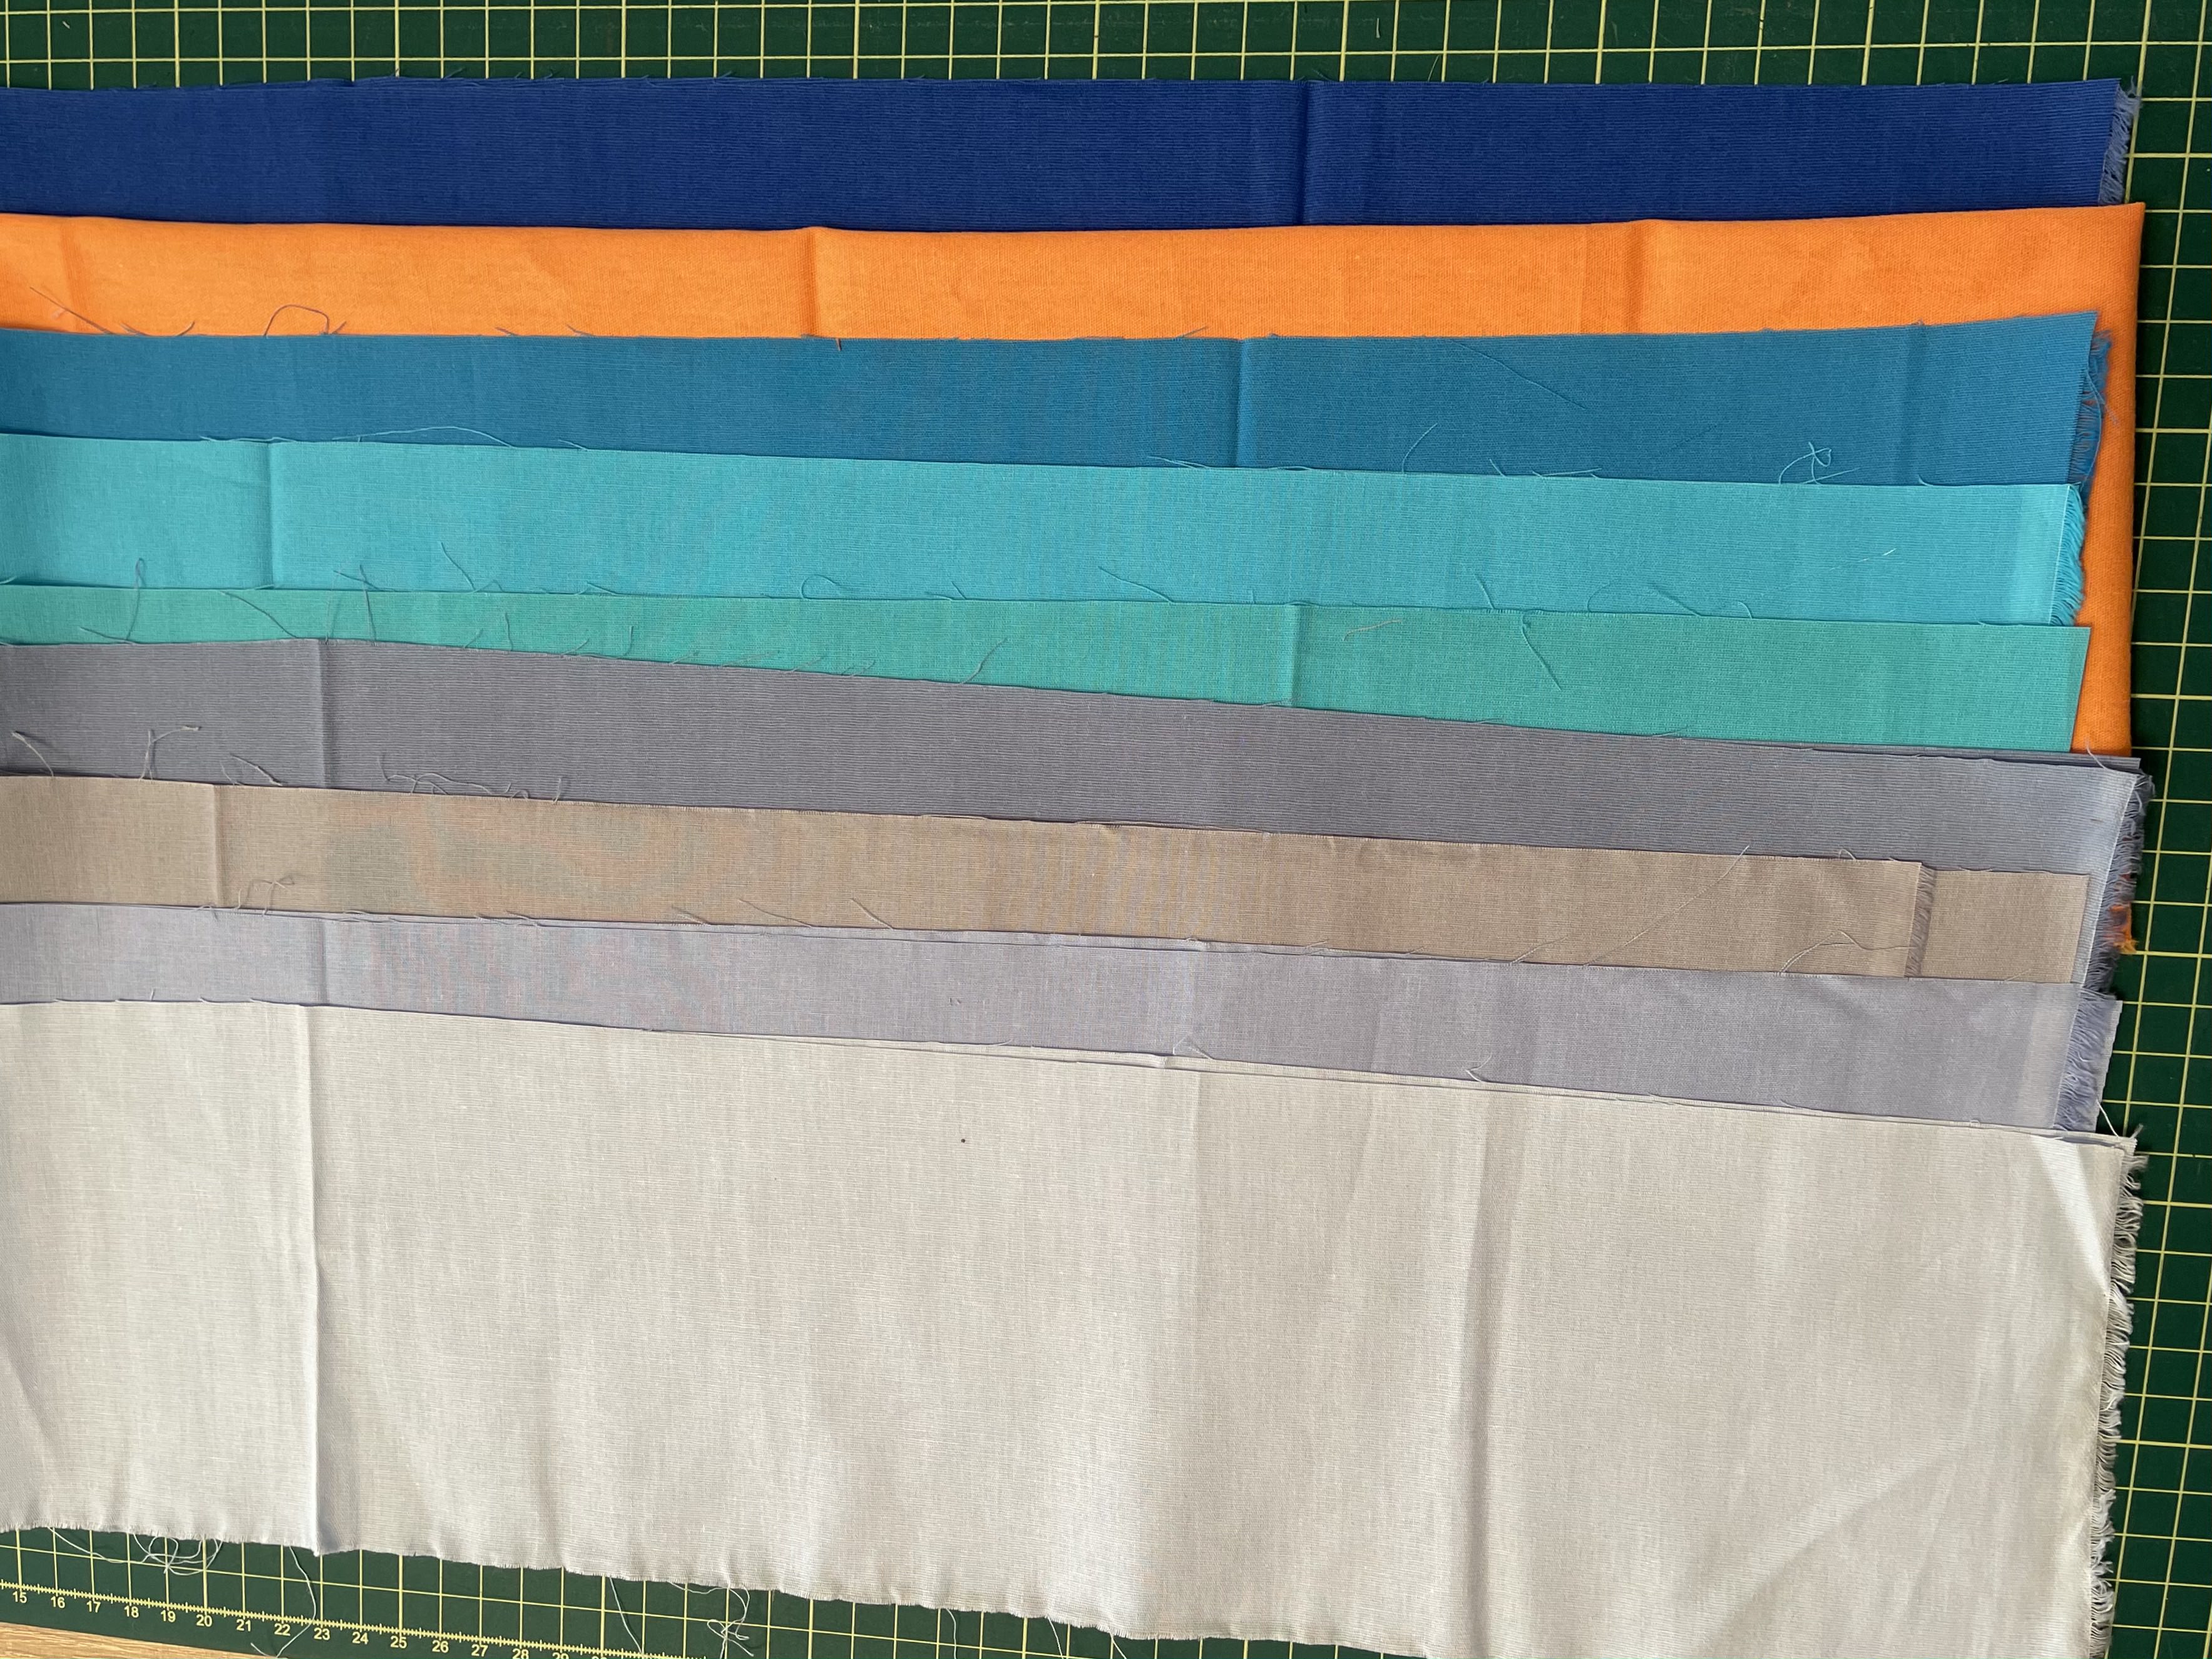
With this simple project, you will learn how to cut and sew gentle curves, to create a colorful mini quilt to embellish any special space at your home.
Pick the first two pieces of fabrics (you can start with the light values) and overlap them 2” approximately (longest side).

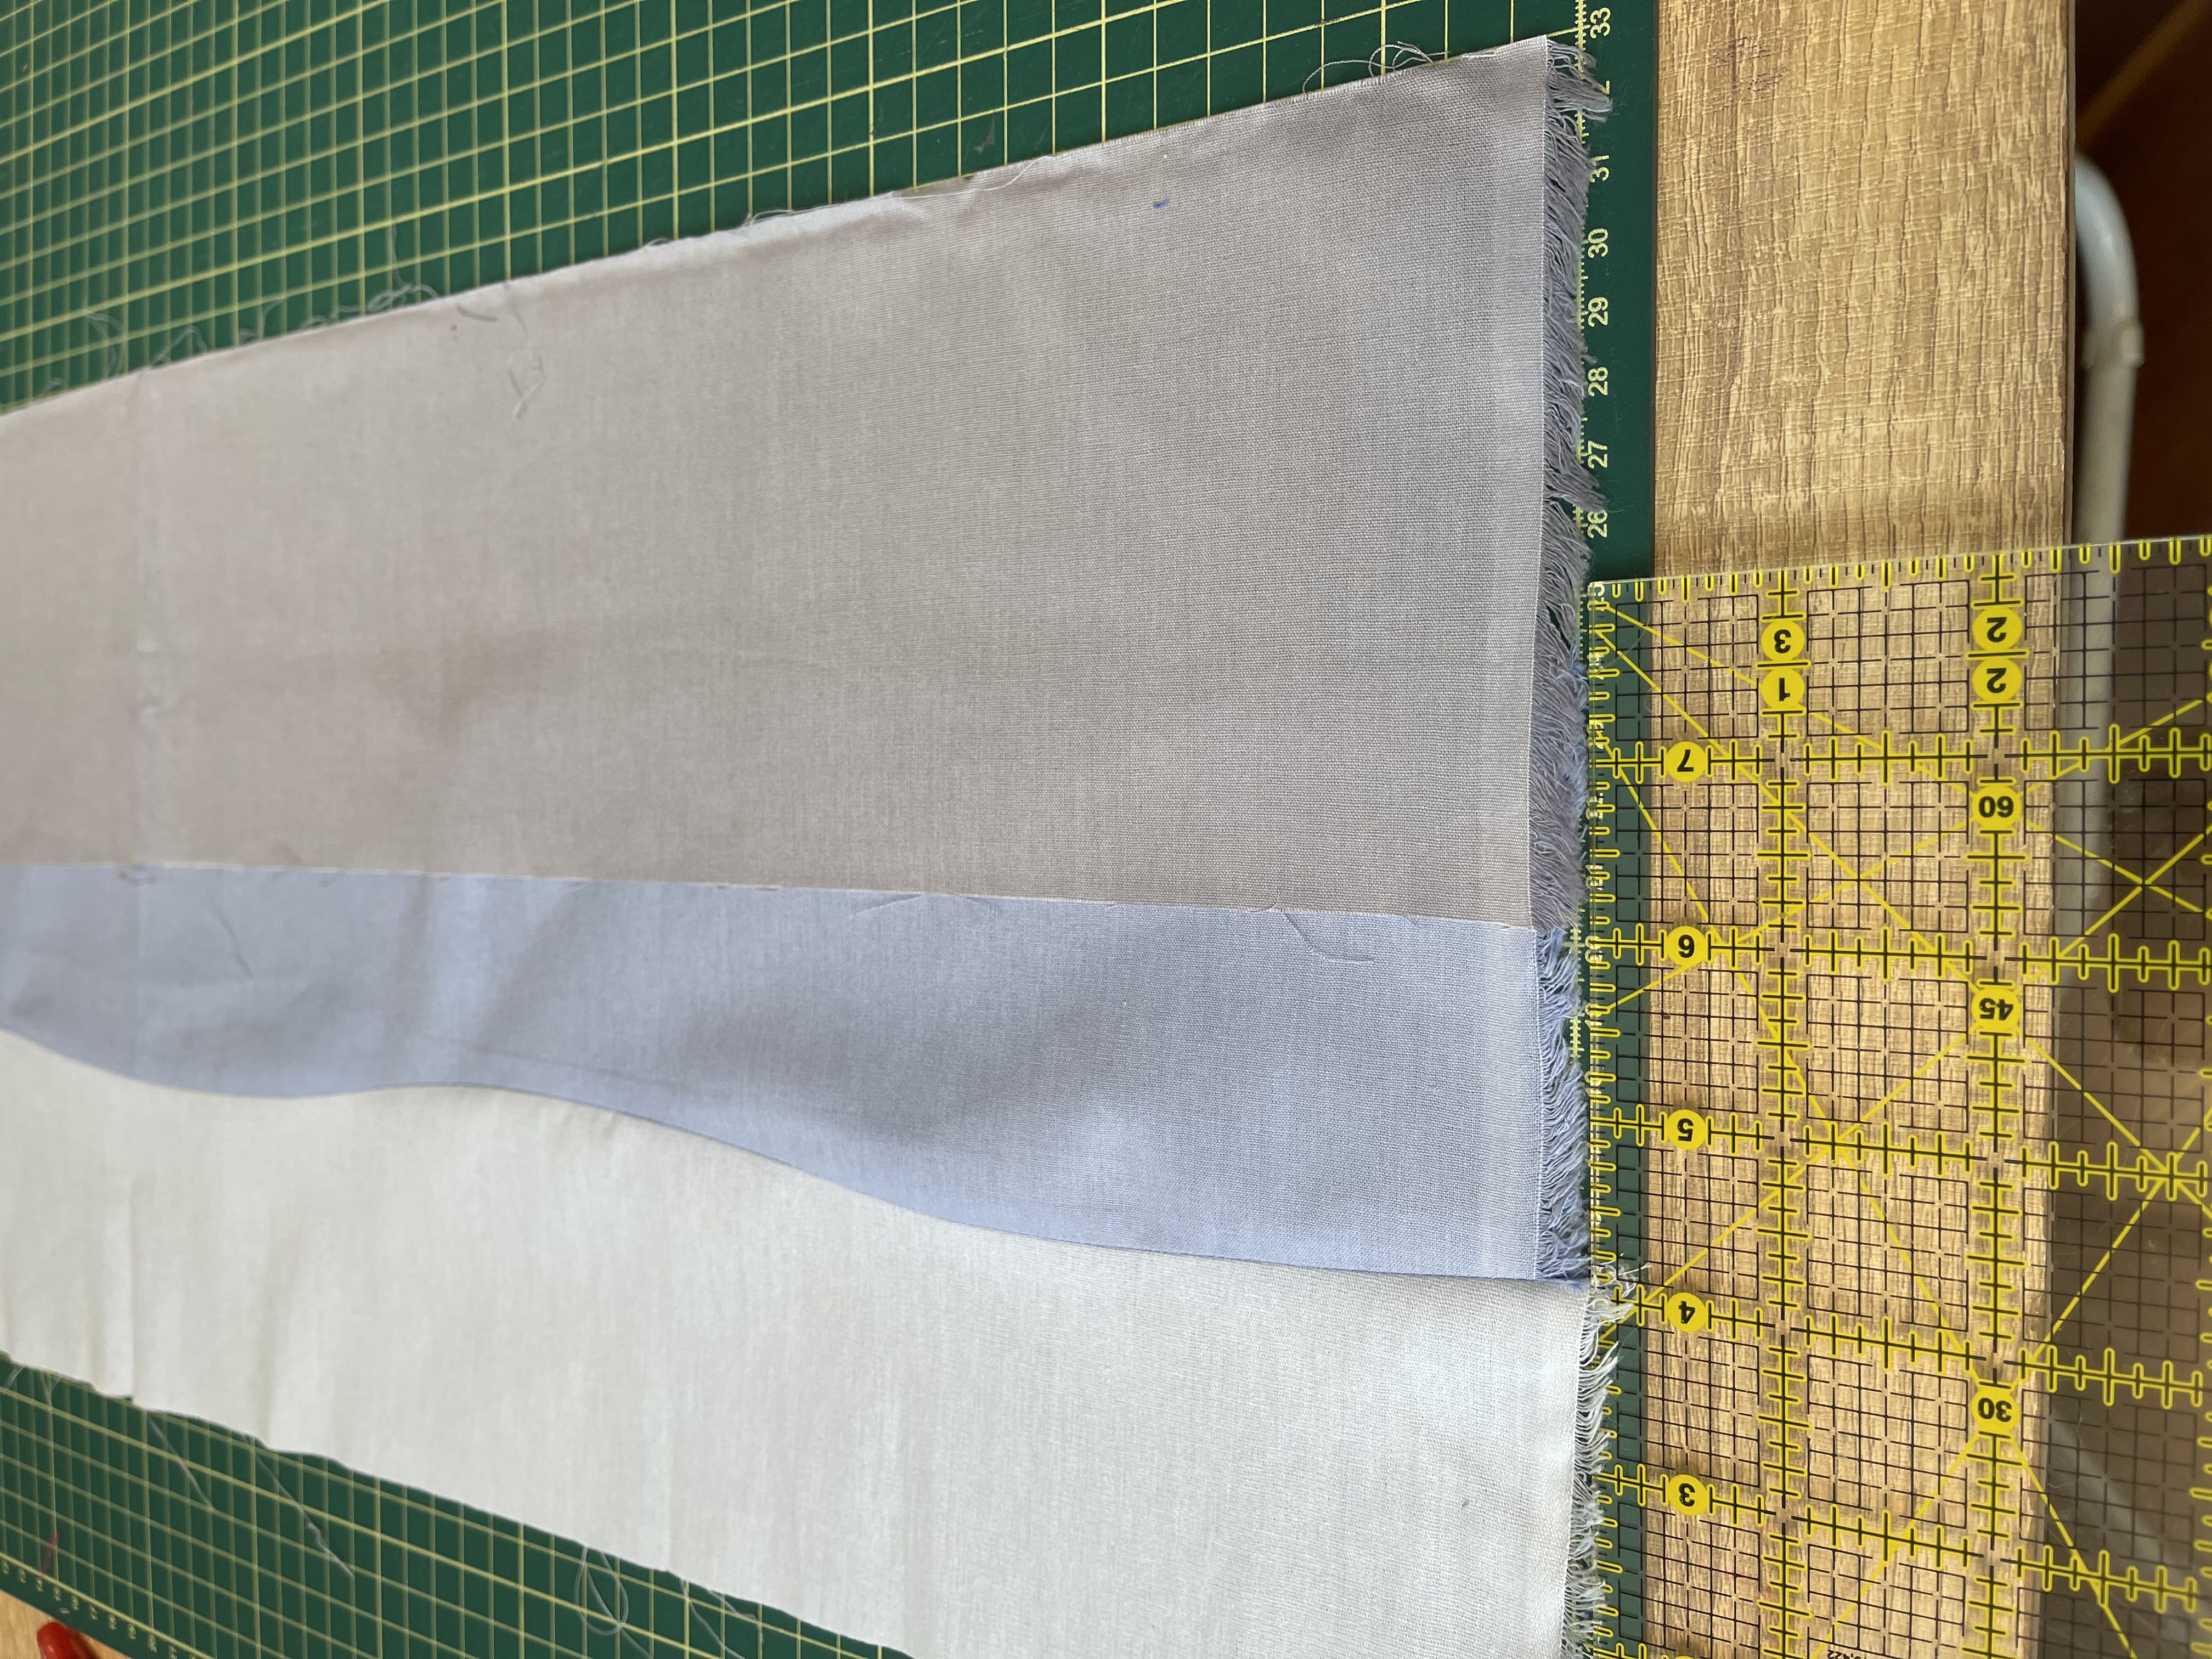
With your rotary cutter cut a freehand gentle curve (it is key to use a new blade) remember to cut a gentle curve just between the overlapping area, so you are cutting both fabrics.

Remove the remaining fabric and put the two pieces, right side together


On your sewing machine, start sewing with your 1/4” foot, always aligning the two fabrics to the edge of the foot. With your left hand handle the fabric on top and with your right hand the fabric on bottom, don’t stretch the fabrics.


Press seams open, and repeat this process with the next piece of fabric, until you finish sewing the 9 pieces.


All the fabrics are already pieced.
Cut in 5 pieces your top (I made a cut at 6” from the left edge, then 3” from the first cut, 6” and 2 1/2”) you can choose your own cutting distances.


Then is time to play, I love to turn one of the strips upside down and also moving to top or bottom

each strip (see the image below), so they are not all at the same level.
You need to mark all those levels, so you can sew together each strip in the correct place.


Sew them on your sewing machine using your 1/4” foot, press seams open.


Once you sew your complete top, you can square it up, baste and quilt it.
For quilting, my mini quilt I used my dual-feed foot on my Janome Memory craft 6700P to quilt gentle curves.


Once you finish, bound your mini and put it on your favorite place to add colors and happiness, ENJOY!


