Hello everyone! It’s Fran from Cotton and Joy, ready to kick off my second series of posts in the Janome Blog. My last series, Holiday Pillows, wrapped up in May and now it’s time for series two, and I am so excited to introduce it. Welcome to Half Square Triangles Three Ways!
Instructions
Hello everyone! It’s Fran from Cotton and Joy, ready to kick off my second series of posts in the Janome Blog. My last series, Holiday Pillows, wrapped up in May and now it’s time for series two, and I am so excited to introduce it. Welcome to Half Square Triangles Three Ways!
Half square triangles (HST) are a foundational block within quilting. You can find this little guy everywhere from award-winning quilts to baby quilts selling on craft markets.

The HST is exactly what it sounds like – a square made up from two equal right triangles. It’s an easy enough block to be accessible to beginners, yet versatile enough to remain stimulating for advanced quilters. You can make hundreds, if not thousands, of different quilts from the simple, unassuming HST block!
In this post, I will be sharing my favorite way to make HSTs. In the next three posts, I will show you three ways to use this “little block that could” to create three completely different quilts! If you are brand new to quilting, read on to learn how to make the HST. If you are an experienced quilter, read on for some of my favorite tips and tricks.

Half Square Triangle Techniques
Out in the quilting world, there are a few different techniques to make half-square triangles.
Traditionally, they are made one at a time, from two right triangles. However, over the years quilters have developed three go-to techniques for making multiple HSTs at a time. These include two-at-a-time, four-at-a-time, and eight-at-a-time.
Before we get to the good stuff let’s talk about my least favorite technique – that title goes to the four-at-a-time technique. My main reason for disliking this technique is that it leaves you with bias edges on the outside of your block. These bias edges are prone to stretching which can cause wavy quilt tops and even completely distorted quilt tops..
Now onto my favorite, and forever go-to technique – the two-at-a-time! This technique is the easiest, most straightforward method from math to sewing to cutting and trimming.
The overall steps are very simple so let’s go through them.
HST Two-At-A-Time Math
As I mentioned earlier, the math is very simple and straightforward. All you have to do is add 1” to the finished size you want your HST to be. So if you need a 6” HST, you would cut two 7” squares. For the projects in this series, we’ll beed 3” finished HSTs so we’ll be cutting out 4” squares from our contrasting fabrics.
Draw A Guideline
This next step is essential for beautiful HSTs – the guideline. Take one of your squares, and draw a guideline on the wrong side from corner to corner on the diagonal.

Place Squares Together
Next, place your two squares together, right sides together. At this point, you can pin your squares before sewing them together. Generally, I don’t pin them, just kind of hold them together, but if you’re a brand new quilter, pinning is always a good choice.
Sew
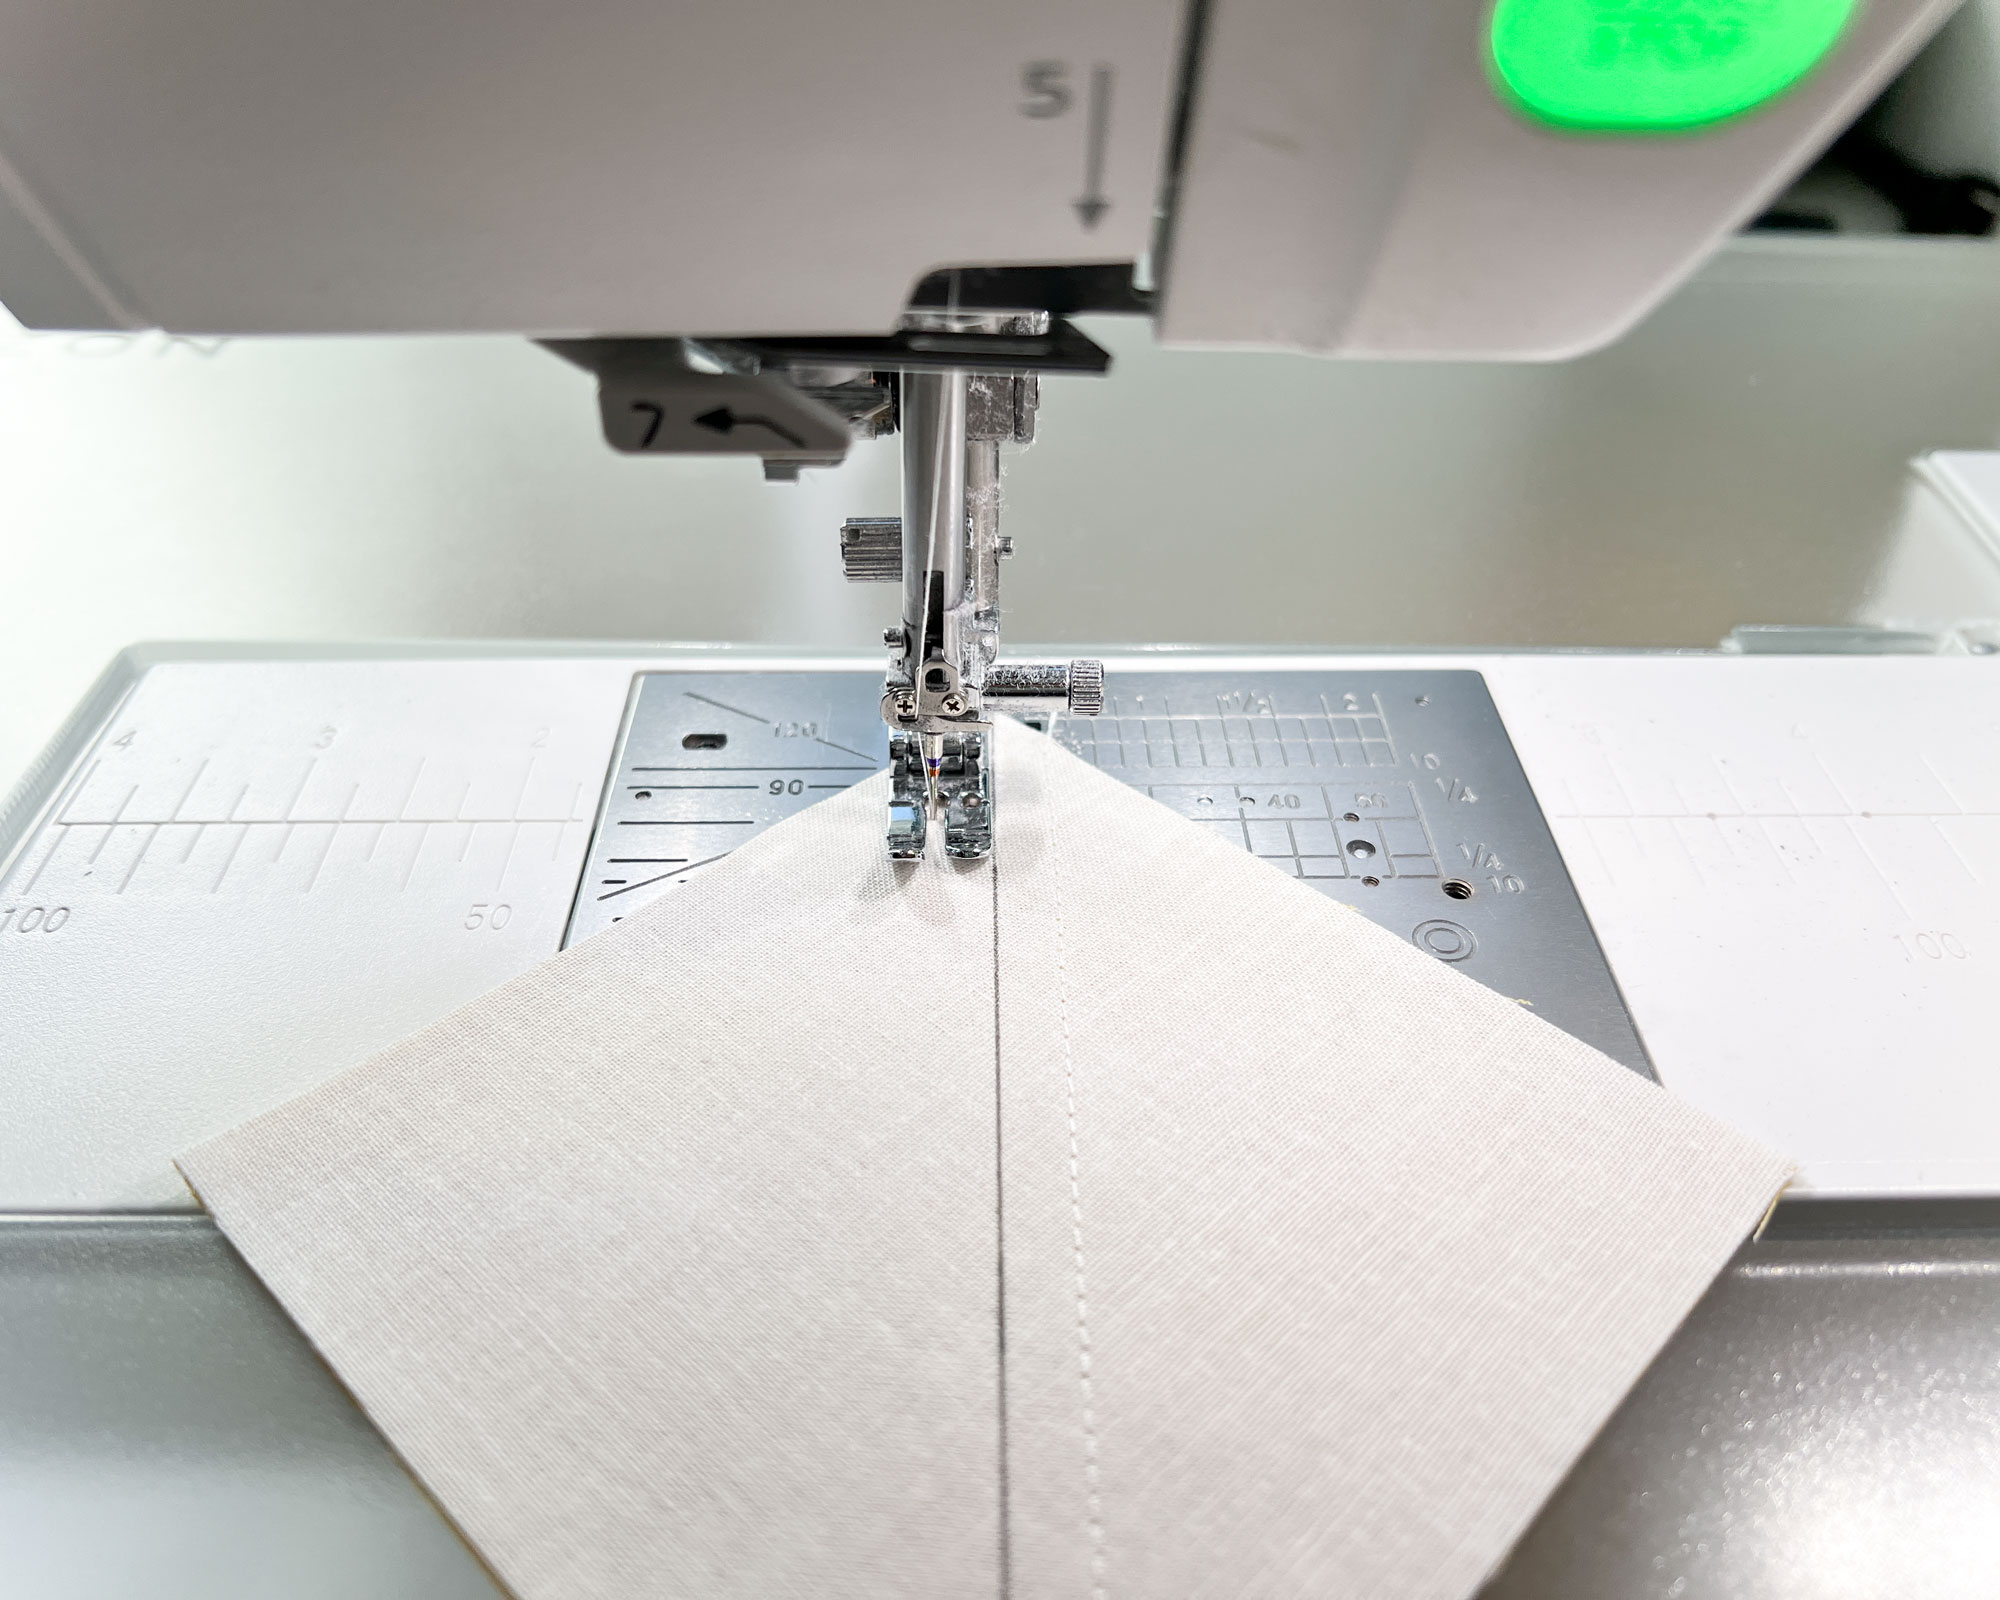
Sewing! Finally! Take your squares to your machine and sew two seams, ¼” away on both sides of the guideline.
The easiest way to do this is to use your machine’s ¼” foot and line up the guideline with the drawn guideline. On my 9450, I use my HP foot, but if you’re on a different machine, use the ¼” for that machine.


Cut Apart and Press
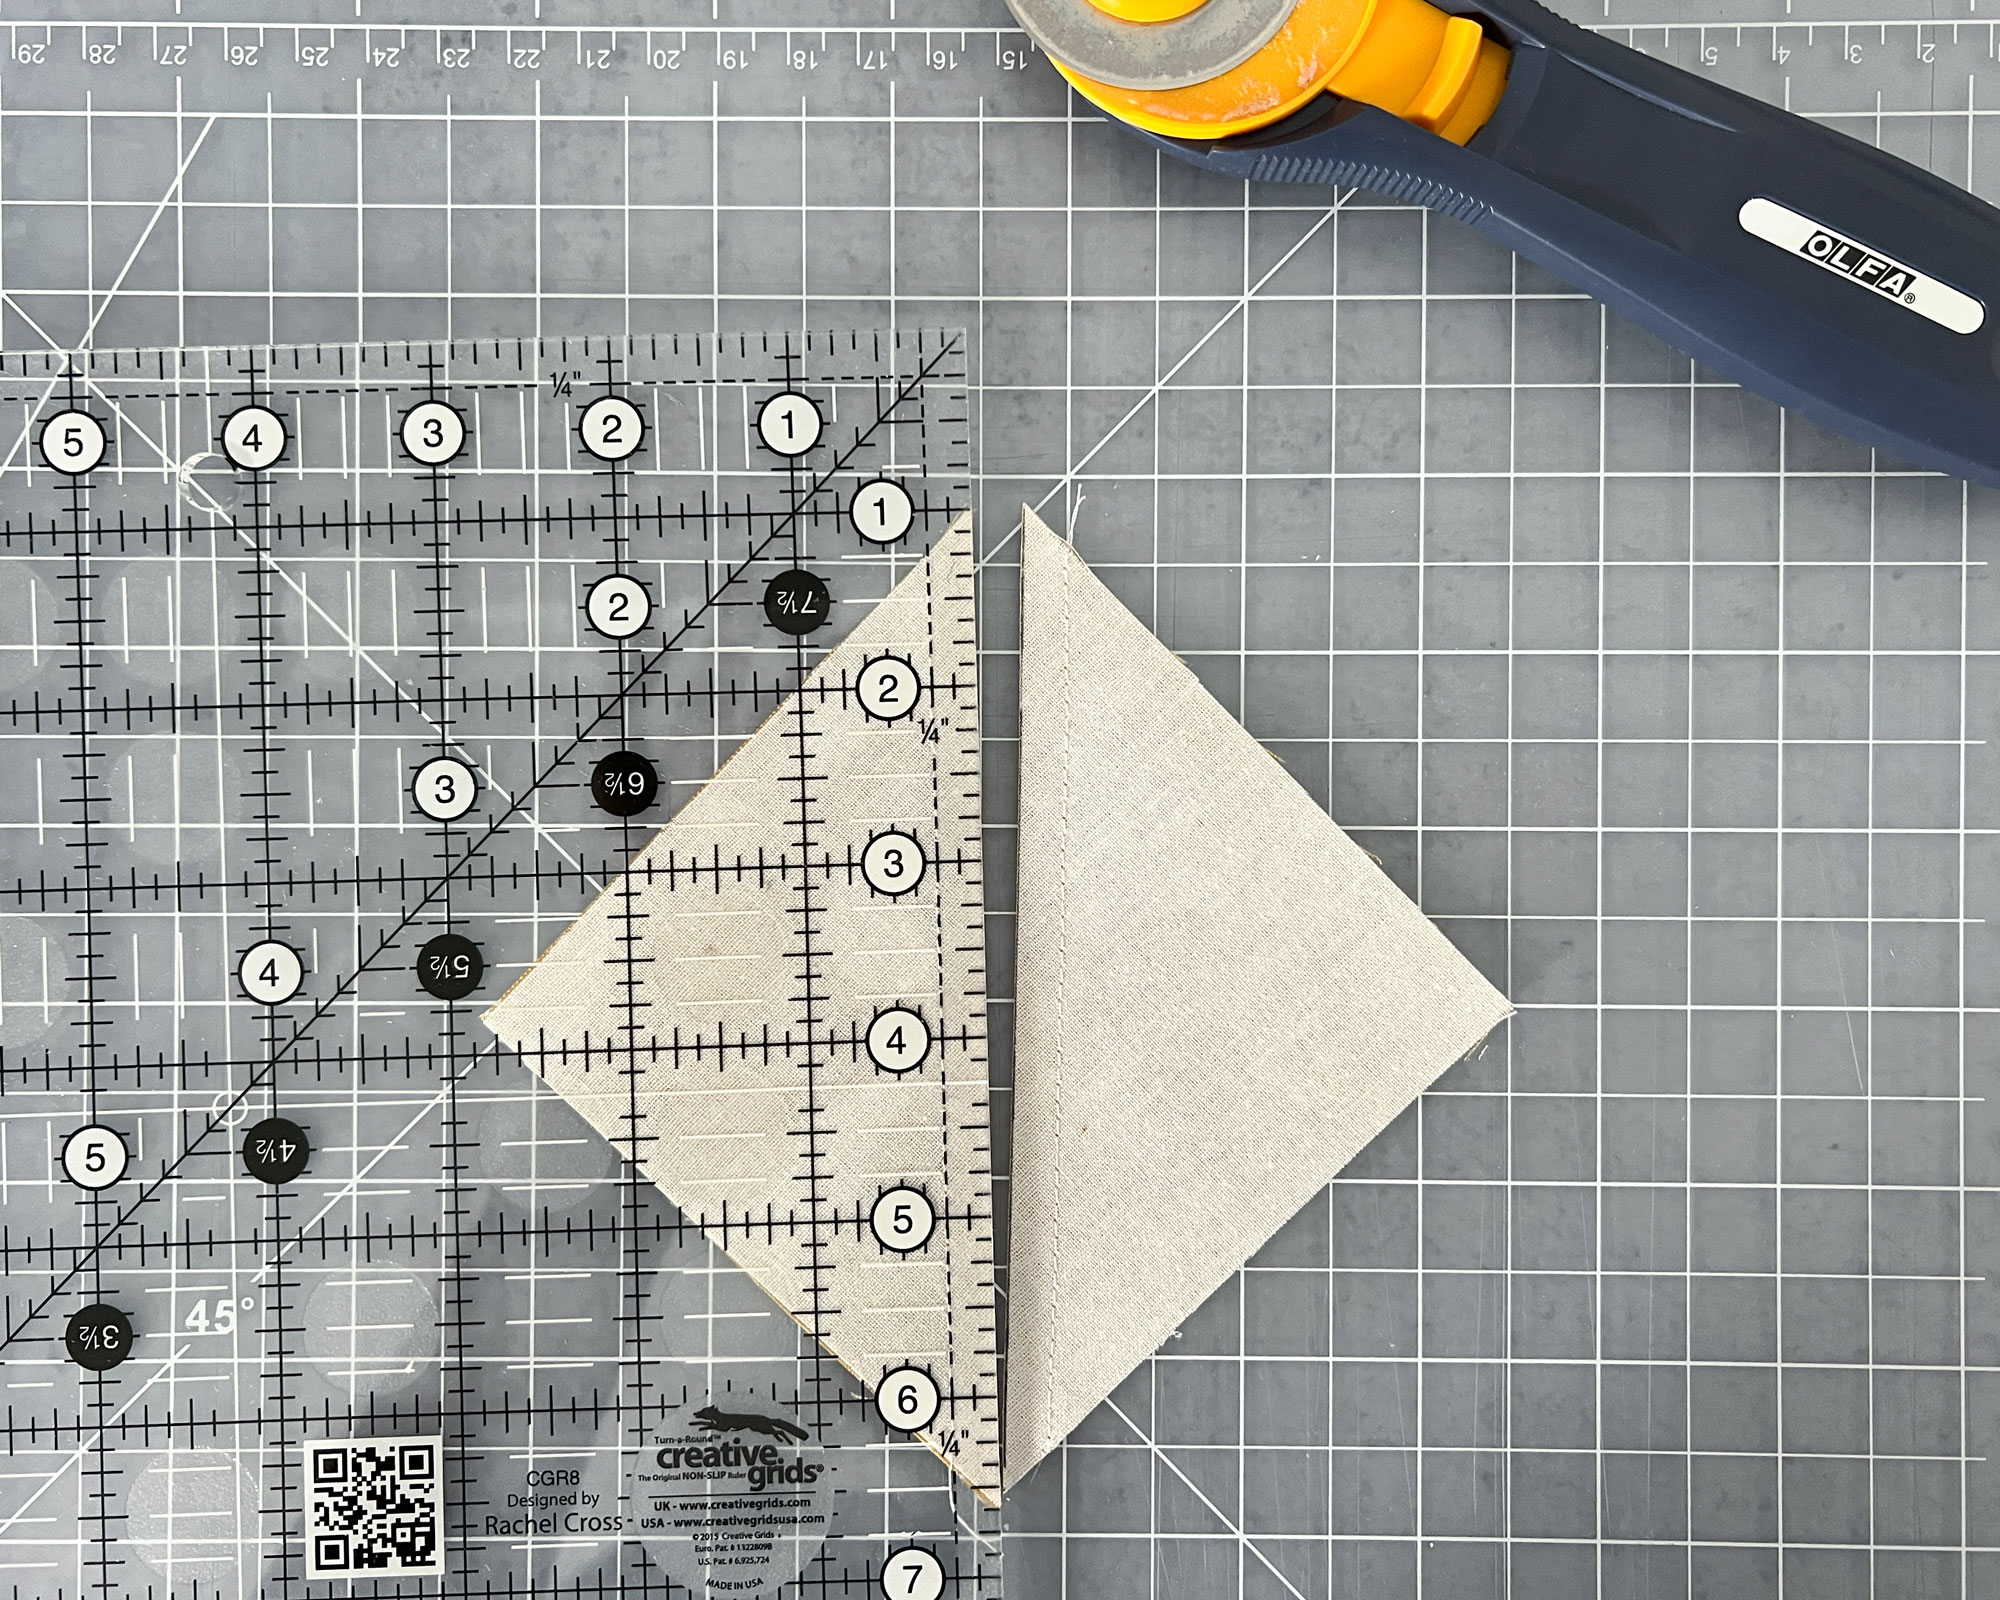
Next, cut on the guideline and press your HSTs. At this point you have two options – pressing open, or pressing to the dark side. Personally, I like to press open to avoid bulk as I sew these units into larger blocks and my quilt tops, but in the end this is truly a personal choice.

Trim
Now, our two little half-square triangles are a little larger than needed, so we’ll need to trim them. For our project, we’ll be trimming down to 3½” – remember to always trim ½” larger than your finished size to account for seam allowances! If you’d like specific tips for trimming your HSTs, you can look at my YouTube video on trimming HSTs.

–
And that’s it my friends! That’s how easy it is to make HSTs with the two-at-a-time technique!
Come back on November 5 for our first half-square triangle-based block!

