Fabric and Notions Required
Journal: For this tutorial I used the Moleskin brand Journal. Feel free to use what you have!
Fabric 1/2 Yard or scraps
Batting: One scrap measuring at least 2” larger than your journal.
Cutting mat
Rotary cutter
Ruler
Iron and ironing board
Binding clips
Straight pins
Sewing machine
Thread
Basting spray or pins
Measure the book to make a simple fabric book cover.
Instructions
This project is scrap-friendly and designed to allow you to play! To make it like I did, you’ll need:
Cover Front: One large square, Fussy cut , measuring at least 12.5″
Cover batting: One scrap measuring at least 14″ x 10″
Cover back: One large square measuring at least 12.5″
Cover lining: One lare scrap fabric at least 14″ x 10″
Pockets: Two scraps of fabric that measure at least 10″ x 8″
Step 1: Choose Your Journal and Determine the Cover Size


I chose to use a Moleskin, theyre pretty universal in size and easy to find. Measure your journal to determine the unfinished size of your cover (it will end up being about 1/2″ wider than your journal on all sides to allow room to open and close it).
Width: With the journal closed, measure the entire width from the right side of the front cover, around the spirals or spine, to the left side of the back cover. Add 1″ to get your total width.
Height: Measure from top to bottom of the cover. Add 1″ to get your total height.
For example, if you use a Moleskin like I did, the measurements are:
Width (including the front and back covers): 13″ + 1″ = 14″
Height: 9″ + 1″ = 10″
So my final unfinished journal cover will be 14″ x 10″.
Step 2: Piece the Cover Panel
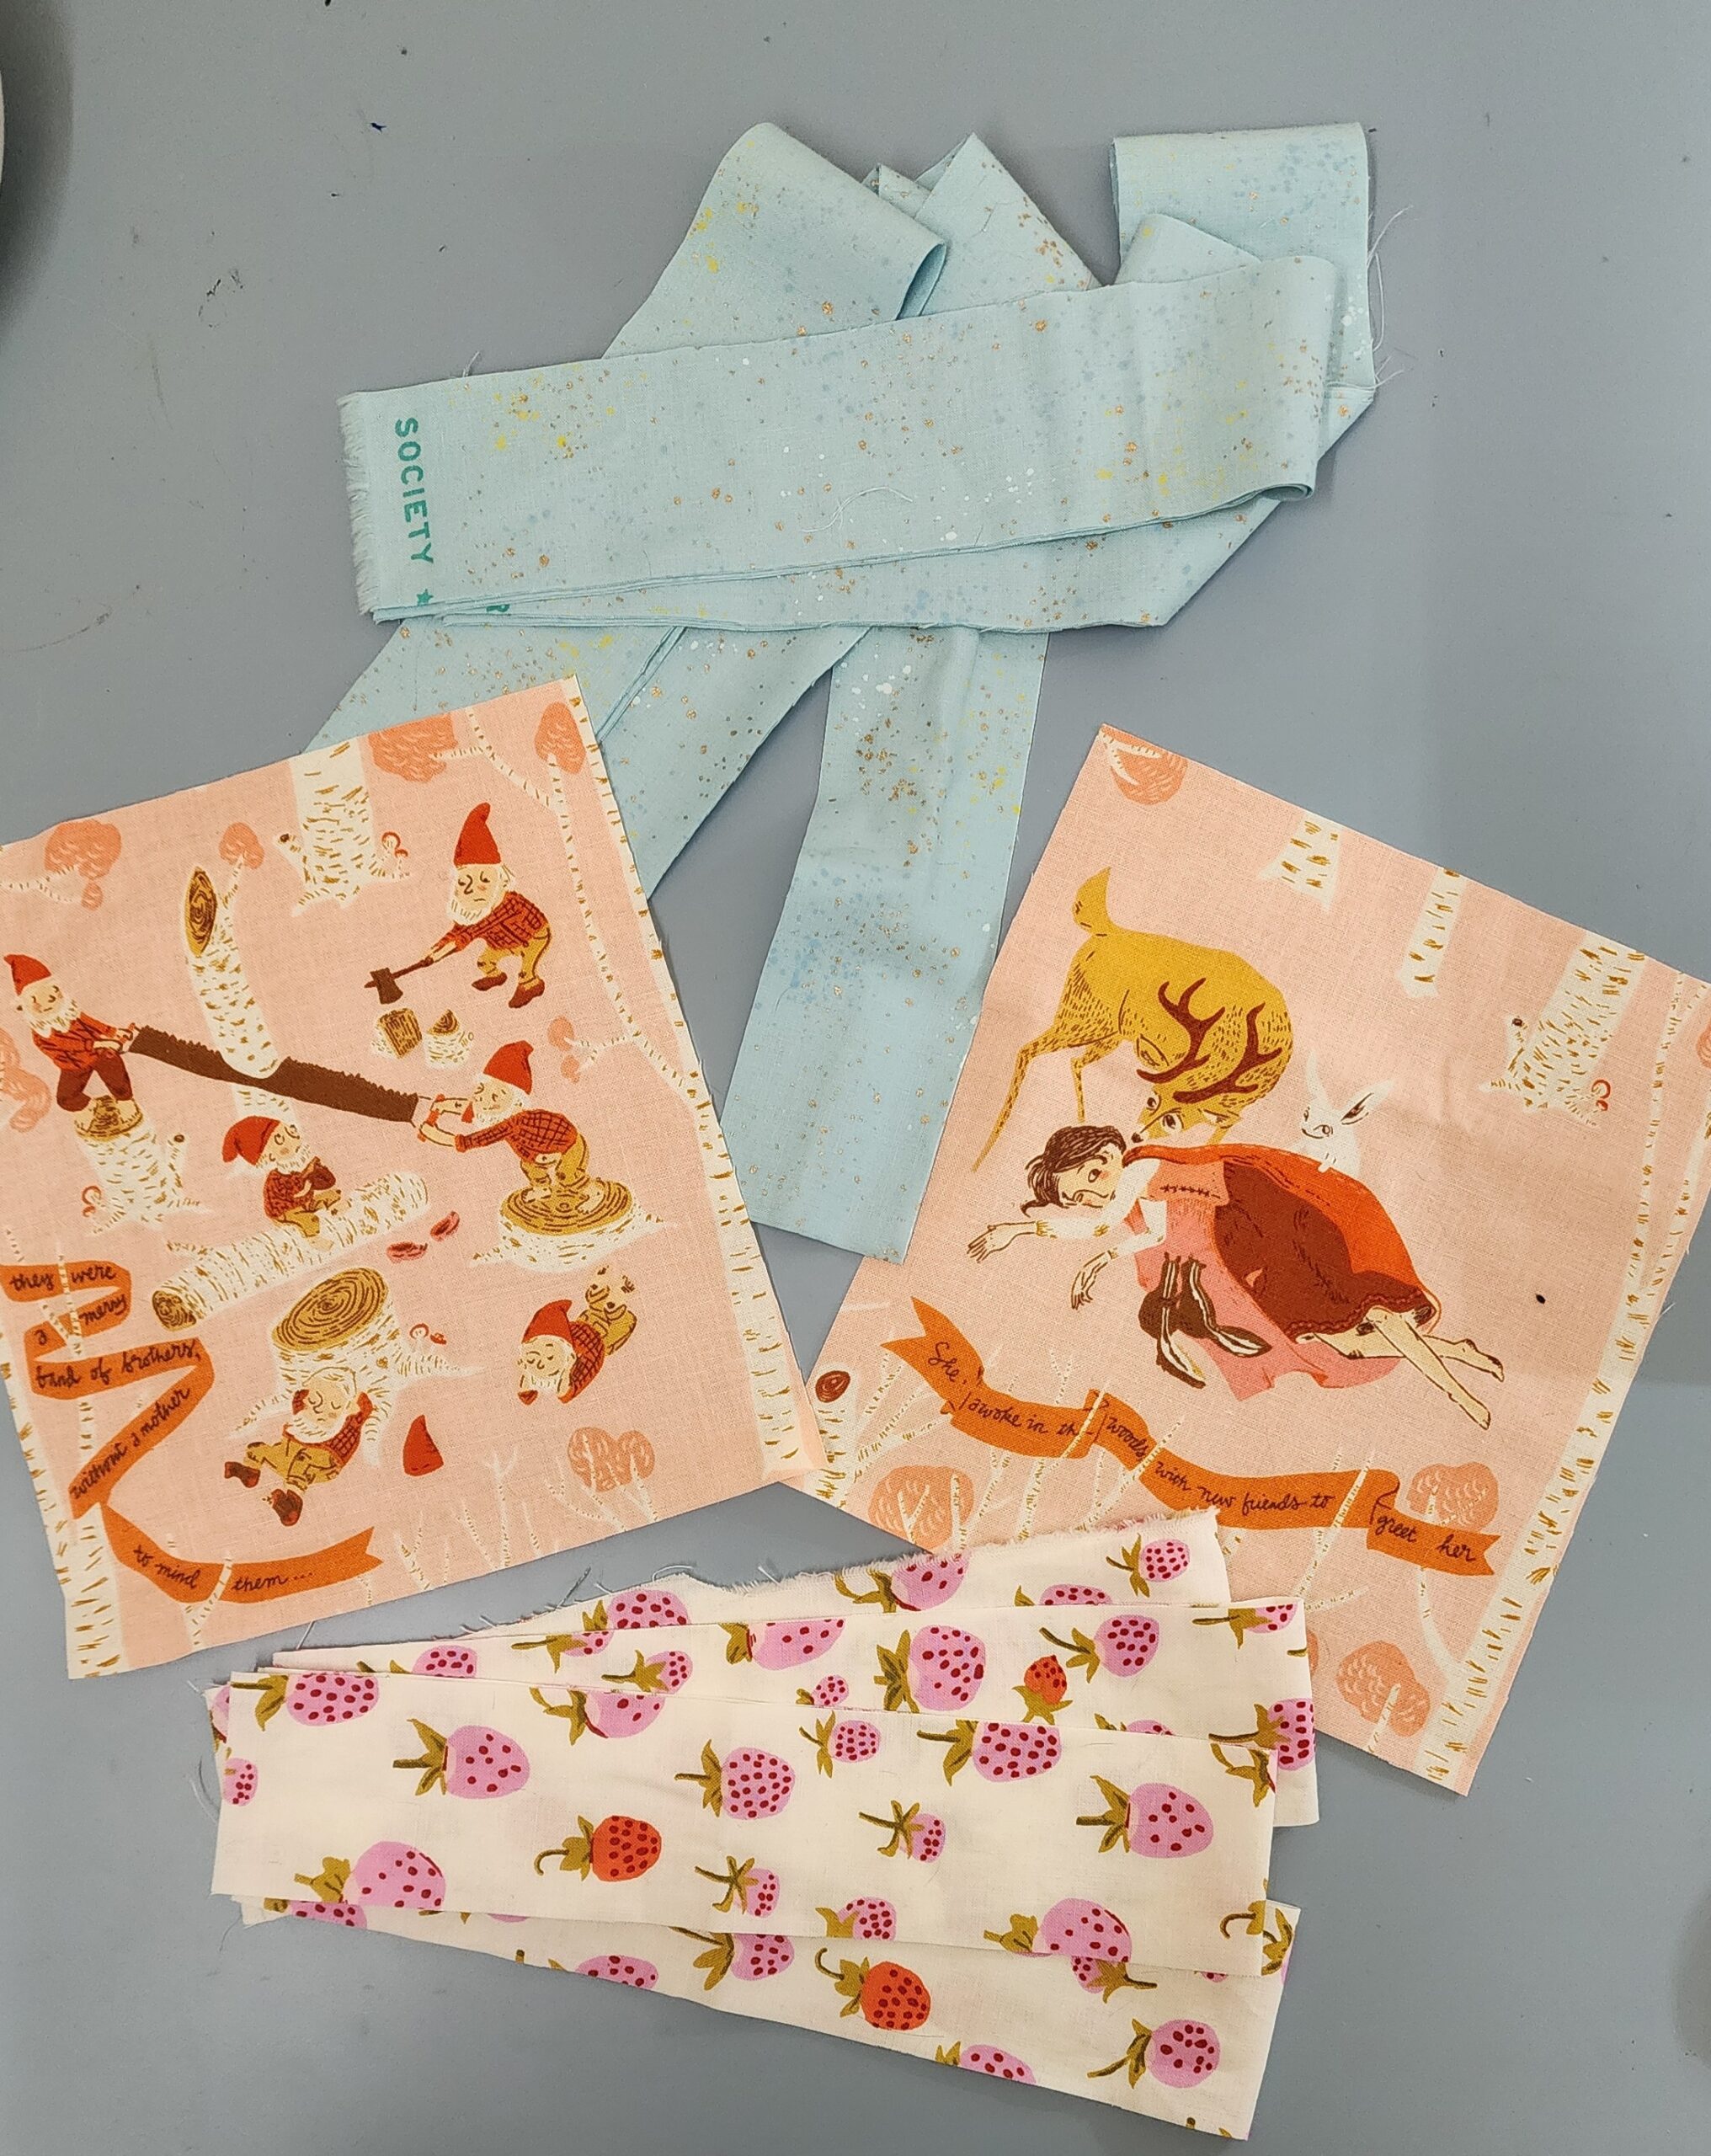
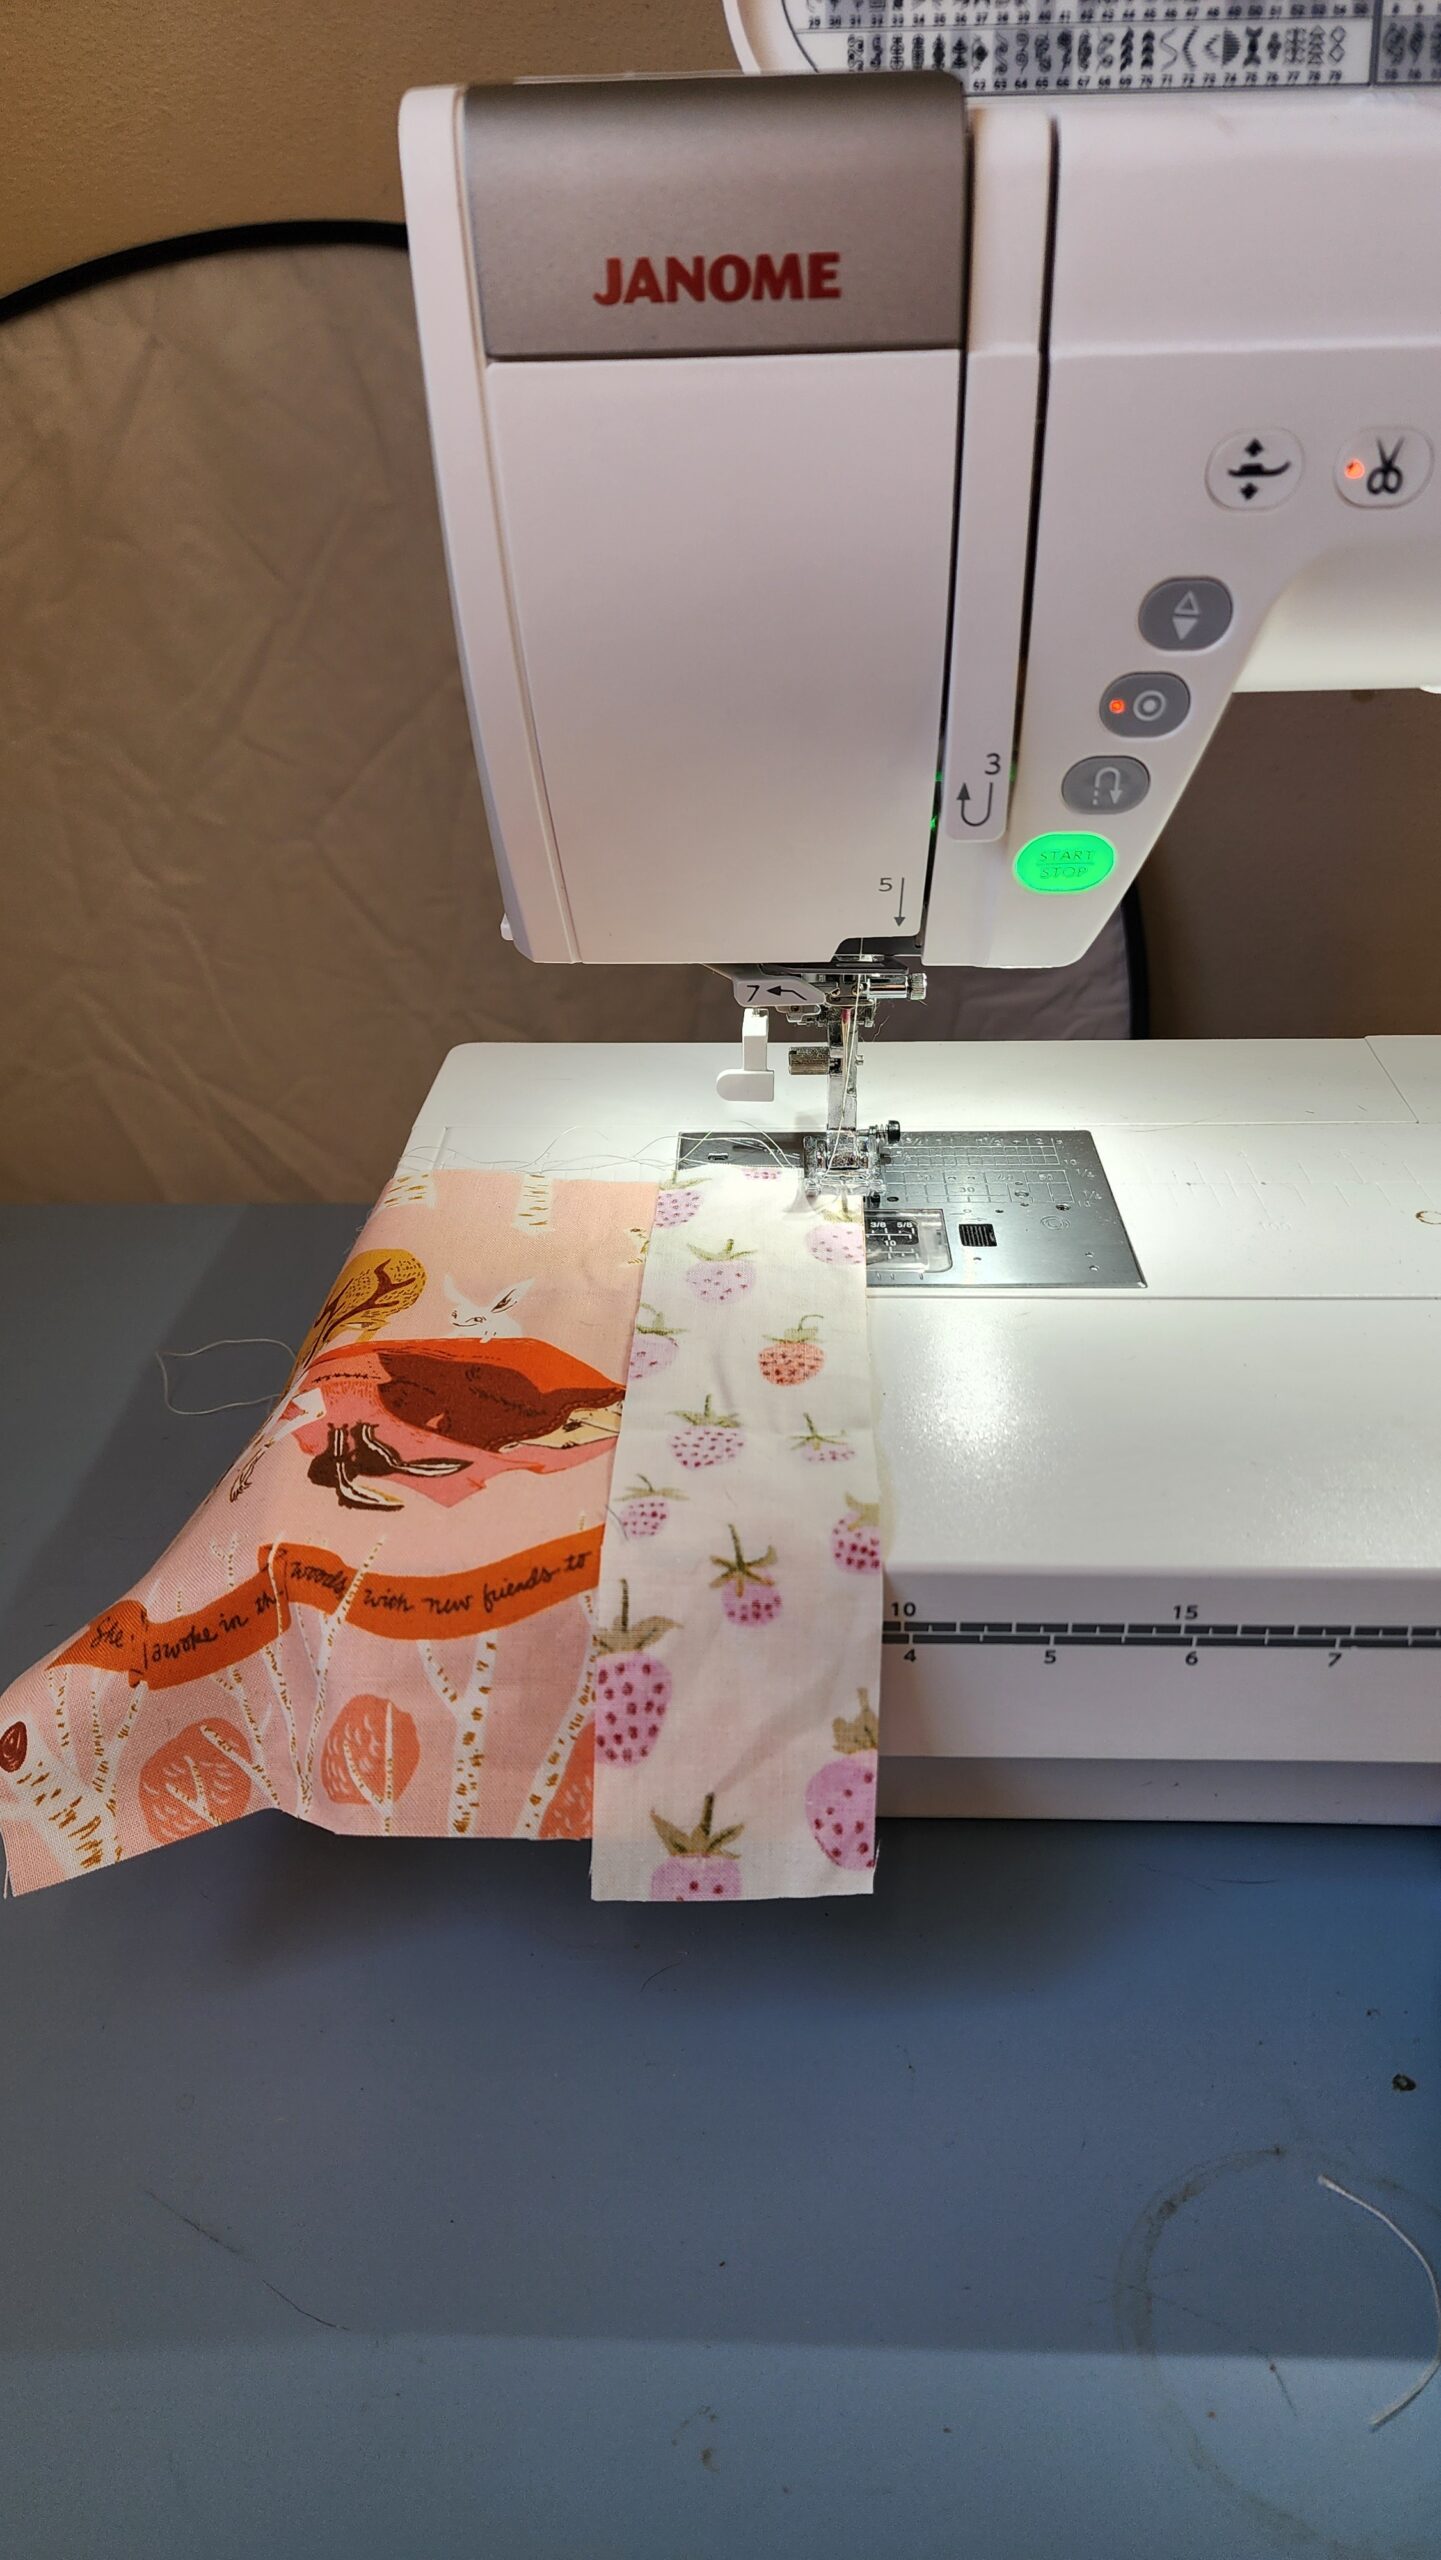
Grab your scraps and take courage! We’re going to improv-piece wonky strips together to create a one-of-a-kind journal.
Use scraps that are about two inches taller than your height so you have plenty of room to trim down to the journal cover panel size. For example, my cover panel finishes at 10″ high so I made my block to about 12” and then thrimmed it all down.
You can choose to cut strips that are the same width if you prefer a more uniform look, I grabbed my strips from my scrap bin!
As you piece each strip to the cover panel, pause to place the cover panel on your cutting mat to ensure it’s at least 1″ taller than the finished height measurement. When you’re done piecing your cover panel, make sure it’s at least 1″ taller and 1″ wider than the size of your nished cover panel. For example, my pieced cover panel was about 16″ x 12″ before I trimmed it, and I needed a cover that was 14″ x 10″. I also sewed my front to my back during this step, ensuring I have one large panel.
Once you have pieced all of your strips together, your panel might look a bit, well, messy. Don’t worry! Once it’s quilted, it will be trimmed down to the finished size.
Step 3: Quilt and Trim the Cover Panel
Baste the cover panel and batting together using your preferred method. I decided to add some fun decorative stitching offered by my Janome sewing machine. I practiced out a few possibilities and decided on this fun orange peel looking one!
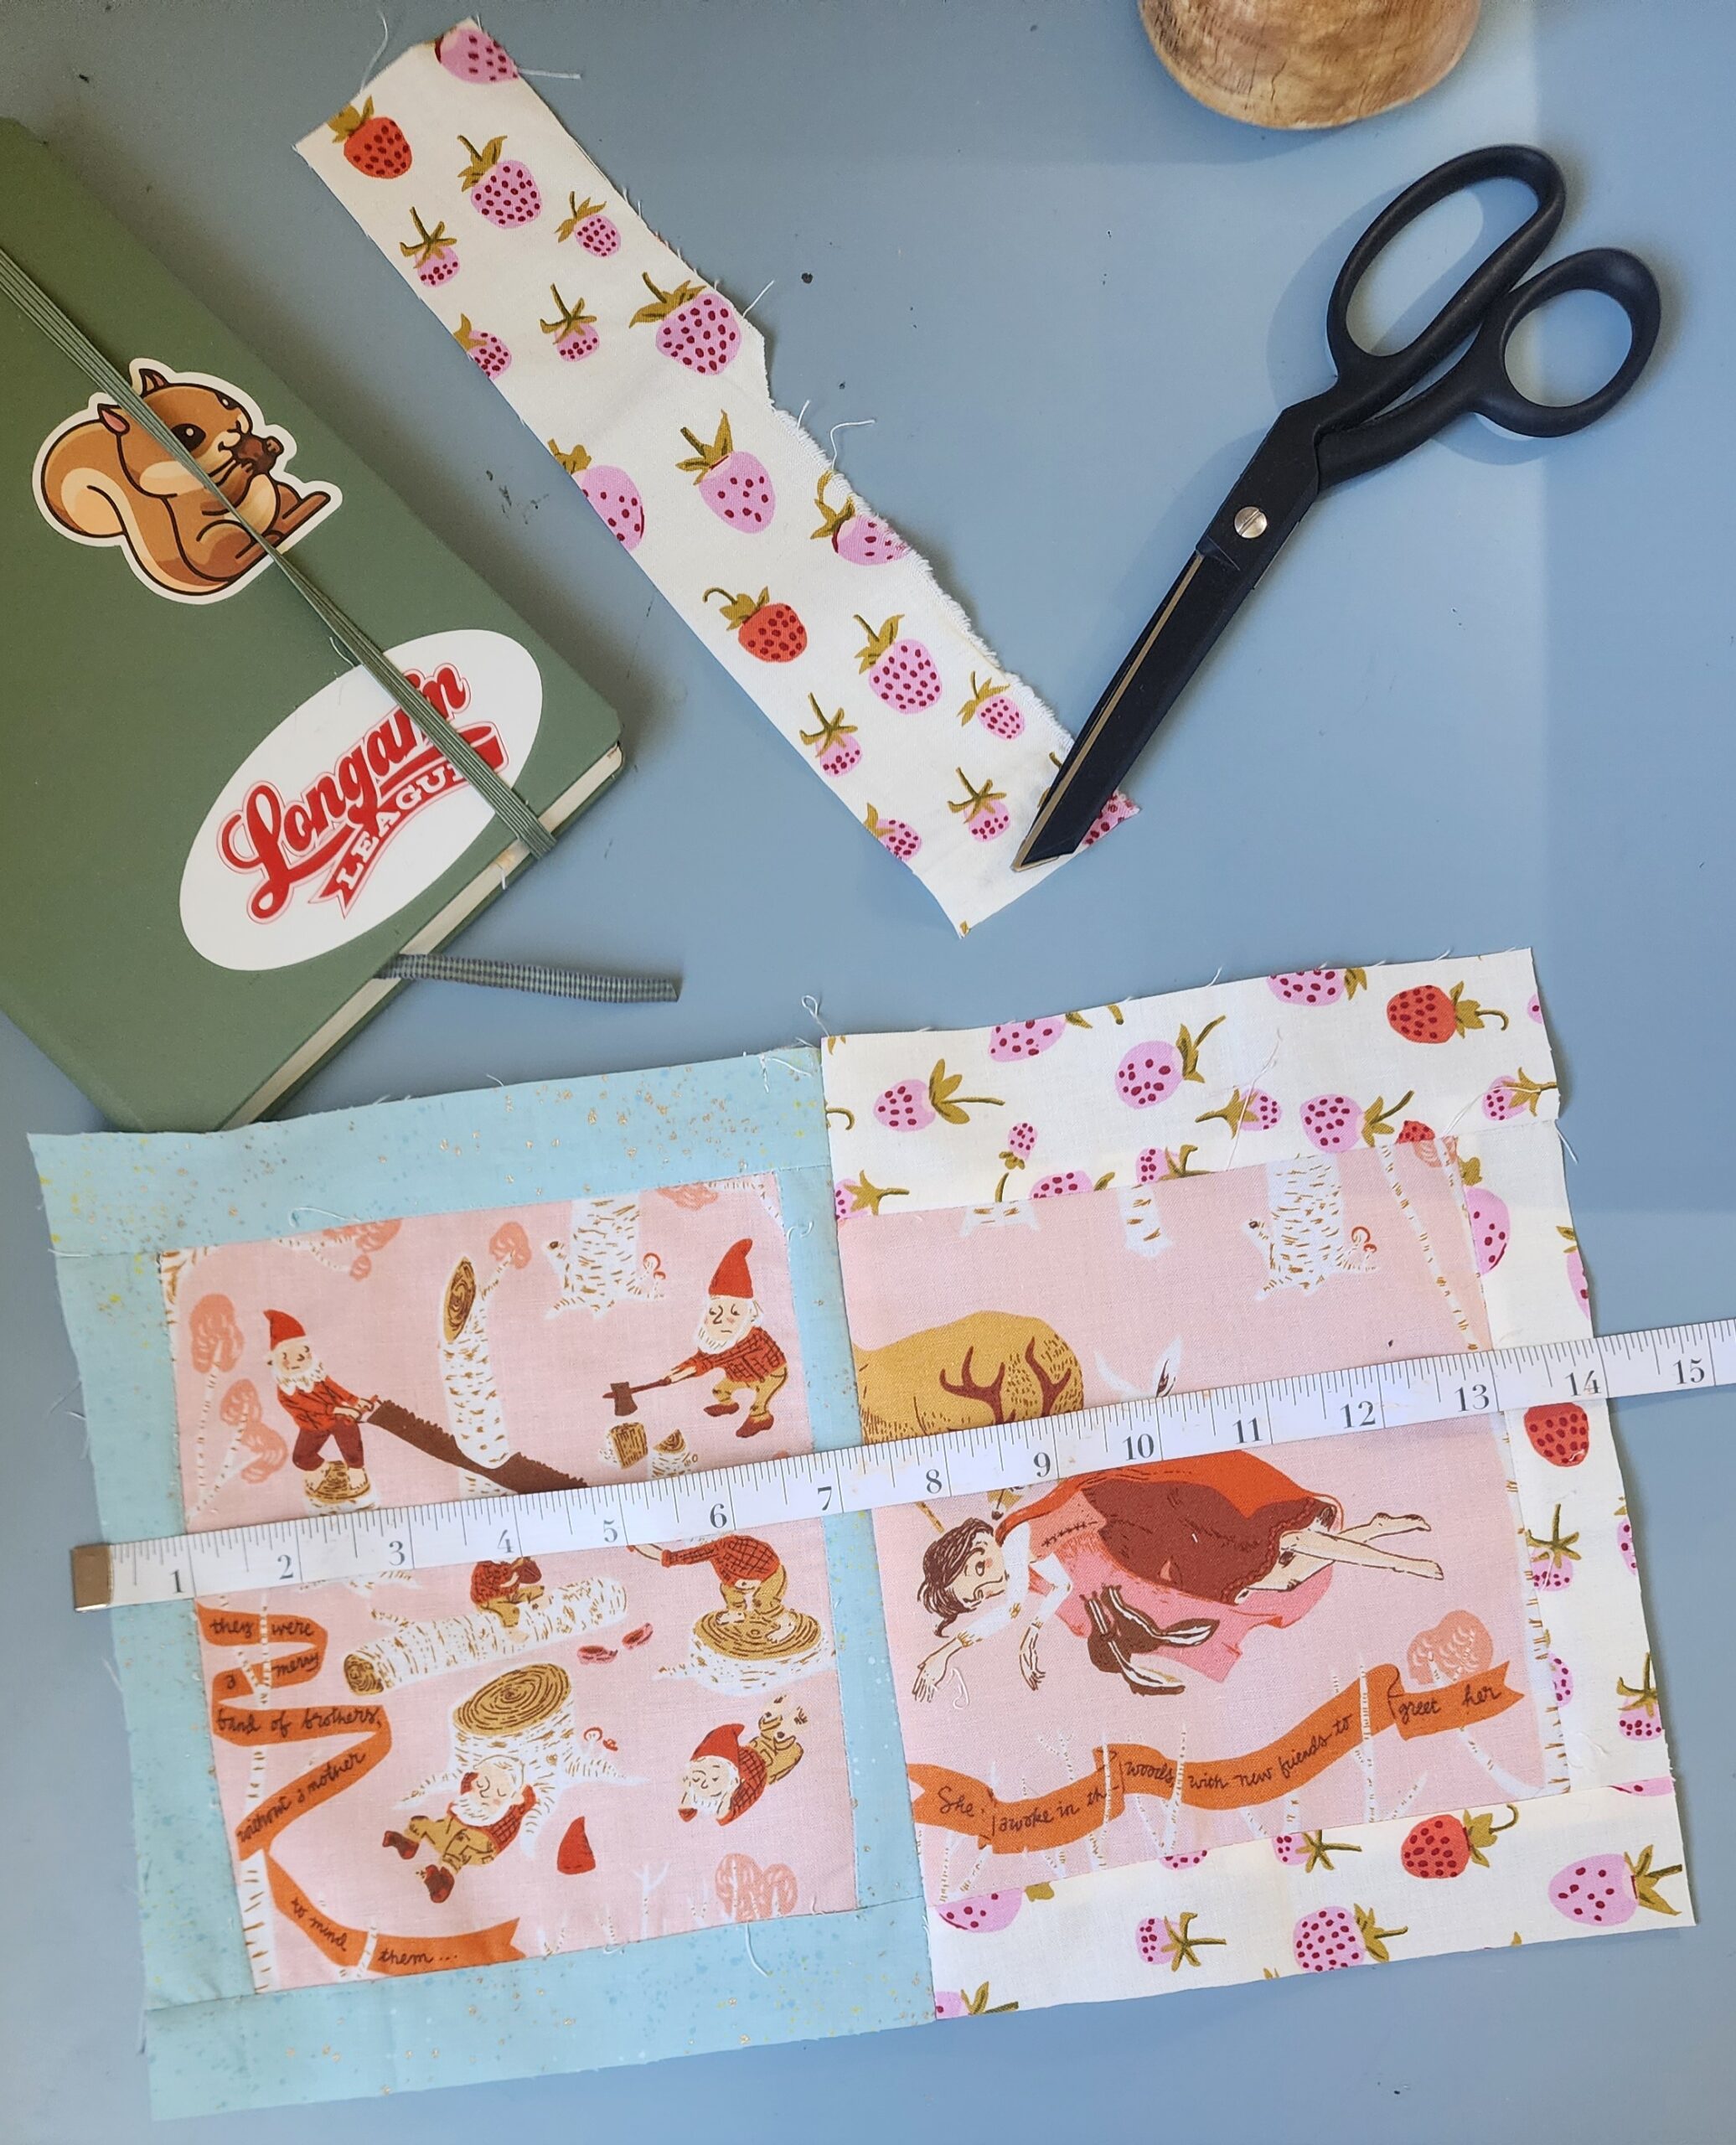
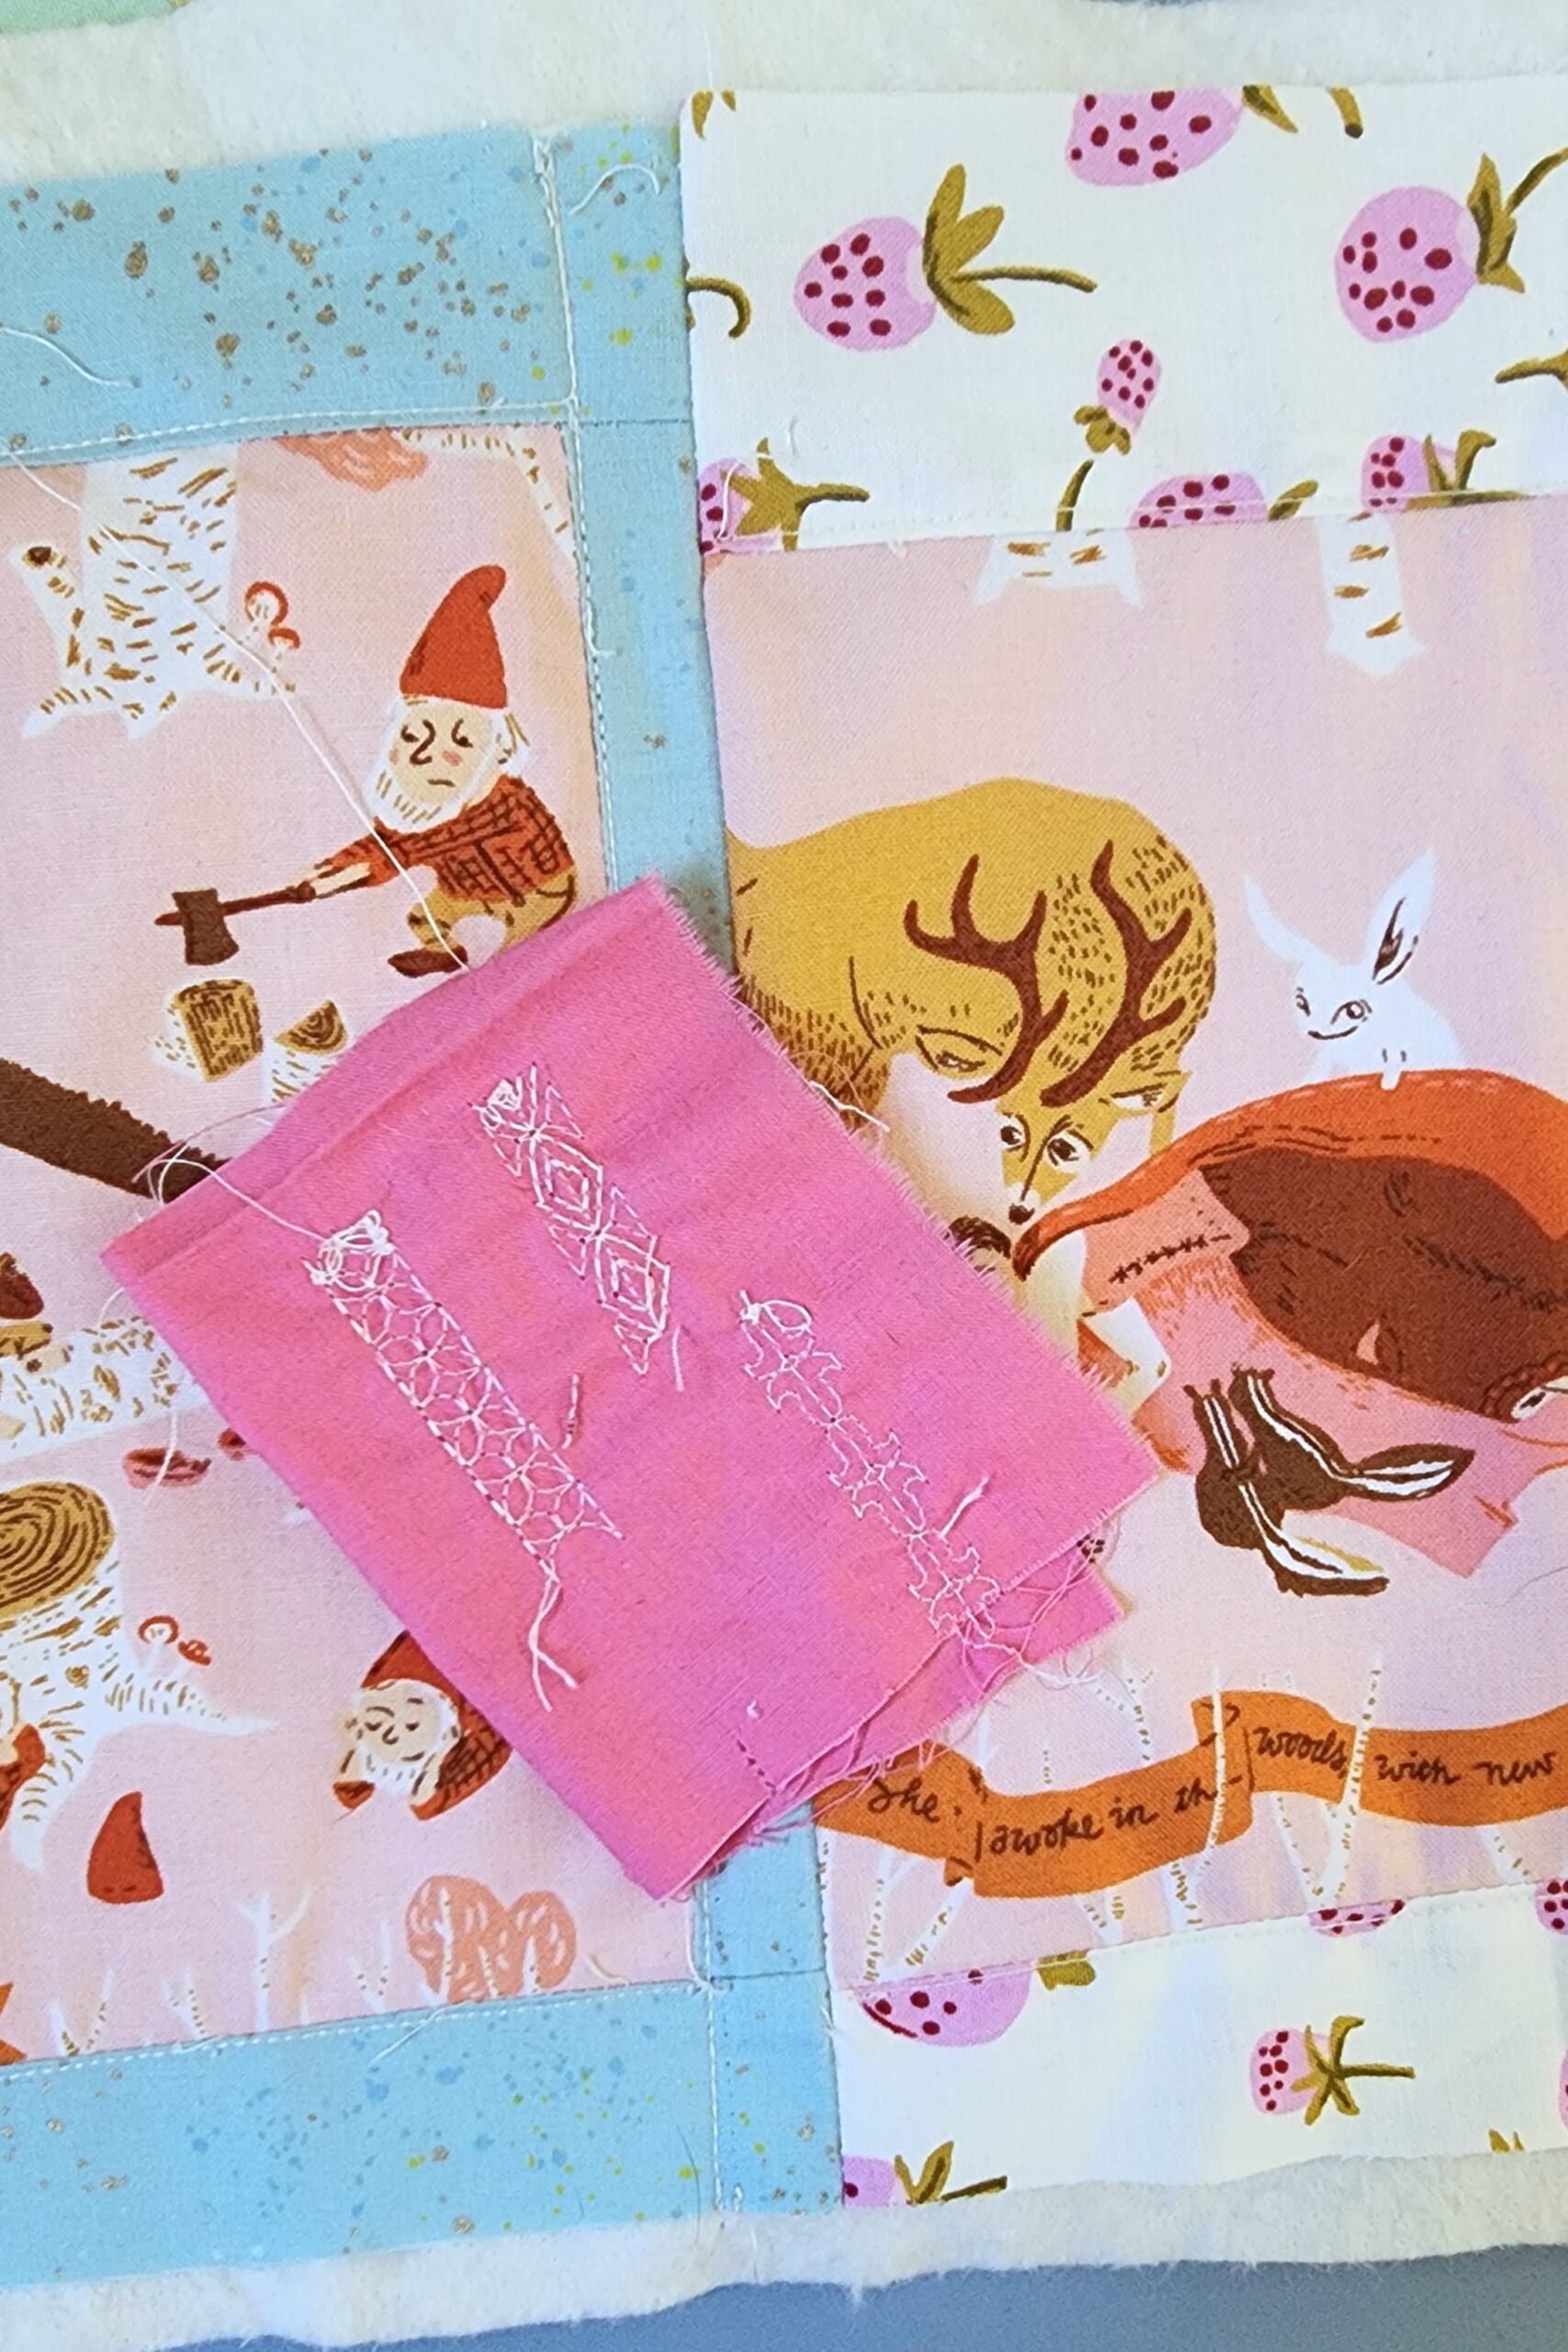

Once you’ve quilted your panel, trim it down to the size determined in step 2. In my example, I trimmed my cover down to 14″ x 10″.
Step 5: Add the Pockets
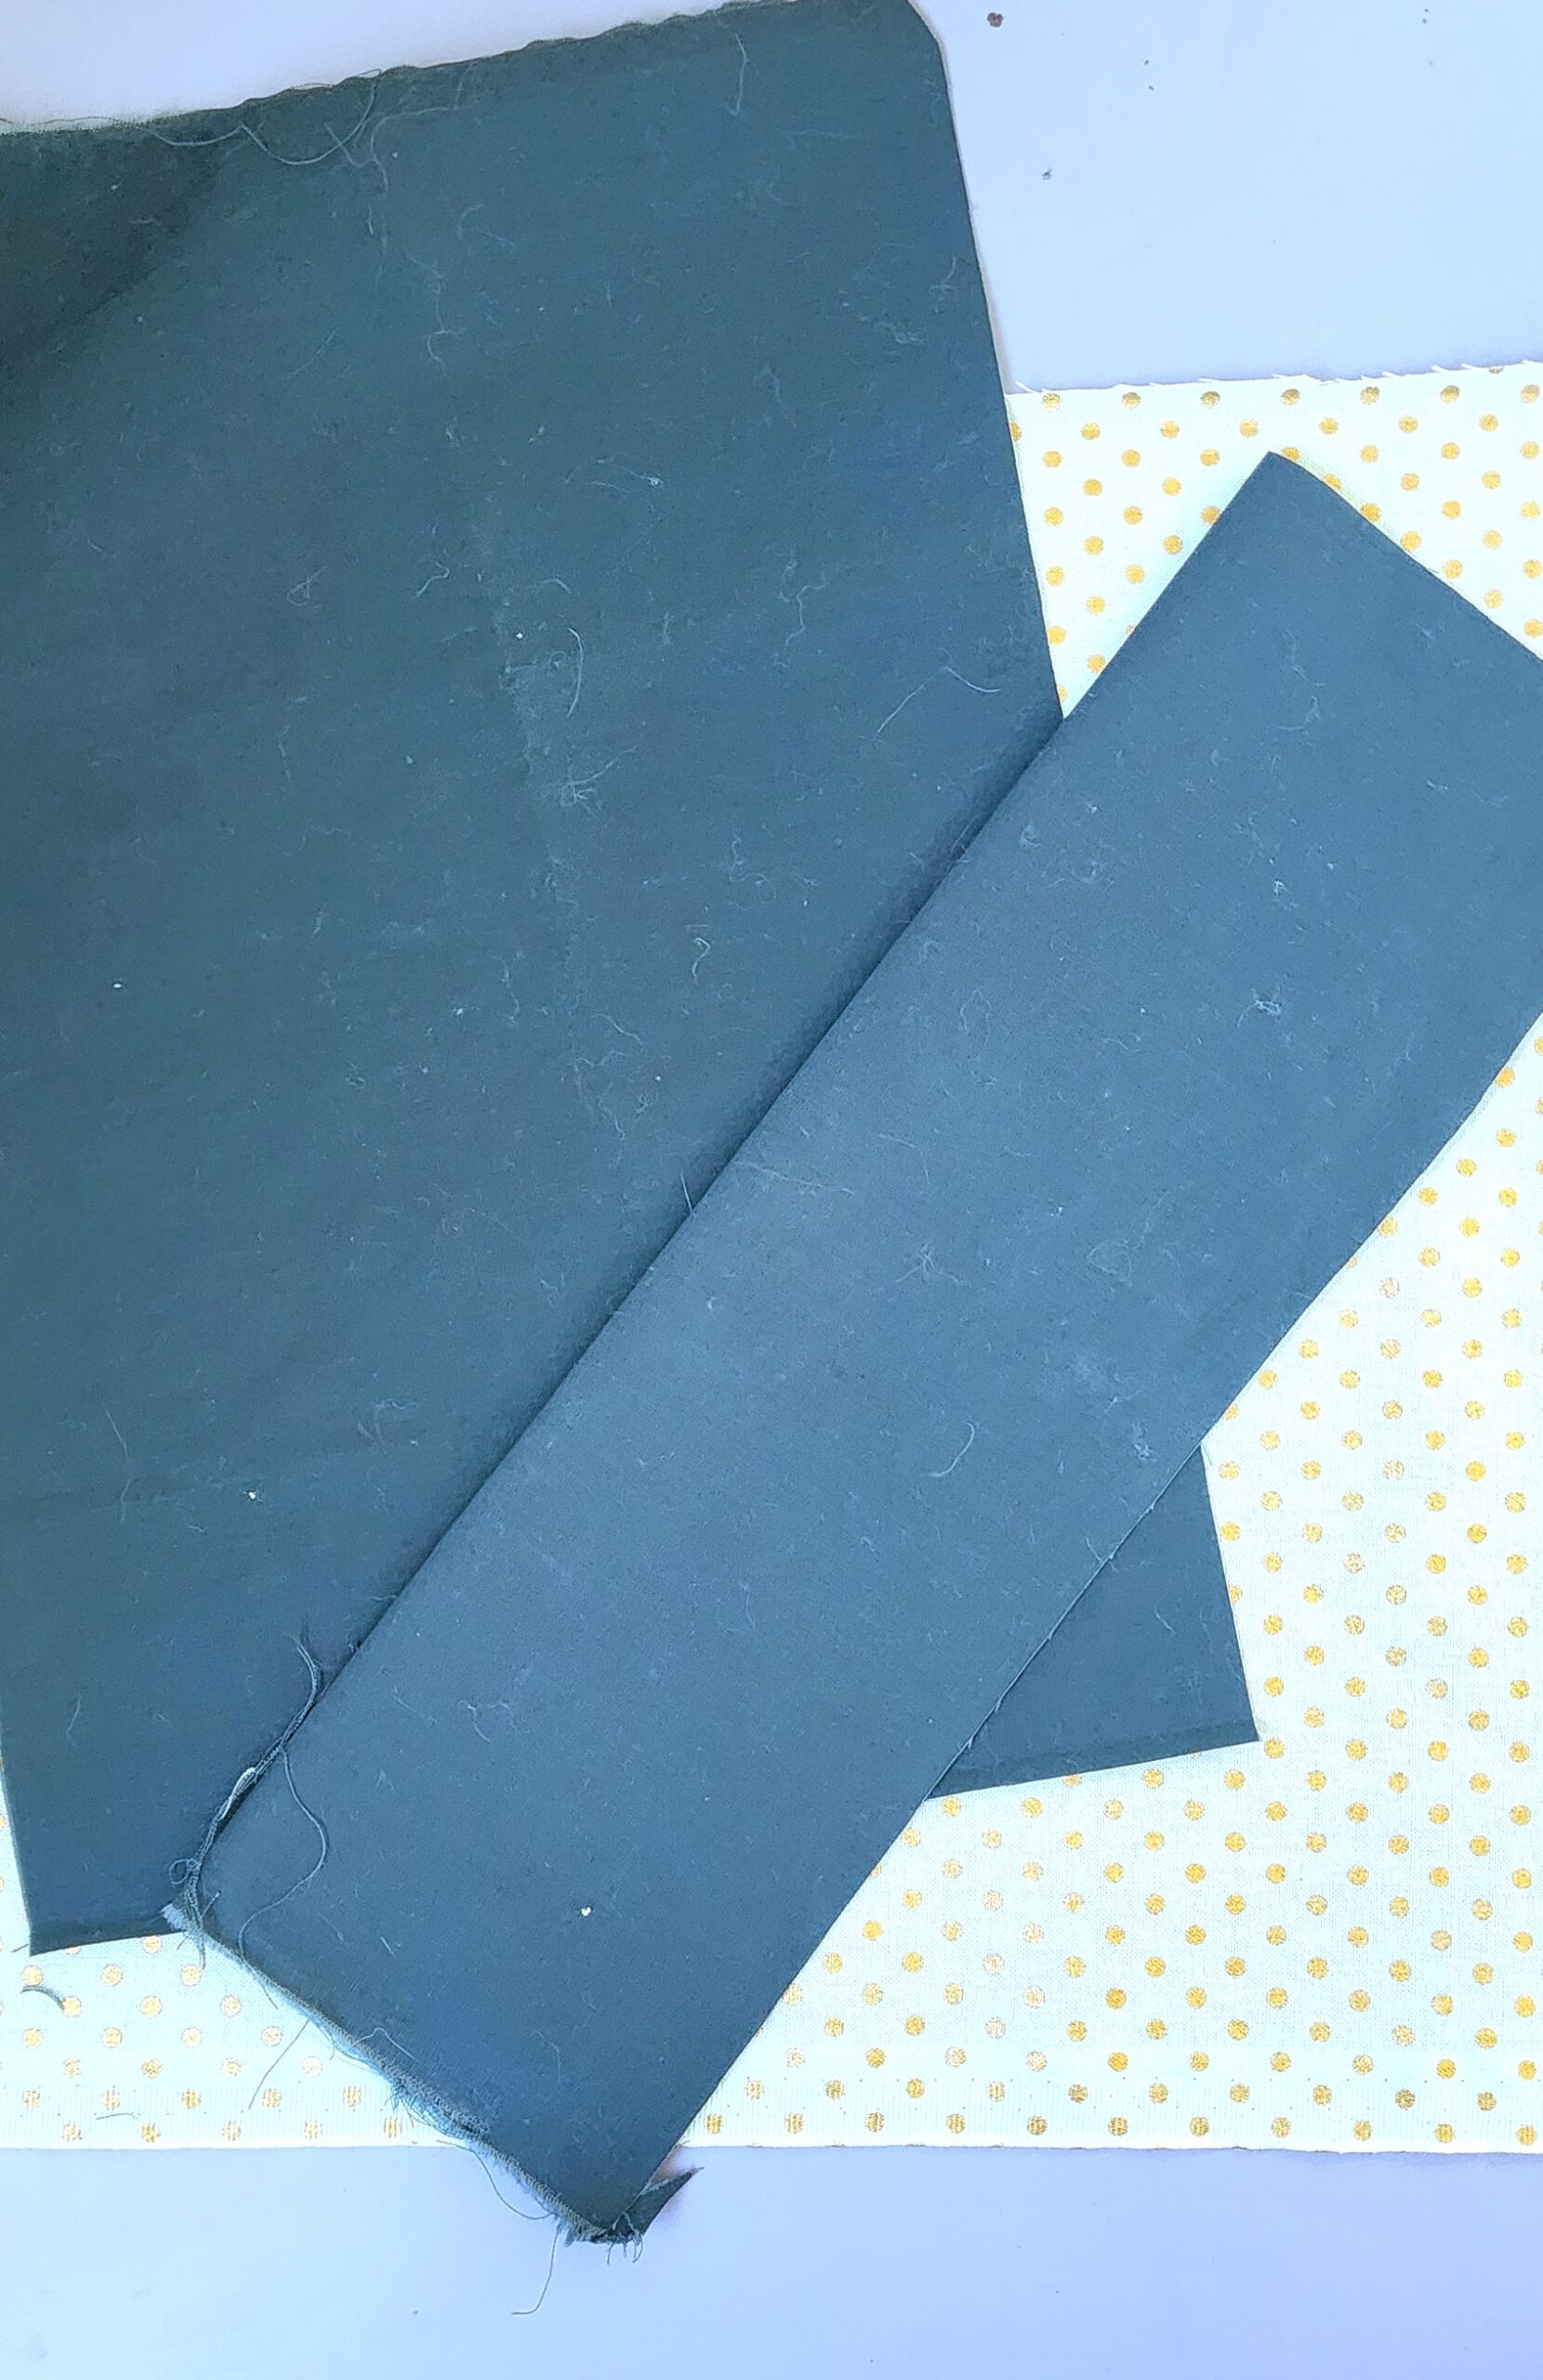
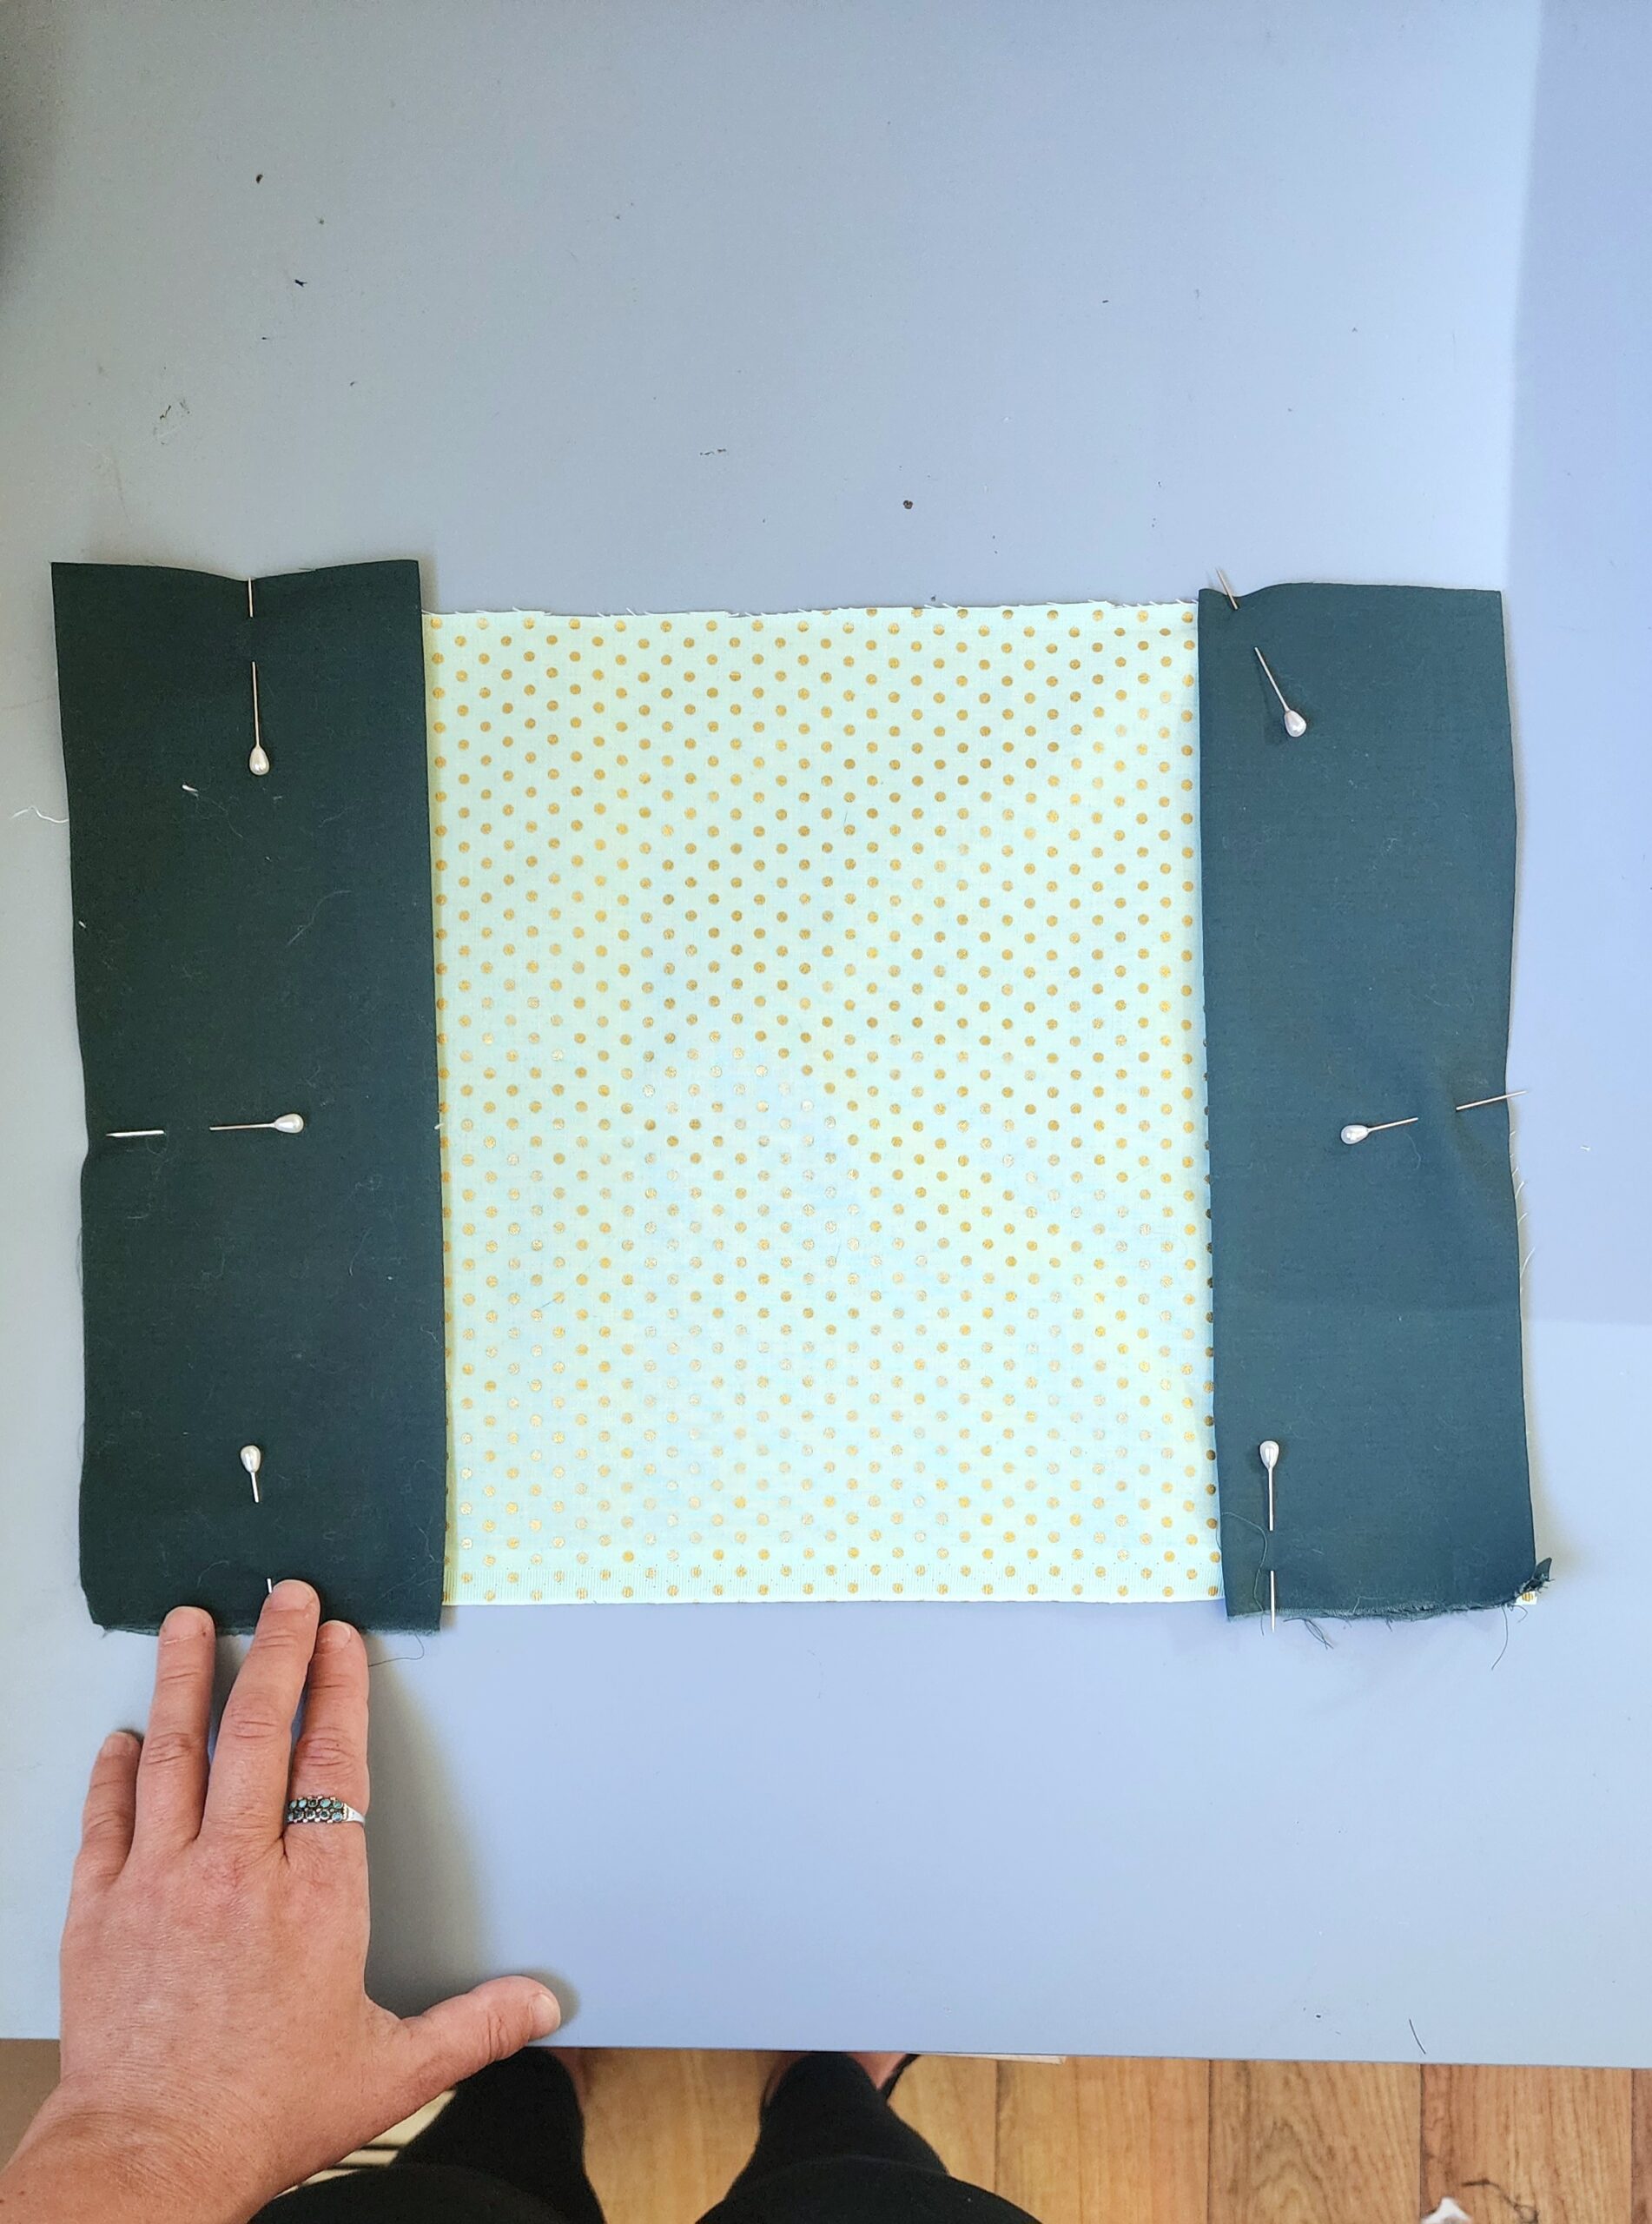
Grab the pocket fabric to make two pockets that hold the journal cover onto the journal.
For each pocket, cut a piece that’s half the width and the same height as the journal cover. For mine, I cut two pocket pieces each measuring 8″ x 10″.
Fold each of the pockets in half lengthwise and press so you end up with a tall, slender, double-thickness pocket (mine are 4″ x 10″).
Extend your stitch length and baste the pockets to the lining side of your cover, raw edges together, about 1/8″ from the edge. Baste on all three raw edges. (The raw edges will be hidden inside
Step 6: Finishing your book cover
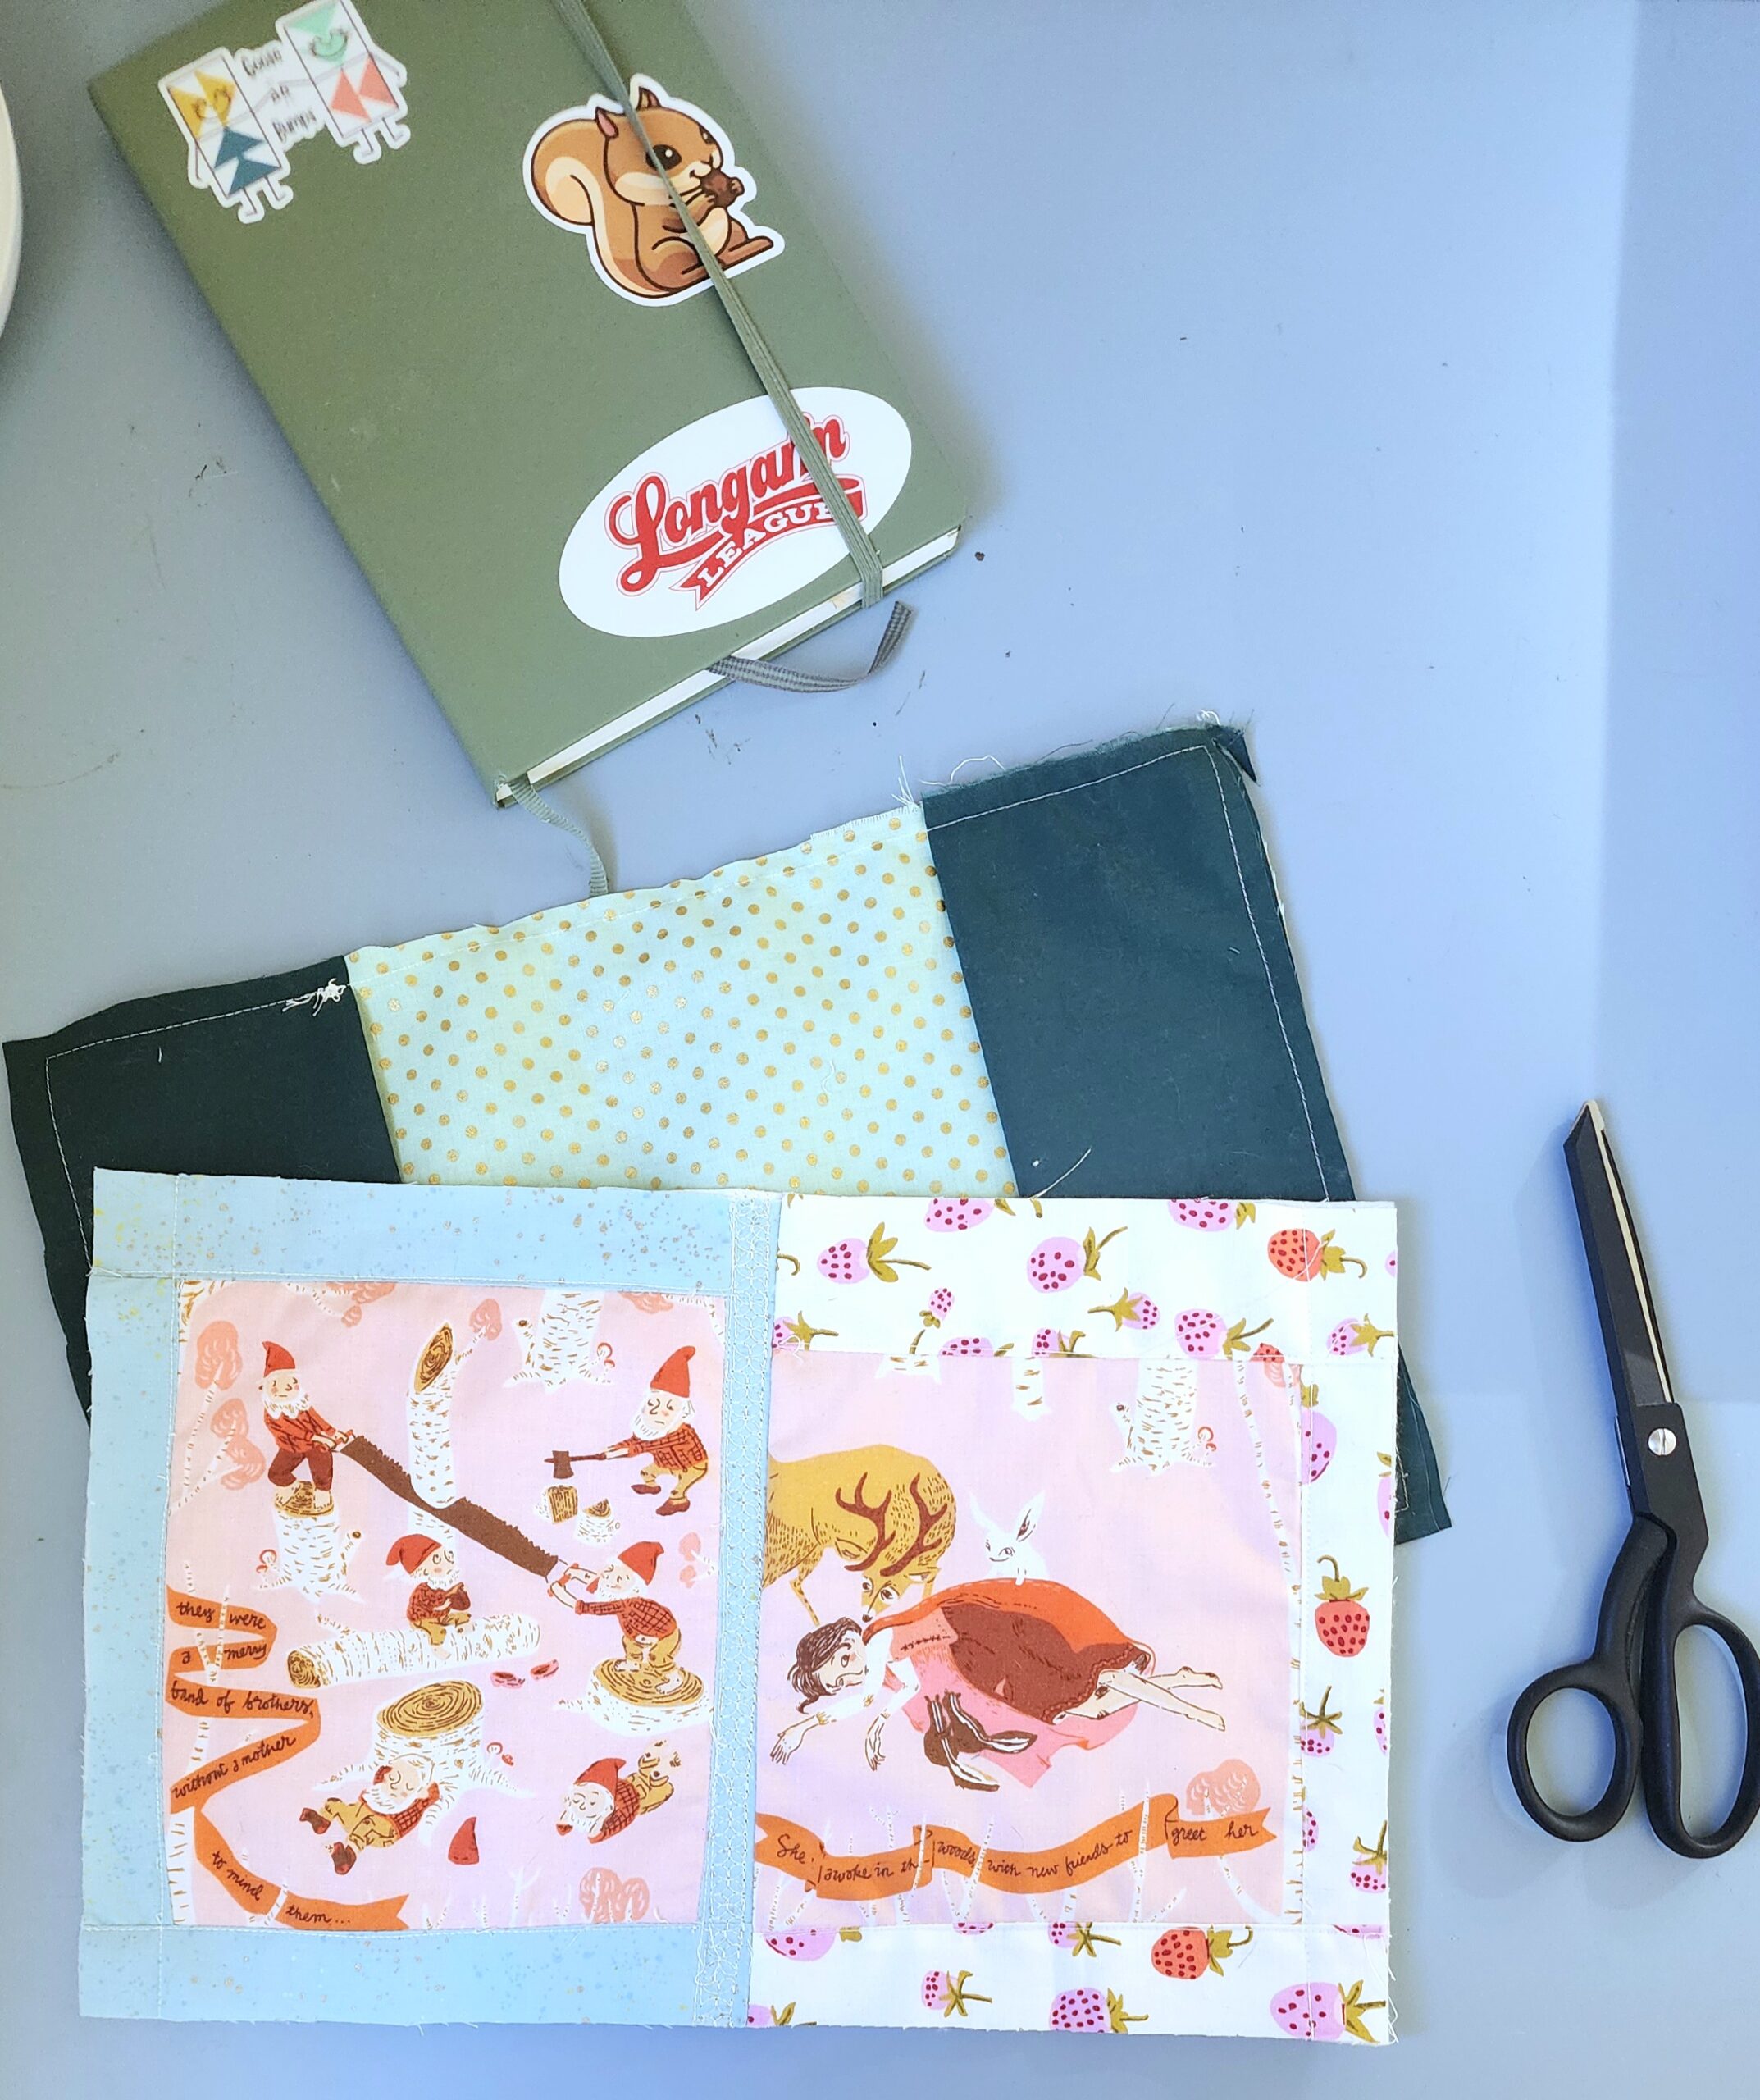
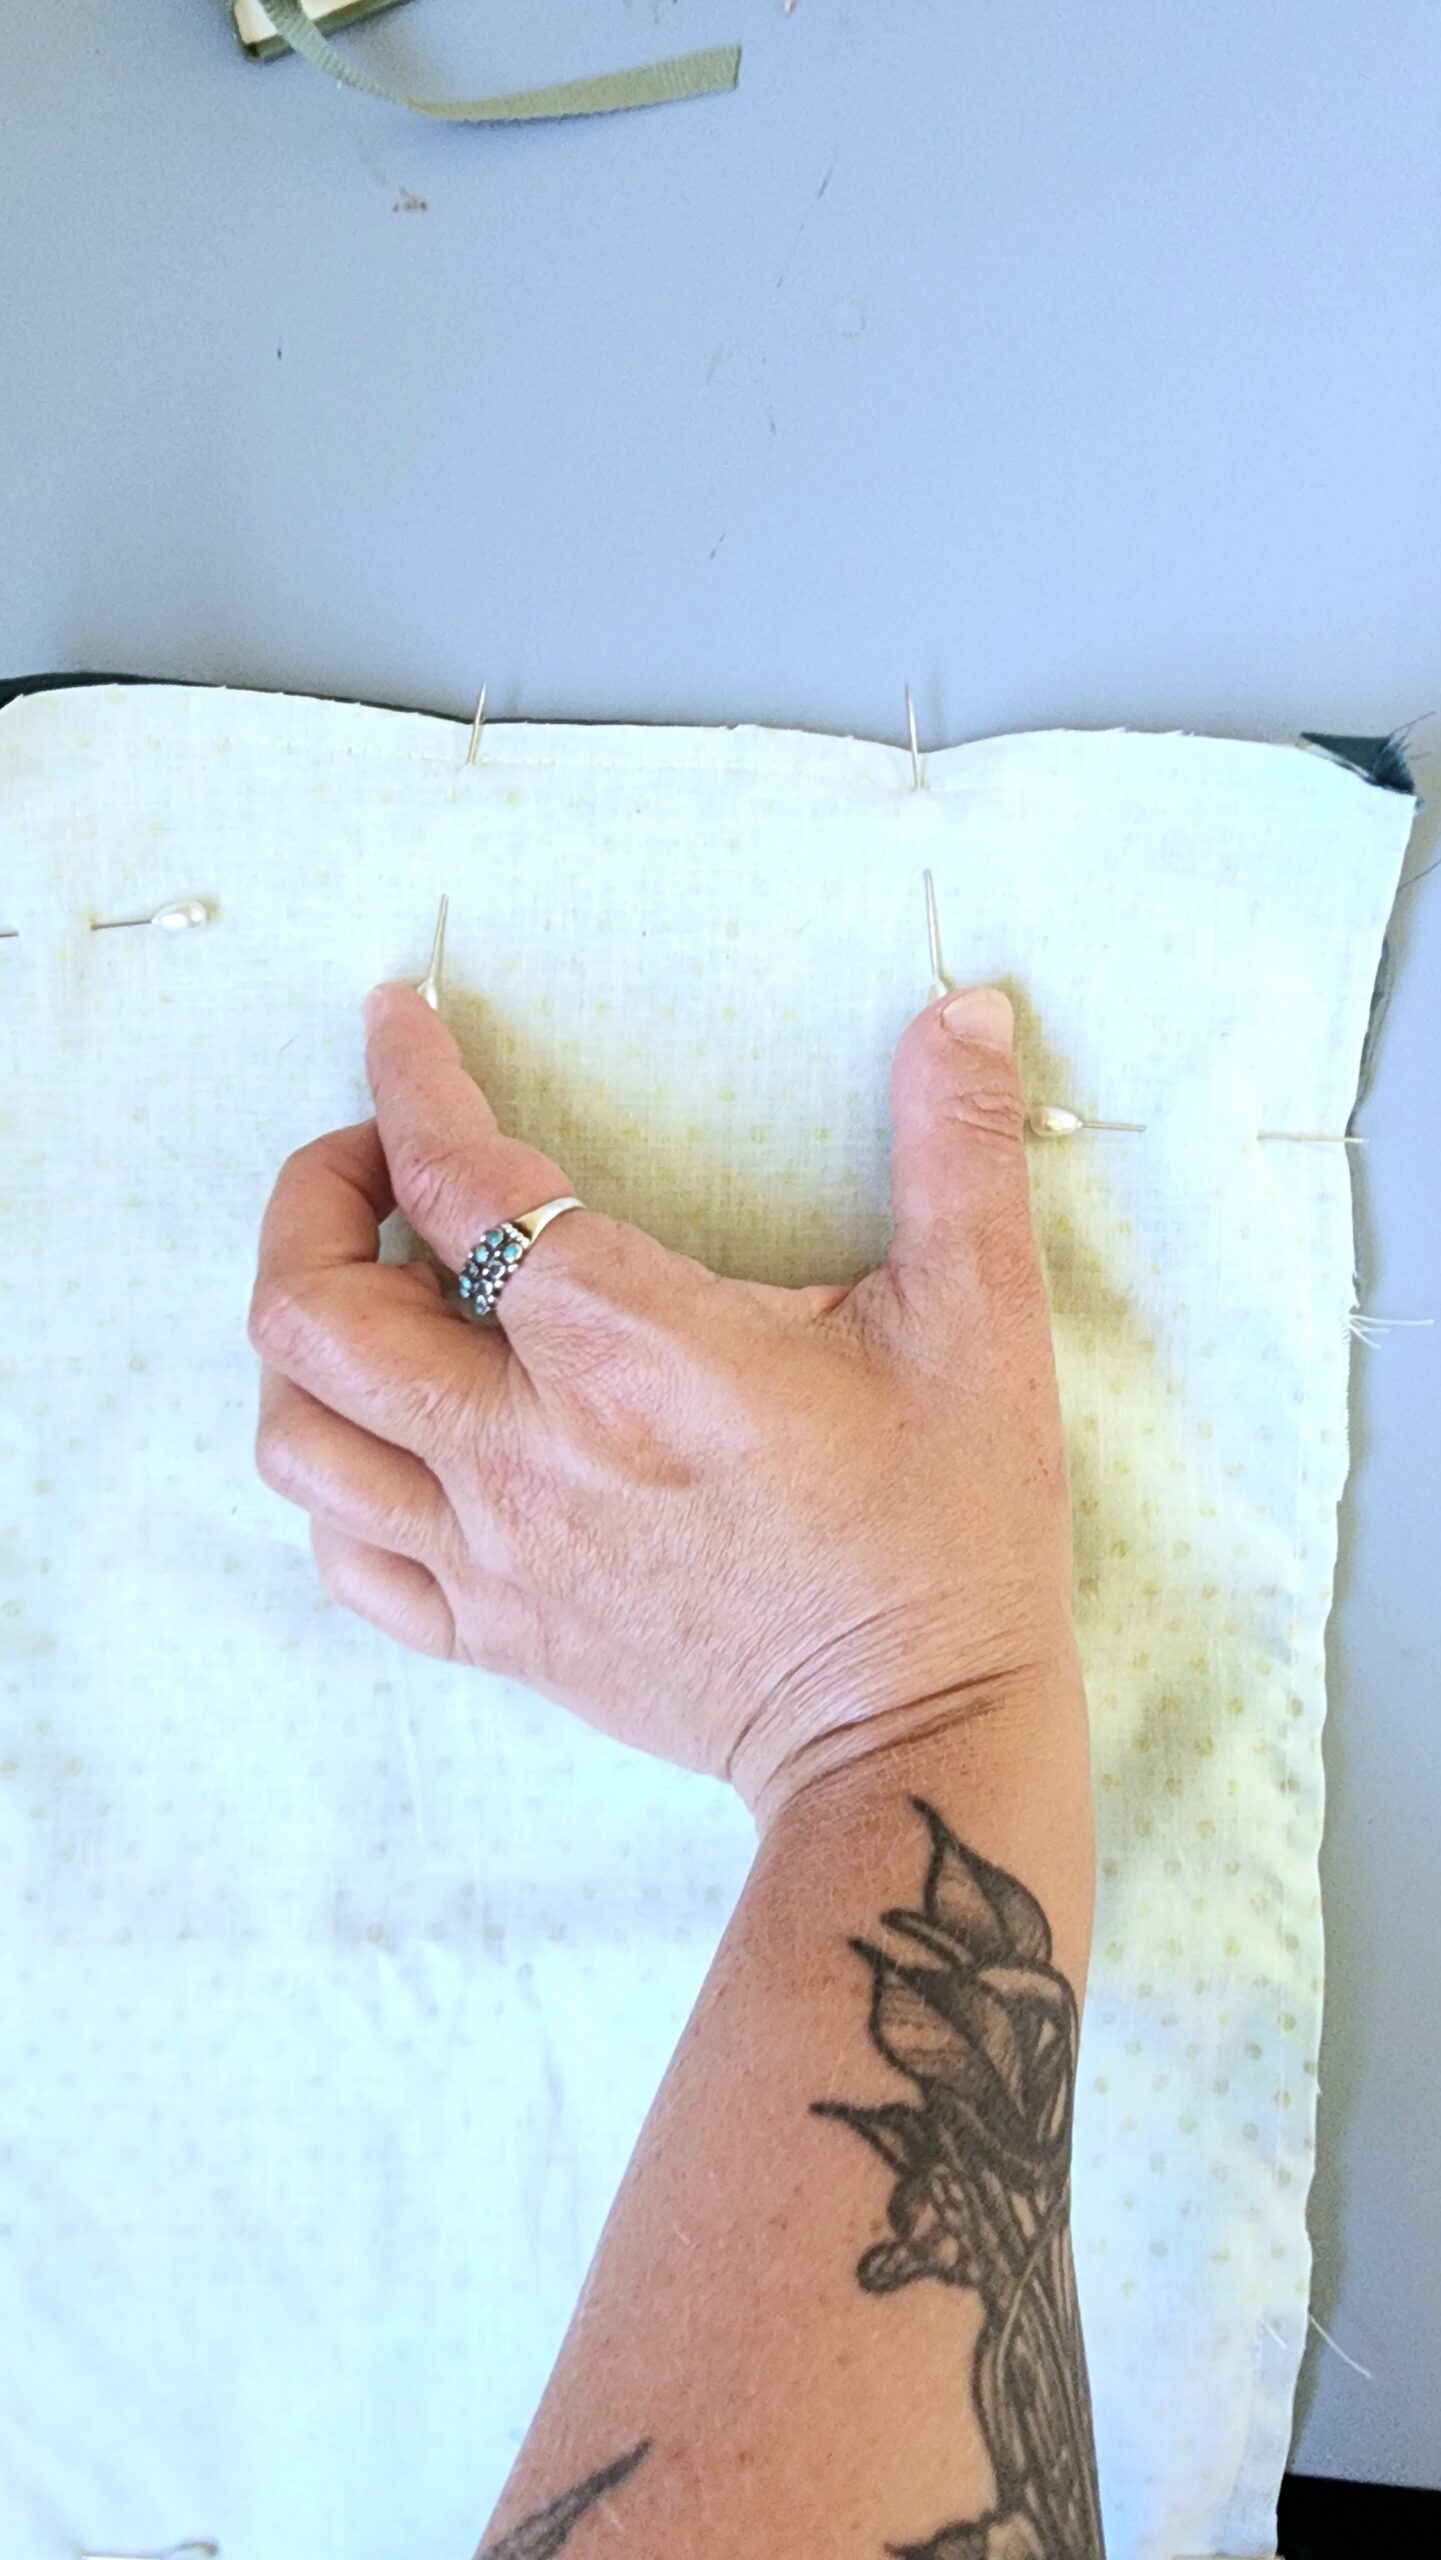
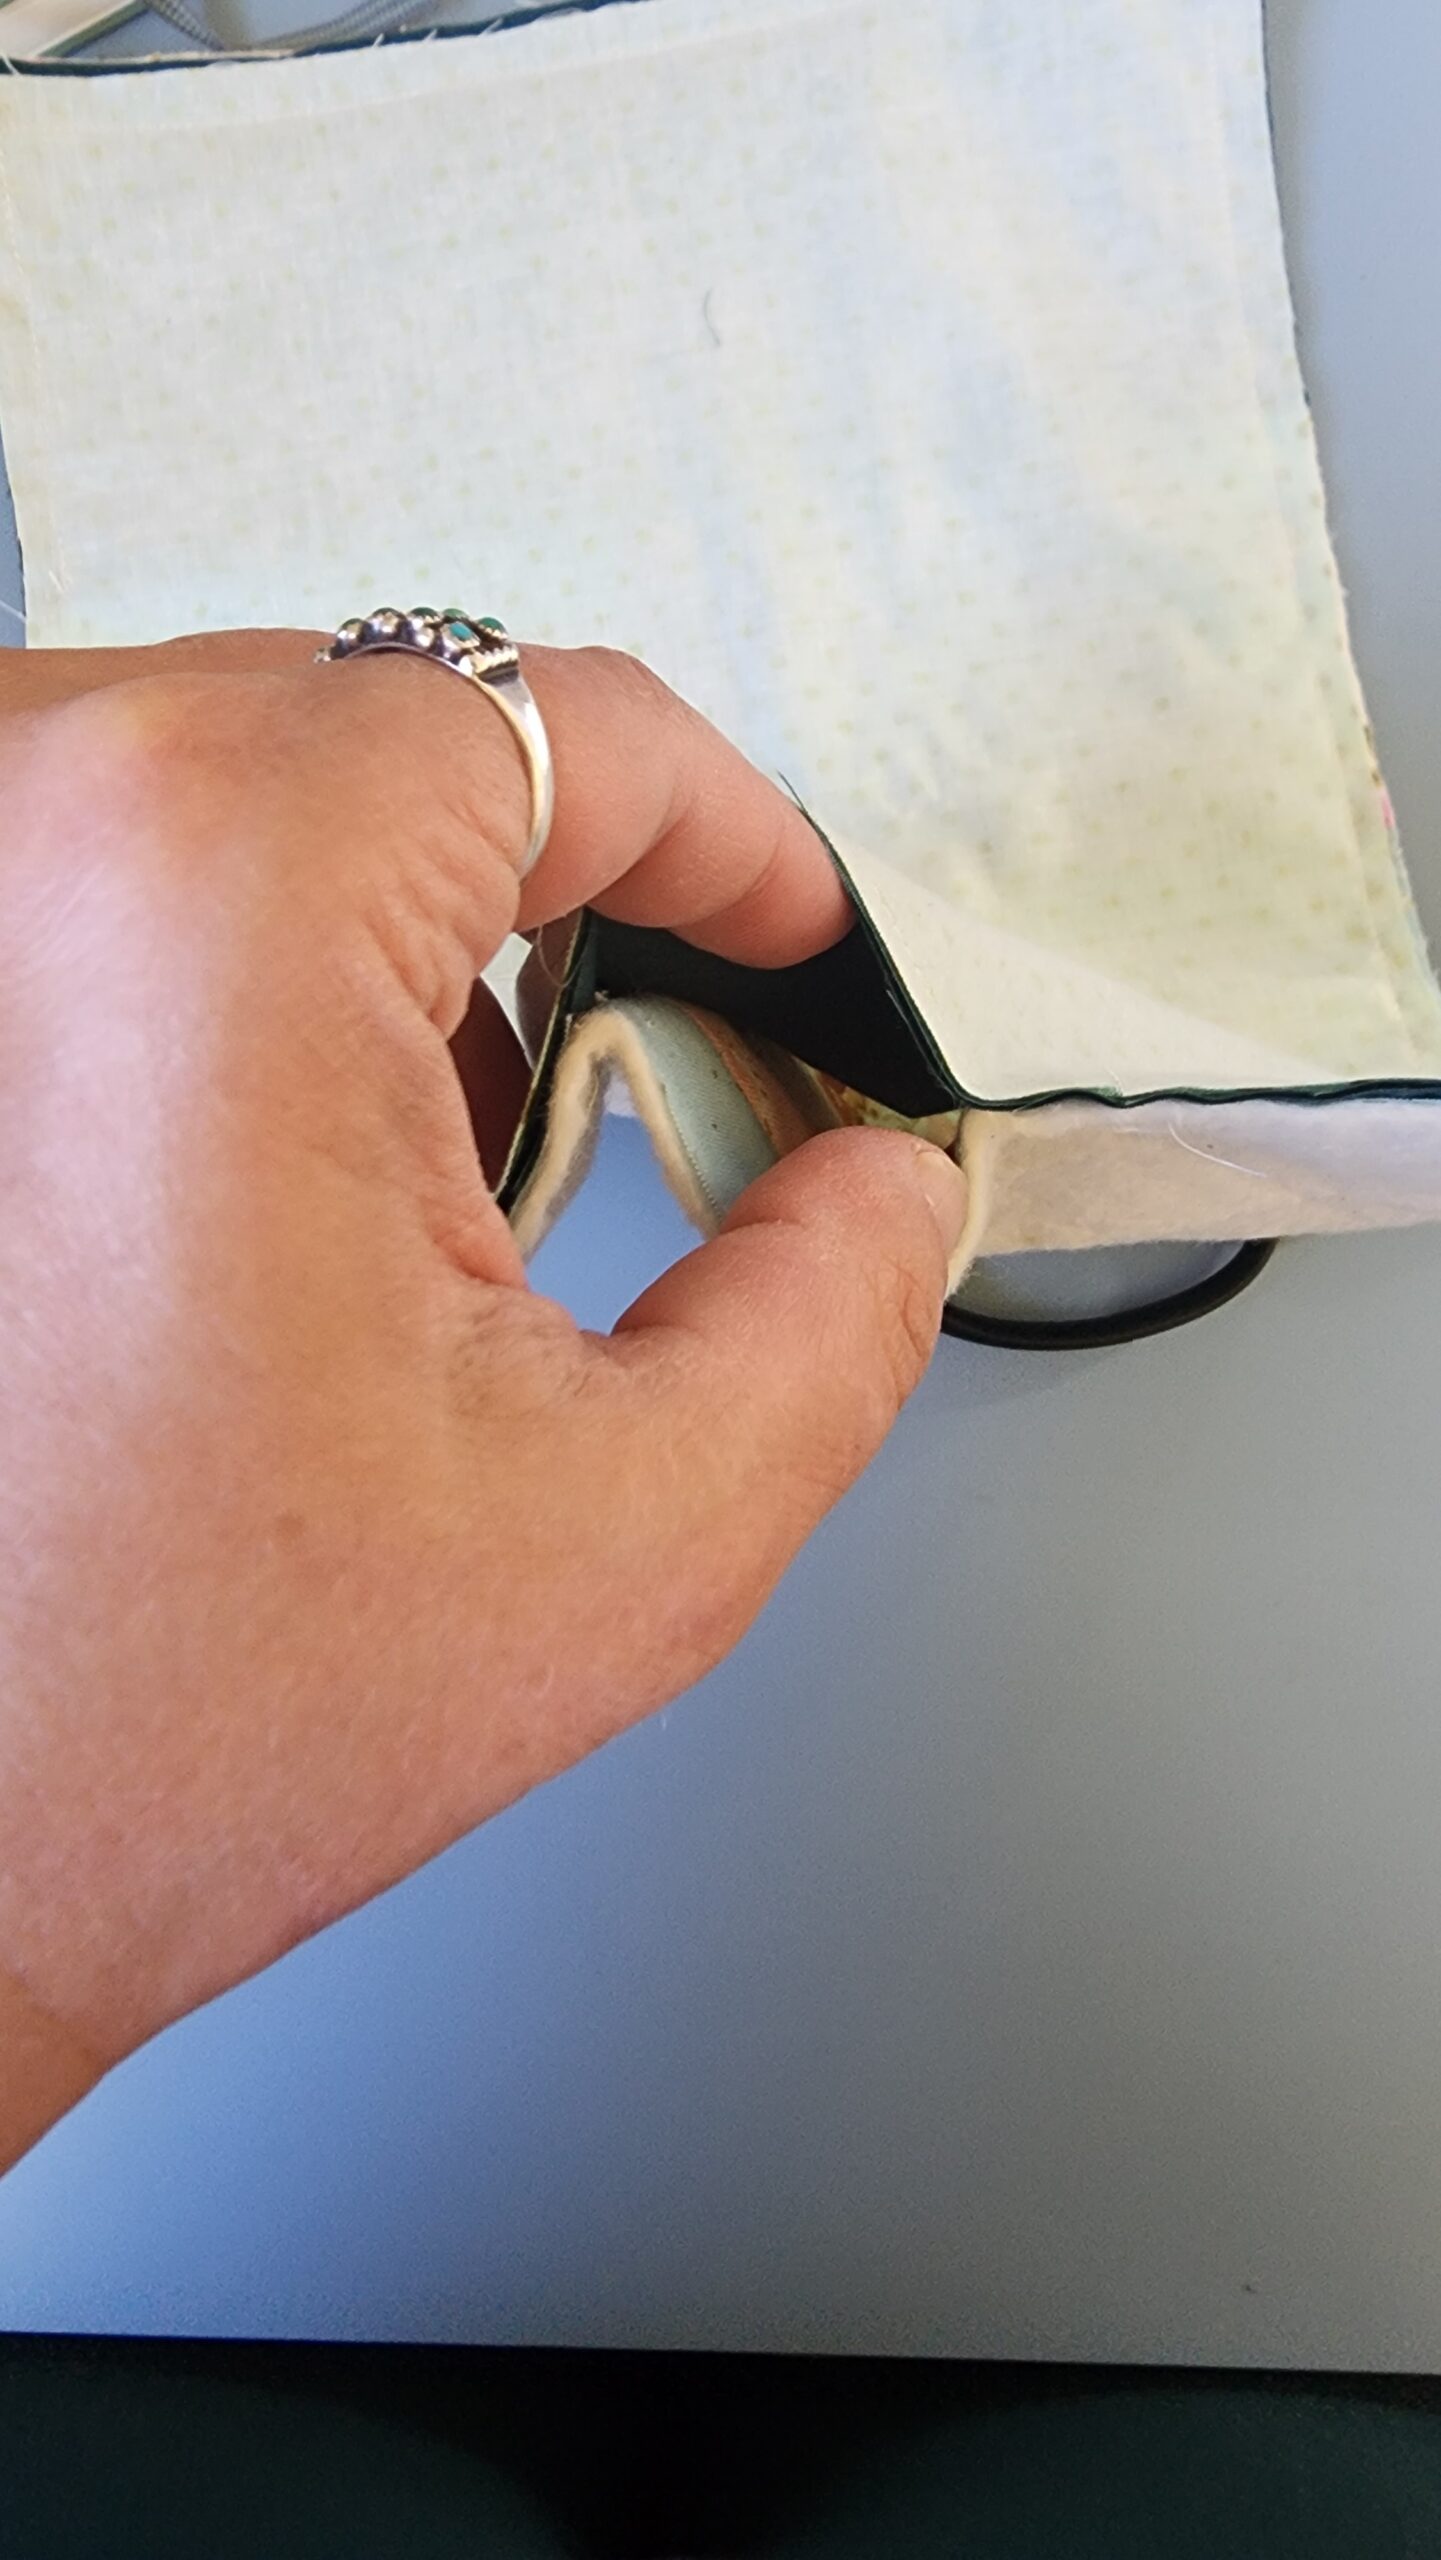
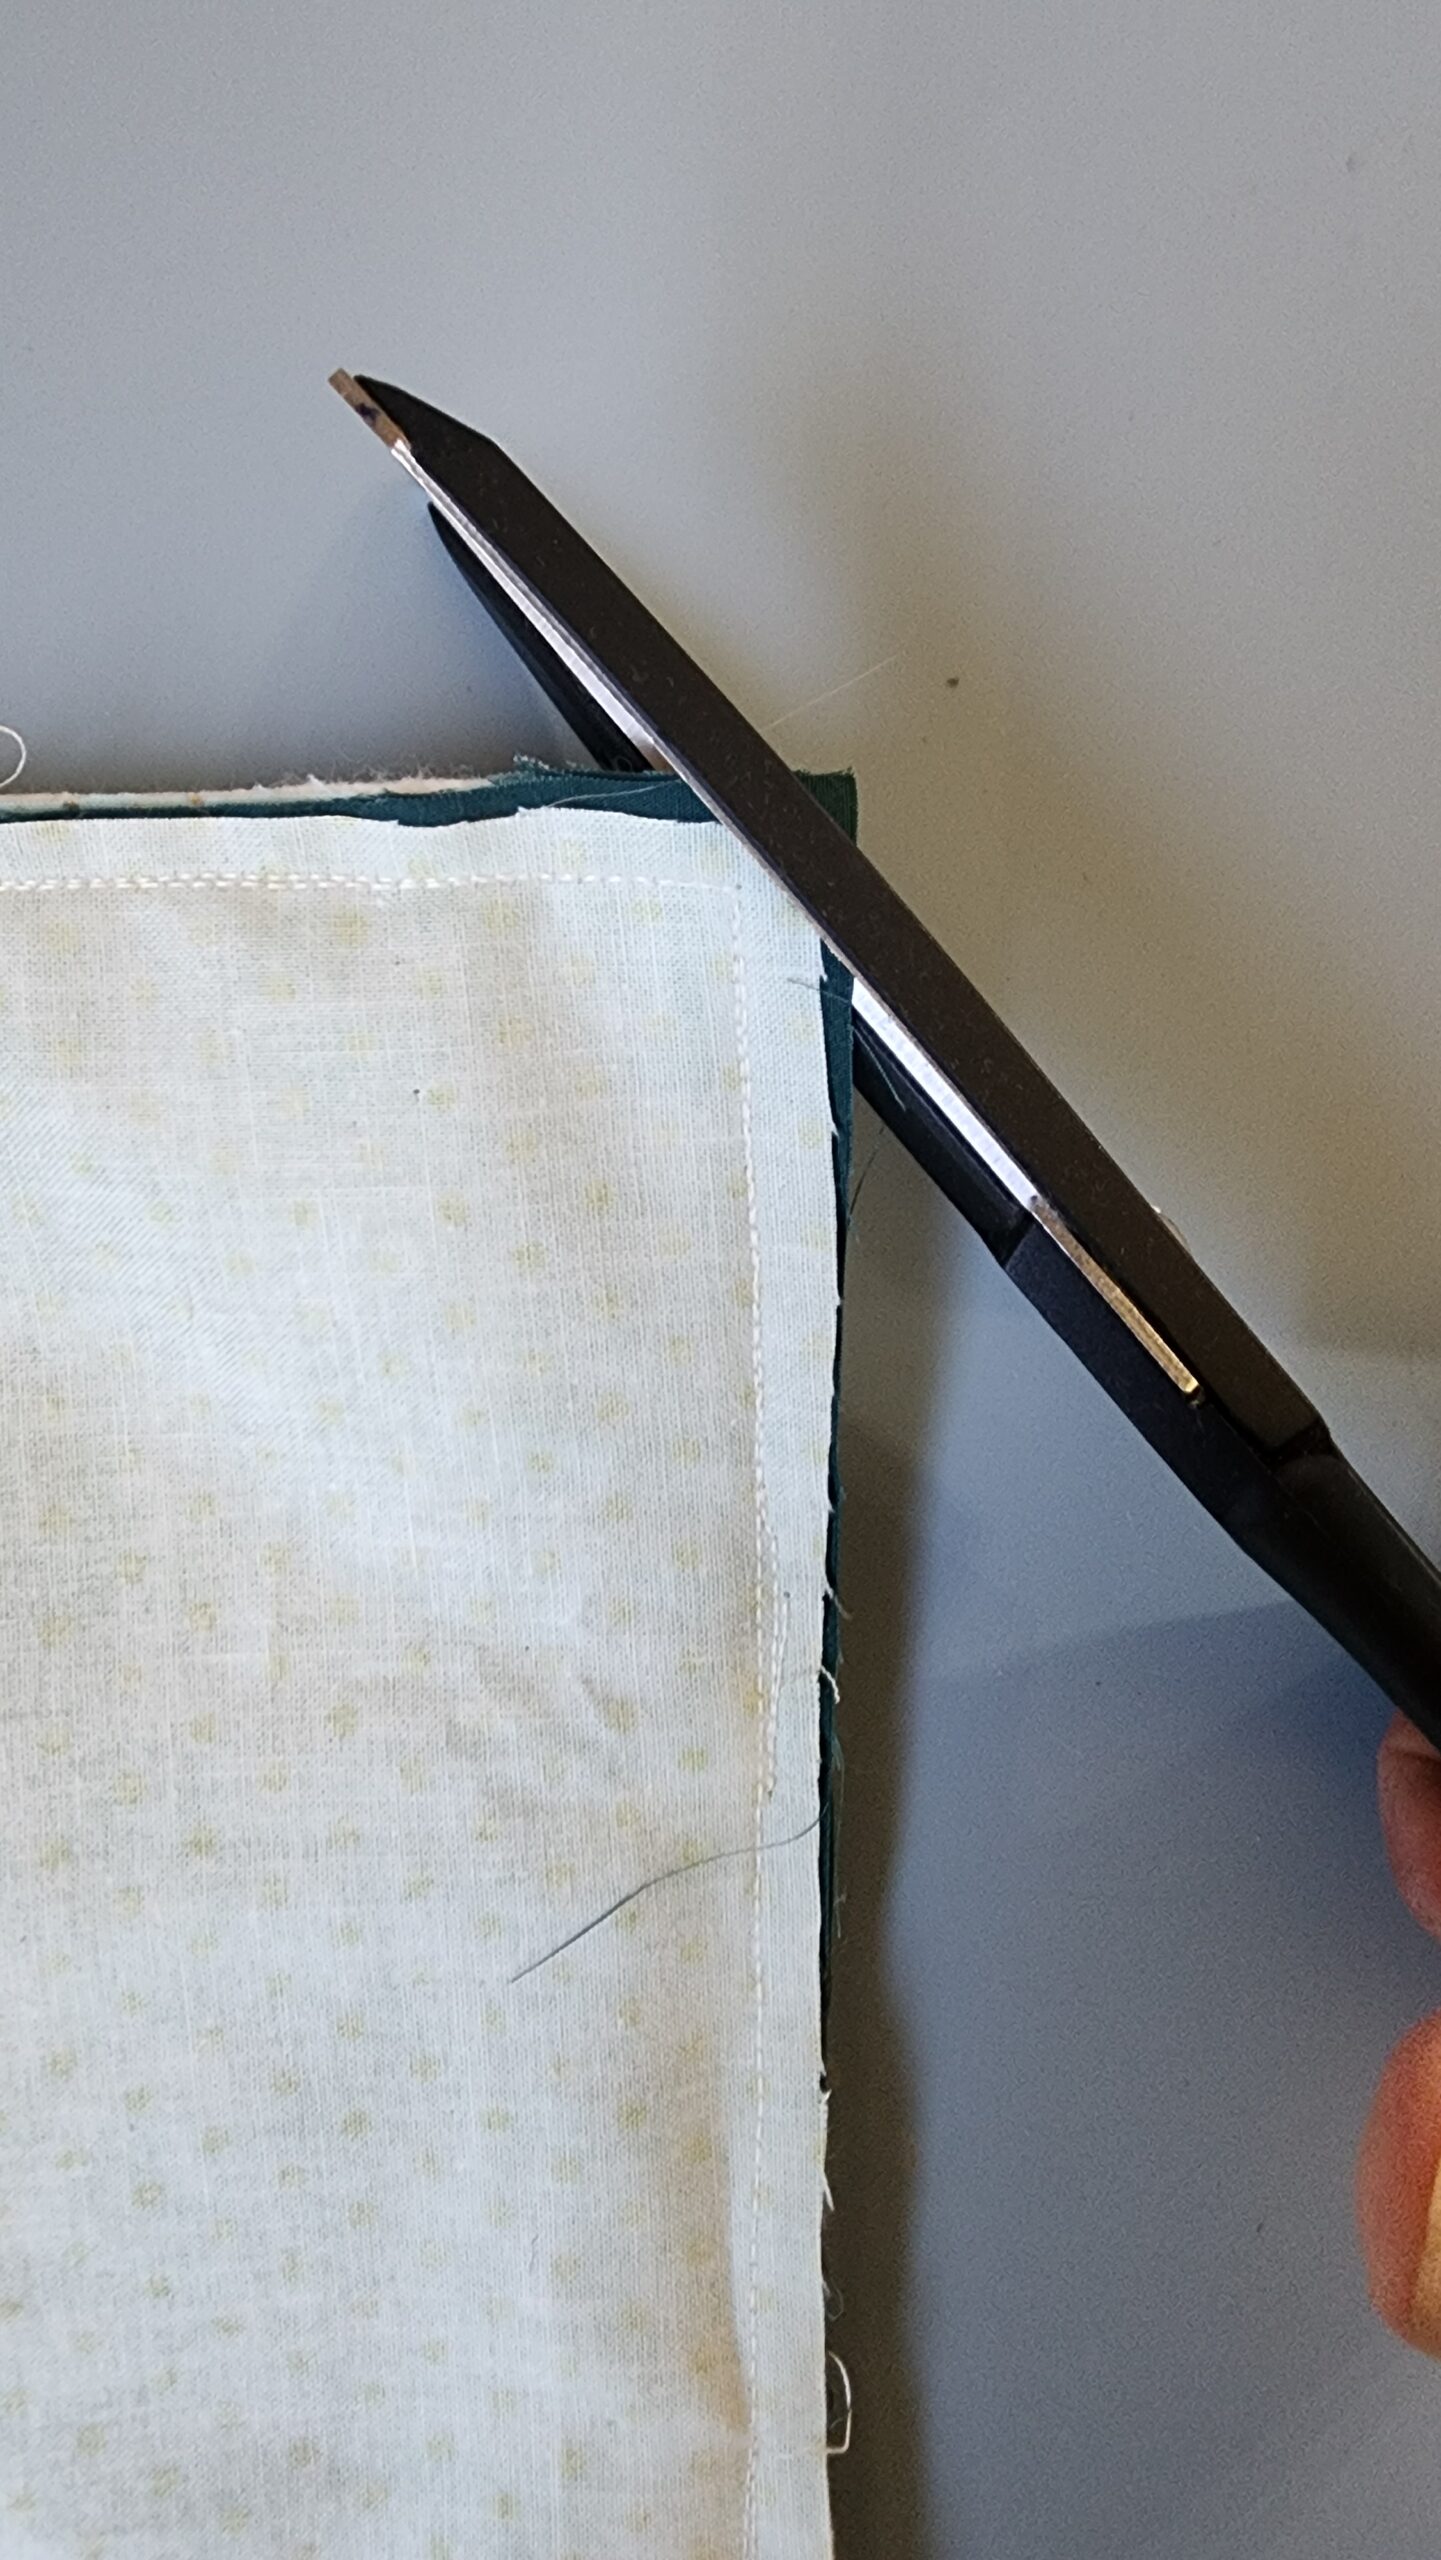
With your front and lining panels right sides together, sew around the raw edges, about 1/4” from the edge, Leaving a two inch gap between the front and lining in order to turn your cover right sides out. Trim corners before turning out to reduce bulk.
Once book cover is turned right sides out, give it a good press and top stitch 1/4 from the edge, ensuring your gap is now sewn shut.
Step 7: Enjoy that book cover!
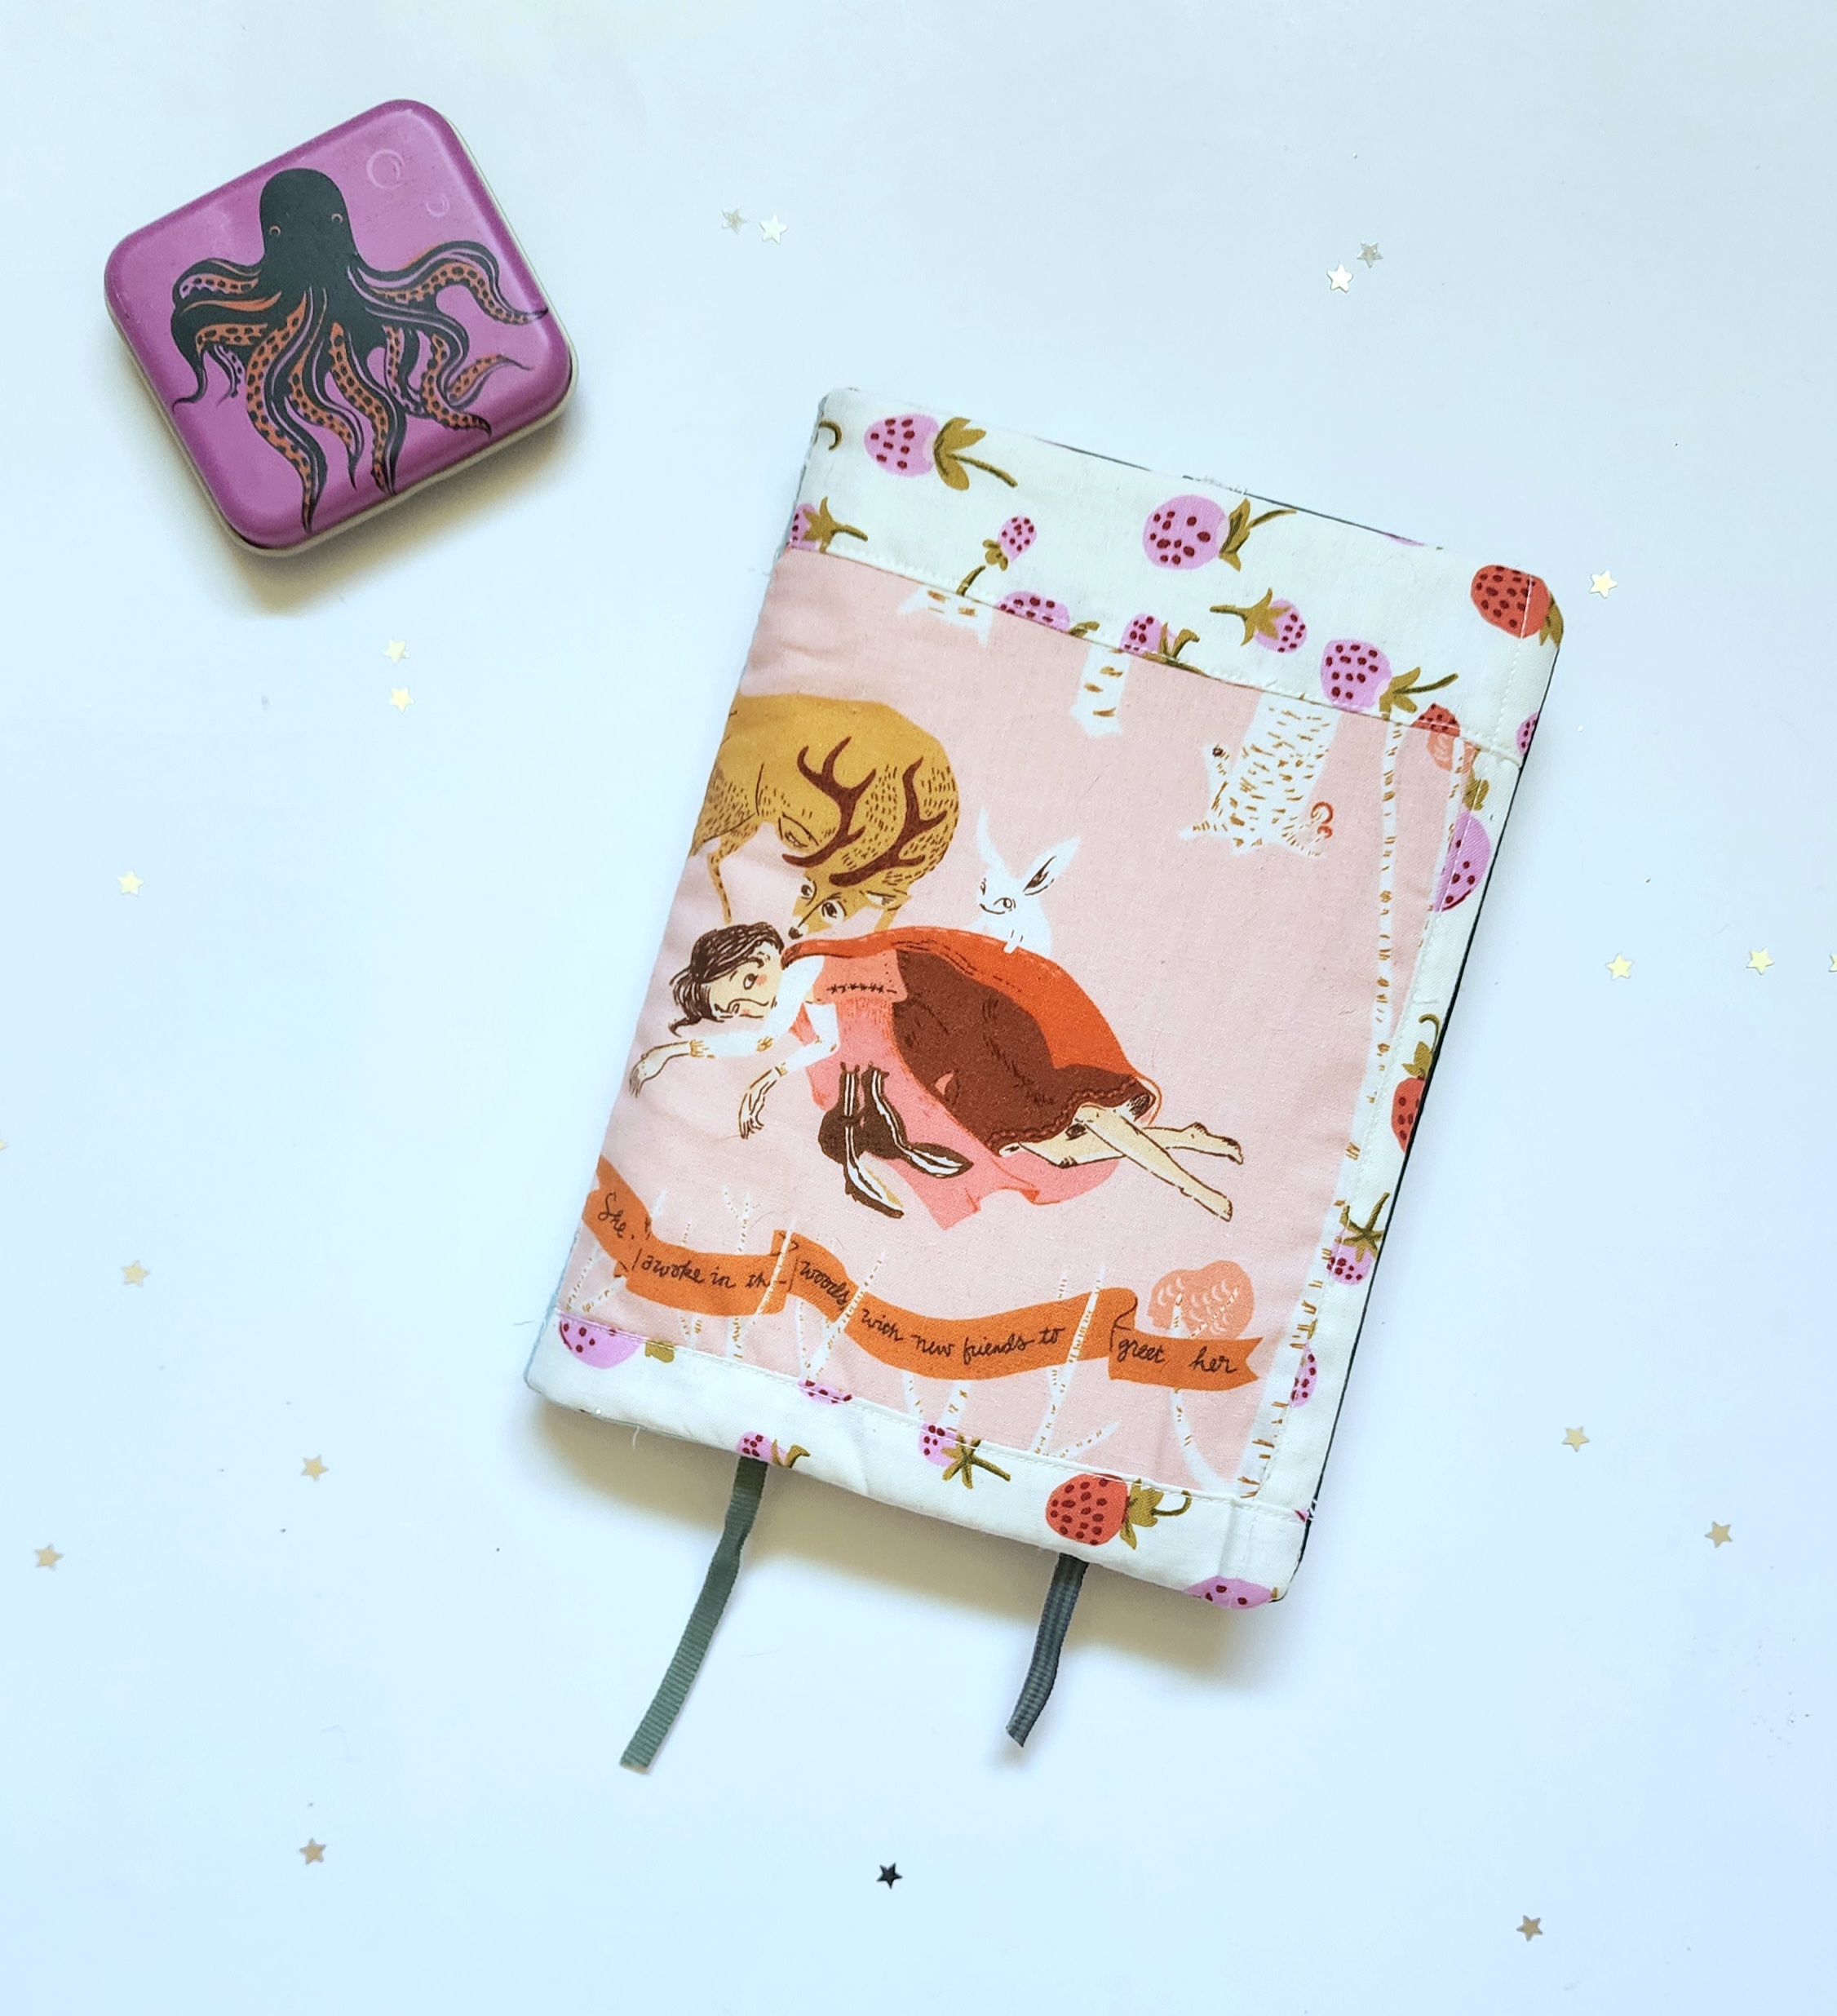
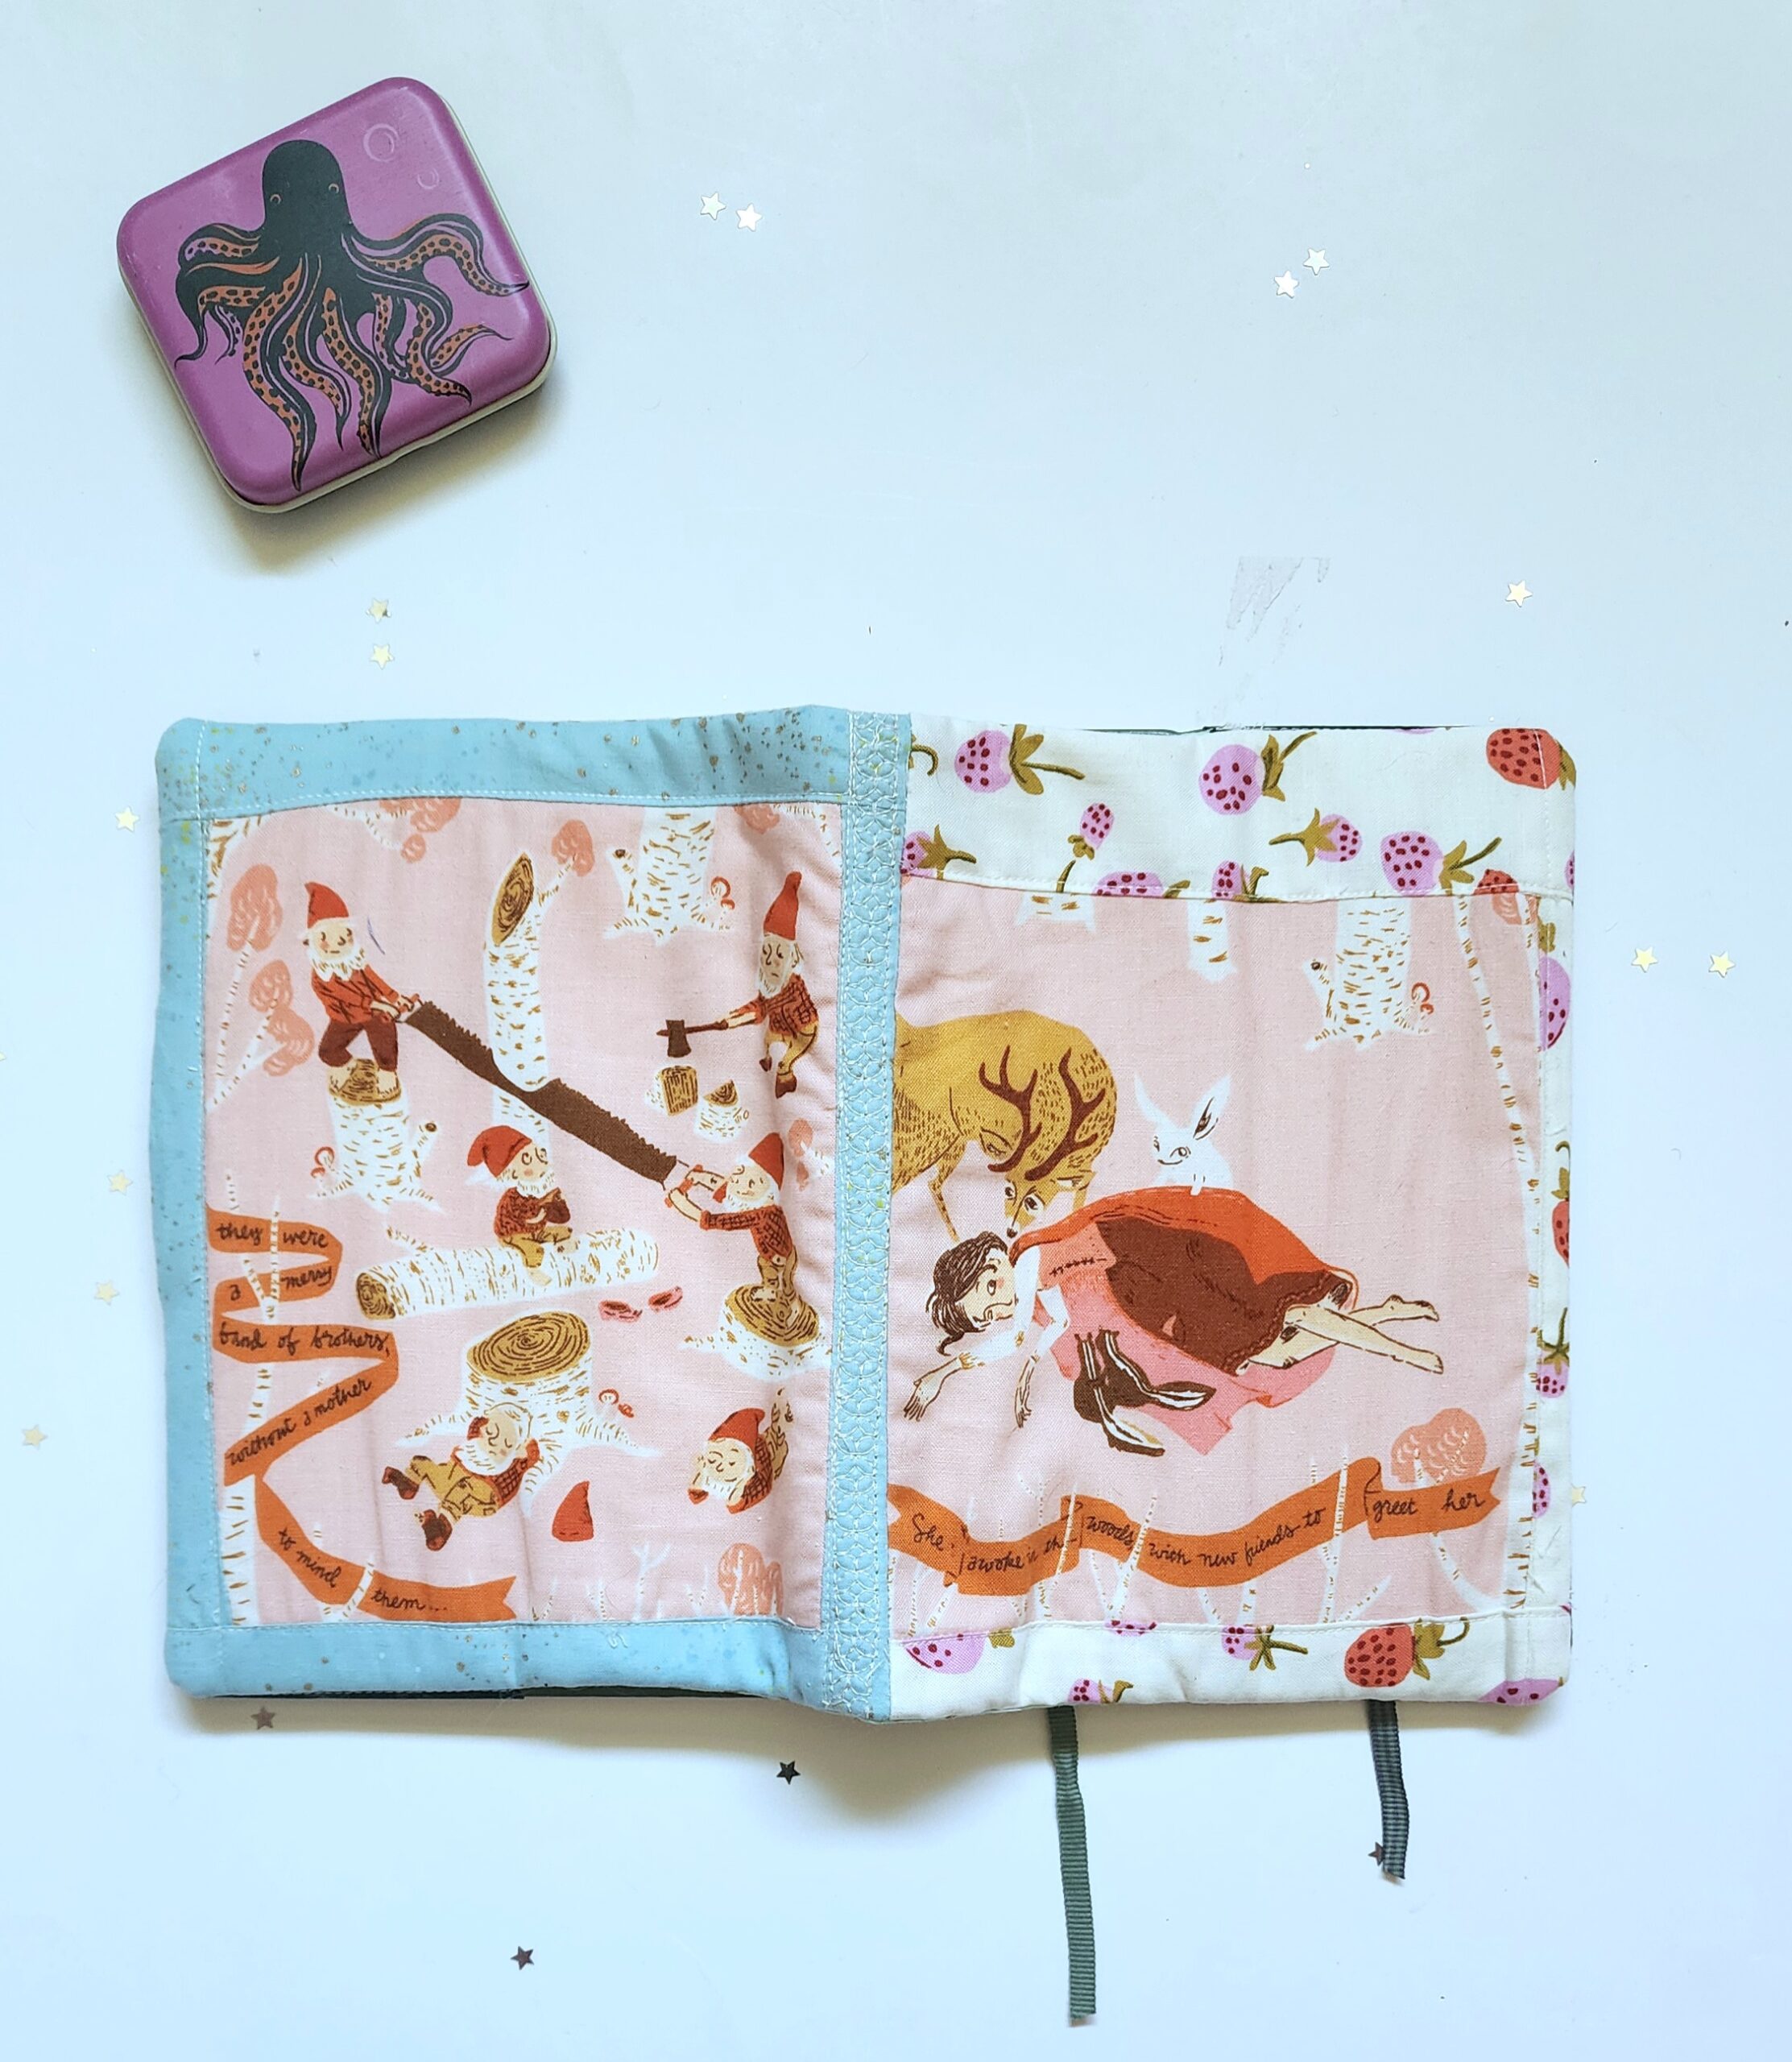
I loved this make so much I’ll be making a few more! More decorative stitches!

