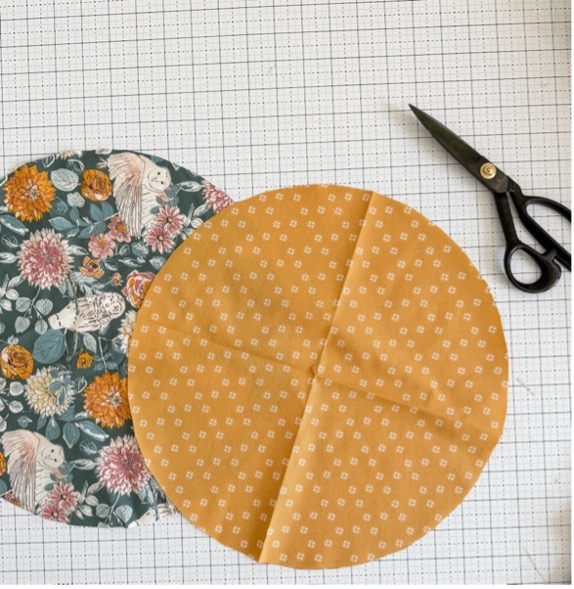
Spring is springing! Soon we will be getting together and enjoying dining al fresco. Living in West Michigan, I try to take advantage of every minute of good weather and we will eat outside as much as possible.
I was inspired to make a pie dish cover and wanted to share this project with you!
This is really simple to make and would make a great hostess gift as well.
Fabric and Notions Required
Two fat quarters of fabric
25” of soft elastic (I like flat, soft elastic for this project. You can see a pic below in the instructions section at step 9.)
Fabric Scissors
Thread
Fabric Marking Pen
This template (It is sized for a 10” pie dish.)
*If you have a different sized pie dish, you can use your plate as a guide. Simply trace 2” outside the circumference of your pie plate.
Instructions
1. Cut a 16” square from both of your fat quarters.
2. Fold each square into fourths.
3. Place the template into the corner and trace the quarter circle.

4. Cut along the outside solid line to create your circle piece. Repeat with the second fabric.

5. Take your circles and place them right sides together. Sew a ¼” seam allowance along the edge, leaving a 4” opening for turning.
6. Turn the unit you just created inside out and press. The right sides of your fabric will now be on the outside. Press it well.
7. Mark another seam line 1” in from the edge. You can use your needle plate guide or, if desired, you can cut the paper template along the inner dotted line to use as a guide.


8. Sew along the 1” seam allowance line you marked.
9. Grab your elastic and use a safety pin to guide it along the channel you created. When the ends meet, overlap them by ½” and sew them together. Make sure to backstitch at the beginning and end.

10. Sew up the opening, making sure the elastic is out of the way of the final seam.
Voila! An adorable, reversible pie dish cover to bring with you to picnics or to give as a gift.

