Project Time – Beginner, 30 minutes for set of 4
All seam allowances are 1/4”
Cut 4 18” squares from your yard of fabric.

You have three options for marking the hem. You can serge the four sides like I did, you can sew a 1/4” seam around the four sides, or you can mark the back side with a marking tool 1/2” from each edge. I chose to serge with my Janome 8002D, which is strictly preference. Just choose whatever works for you.


Now you are going to use the stitching or the marks you made as a guide to fold and press. Press each side in by 1/4”, and then go back around again, folding in another 1/4” which will enclose the serged or raw edge of the fabric. I like to iron only one at a time before moving back to the machine, but you can do all four if that suits you.

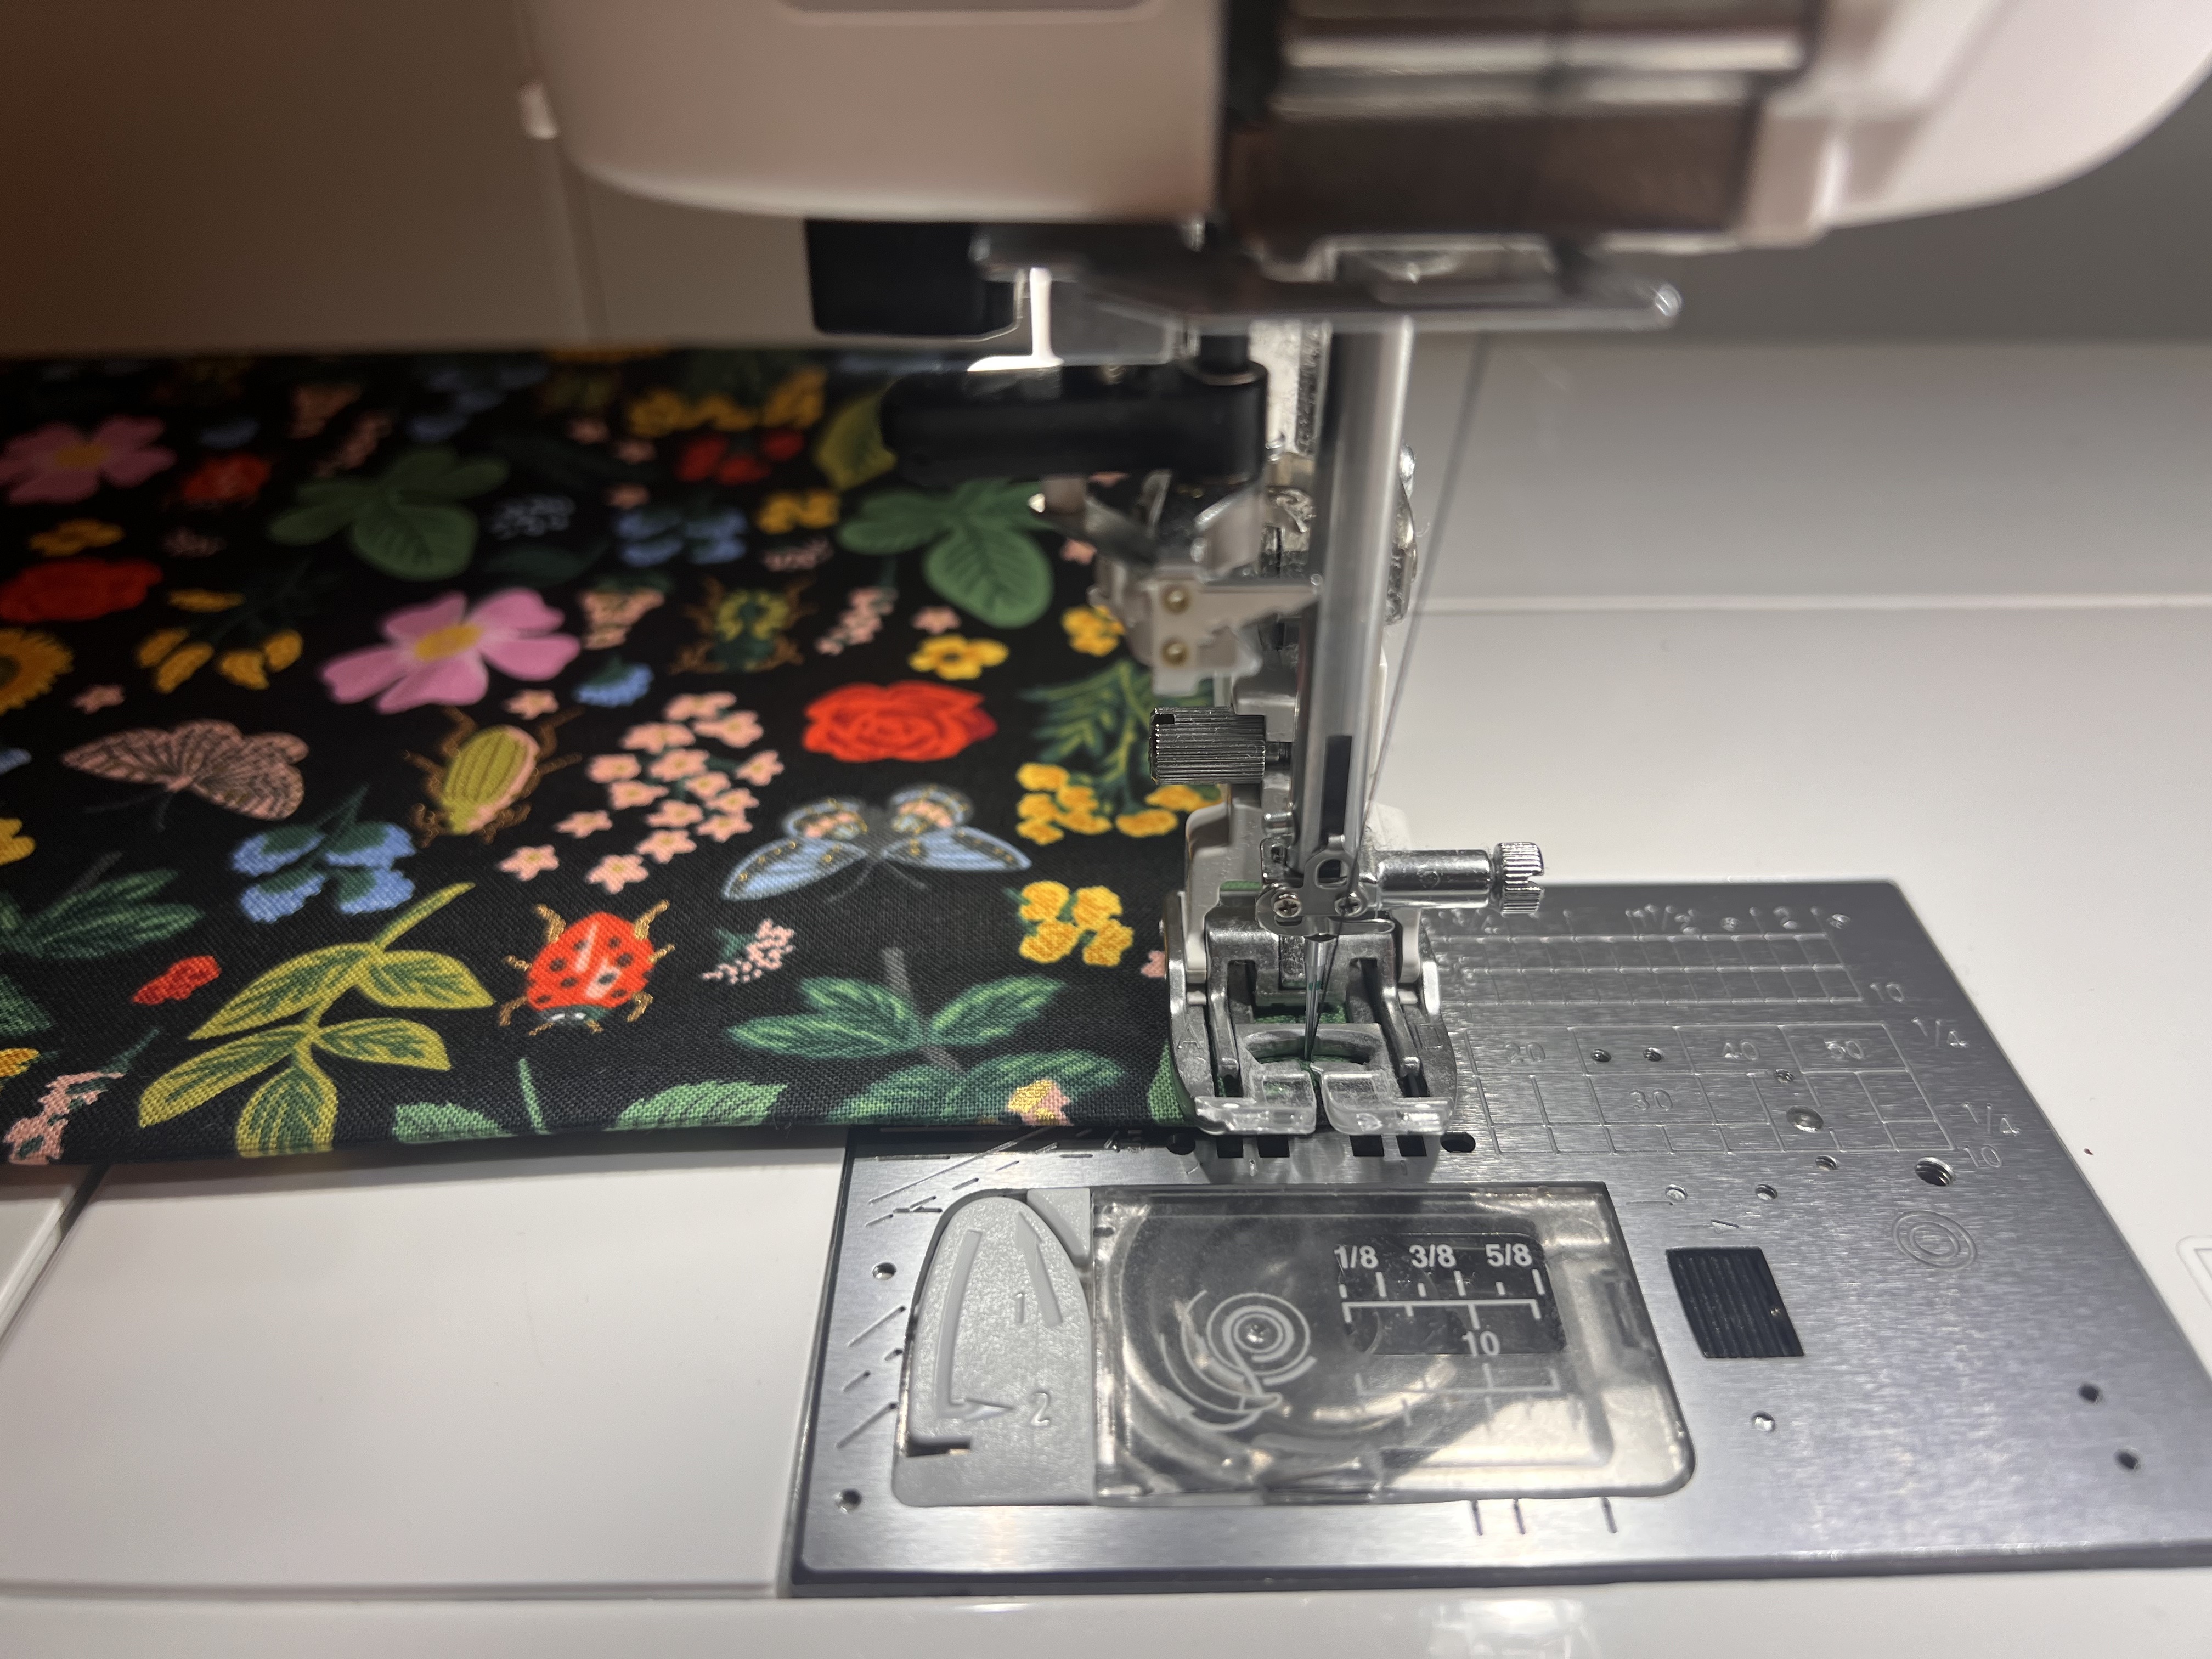
You can either use the standard A foot, a 1/4” foot, or the walking foot, but lengthen your stitch to 3.0, and then stitch all the way around the napkin with a scant 1/4” seam allowance. To pivot at the corners, simply stop 1/4” before you reach the edge, and with the needle down, lift the presser foot and pivot the napkin. Lower the presser foot and continue sewing. Overlap your beginning stitches by about 5 stitches and you are done!


I told you it was easy peasy! I love using Rifle Paper Co fabric to make mine. I have already had about 12 in rotation, but adding these four that coordinate gives me more variety for my table!


I’ve shown you here how to create the very simple skeleton, if you will. But you can do so very much to customize these. If you have a machine that embroiders, like the Skyline S9, you can add your family name, tidings like “Happy Easter” or “Merry Christmas”, or a beautiful motif like a bouquet of flowers. You could also use a contrasting fabric to bind the edges rather than hemming. These would make a lovely addition to a gift for a bride or hostess too!