Now that we have everything we need, let’s get making!
● Cut 6 squares that measure 4.5” by 4.5” . ( You will need 3 squares of each color fabric)
![](/siteassets/inspire/inspire/projects/crafting/mom-patchwork-letter-applique-w-free-stencil/img_01.jpg)
● Place 2 squares ( 1 of each color) right sides together, and use a marking pen to draw a diagonal line - which will be your sewing and cutting guide in the upcoming steps. Do this 3 times.
![](/siteassets/inspire/inspire/projects/crafting/mom-patchwork-letter-applique-w-free-stencil/img_02.jpg)
![](/siteassets/inspire/inspire/projects/crafting/mom-patchwork-letter-applique-w-free-stencil/img_03.jpg)
● Using the ¼” seam foot standard with your Horizon Memory Craft 9480 QC, sew along each side of the diagonal line for all 3 sets of squares
![](/siteassets/inspire/inspire/projects/crafting/mom-patchwork-letter-applique-w-free-stencil/img_04.jpg)
![](/siteassets/inspire/inspire/projects/crafting/mom-patchwork-letter-applique-w-free-stencil/img_05.jpg)
![](/siteassets/inspire/inspire/projects/crafting/mom-patchwork-letter-applique-w-free-stencil/img_06.jpg)
● Cut along the diagonal line and press open your seams.
![](/siteassets/inspire/inspire/projects/crafting/mom-patchwork-letter-applique-w-free-stencil/img_07.jpg)
![](/siteassets/inspire/inspire/projects/crafting/mom-patchwork-letter-applique-w-free-stencil/img_08.jpg)
● Arrange your squares according to your liking. ( please note that in the image below, I added an additional solid square, in the same way mentioned above to create this ‘V’ shape.)
● Using the FREE stencil, trace the letters on to your squares using a marking pen, and cut it out.
![](/siteassets/inspire/inspire/projects/crafting/mom-patchwork-letter-applique-w-free-stencil/img_09.jpg)
![](/siteassets/inspire/inspire/projects/crafting/mom-patchwork-letter-applique-w-free-stencil/img_10.jpg)
● Attach washaway fabric tape to your Letters ( or use basting glue) and place them where you would like them to go.
![](/siteassets/inspire/inspire/projects/crafting/mom-patchwork-letter-applique-w-free-stencil/img_11.jpg)
![](/siteassets/inspire/inspire/projects/crafting/mom-patchwork-letter-applique-w-free-stencil/img_12.jpg)
● Pin some stabilizer to the back of your design, directly behind where the letters are placed ( on the wrong side of the fabric) .
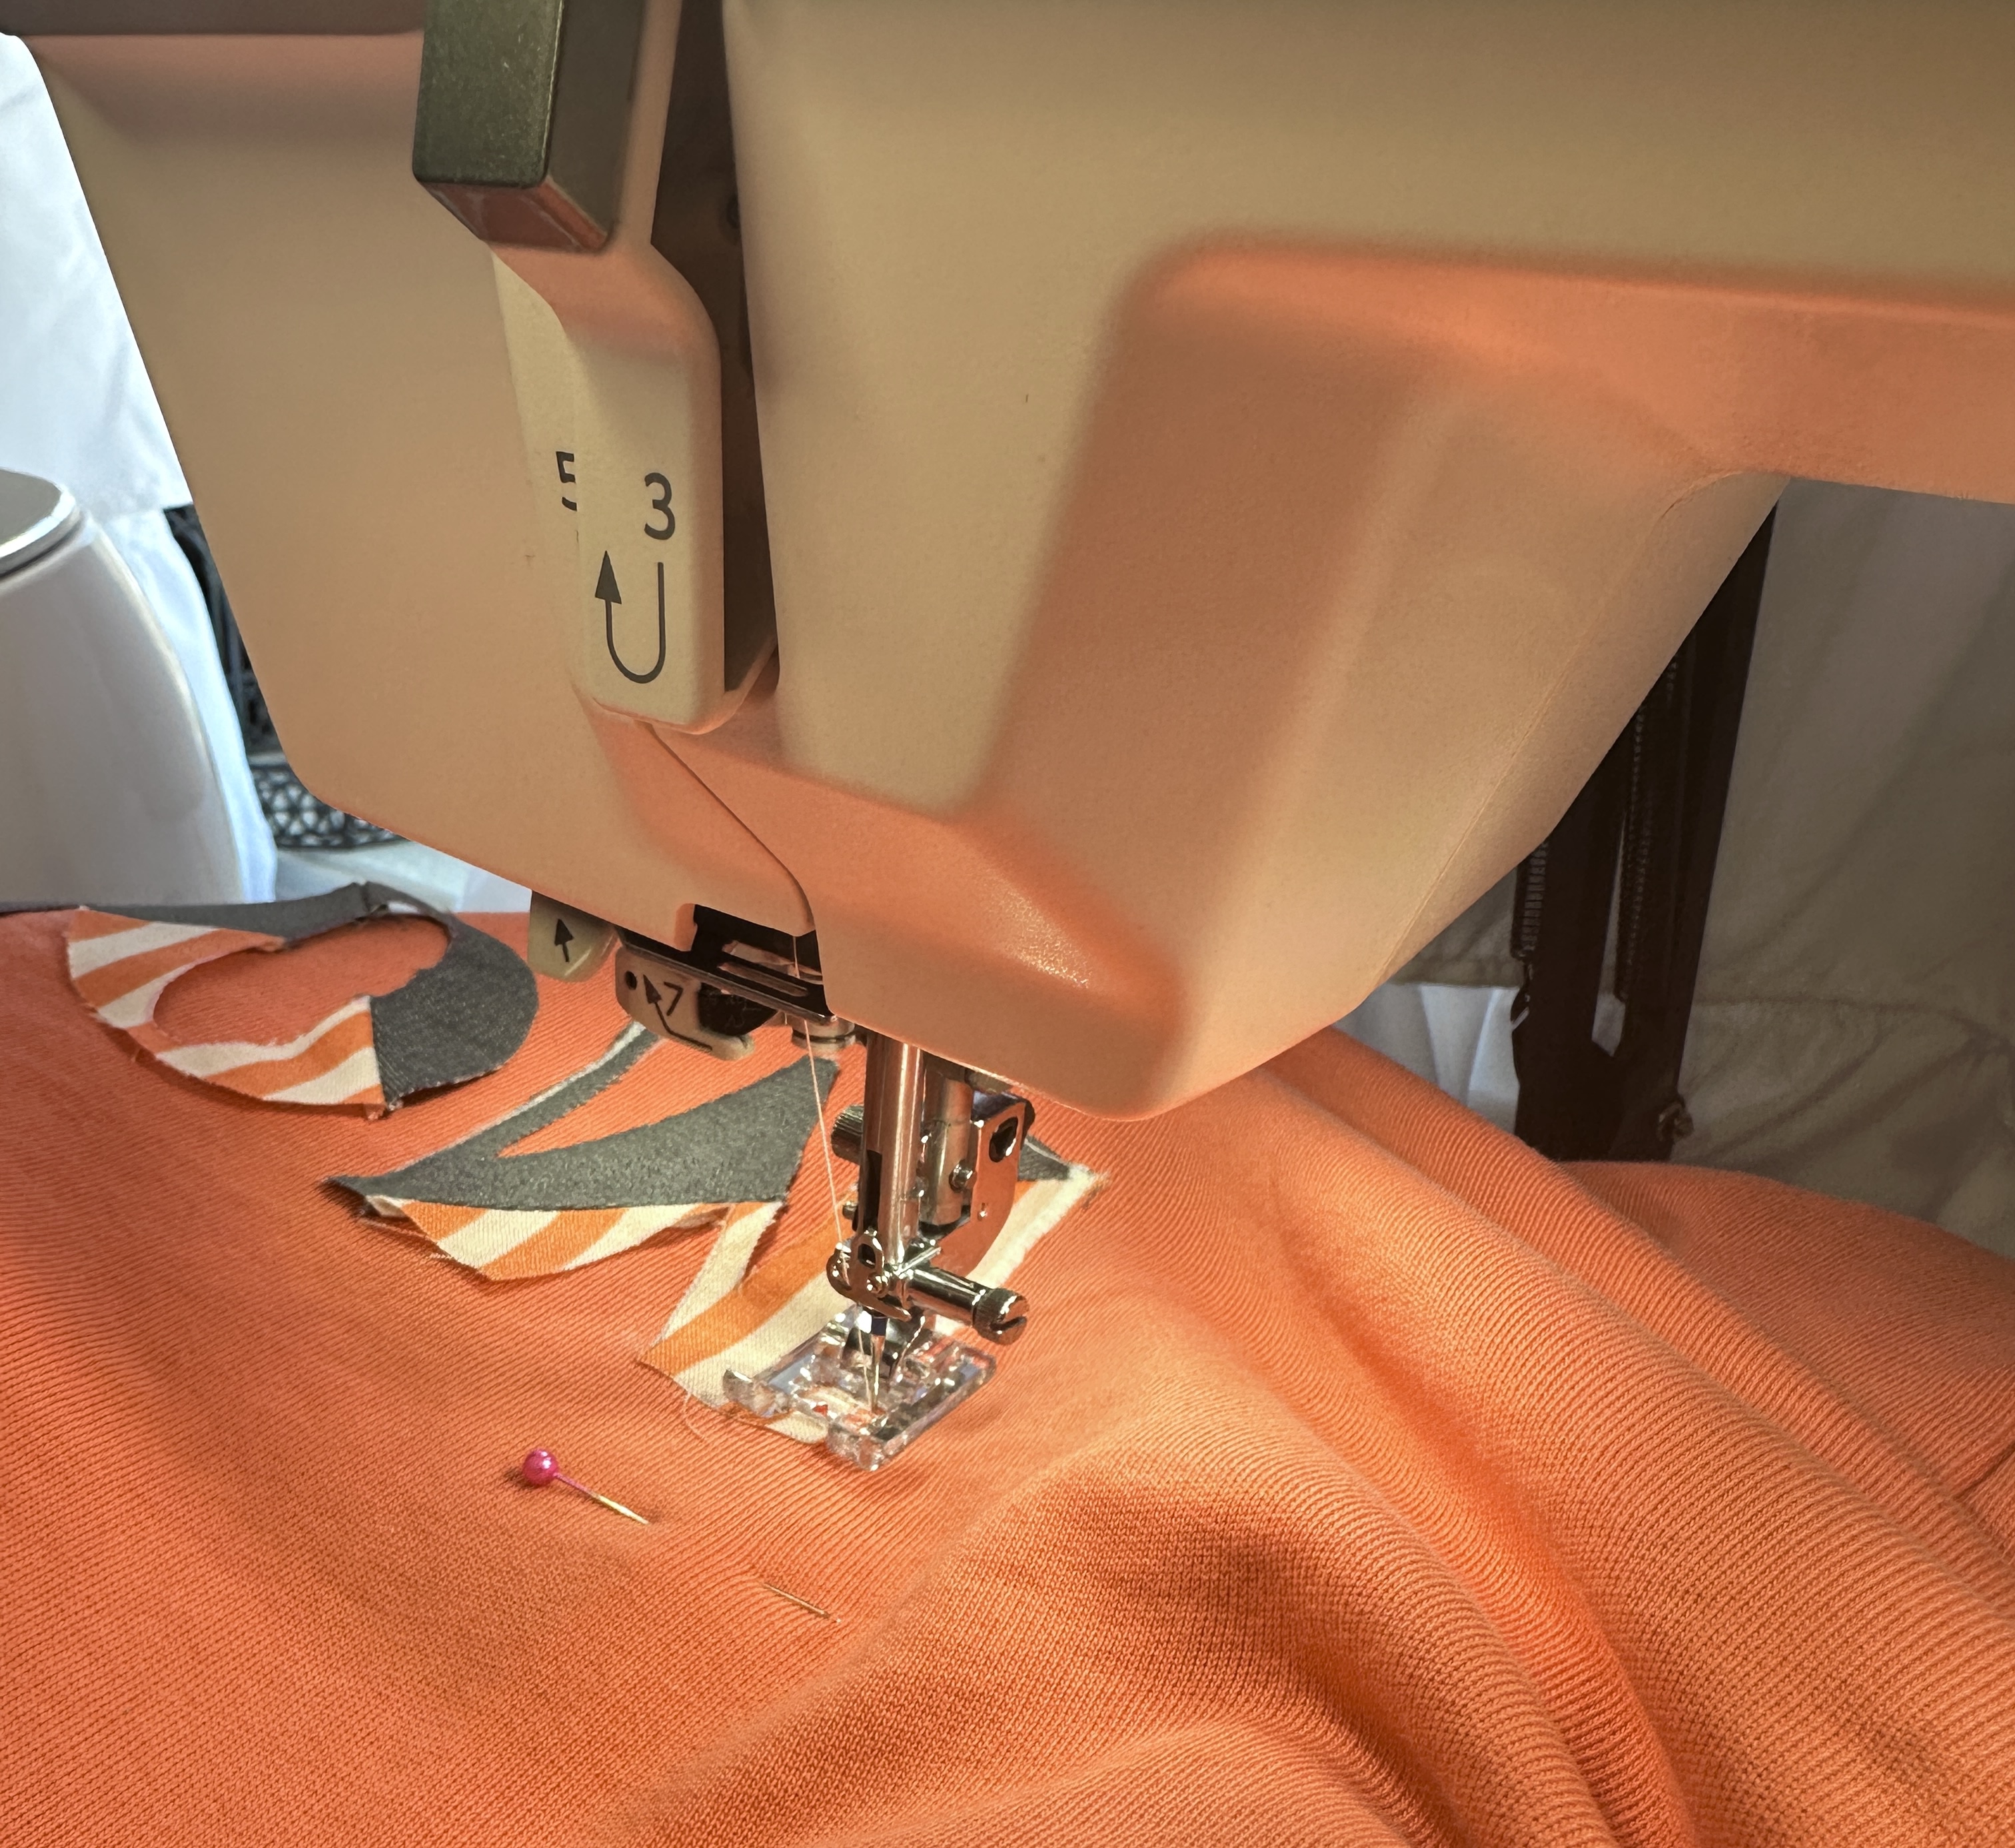
● If you have the Horizon Memory Craft 9480 QC, go to the applique option on your machine, and select a zigzag stitch ( I used zigzag stitch 2. If you do not have a Janome yet, you could also use a blanket or zig zag stitch, whichever is available on your machine)
![](/siteassets/inspire/inspire/projects/crafting/mom-patchwork-letter-applique-w-free-stencil/img_13.jpg)
● Sew along the perimeter of your letters
![](/siteassets/inspire/inspire/projects/crafting/mom-patchwork-letter-applique-w-free-stencil/img_14.jpg)
![](/siteassets/inspire/inspire/projects/crafting/mom-patchwork-letter-applique-w-free-stencil/img_15.jpg)
● Cut away any excess stabilizer if desired, and that's it!
![](/siteassets/inspire/inspire/projects/crafting/mom-patchwork-letter-applique-w-free-stencil/img_16.jpg)
![](/siteassets/inspire/inspire/projects/crafting/mom-patchwork-letter-applique-w-free-stencil/img_17.jpg)
![](/siteassets/inspire/inspire/projects/crafting/mom-patchwork-letter-applique-w-free-stencil/img_18.jpg)
Thank you for following along. We hope that you enjoyed this tutorial and we would love to share in celebrating your great work. Please tag both me ( @sewwithstephanie) and Janome (@janomeamerica) so that we can cheer you on!
Until next time,
-Stephanie Burwell