Projects

Moleskin Book Cover

Created By:

Laurel Ryan

Skill Level: Beginner
Fabric and Notions Required

Journal: For this tutorial I used the Moleskin brand Journal. Feel free to use what you have!

Fabric 1/2 Yard or scraps

Batting: One scrap measuring at least 2” larger than your journal.

Cutting mat

Rotary cutter

Ruler

Iron and ironing board

Binding clips

Straight pins

Sewing machine

Thread

Basting spray or pins

Measure the book to make a simple fabric book cover.

Instructions

This project is scrap-friendly and designed to allow you to play! To make it like I did, you’ll need:

Cover Front: One large square, Fussy cut , measuring at least 12.5"

Cover batting: One scrap measuring at least 14" x 10"

Cover back: One large square measuring at least 12.5"

Cover lining: One lare scrap fabric at least 14" x 10"

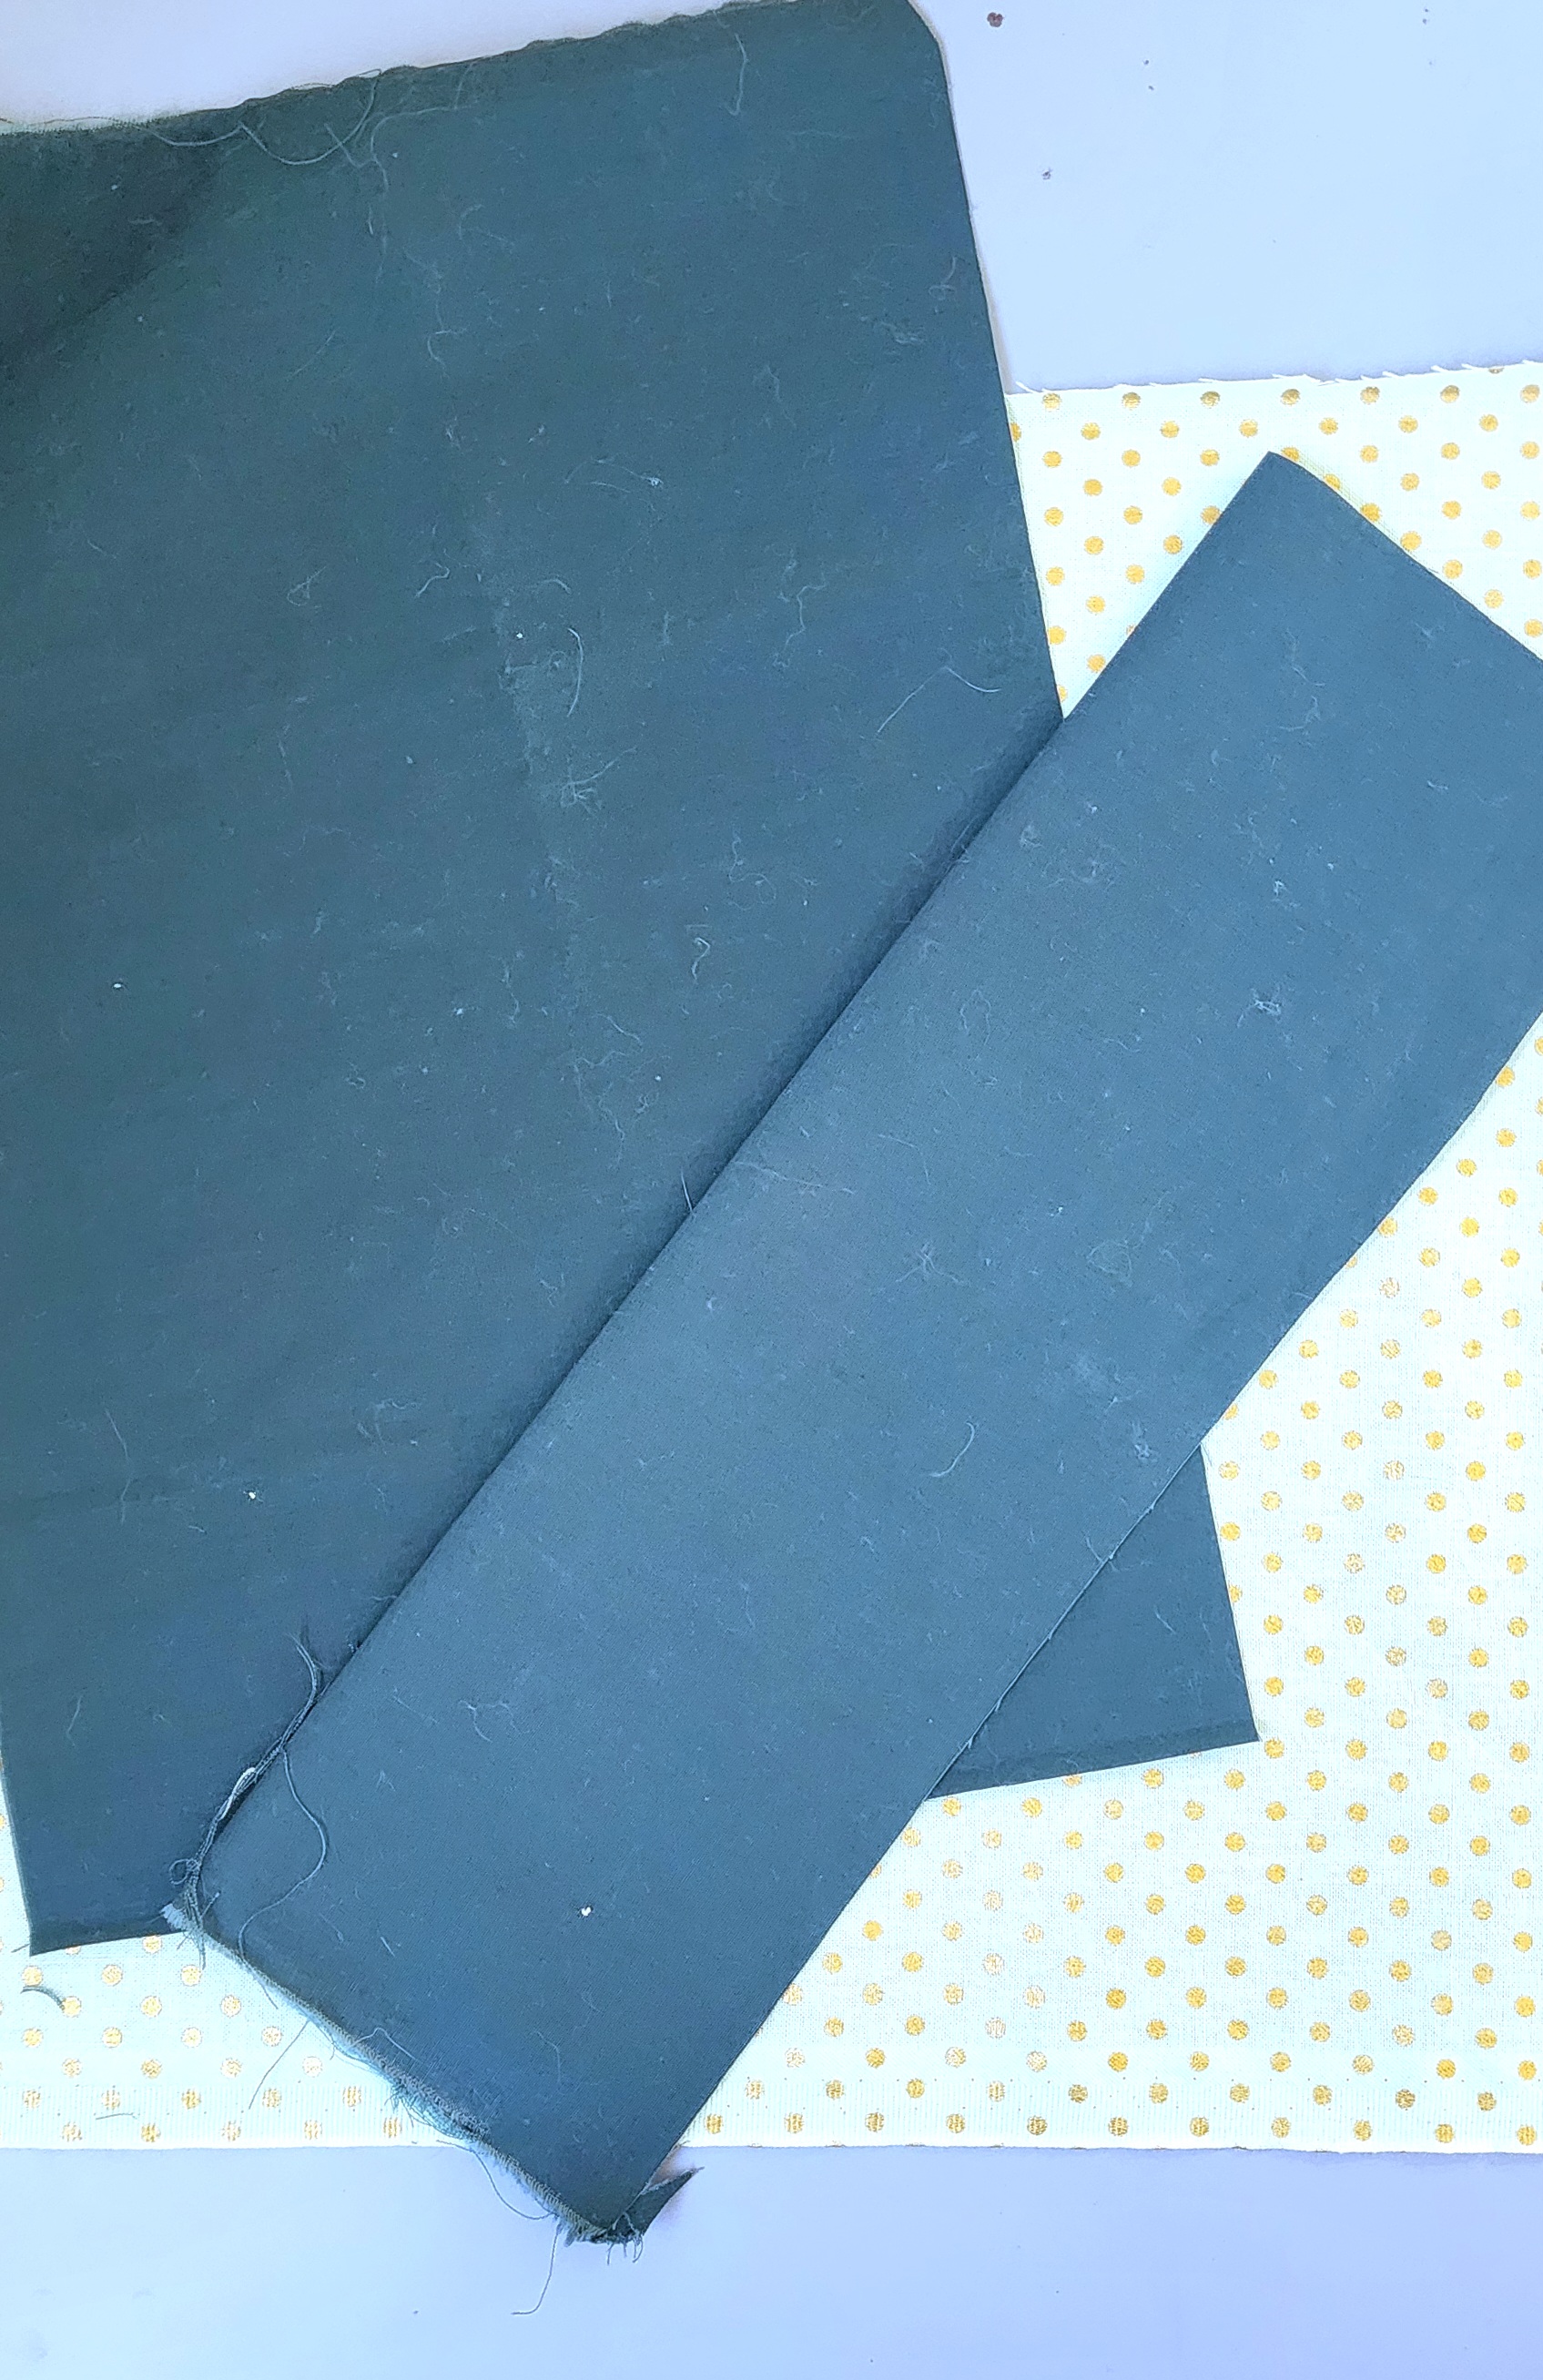
Pockets: Two scraps of fabric that measure at least 10" x 8"

Step 1: Choose Your Journal and Determine the Cover Size

I chose to use a Moleskin, theyre pretty universal in size and easy to find. Measure your journal to determine the unfinished size of your cover (it will end up being about 1/2" wider than your journal on all sides to allow room to open and close it).

Width: With the journal closed, measure the entire width from the right side of the front cover, around the spirals or spine, to the left side of the back cover. Add 1" to get your total width. 

Height: Measure from top to bottom of the cover. Add 1" to get your total height.

For example, if you use a Moleskin like I did, the measurements are:

Width (including the front and back covers): 13" + 1" = 14"

Height: 9" + 1" = 10"

So my final unfinished journal cover will be 14" x 10".

Step 2: Piece the Cover Panel

Grab your scraps and take courage! We’re going to improv-piece wonky strips together to create a one-of-a-kind journal.

Use scraps that are about two inches taller than your height so you have plenty of room to trim down to the journal cover panel size. For example, my cover panel finishes at 10" high so I made my block to about 12” and then thrimmed it all down.

You can choose to cut strips that are the same width if you prefer a more uniform look, I grabbed my strips from my scrap bin!

As you piece each strip to the cover panel, pause to place the cover panel on your cutting mat to ensure it’s at least 1" taller than the finished height measurement. When you’re done piecing your cover panel, make sure it’s at least 1" taller and 1" wider than the size of your  nished cover panel. For example, my pieced cover panel was about 16" x 12" before I trimmed it, and I needed a cover that was 14" x 10". I also sewed my front to my back during this step, ensuring I have one large panel.

Once you have pieced all of your strips together, your panel might look a bit, well, messy. Don’t worry! Once it’s quilted, it will be trimmed down to the finished size.

Step 3: Quilt and Trim the Cover Panel

Baste the cover panel and batting together using your preferred method. I decided to add some fun decorative stitching offered by my Janome sewing machine. I practiced out a few possibilities and decided on this fun orange peel looking one!

Once you’ve quilted your panel, trim it down to the size determined in step 2. In my example, I trimmed my cover down to 14" x 10".

Step 5: Add the Pockets

Grab the pocket fabric to make two pockets that hold the journal cover onto the journal.

For each pocket, cut a piece that’s half the width and the same height as the journal cover. For mine, I cut two pocket pieces each measuring 8" x 10".

Fold each of the pockets in half lengthwise and press so you end up with a tall, slender, double-thickness pocket (mine are 4" x 10").

Extend your stitch length and baste the pockets to the lining side of your cover, raw edges together, about 1/8" from the edge. Baste on all three raw edges. (The raw edges will be hidden inside

Step 6: Finishing your book cover

With your front and lining panels right sides together, sew around the raw edges, about 1/4” from the edge, Leaving a two inch gap between the front and lining in order to turn your cover right sides out. Trim corners before turning out to reduce bulk.

Once book cover is turned right sides out, give it a good press and top stitch 1/4 from the edge, ensuring your gap is now sewn shut.

Step 7: Enjoy that book cover!

I loved this make so much I’ll be making a few more! More decorative stitches!

Everyone is Talking about Moleskin Book Cover
Reviews


Tako
Beautiful
Wednesday, November 23, 2016

cpindzola
Around the Table Dresden Placemats
Saturday, December 17, 2016

I like the concept, but the directions are "sloppy." Nowhere in the supply list does it mention the felt or the batting (how much?). Also, I would never use a high loft batting in a placemat, or a table runner, as I think that it would be too unstable for a glass. The next time I make these, I will cut out the batting (I use flannel) and spray baste it to the wrong side of the Dresden plate before I put the Dresden plate on the felt to cut out. I have not yet washed the finished placemat, and am hoping that the single layer of felt does not curl up, or become distorted after washing/drying.
Txmaid
Fun Great Gift!
Tuesday, February 21, 2017

MargieARK
Teatime Quilted Tablecloth
Friday, February 24, 2017

I made this today but your cutting directions need to be changed. You only need 4 of color 1 and color 3 4.5 squares for the triangles. Also the inner border, you only need 2 cuts as WOF is long enough to cut each in half to fit the sides.
MickelSews
Great Machine
Wednesday, August 30, 2017

I've had this machine for only a week now. I bought it used from a lady who makes her own clothes, but she no longer needed the machine. During the purchase, she noted that she is almost sad that it's better to give it away because of how well the machine performed. (I also bought it along side a computerized machine of another brand.} She demoed the machine for us, showing it worked and gave us everything (including the box it came in!) She took amazing care of this machine. I have used it a few times now, and the directions for threading were easy to follow (albeit my hands are quite large so the lower looper was a pain, but that is no fault to the machine or brand.) And I recommend this machine to anyone who wants to learn to serge and wants a machine that can grow with them. I will happily use this machine time and time again.
rvstan
S9 Review
Sunday, February 25, 2018

I love, love, love my S9! It's sews and embroiders beautifully and it's simplicity of use amazes me. I would recommend this machine for both a beginner and an experienced seamstress. If I would ask anything of Janome it would be to upgrade the programming to run a larger hoop size. I understand that it can't get much wider but there is most definitely room for it to go longer. That is the only limitation of this machine.
pjmnana
PJMNana
Monday, February 26, 2018

I purchased a Memorycraft 15000 a few years ago and it was the best purchase I ever made! This machine can do just about anything you would would ever want! I love the capability of using the Acuedit app to set up my embroidery pattern on my Ipad and then download it to the machine! I love how my embroidery looks upon completion and I love all the good lighting it has to light up your workspace. That way you don’t need to worry about where to set up your machine. It also has plenty of room to do machine embroidery on any size quilts! There are many decorative stitches from which to choose that are outstanding! It’s hard to choose which one to use! There are so many great features it is hard to decide what I love the most. If you want to buy only one machine to last a lifetime, I would recommend this one!
KLWash
S9 Review
Sunday, February 24, 2019

The S9 is amazing. I learned to sew by hand when I was just 5 and in my grandmothers way as she was quilting. I took seeing classes in high school until they would no longer let me sign up. The S9 makes me appreciate my current skills as well as motivate me to want to learn more. This machine is awesome.
SewSueMe2002
Horizon Memory Craft 15000
Thursday, November 19, 2020

My Janome Horizon Memory Craft 15000 is fantastic! I love, love, love this machine! When I came across the Eye for and Eye embroidery design today, I wanted to make it. However, the embroidery file is missing. Nothing downloads when I select the download button. Please help!
Jillfmischo
Treat Bag fun!
Monday, August 16, 2021

I made the Halloween treat bag for my new granddaughter and I’m sure it will last for years. No embroidery machine so I appliquéd the lettering. Need a little more skirt fabric for a better gathered look, and I used thin double-bias tape for the skirt hem, over edge stitch on skirt sides. I’m pleased with my results!
elenaz
Very helpful tutorial
Wednesday, October 25, 2023

I want to say thank you for teaching me this method of applique. I was able to do it with a small letters. This method is the best so far from all of those I've seen and tried.
plonkar
So useful
Thursday, November 30, 2023

I'd like to express my gratitude for teaching me this appliqué method. I successfully applied it with small letters, and, so far, it's the most effective among all the methods I've seen and tried.

DEALERS
The TWO Closest Dealers to you are:
196 Boston Post Road , Orange CT, 06477
203-878-1654
19 PUTNAM AVENUE , PORT CHESTER NY, 10573
914-934-2934
Find Additional Dealers