How to make a fur pillow! Plus tips on working with fur fabric!
Hey everyone! Happy New Year! Things have been quiet over here but that’s because I’ve been working on me, plus we got a new puppy and we‘re starting to settle into married life. My goal on my blog this year is to take it back to basics and provide more value to all of you. I missed that along the way. So I’m starting 2023 off with a new tutorial and all the tips for working with fur fabric. Let’s get into it!
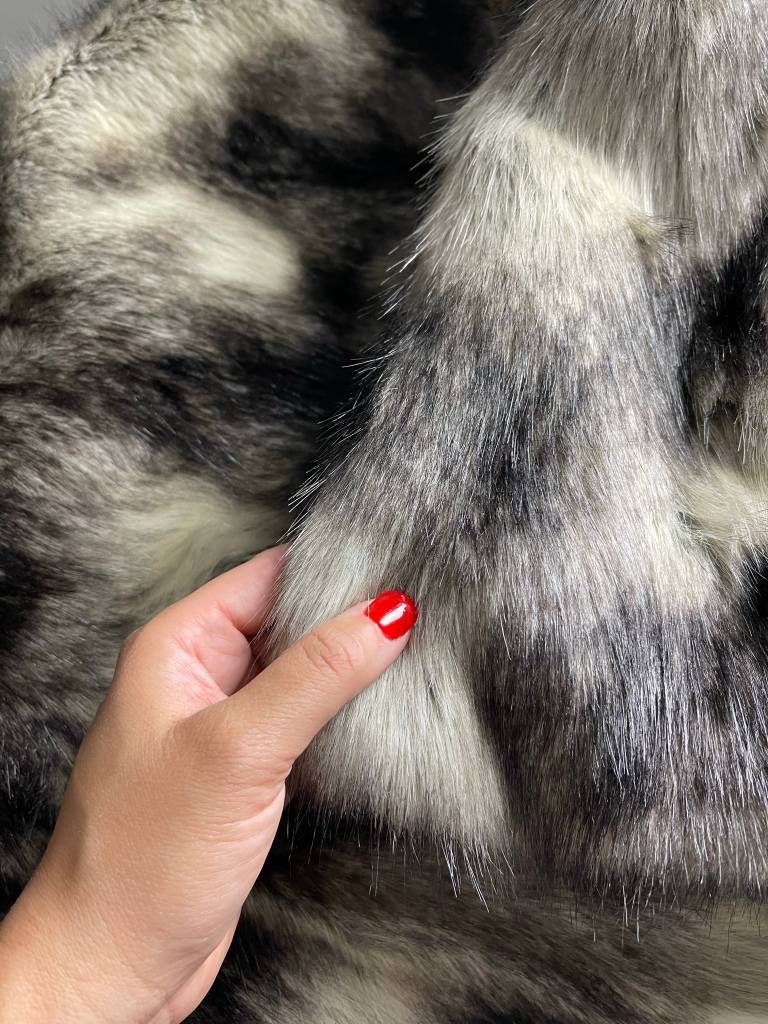
A few things to remember about fur is that it does have a nap and a pile. And if you’re not familiar with those terms, let me explain. The nap is the direction that the fur is going in. Run your hand over it, and if the fur lays down (like petting an animal, sorry) then that’s the correct direction of the nap. The pile is how HIGH the nap (or fur) is on the fabric.

- Here’s a few other tips before we get into our tutorial:
- Always cut on the wrong side of the fur, getting as close to the base of the fur as possible.
- Cut in the direction of the nap
- Pin and tuck in your fur at the same time
- Use a zigzag stitch
- Don’t use over complicated patterns for fur (thank me later)
Now let’s get into the tutorial. You don’t need a lot of fur fabric. Around 1/2 yard is perfect.
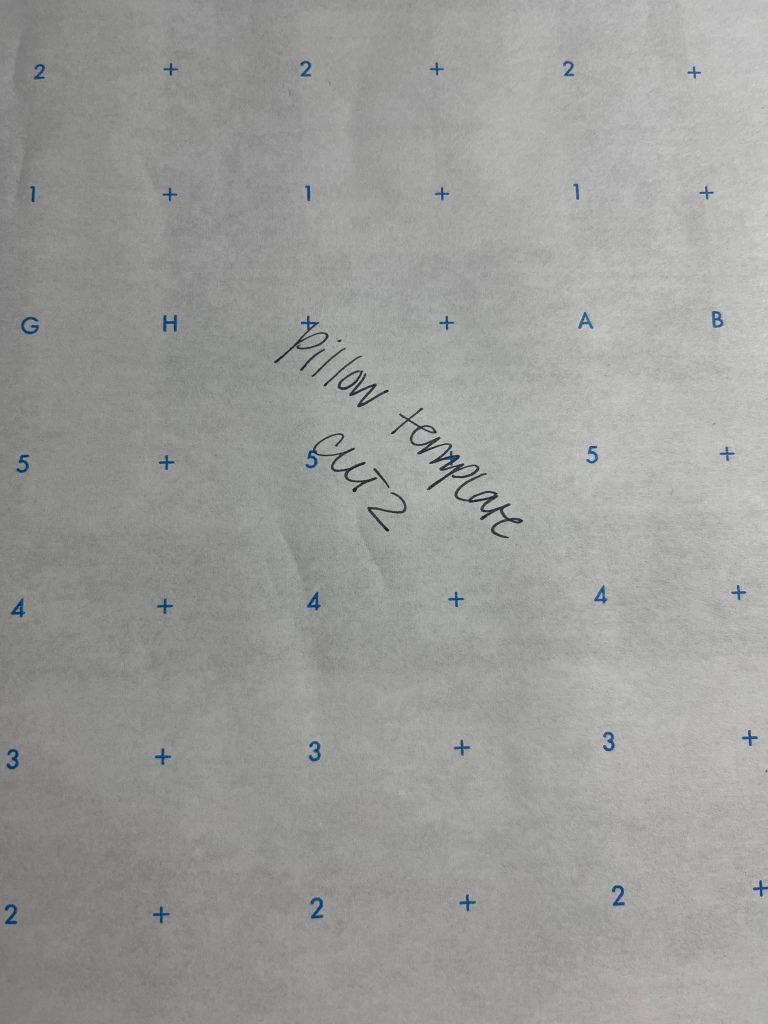
I made a template for my pillow. It’s 17×17 and I added a 1/2 inch around the entire perimeter for a seam allowance.


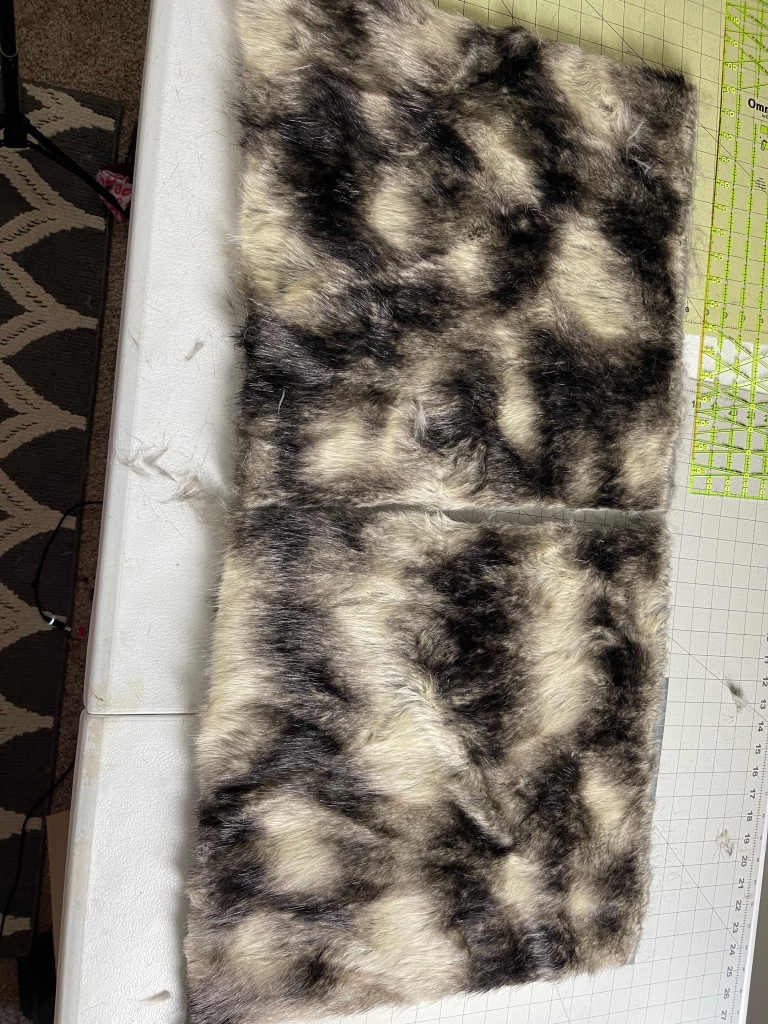
Next I cut my fur, making sure that I followed my guidelines for cutting with nap. Then I used wonderclips to keep them together.


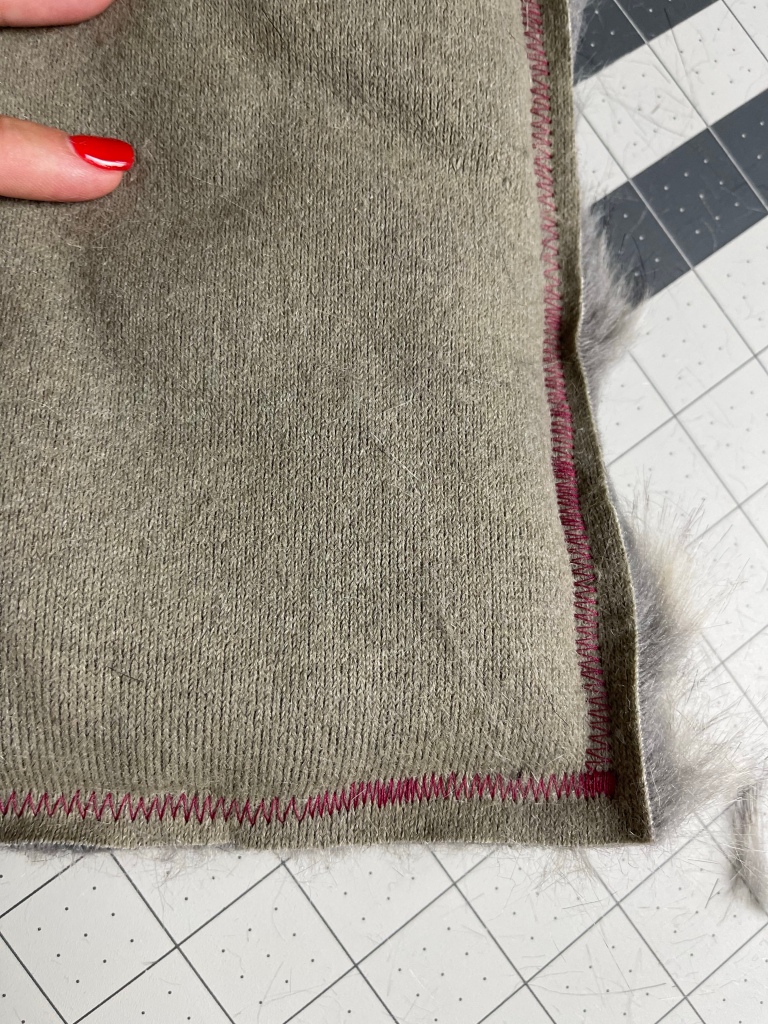
Then on my sewing machine I used the widest zig zag stitch at a 1/2 inch seam allowance. I made sure to leave a 3 inch opening.

Next I filled my pillow with scrap fabric. Trust me, it works just as good as polyfil, if not better. I find that I’m able to manipulate the shape more with scrap fabric.
I hand stitched the closing and placed it on my office chair! We’re done!


