Download the pattern HERE
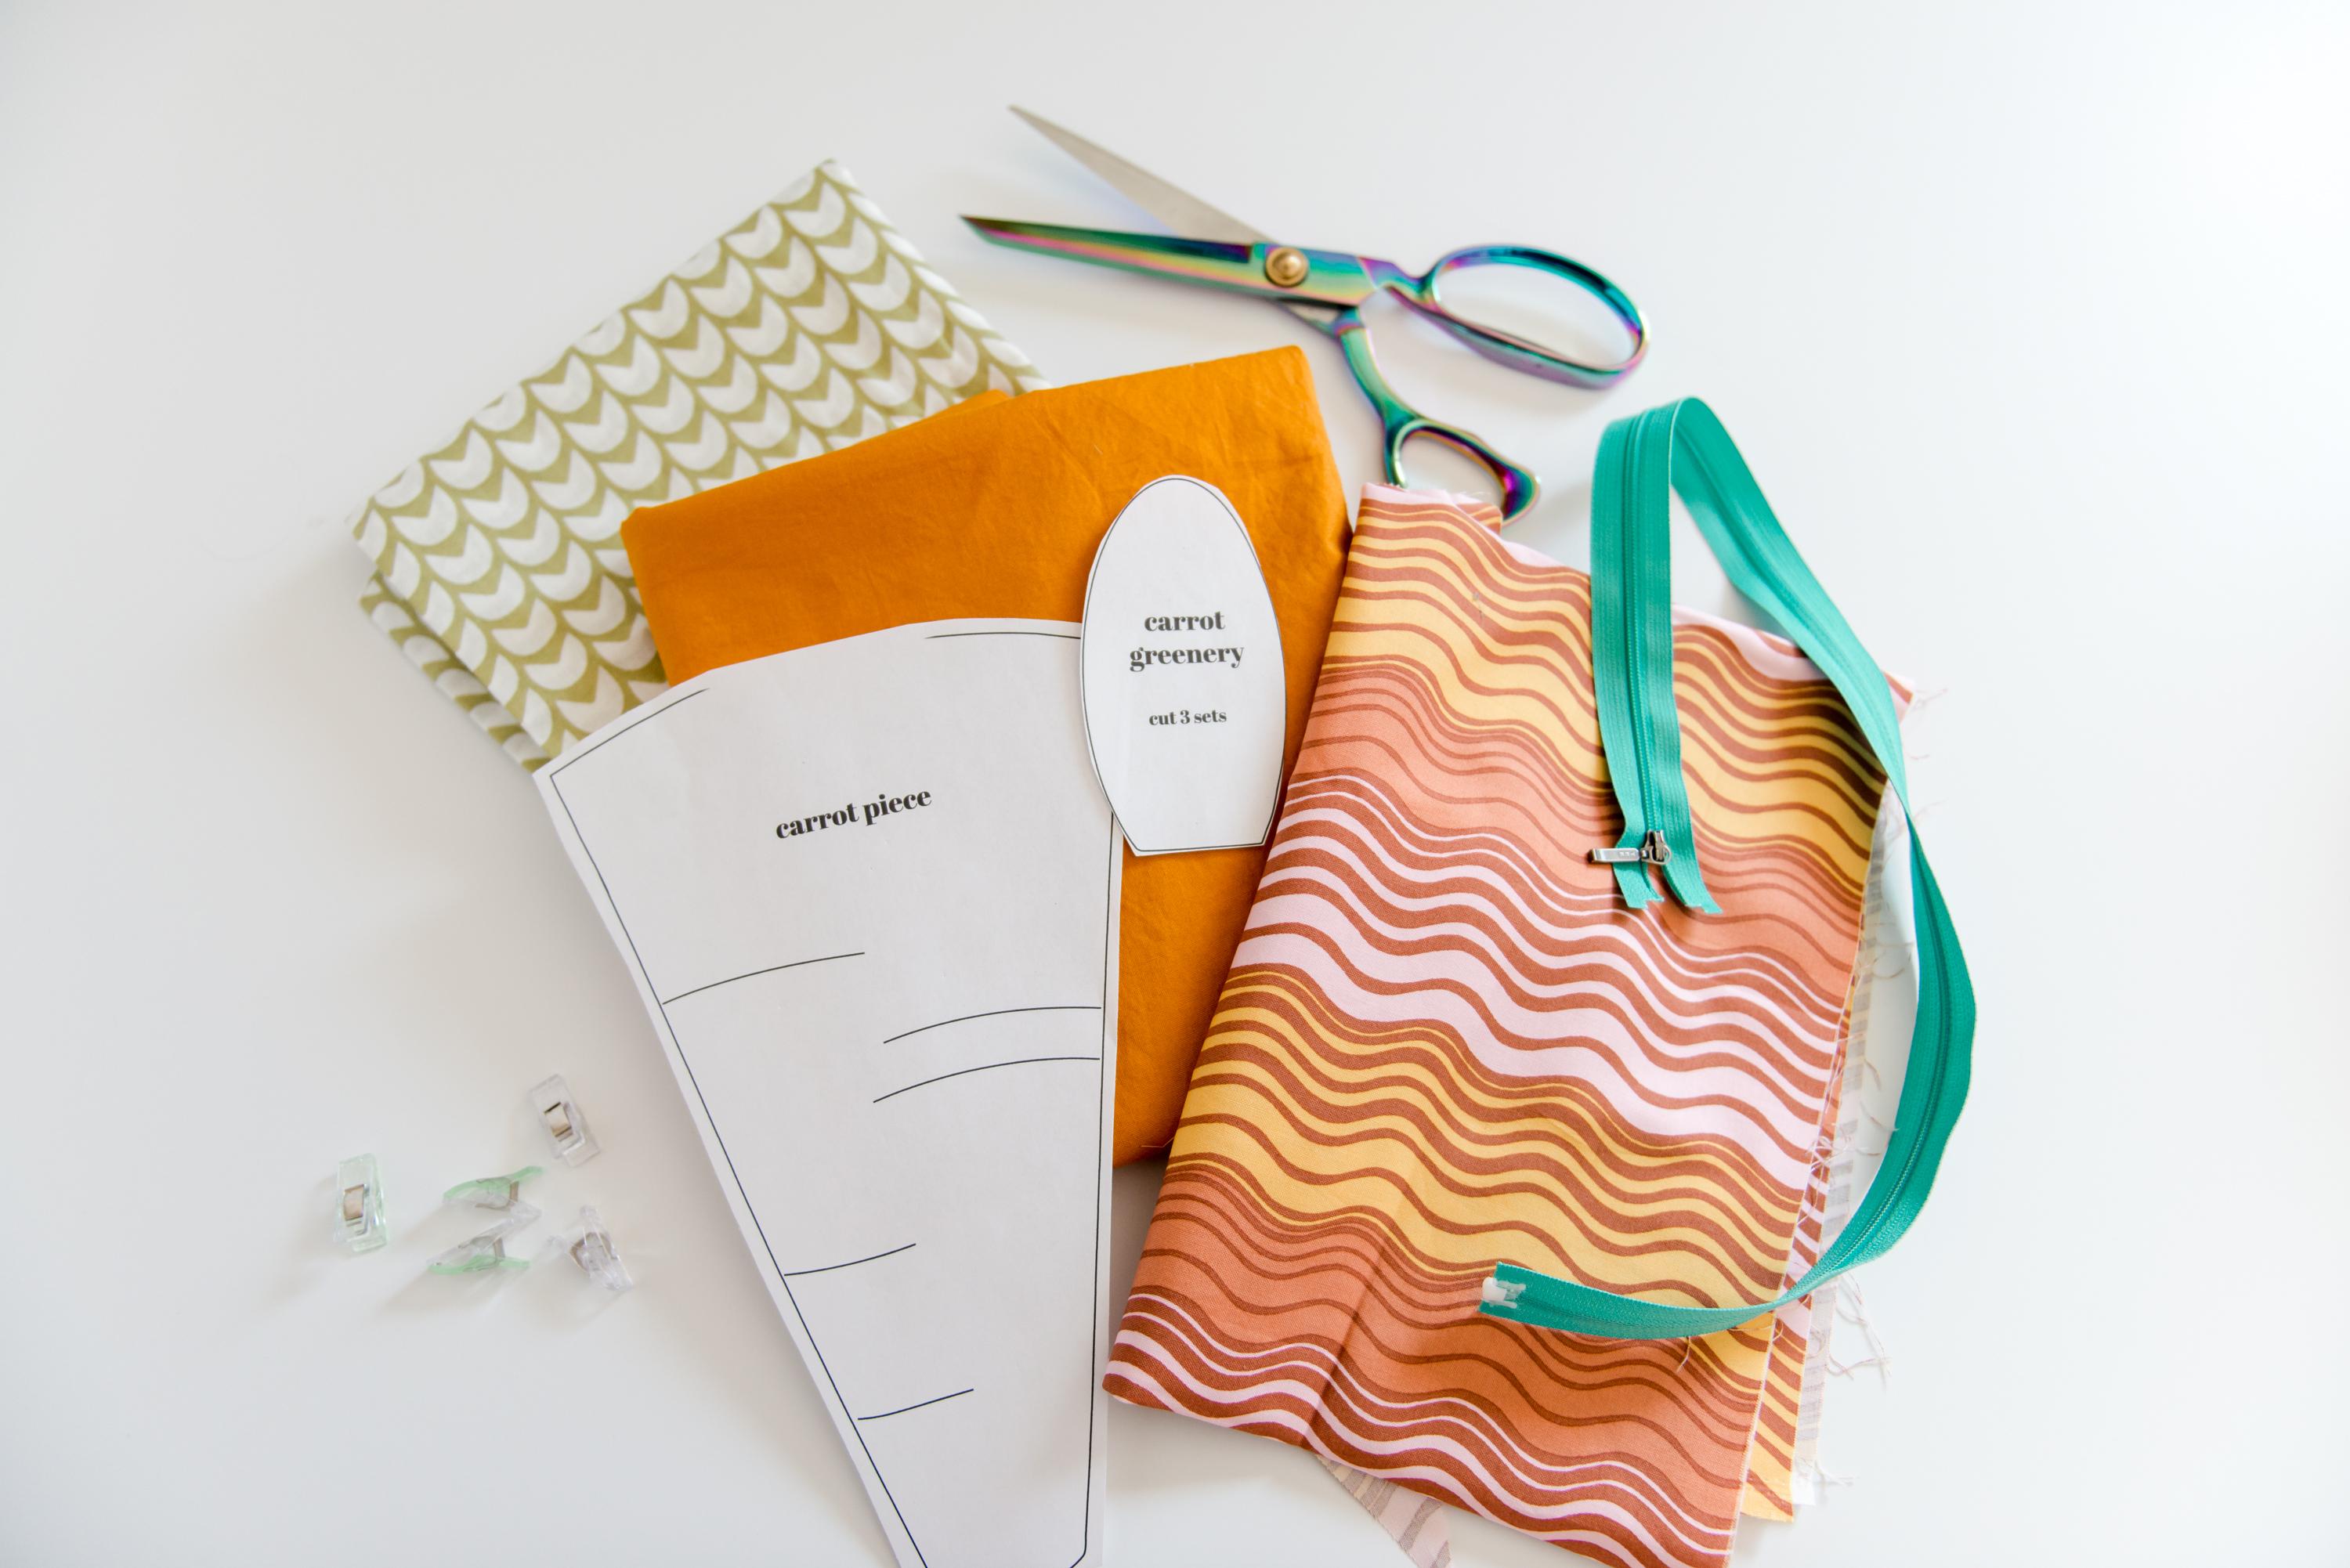
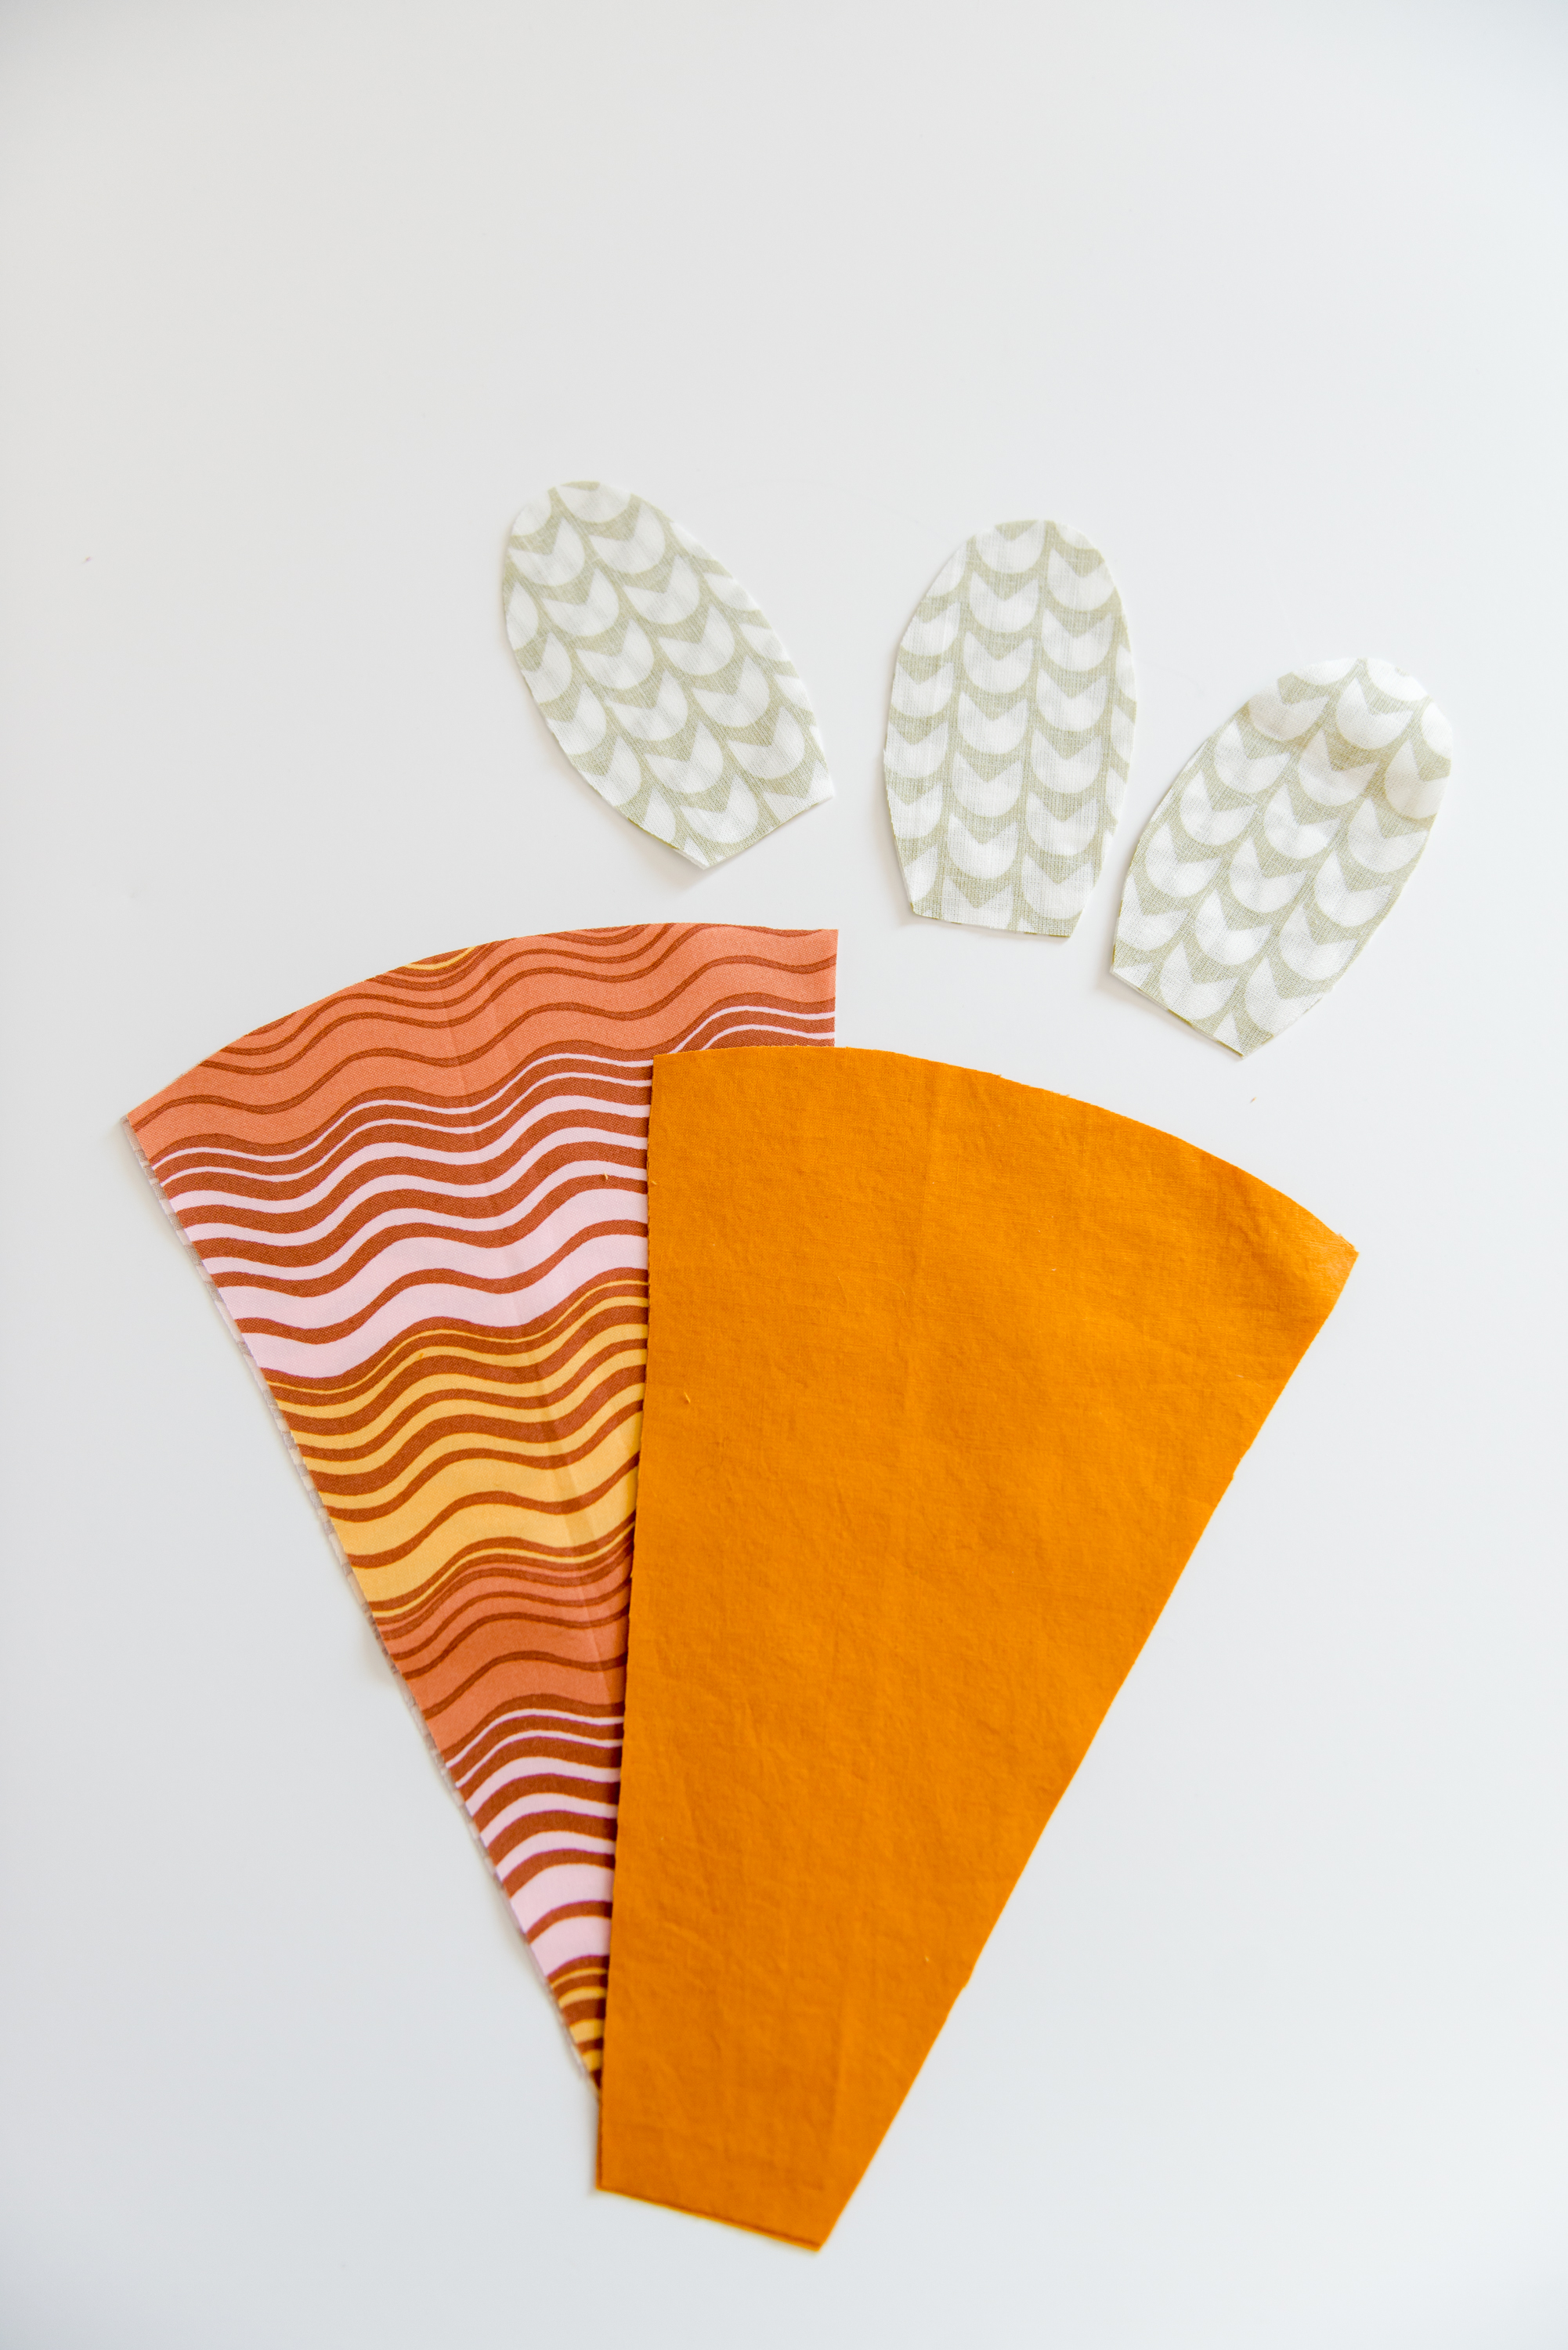
1. Cut pieces
With the right sides together, use the PDF pattern to cut:
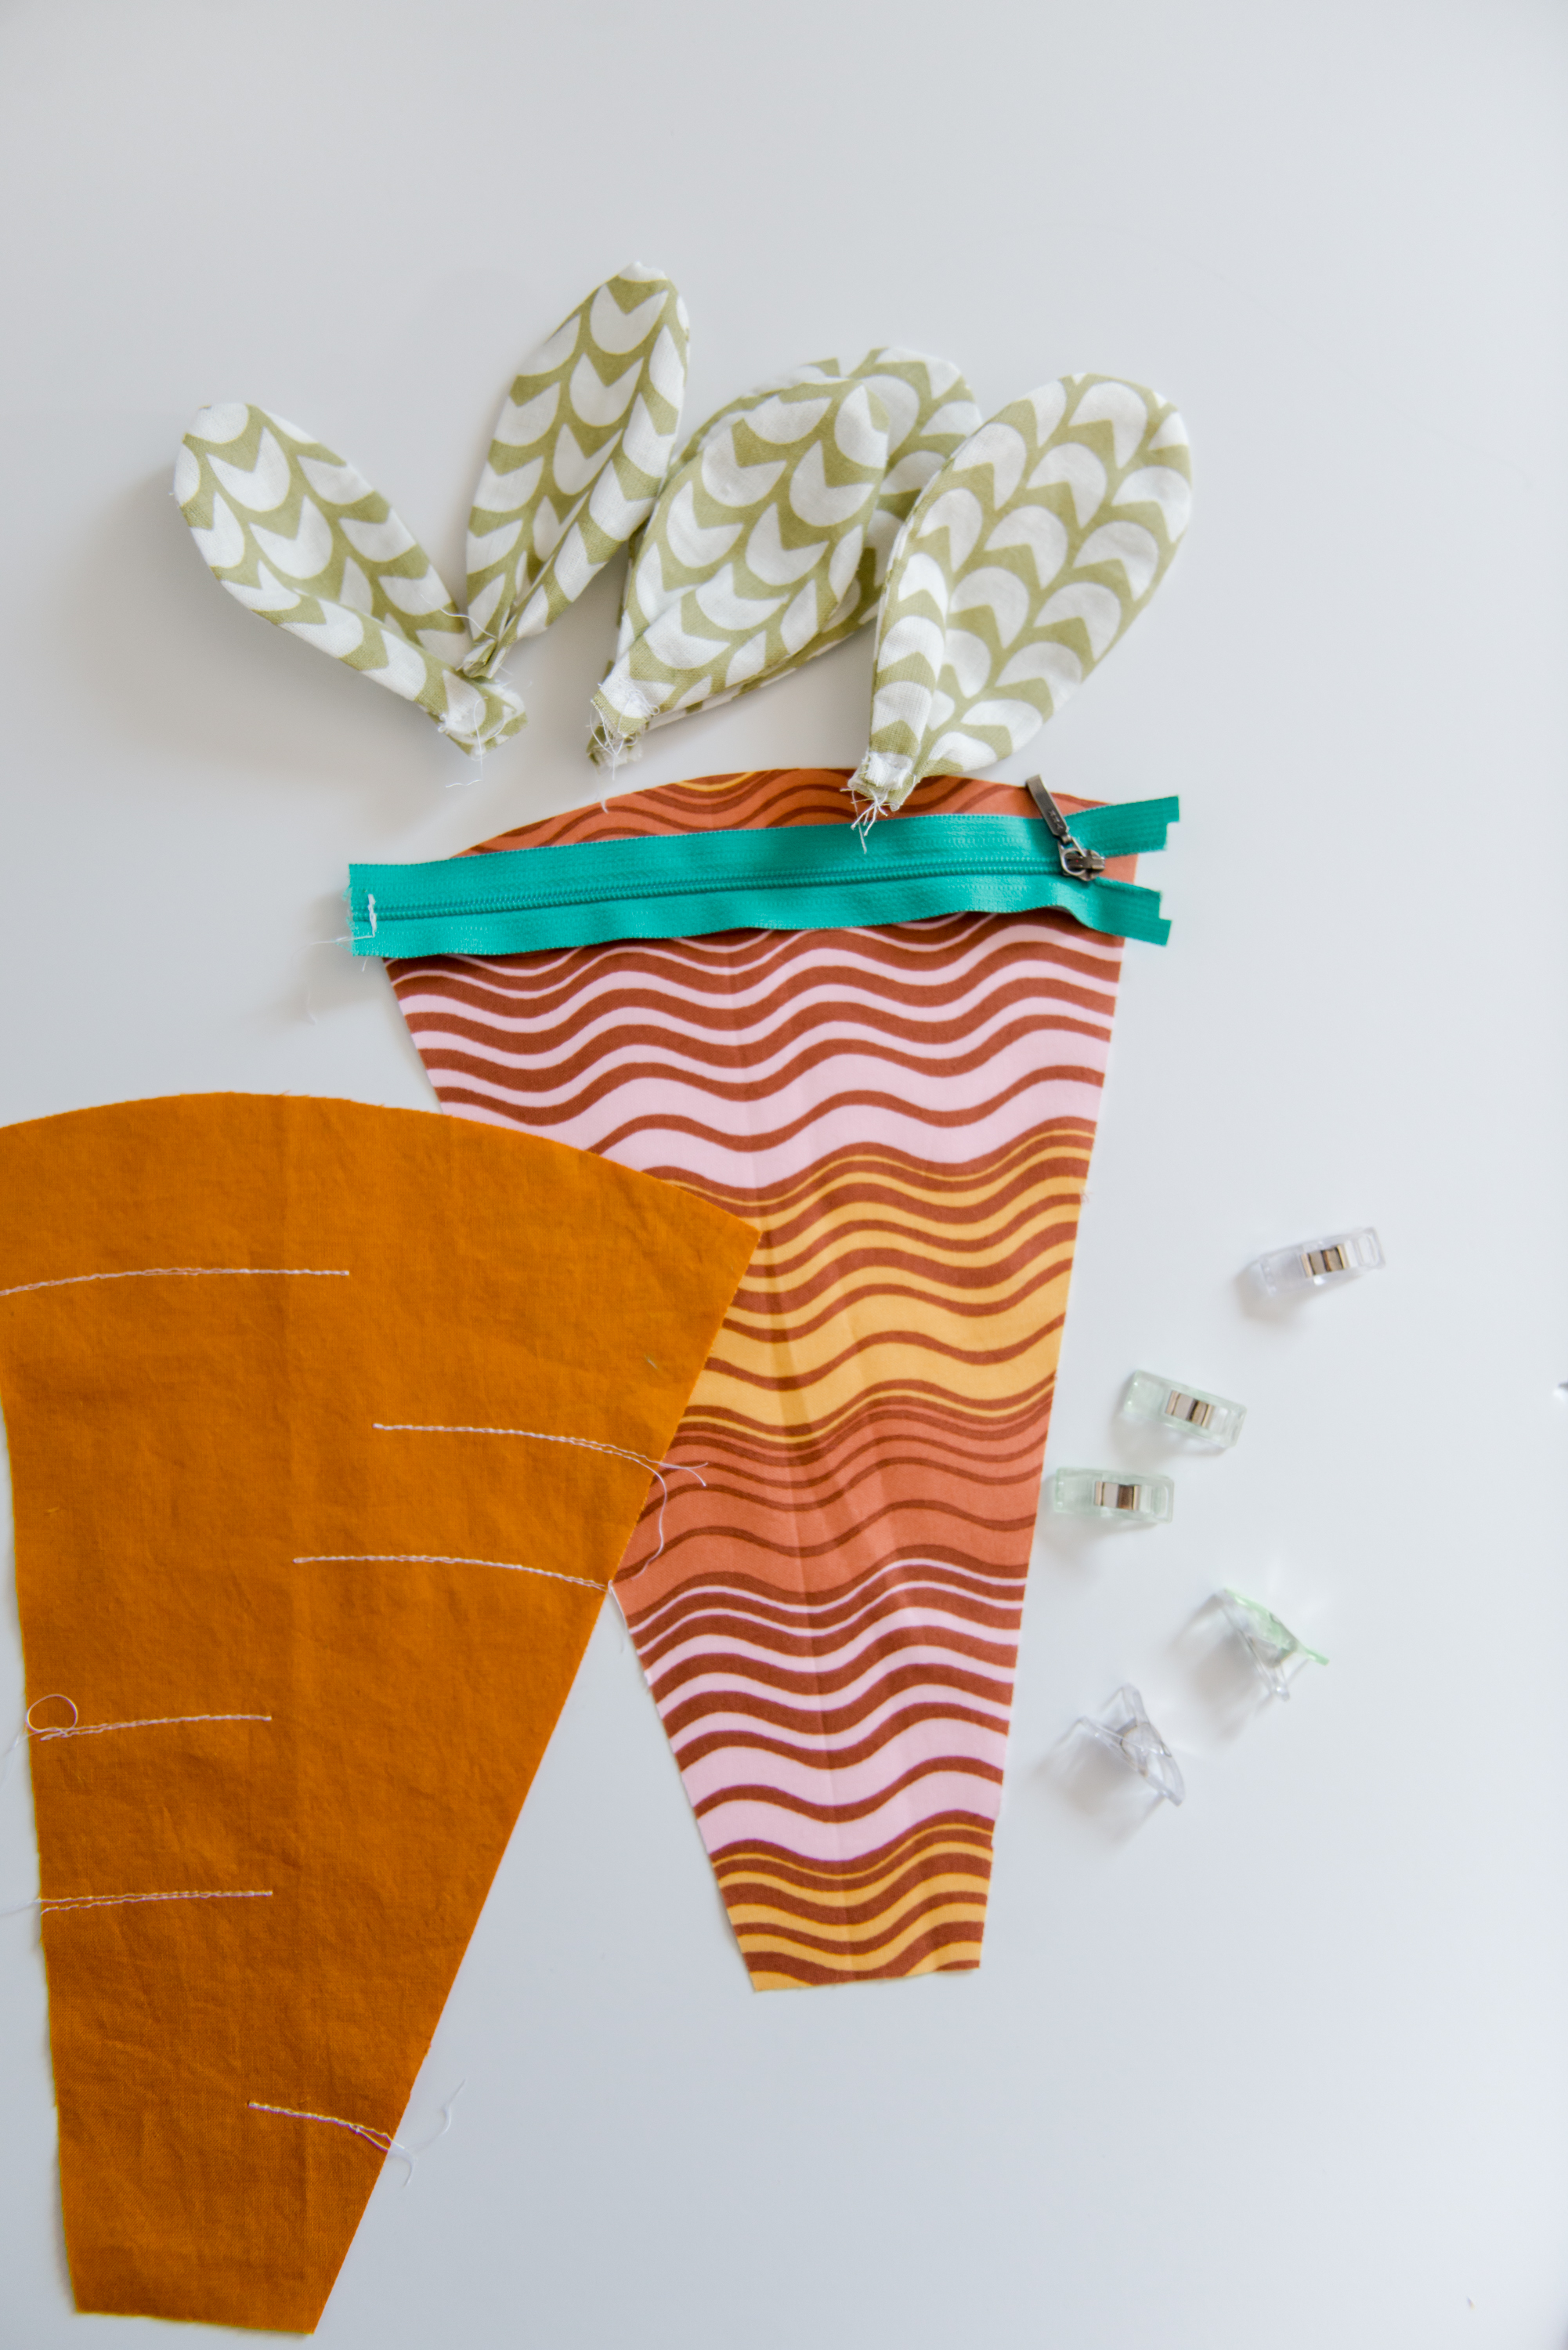
*2 orange carrot pieces
*2 lining pieces (from the same carrot piece)
* 5 total sets of the greenery tops (3 of the smaller size and 2 of the larger)
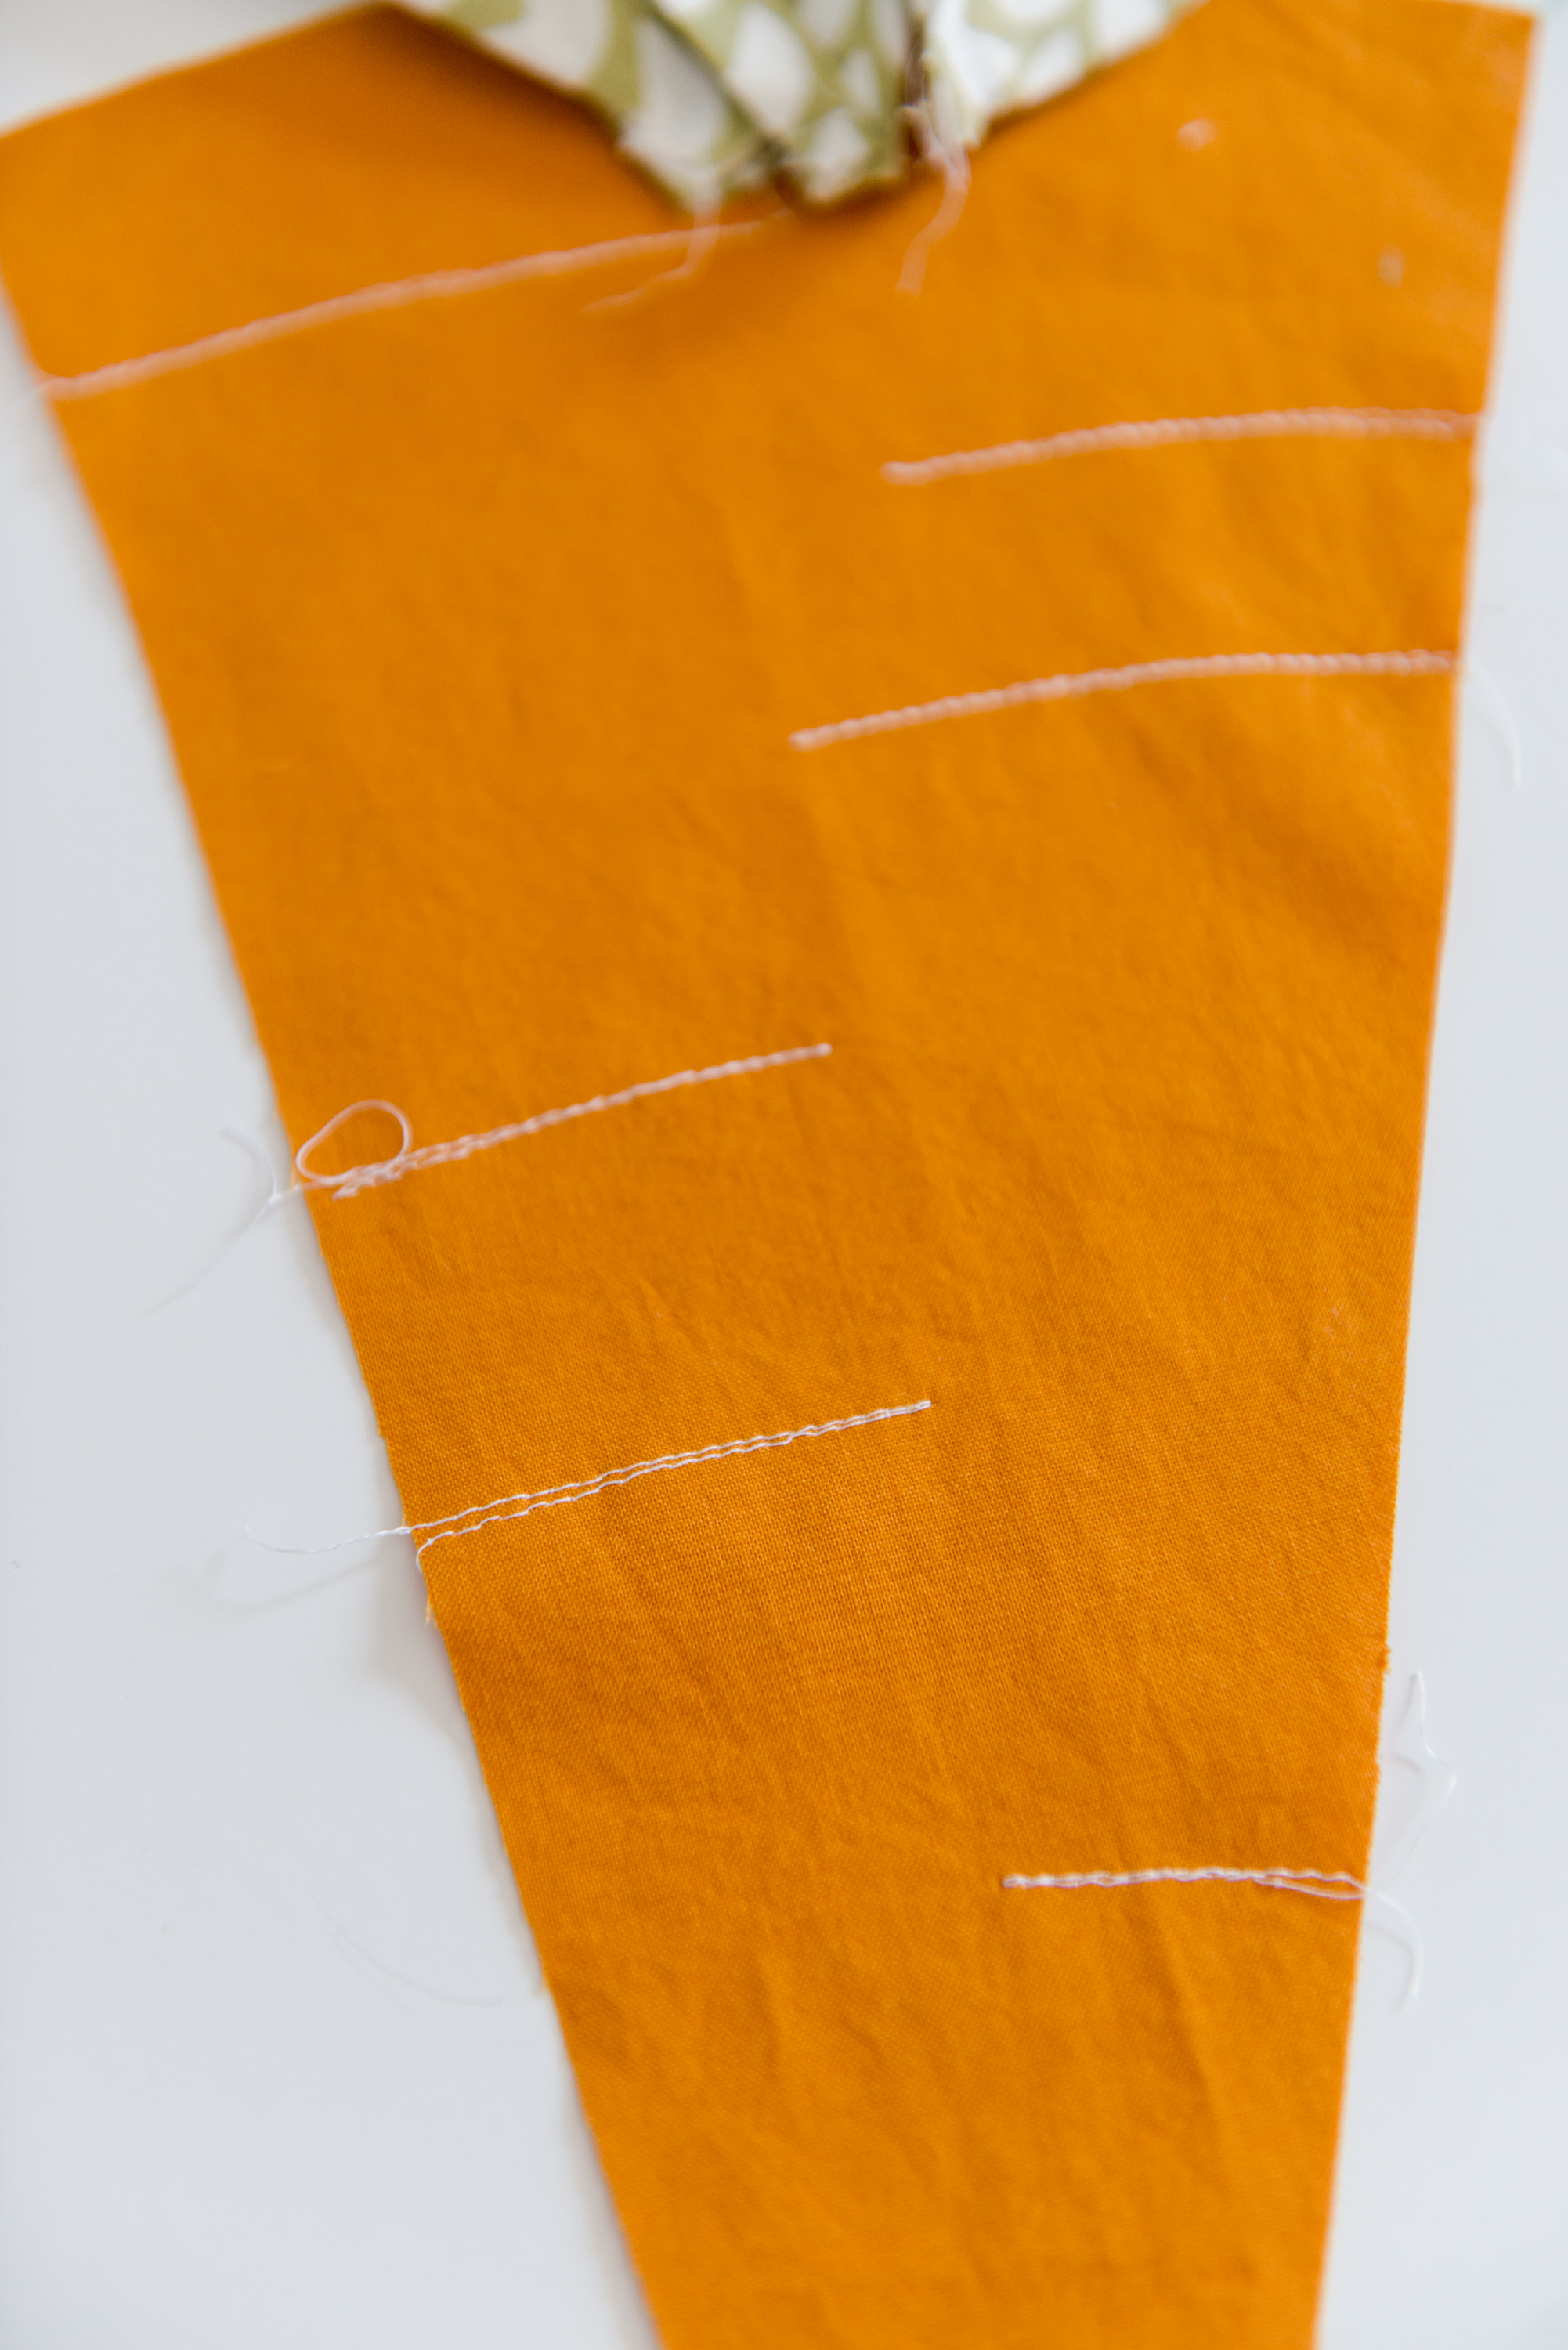
2. Sew top of the carrot
Add in some “carrot detail” by just stitching some lines back and forth across the sides
of one of the carrot outsides (orange piece)
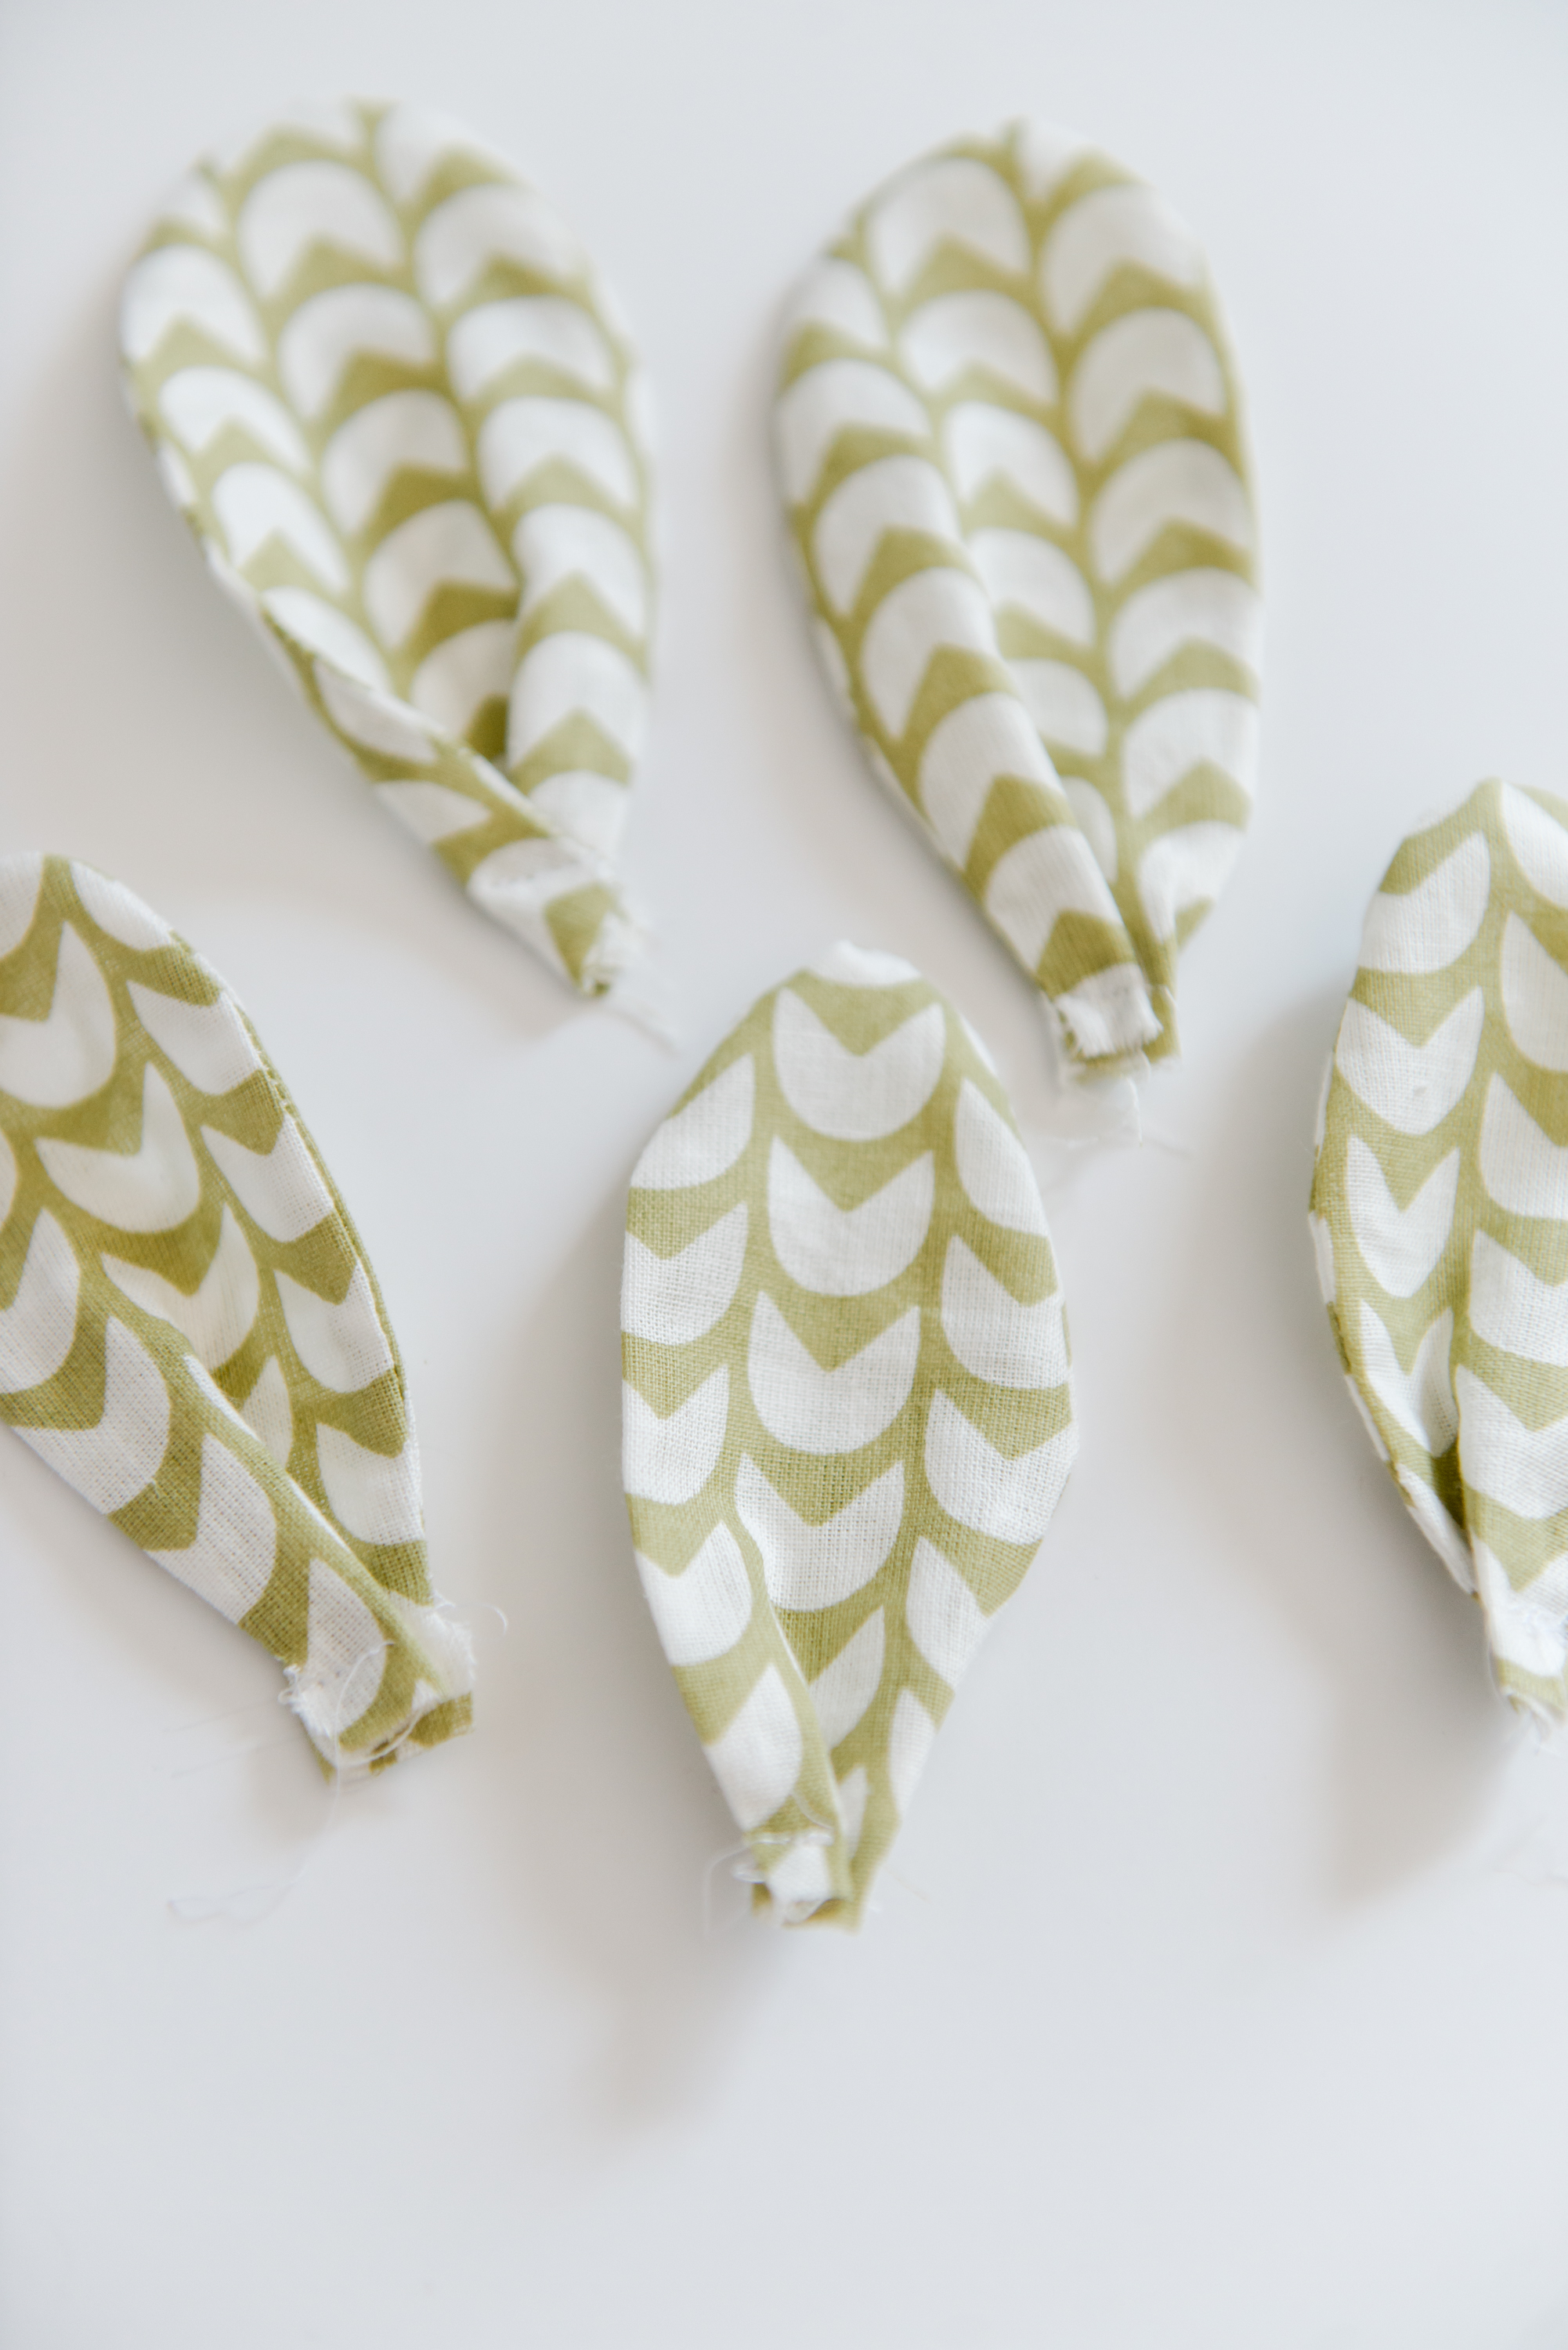
3. Sew top greenery
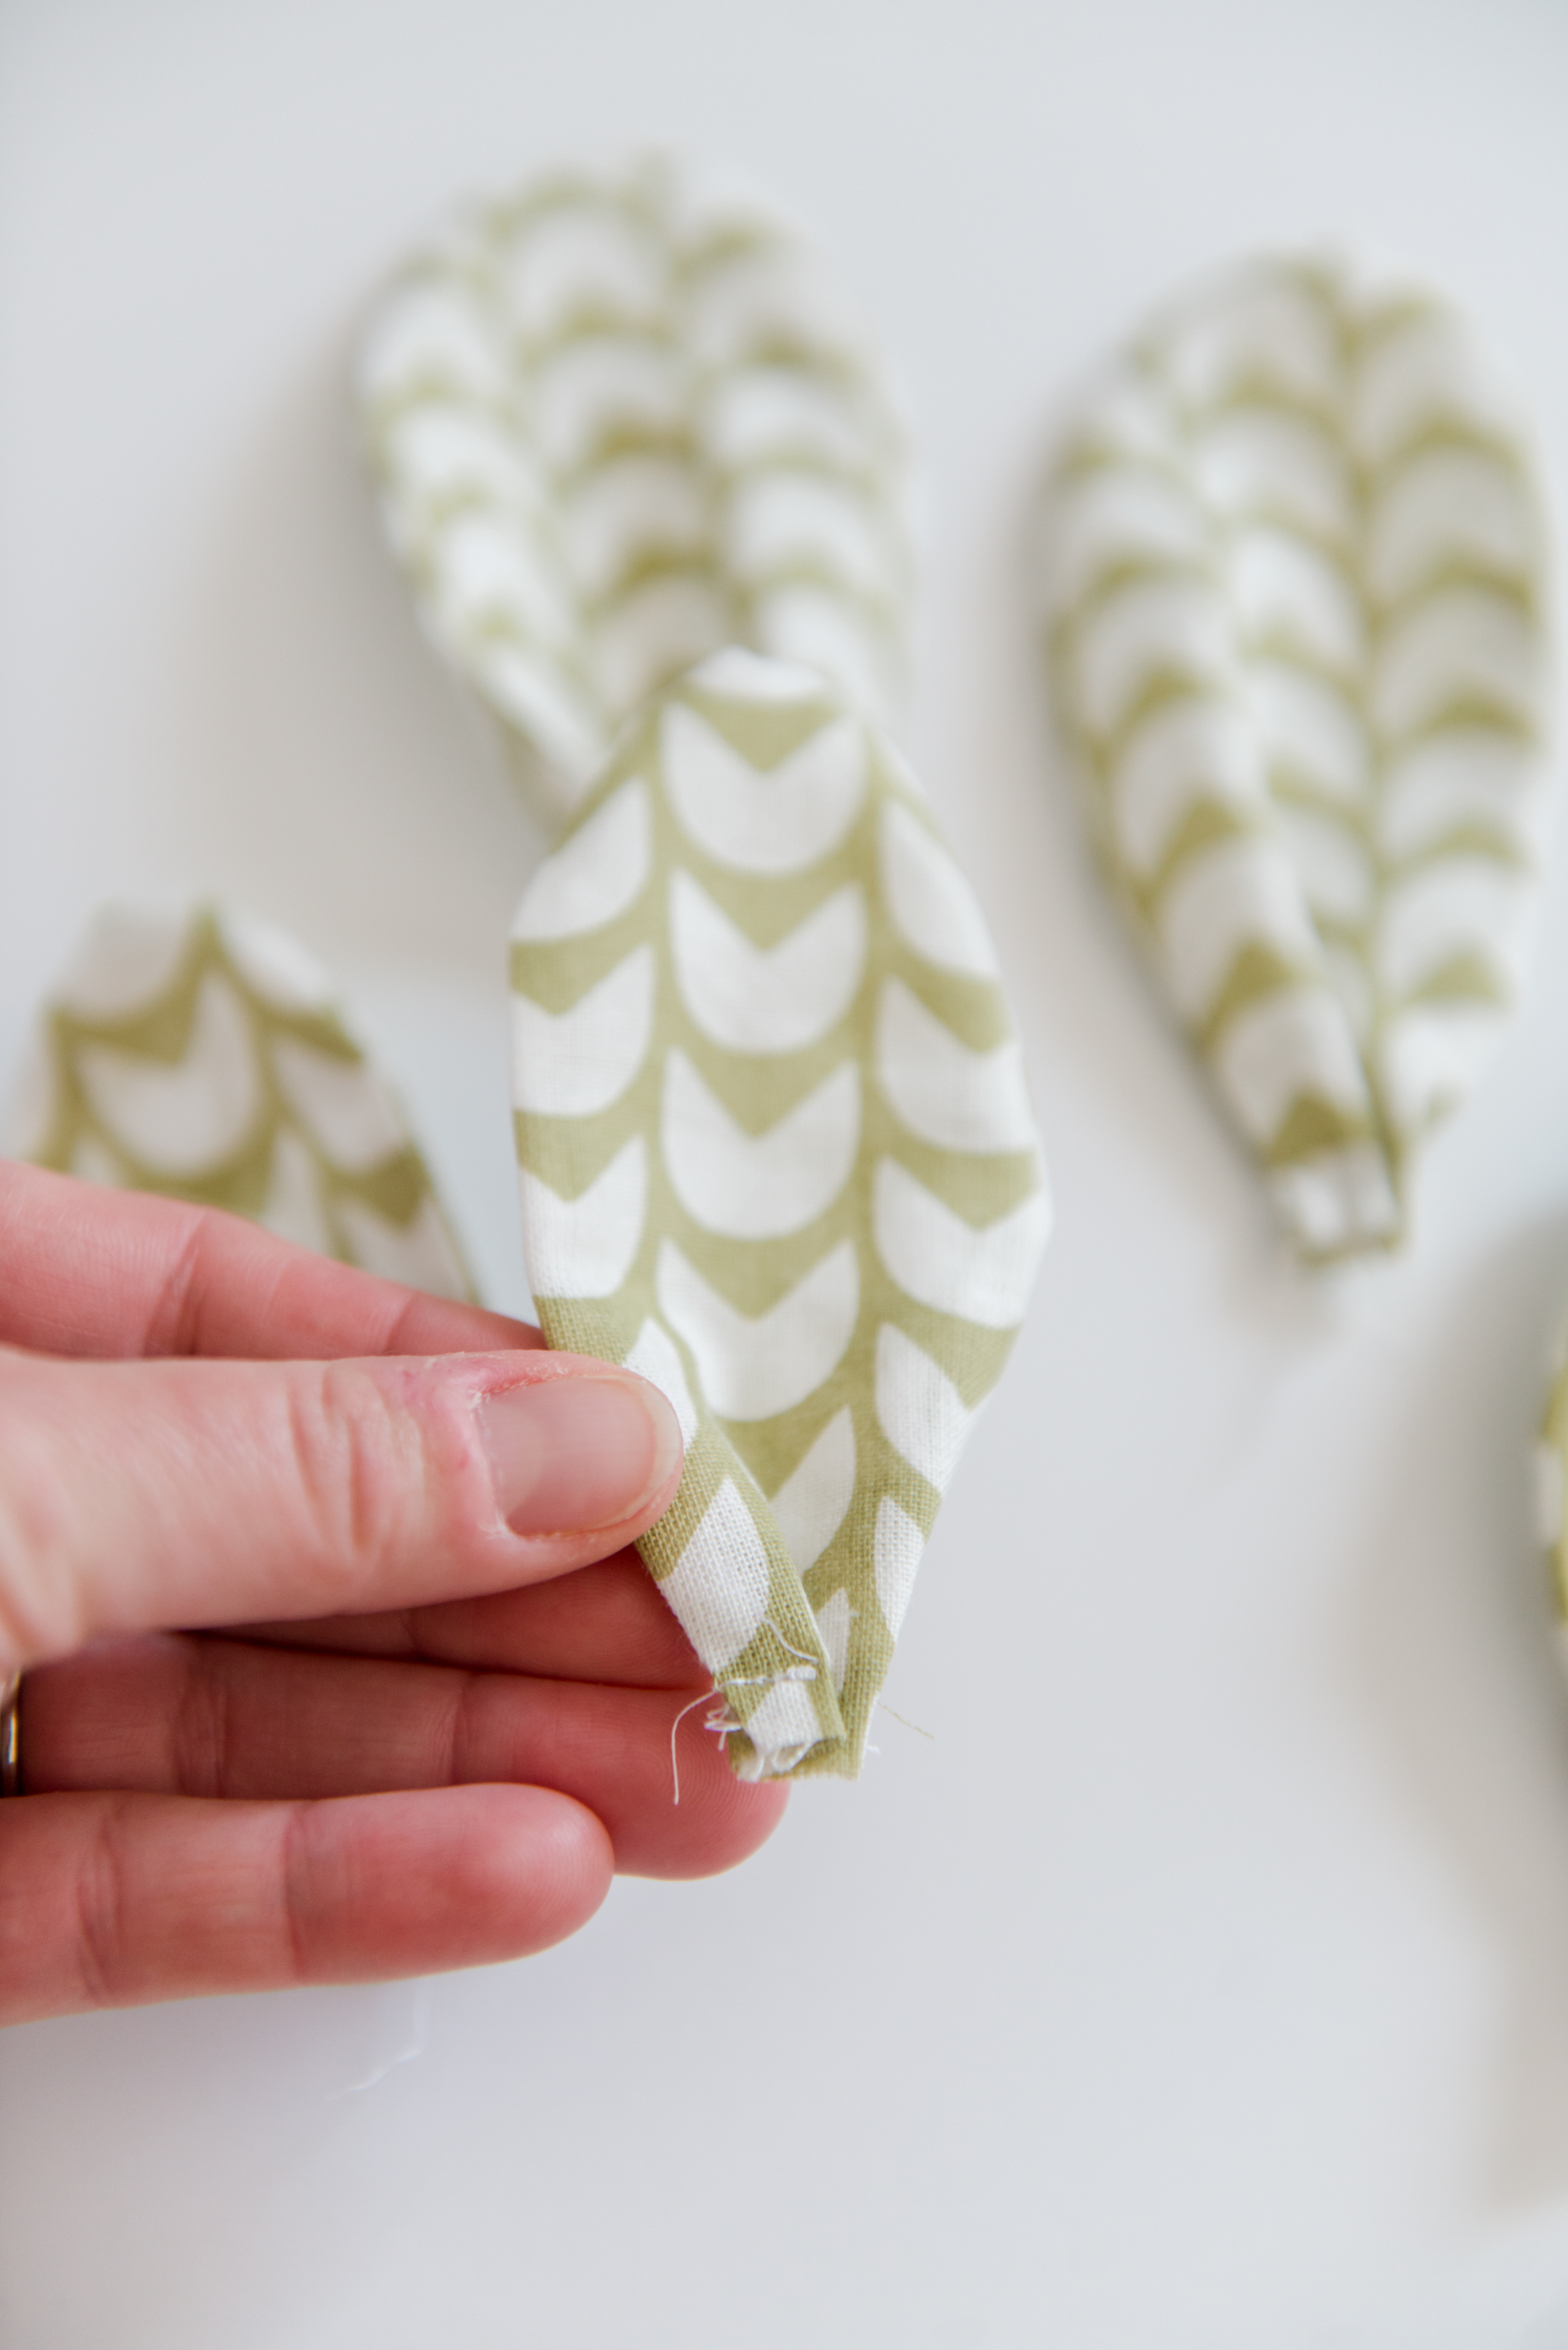
With the right sides together, sew each of the three greenery top pieces of the carrot. Stitch
around the outside edge, clip the edges with sharp scissors (so that they turn flat and
easy), and then press flat. With each piece, fold the bottom portion of the greenery to
crease it and give it dimension, then loosely stitch along the bottom so that it stays
folded for when you attach it to the carrot.
4. Sew Zipper
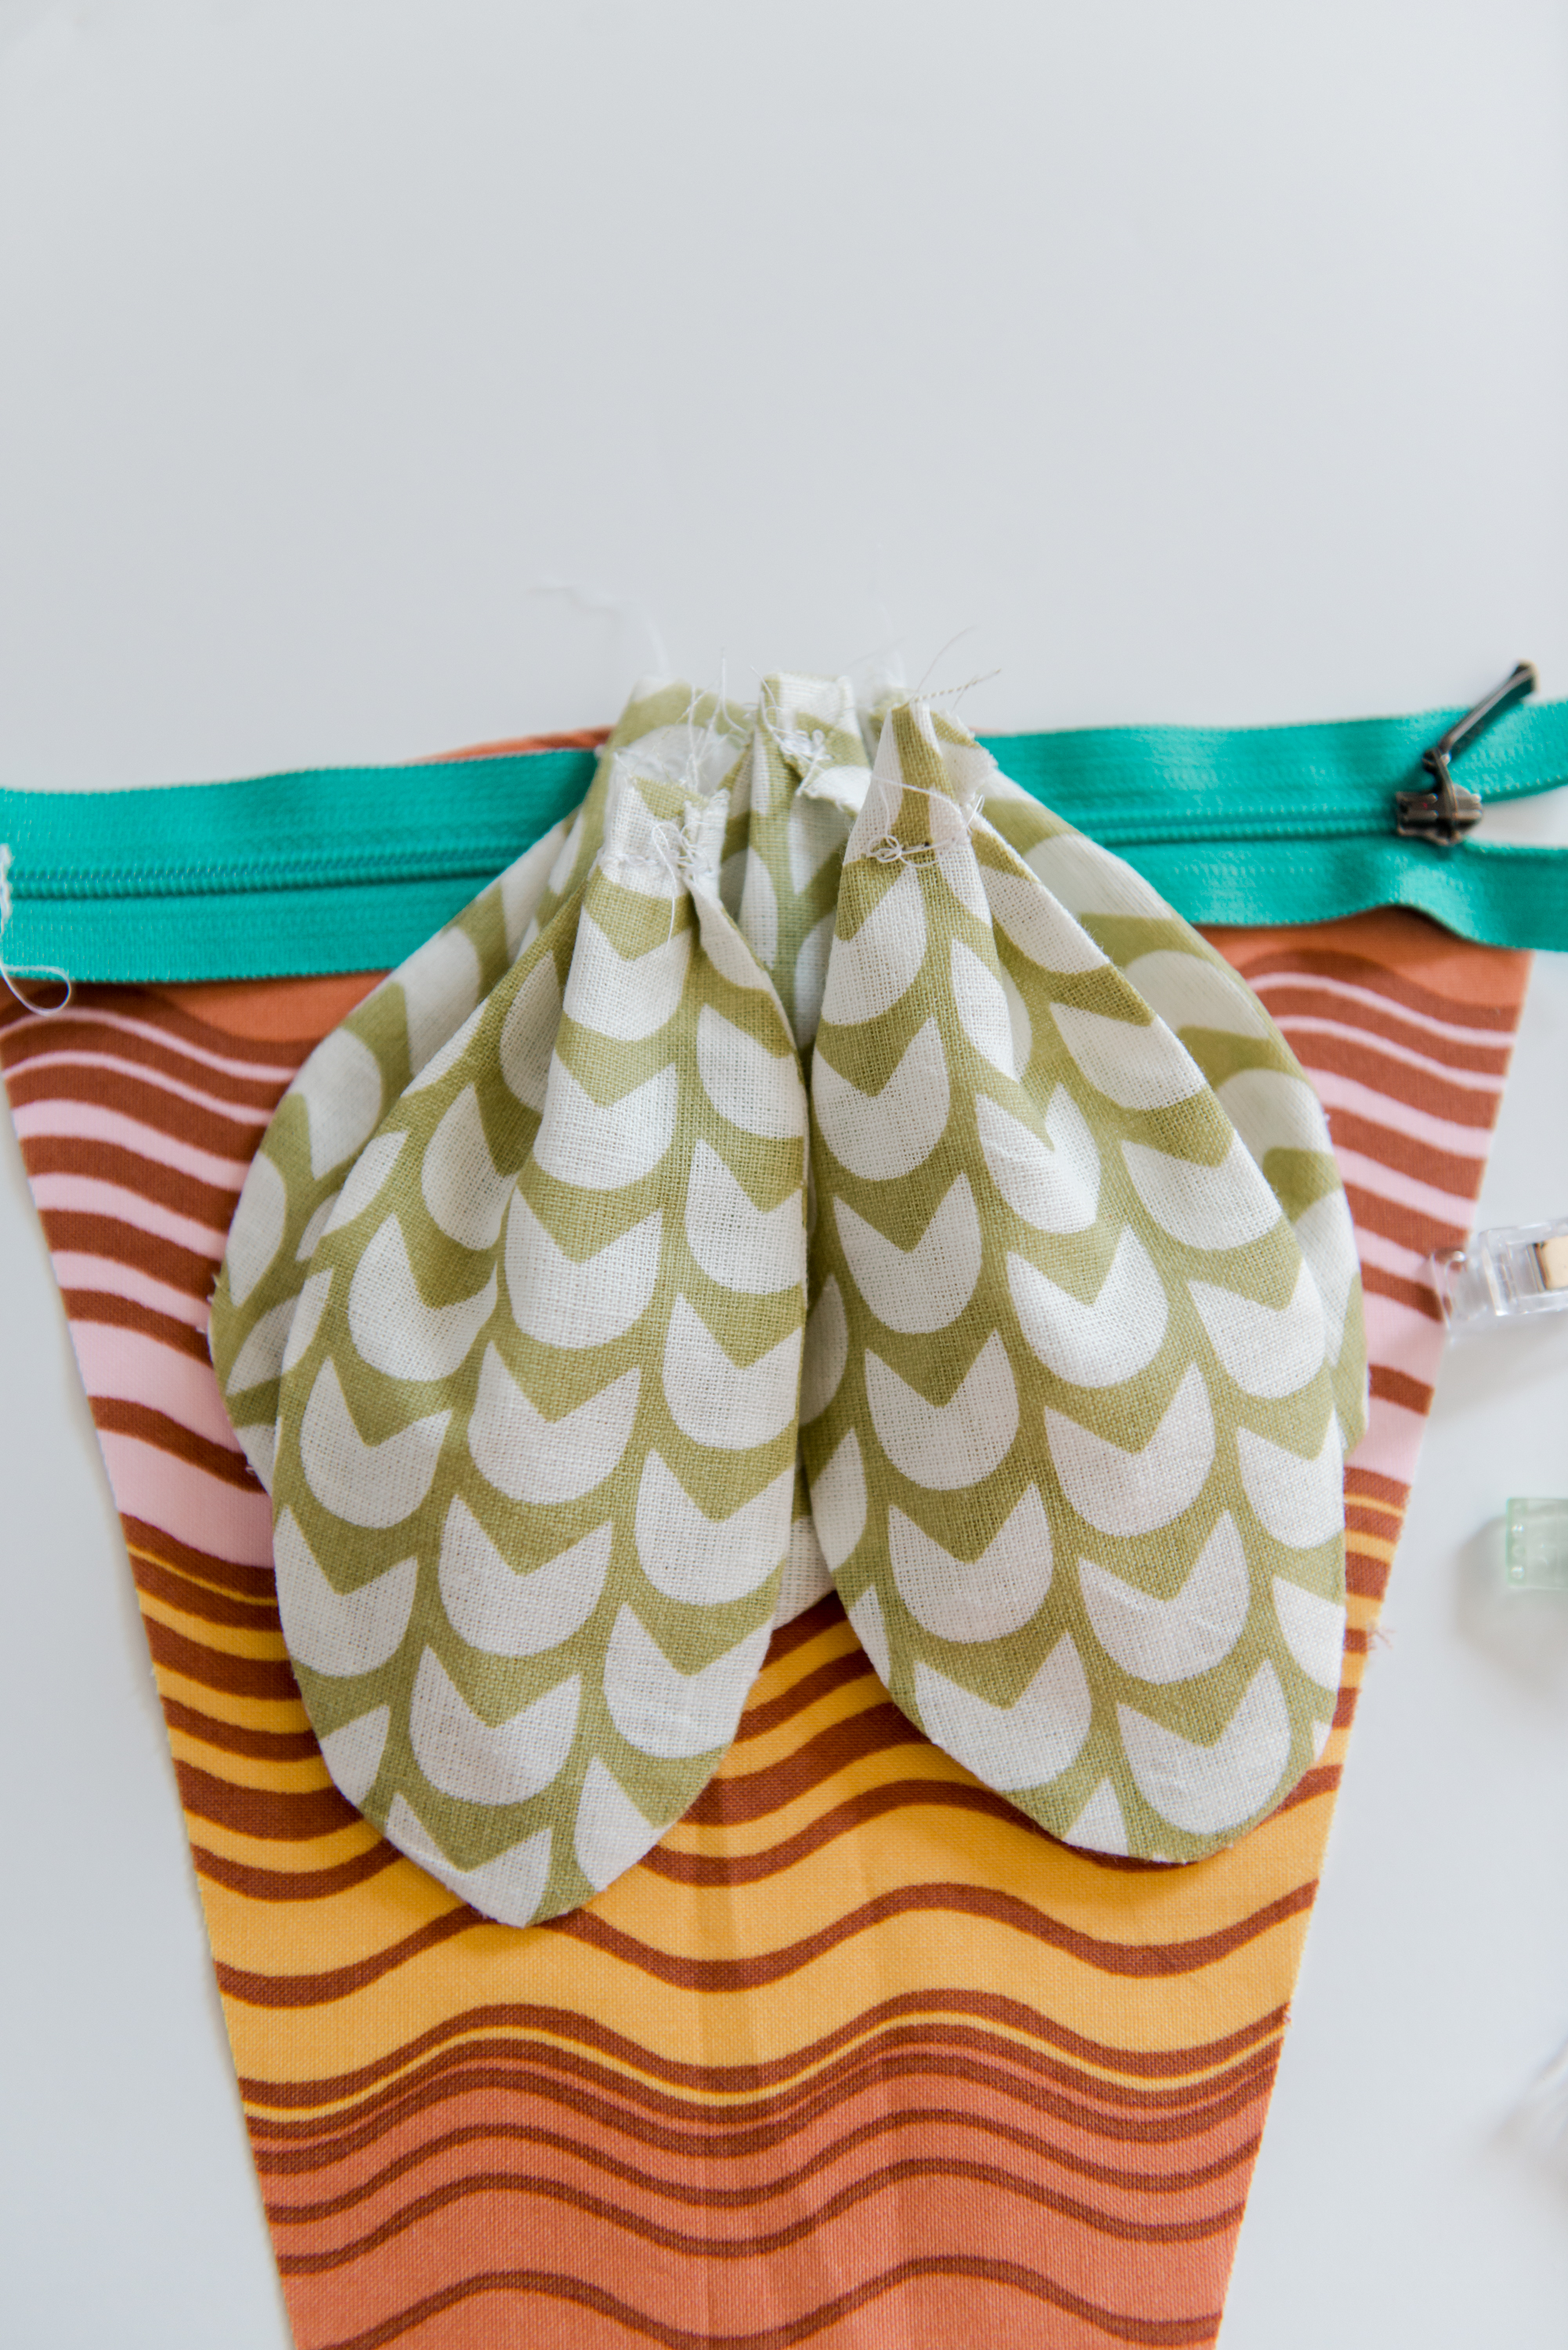
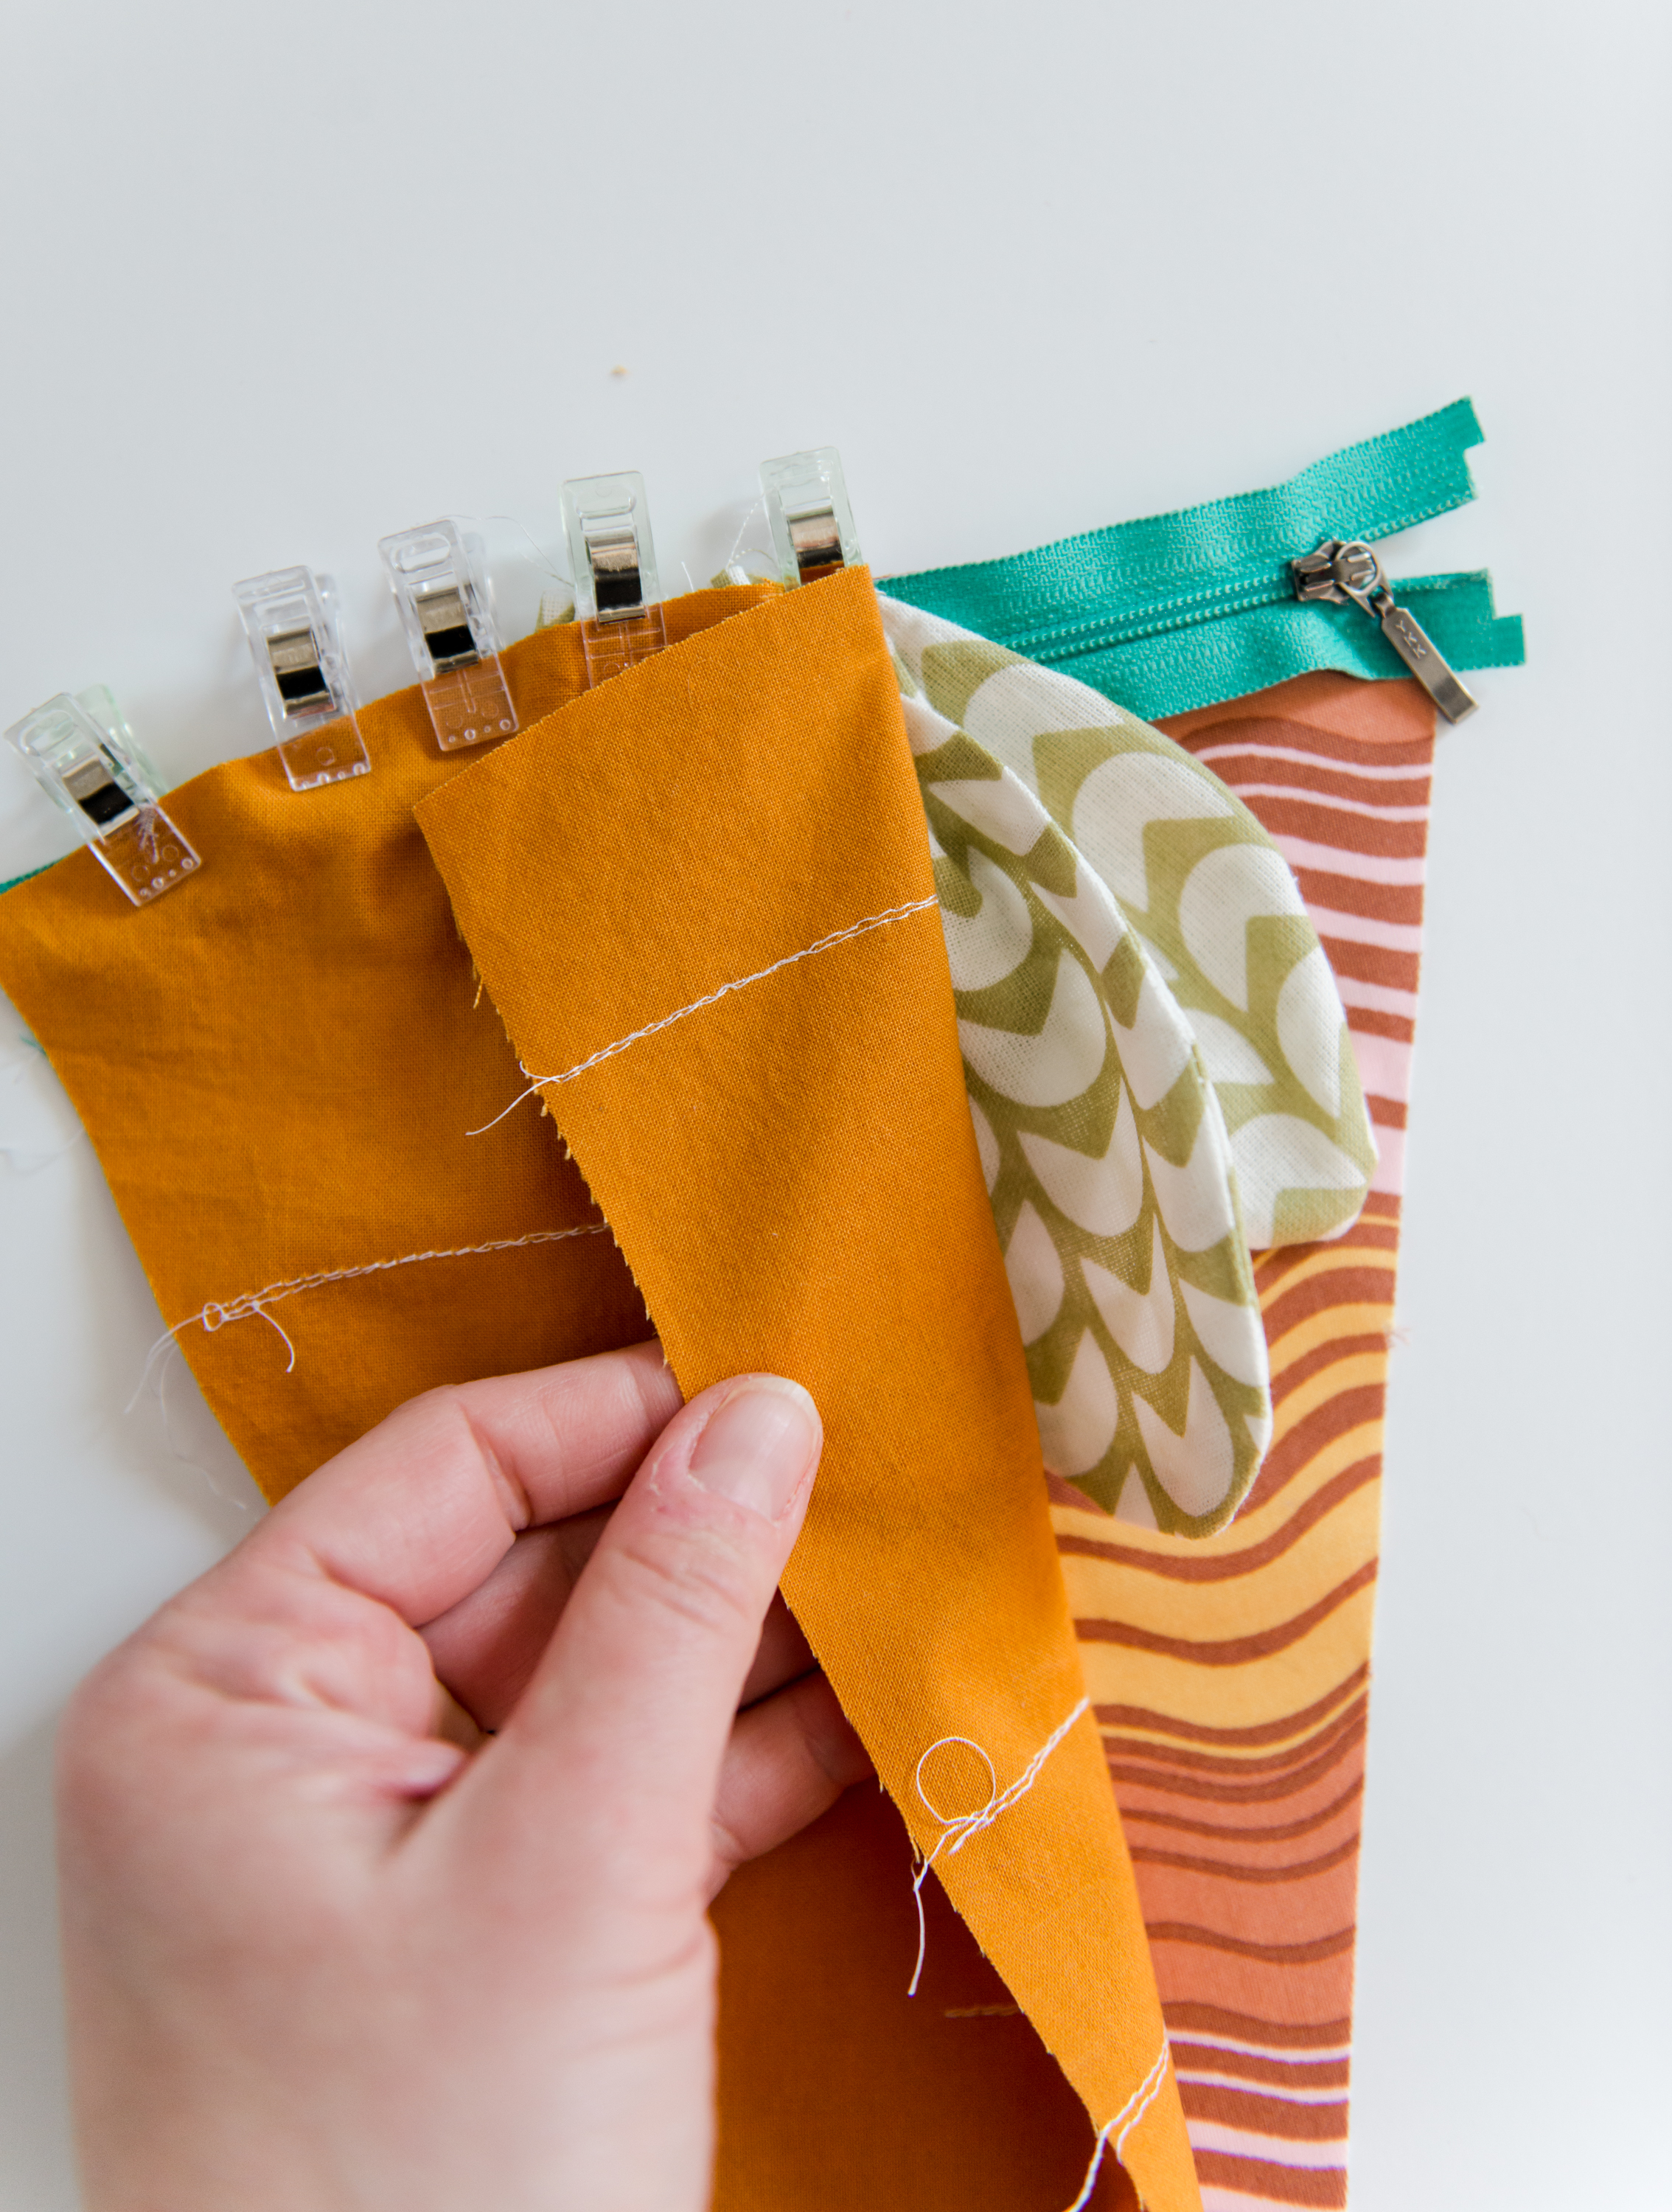
Layer your fabric with 1 piece of the lining fabric facing up, zipper, the 5 greenery pieces
(turned inside towards the bottom of the carrot) and then a carrot top facing down. Line
up the edges of your zipper and make sure all 4 layers are flush (without the greenery
“in the way”). Stitch your zipper in place.
*Note, trim your zipper to 7 inches before you begin sewing the zipper if necessary! :)
Do the same with the carrot back and other lining piece.
**tip when sewing zippers: be sure to stop your stitching when you come to the “pull” on
the zipper, put your needle down, raise your presser foot and then zip the pull out of the
way. If you don’t do this you will get a bulge or notch in your zipper stitch which will be
obvious when you want the zipper to lay flat.
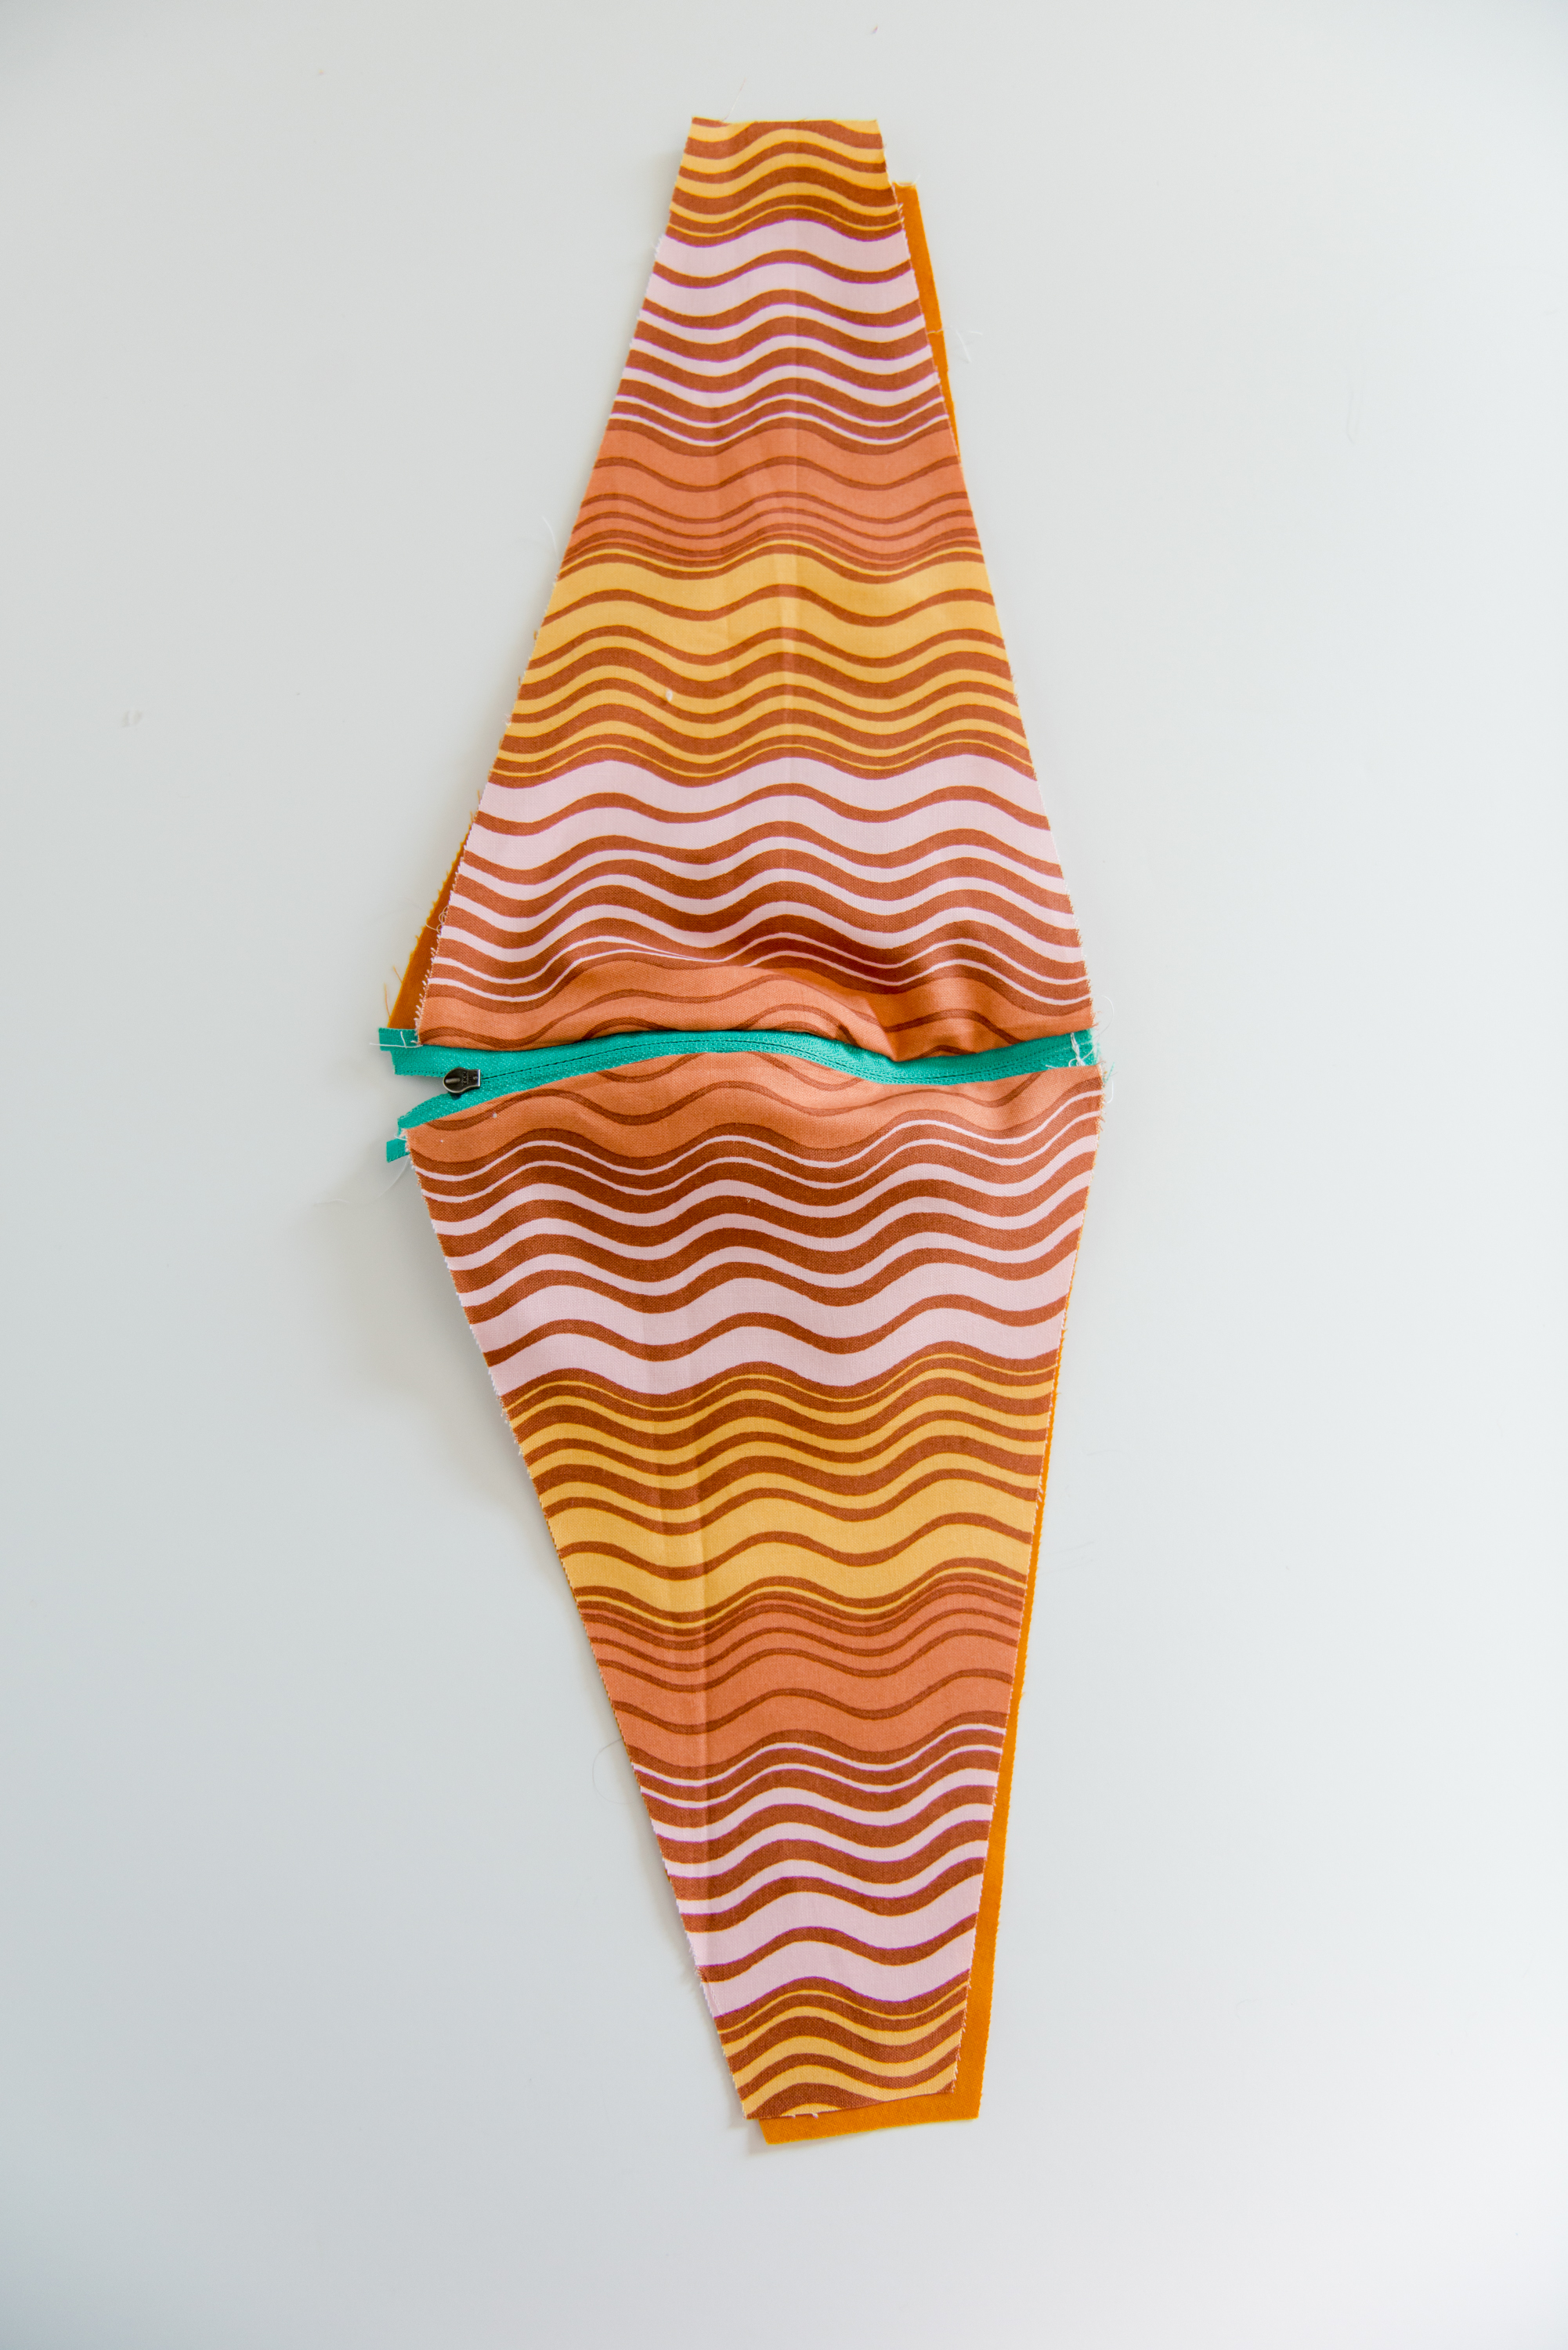
5. Iron the zipper + topstitch
With your iron, press the zipper flat (as best as possible) and pull your fabric + greenery
away from the teeth of the zipper. Then topstitch along each side of the zipper to keep
the fabric laying flat.
6. OPEN THE ZIPPER!
This is *SUPPPPPER* important otherwise you won’t be able to open your pizza
pouch! :)
OPEN THE ZIPPER!
7. Stitch together
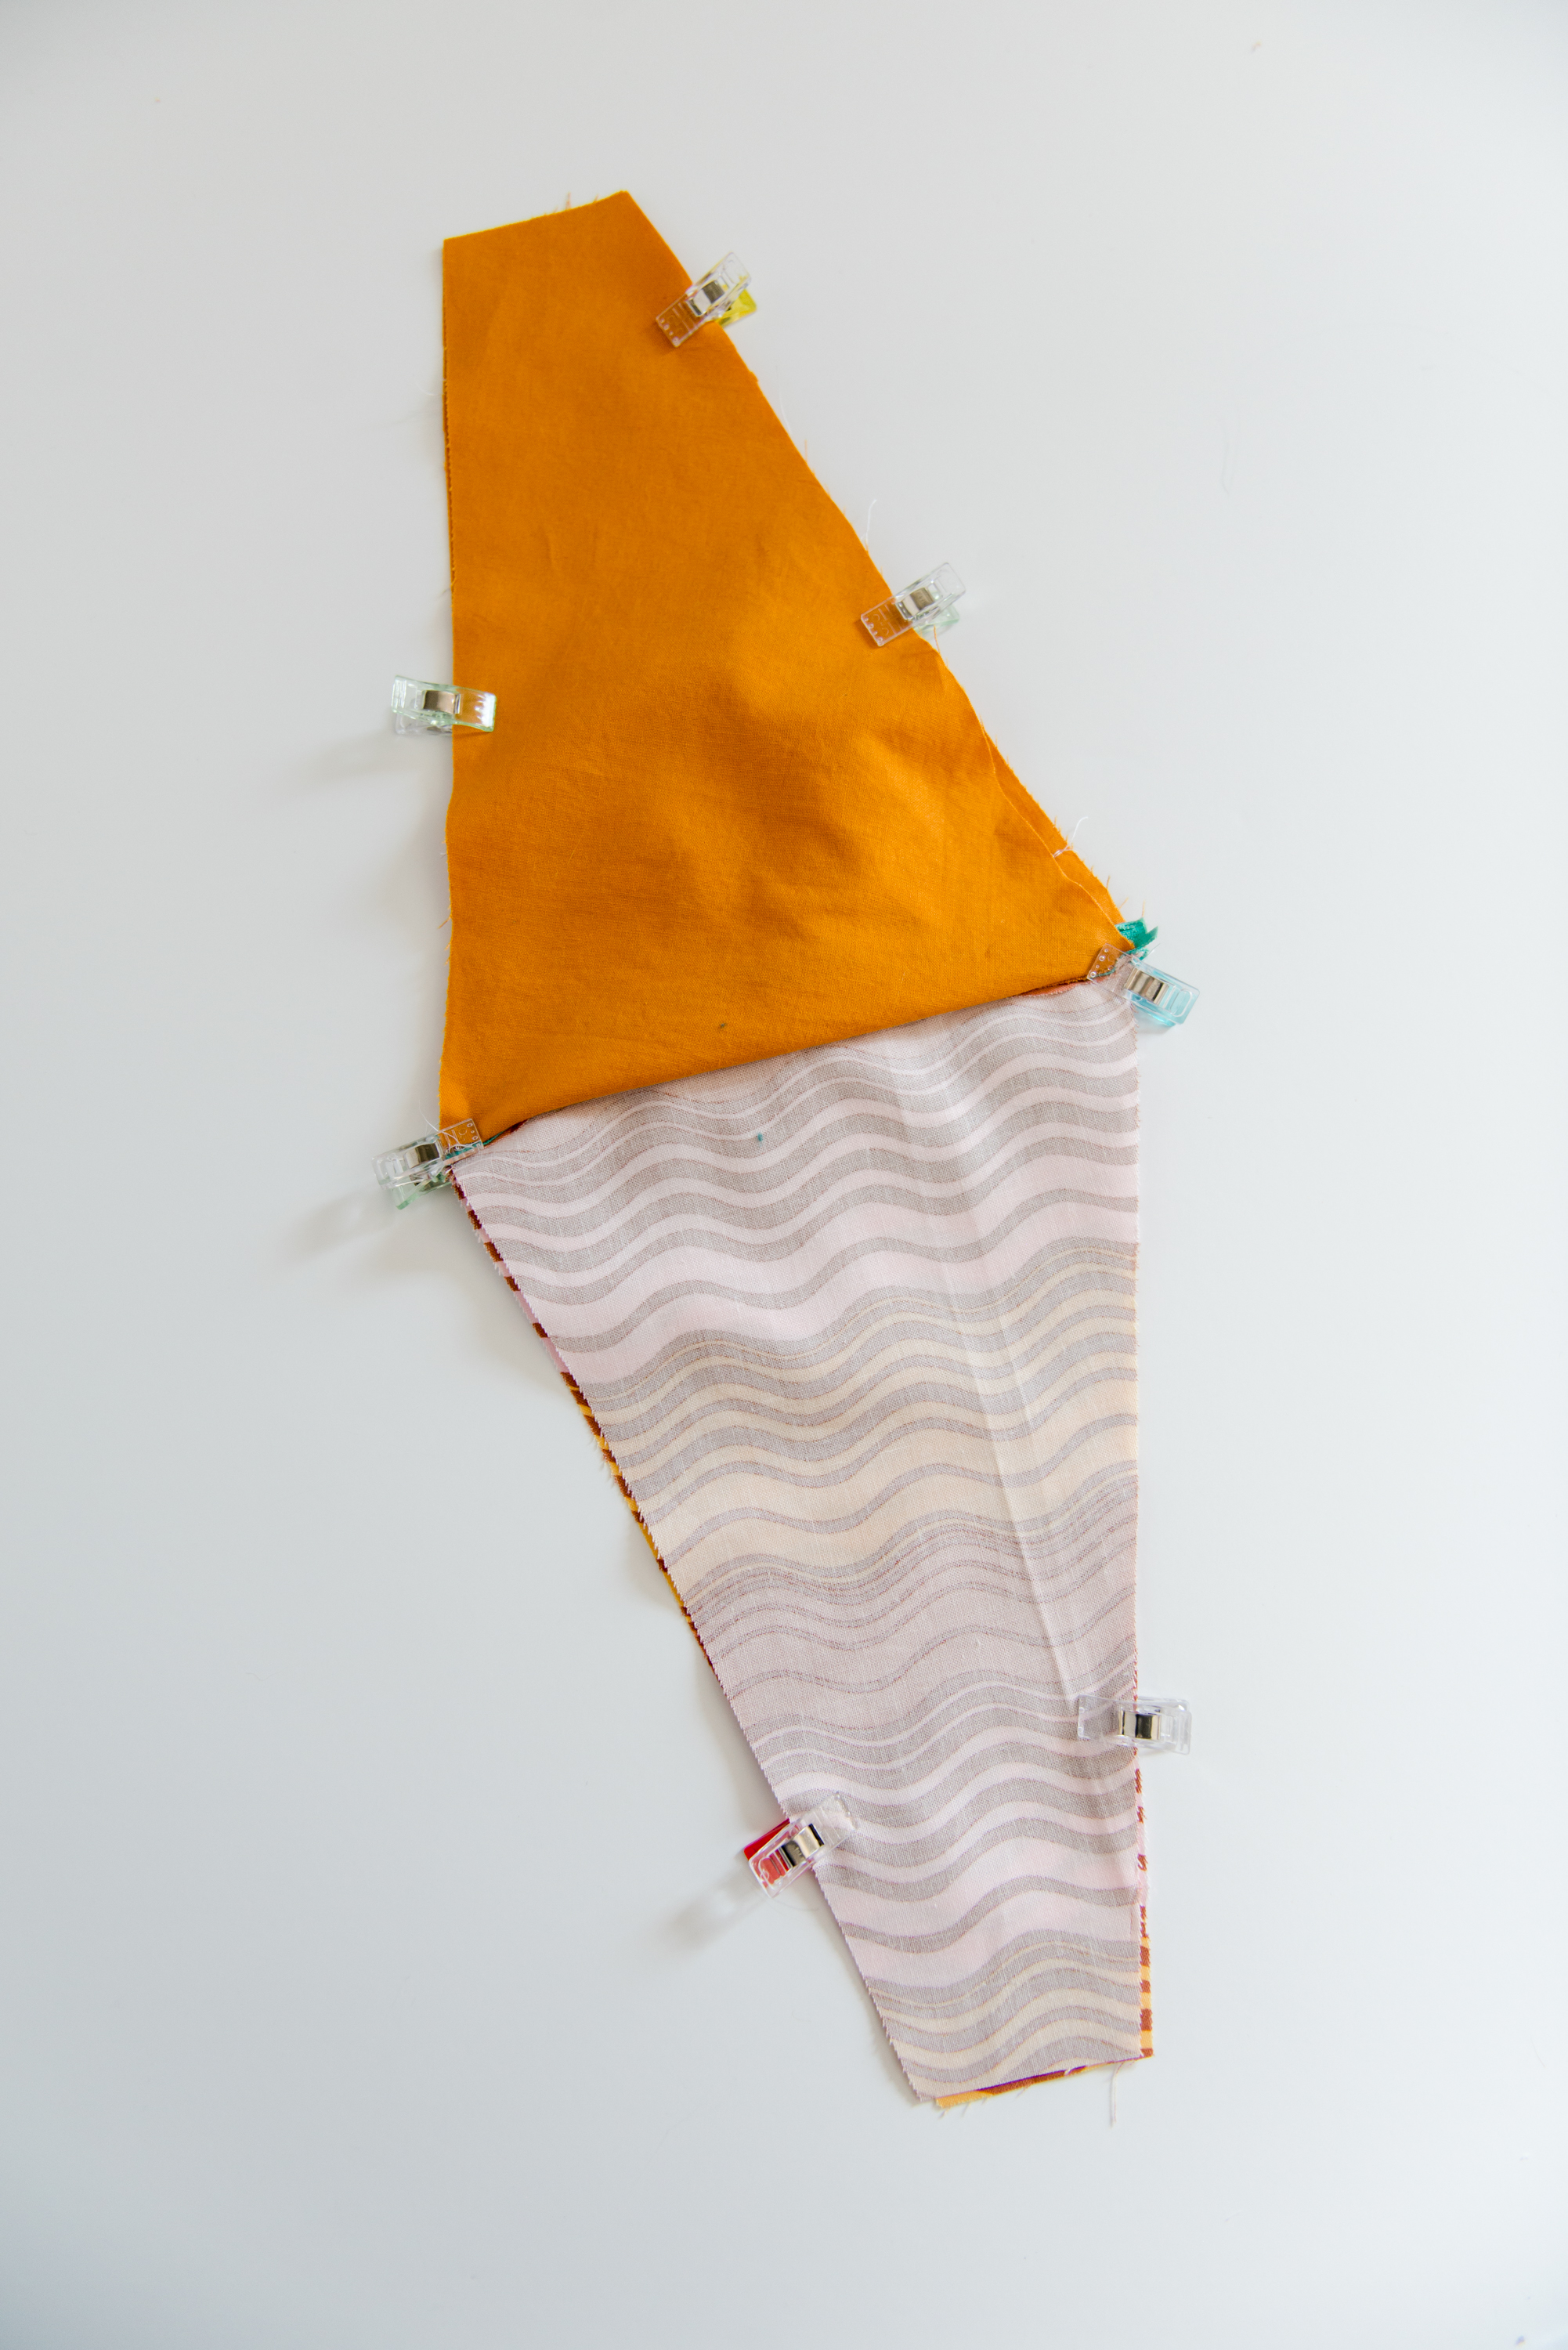
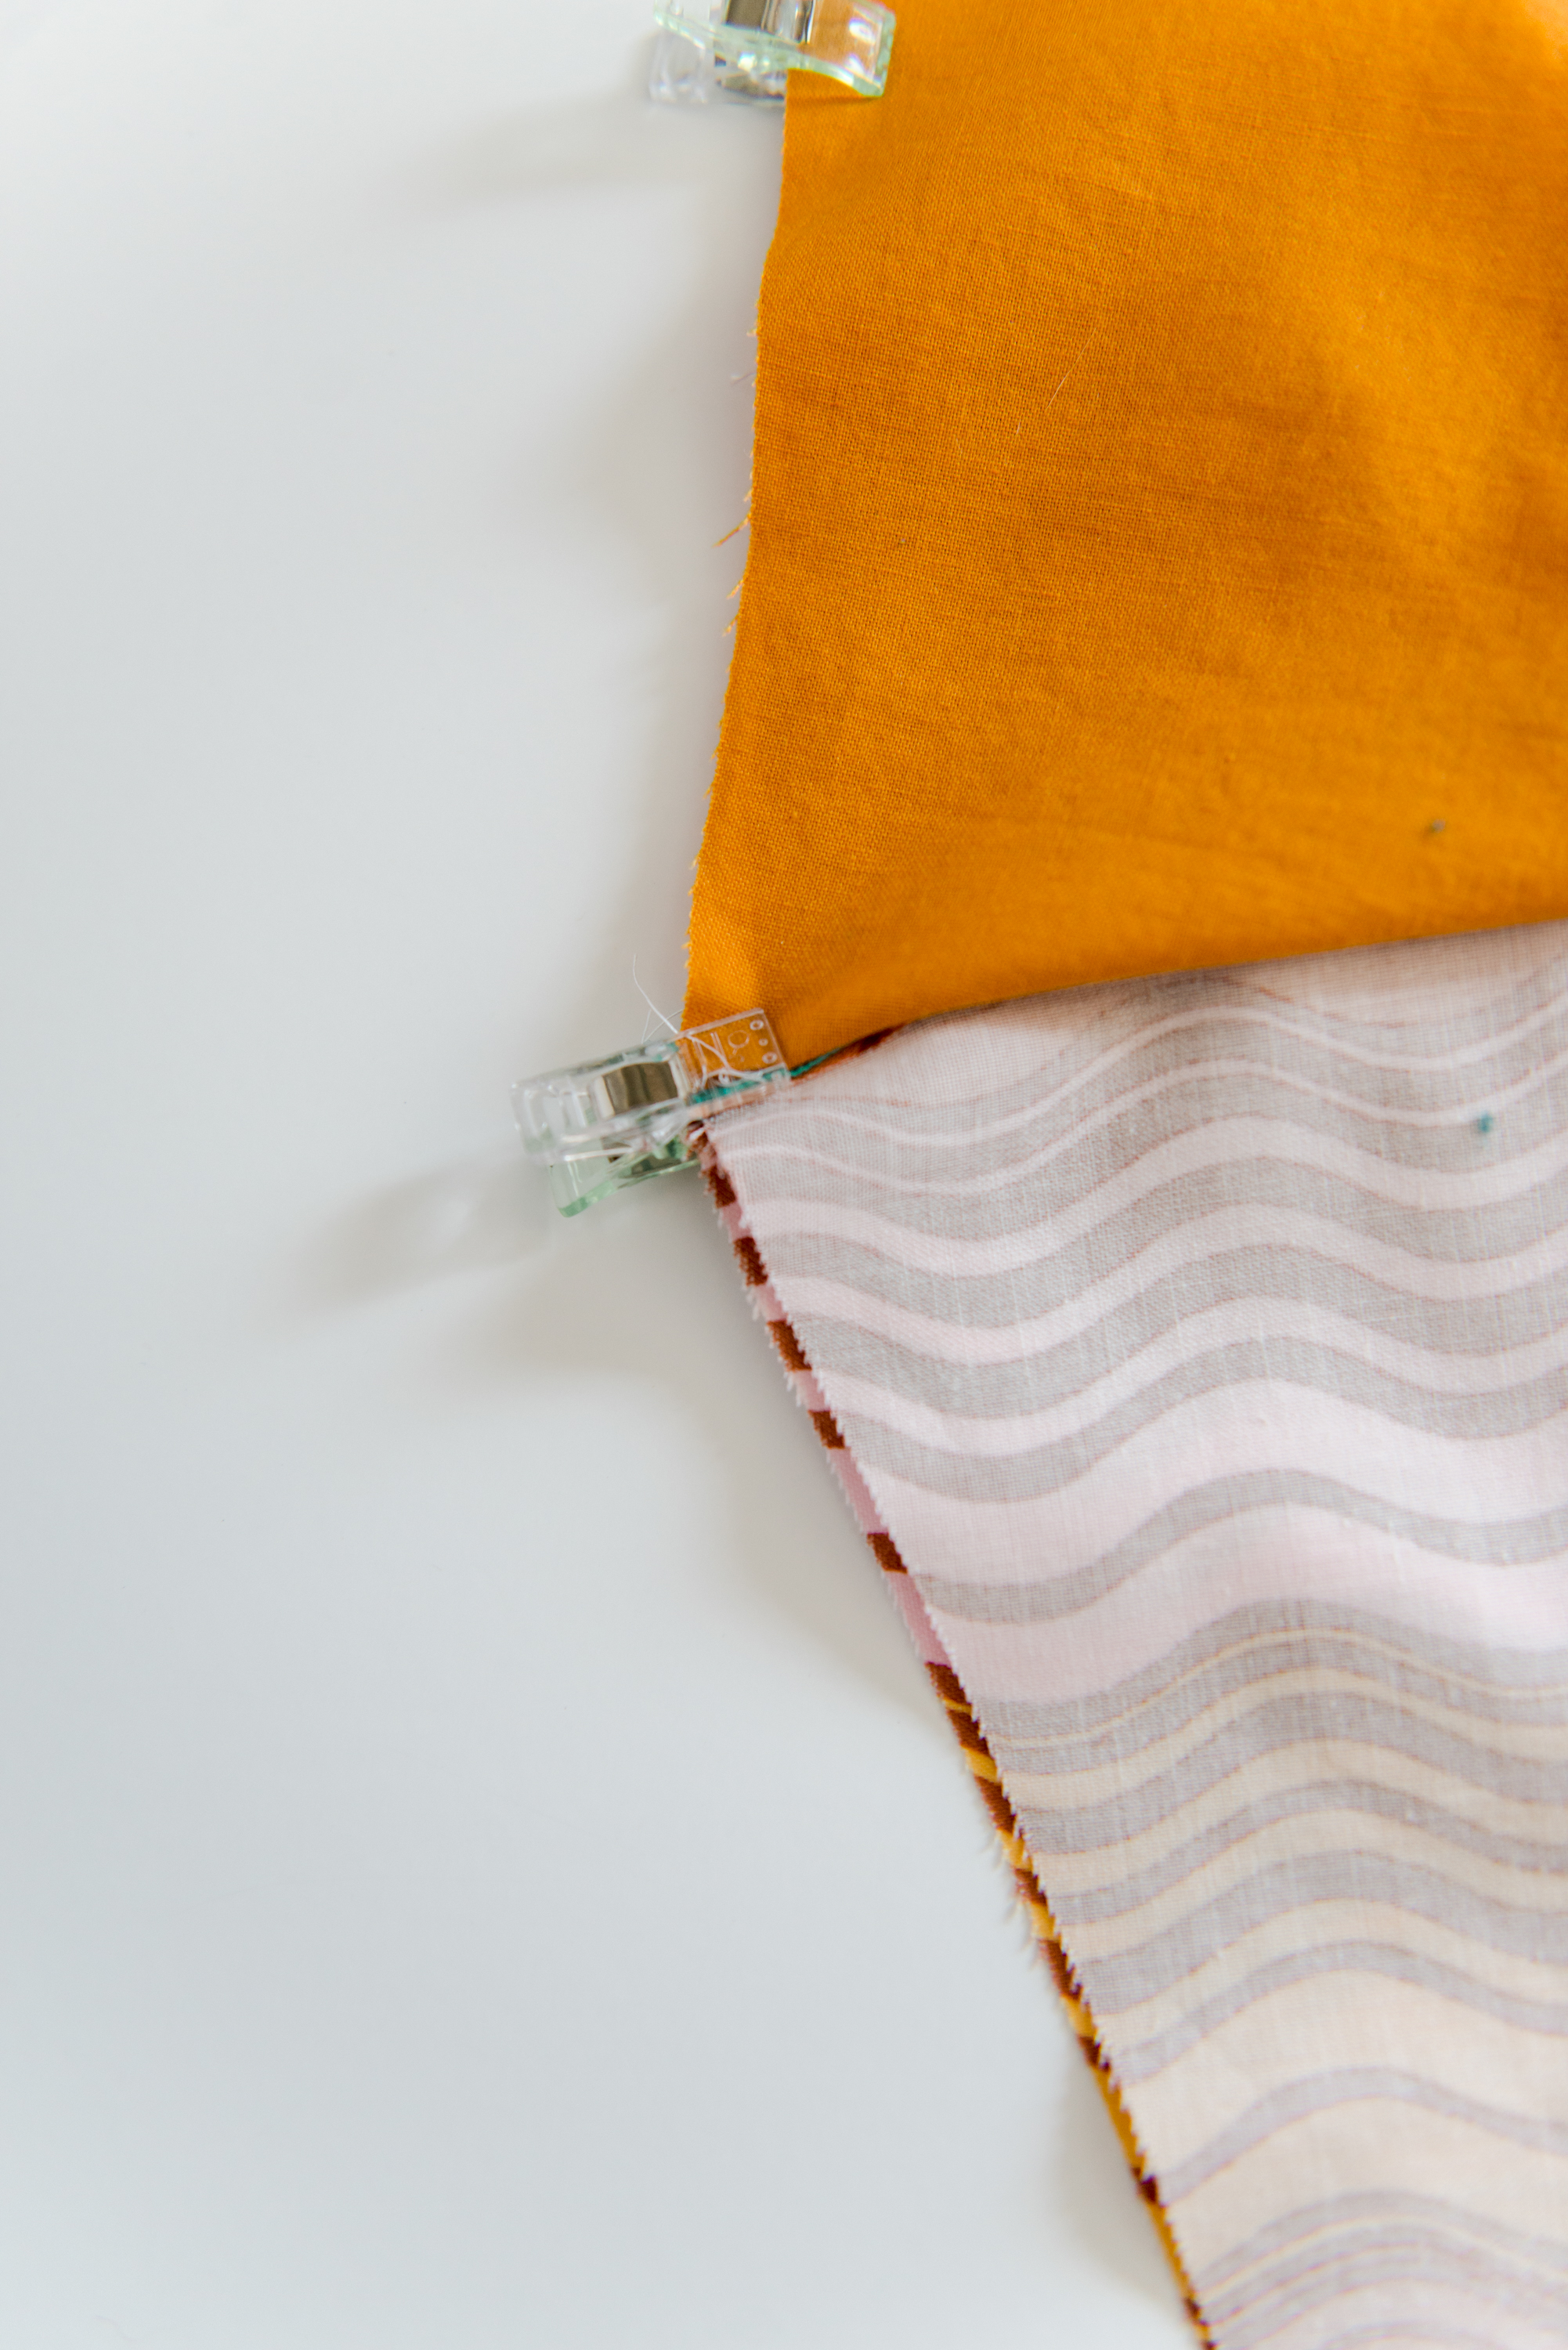
Open up your bag and then line up the 2 lining pieces with one another as well as the
front carrot shapes with one another. Pin in place, being careful to line up the 2 areas
where the zipper joins (this is important to make sure the zipper is straight across when
finished).
Stitch all the way around the bag, leaving a large enough opening on the lining portion
to turn the bag (I left a side side portion of the inside carrot open) :)
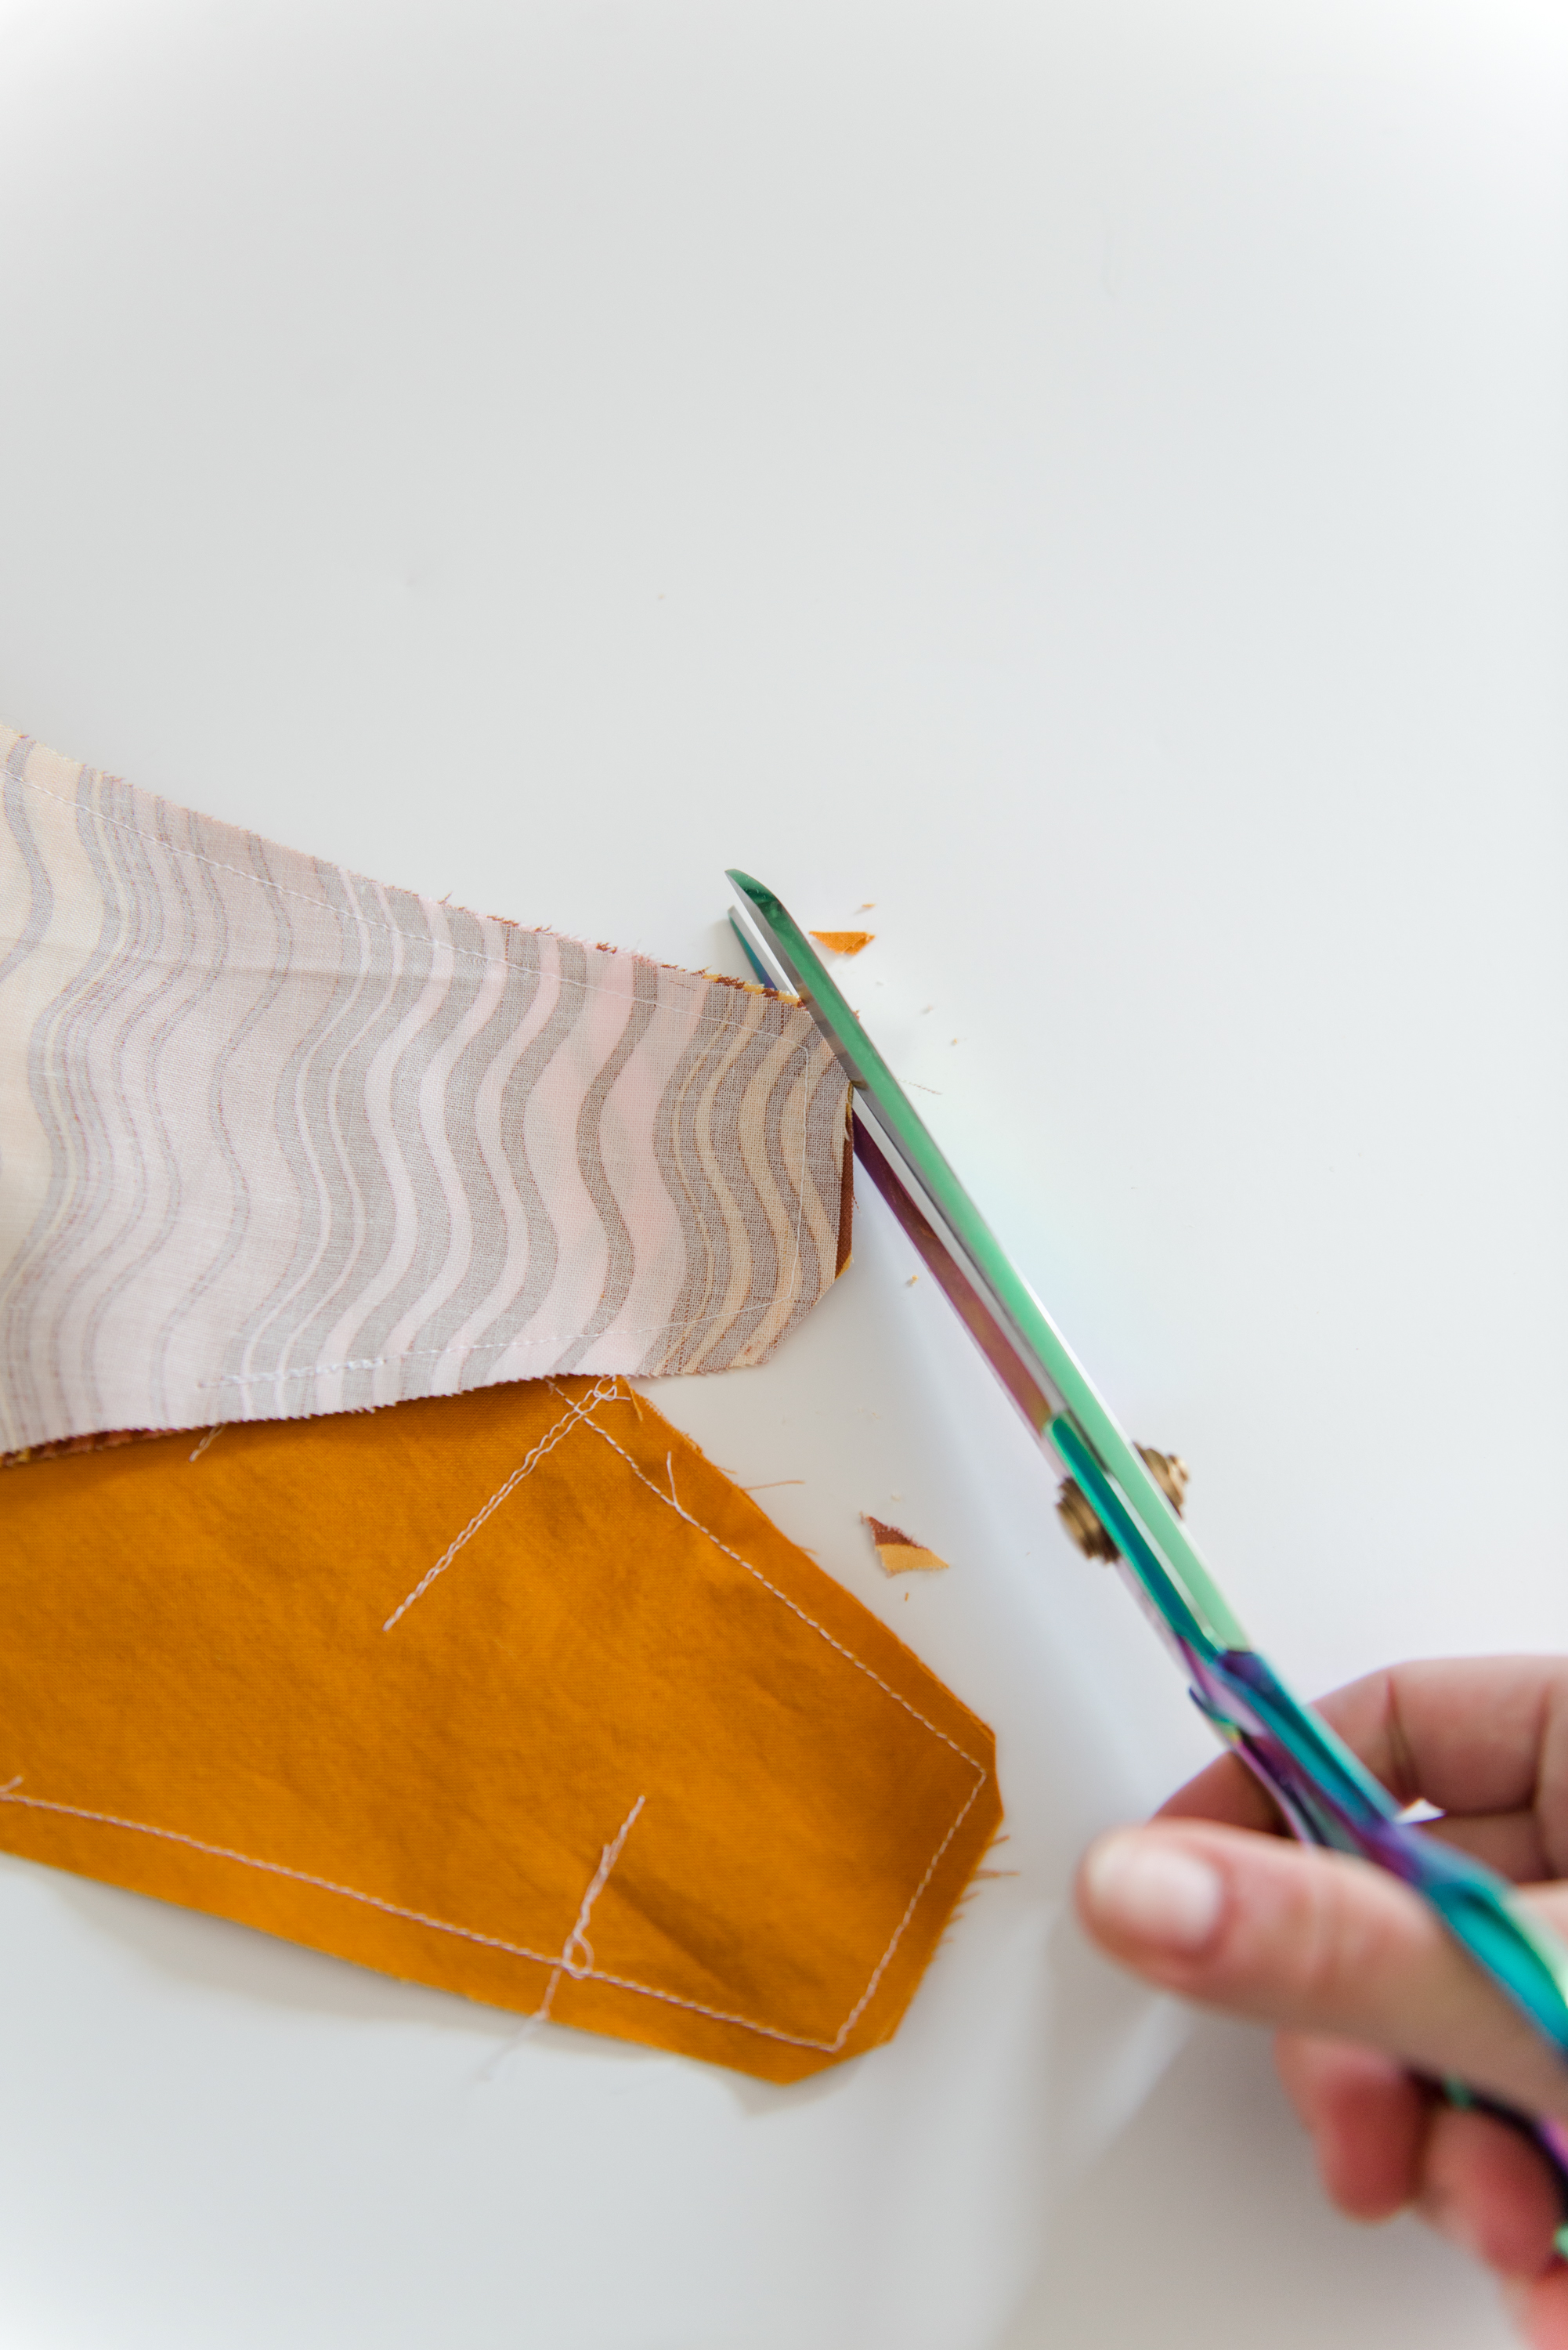
8. Sew closed + finish
Trim the very bottom side points of the carrot before turning (you want this to lay as flat
of a triangle as possible and getting rid of this “bulk” will help)
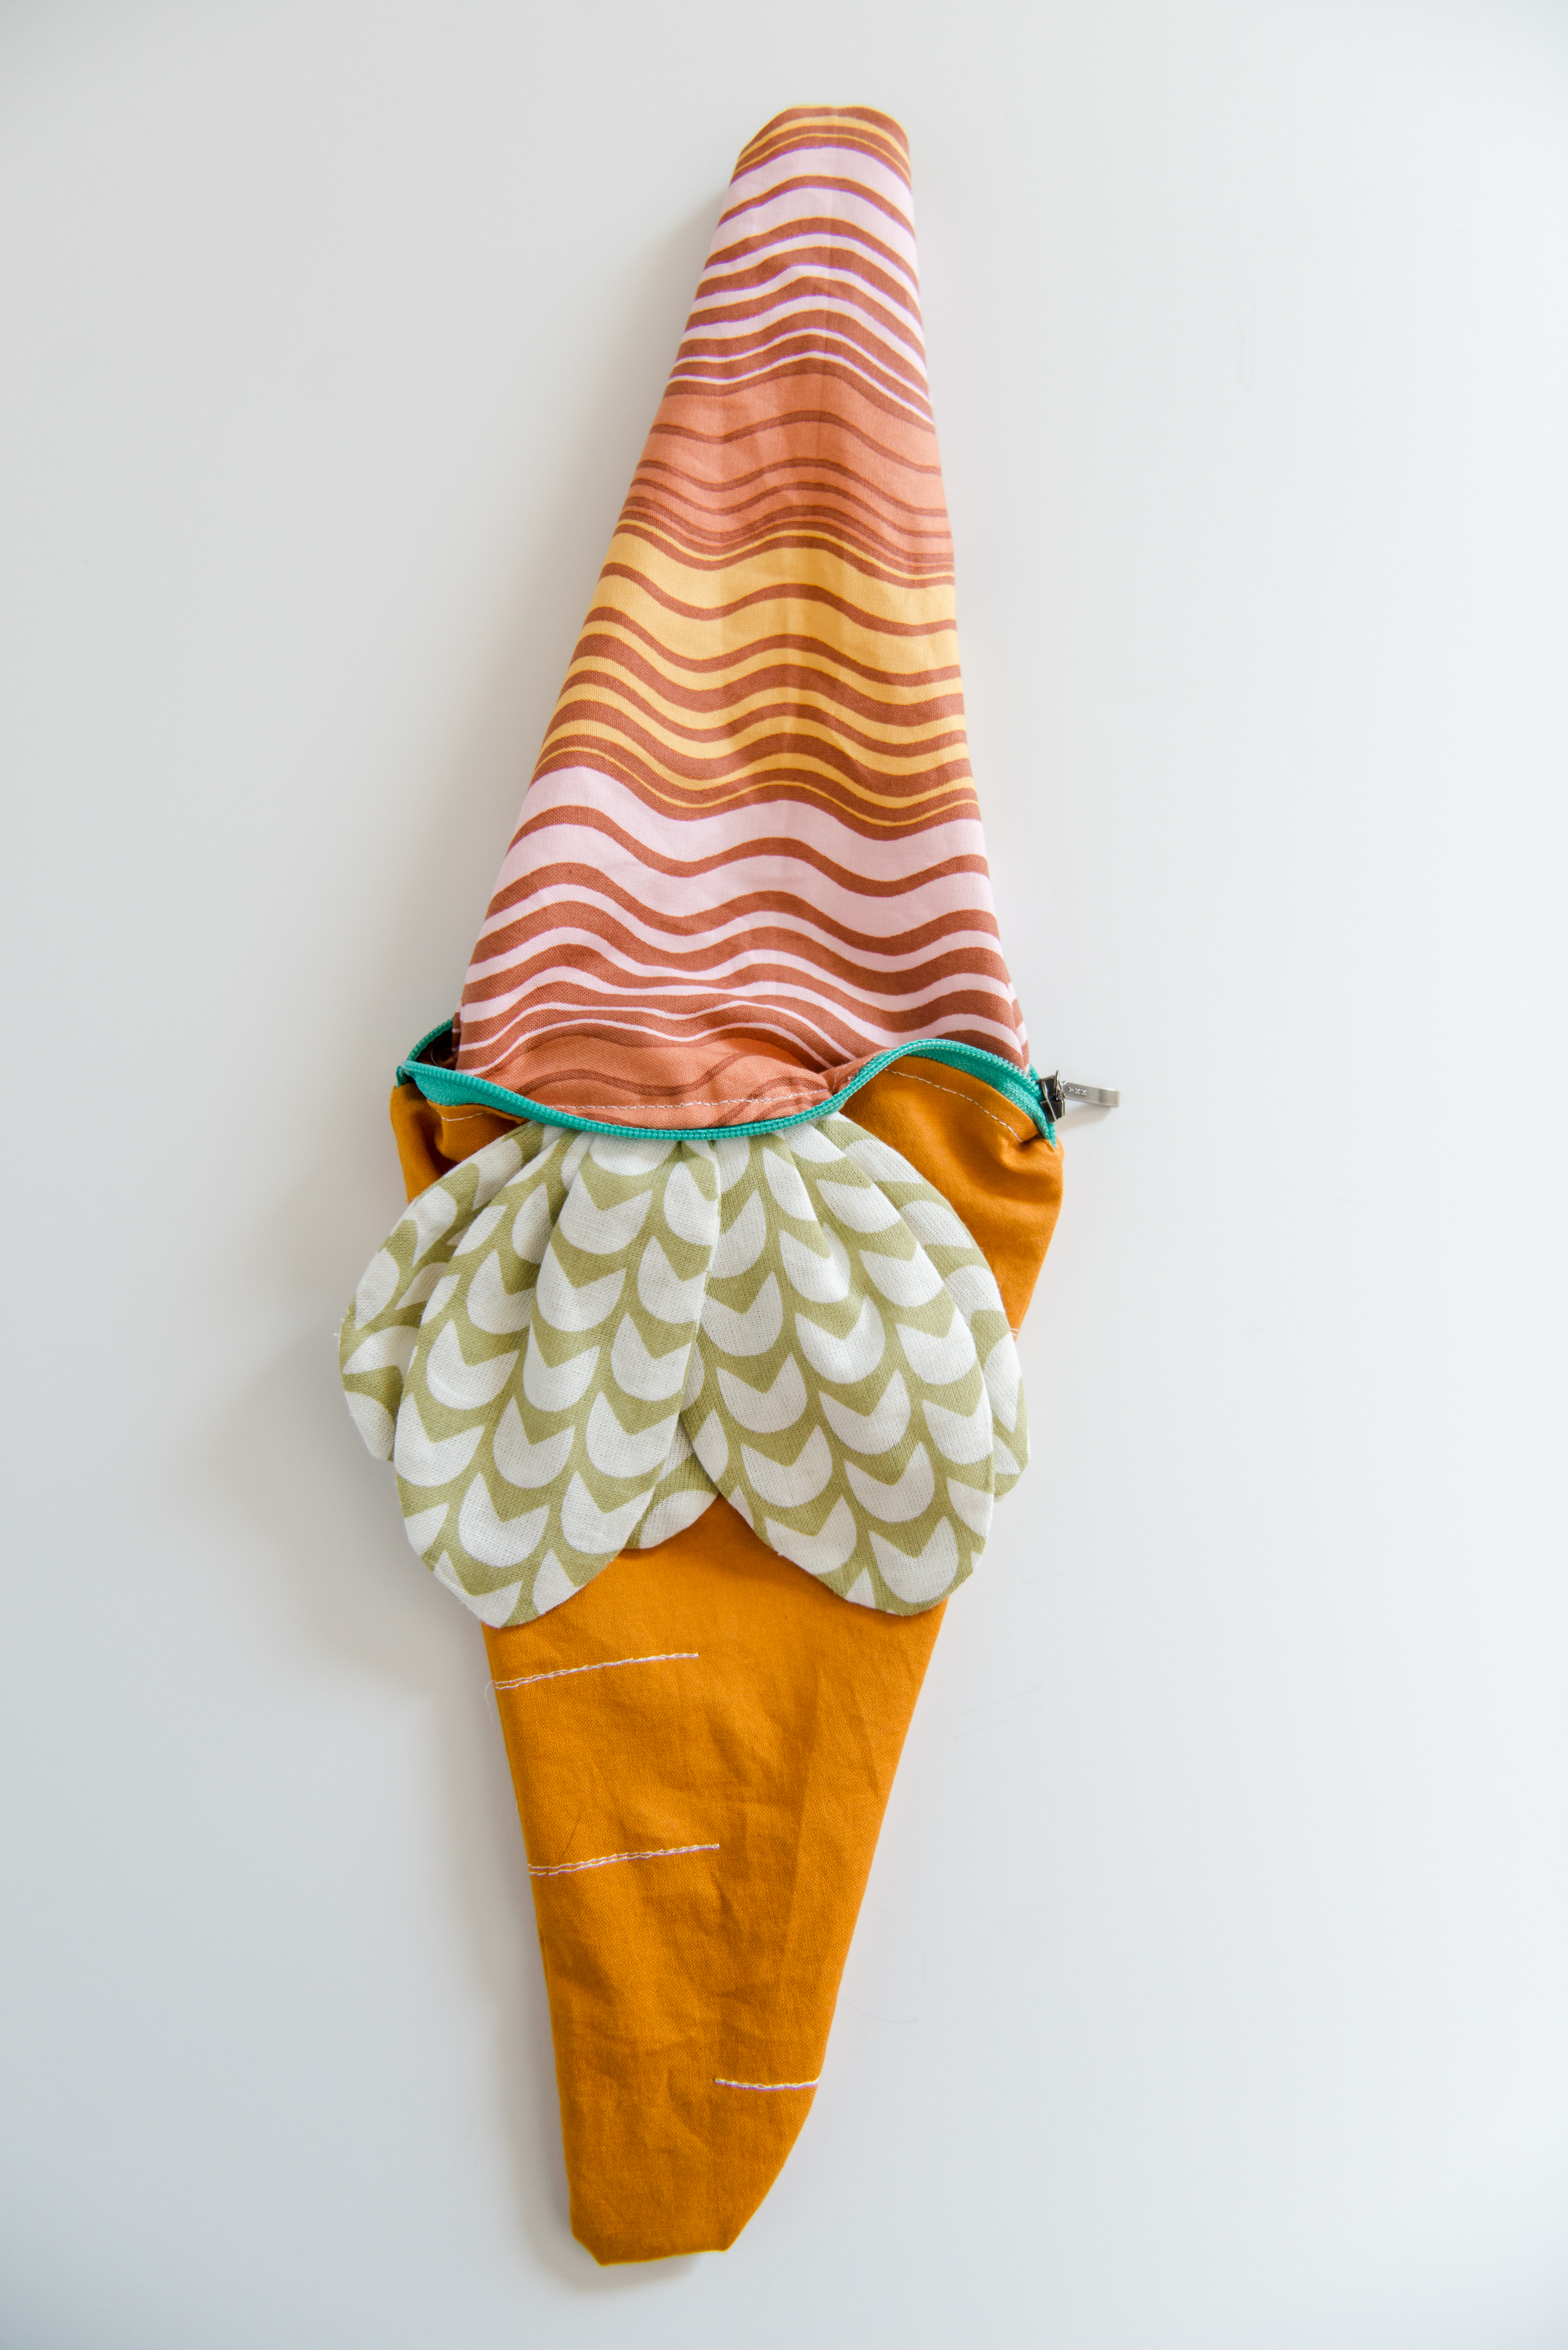
Then turn the bag right side out and poke all of the corners and edges smooth. The turn
the edges of the lining opening (where you pulled the bag through) inward to mimic a
seam allowing and top stitch closed.
Press the bag with an iron and fill with goodies for yourself or your kiddo! :)