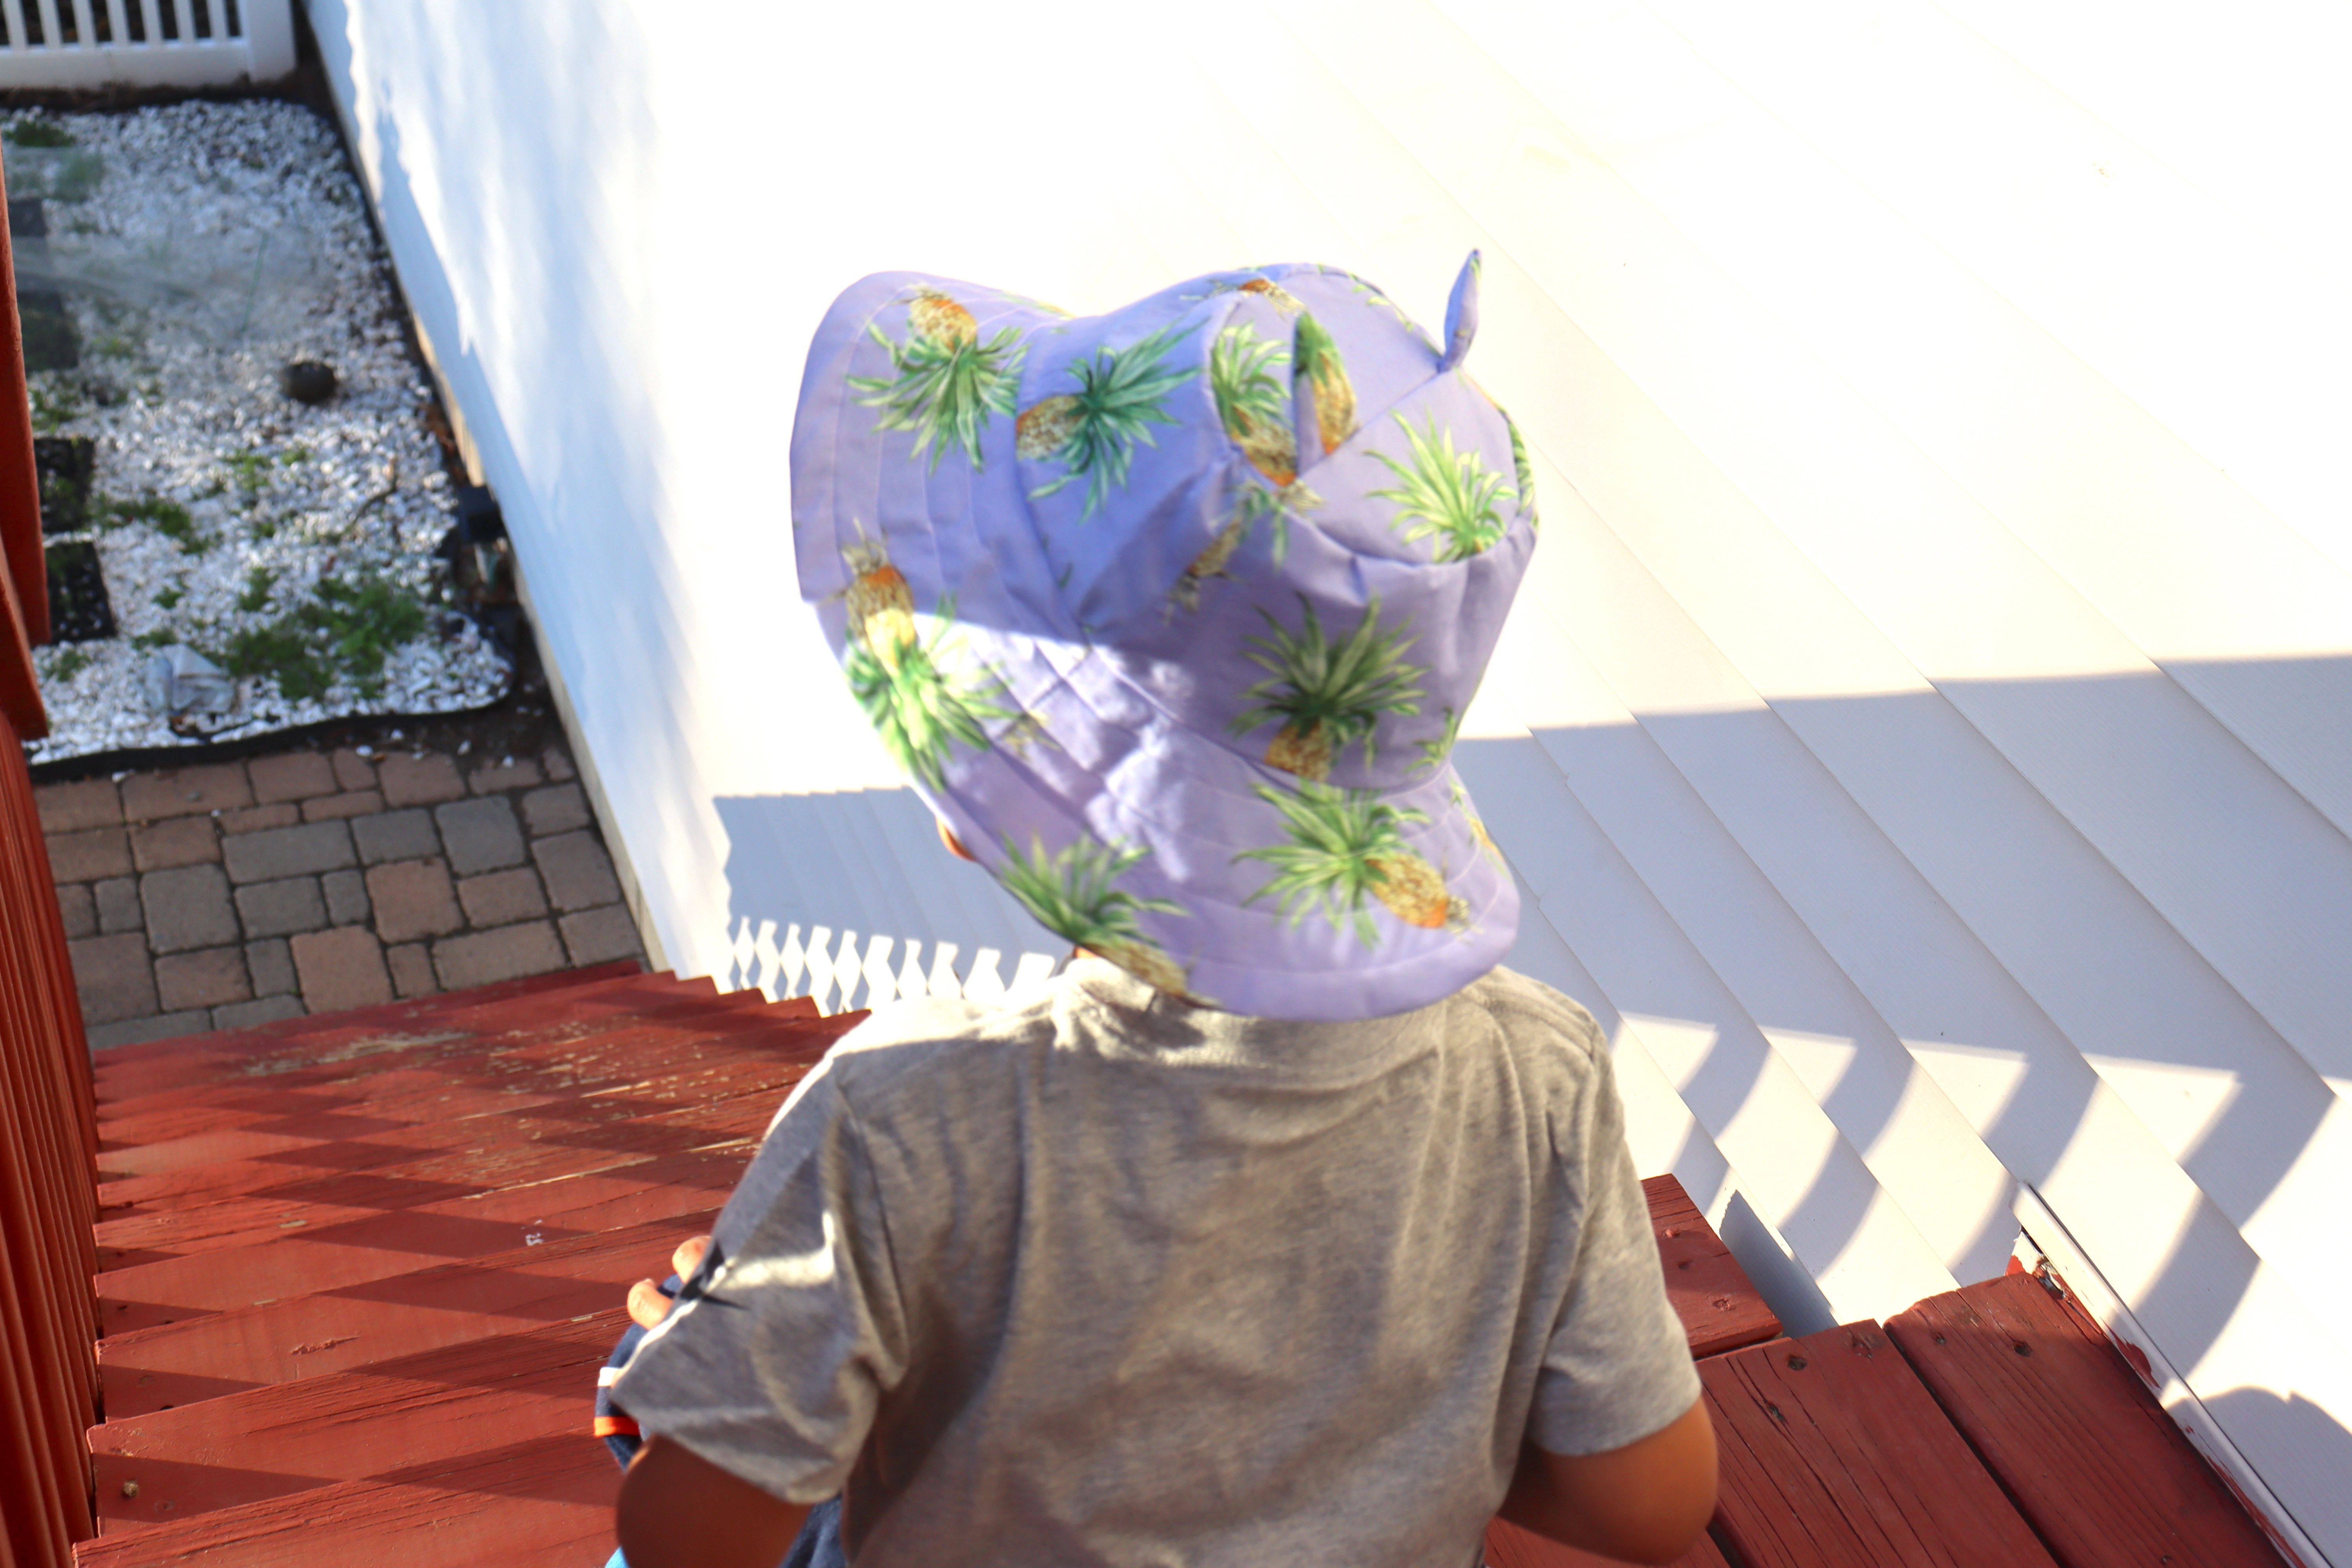

Now the bulk of this tutorial is in the pattern prep. To start we will trace the Top or Crown pattern piece onto pattern/tracing paper in order to alter it for this tutorial. ( The title for this piece varies by pattern, but what I mean is the pattern piece that sits on top of your head.)
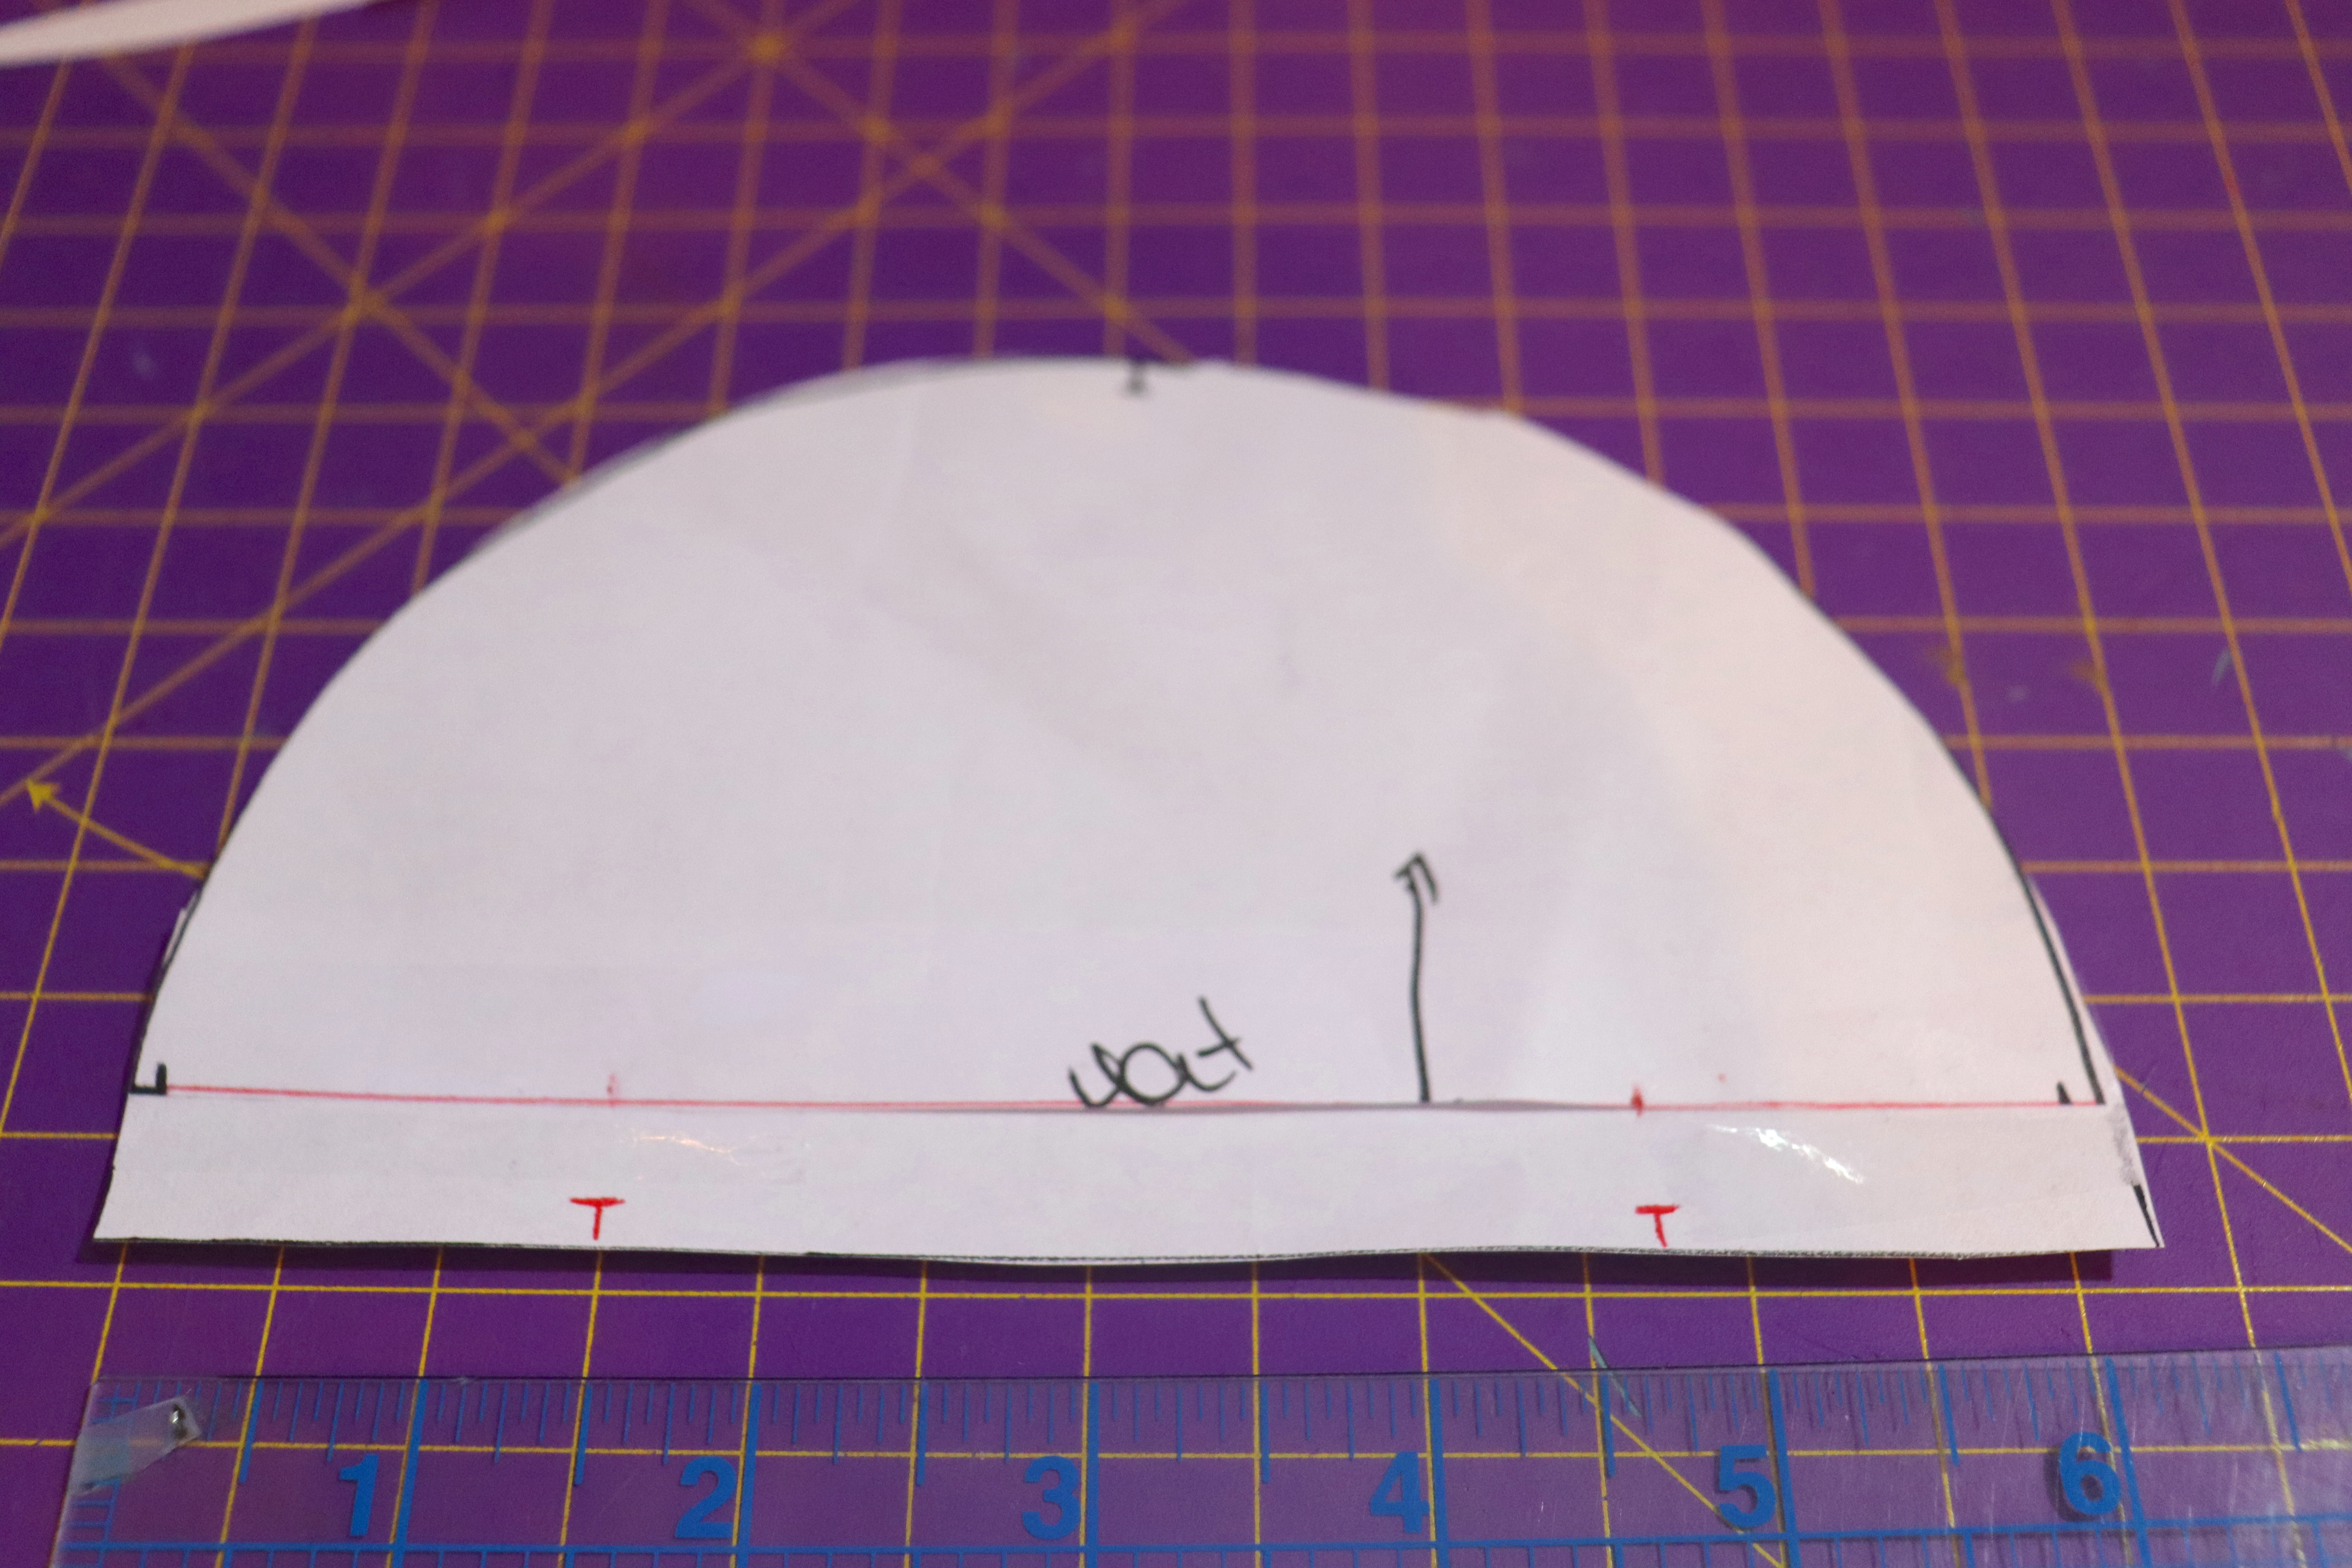
Cut the Top/Crown piece in half horizontally.

This piece will now become 2 pieces, which means we will now need to add seam allowance.

Next, we will go 1.5” in from the side edge and add notches as a guide for where to place the ears.

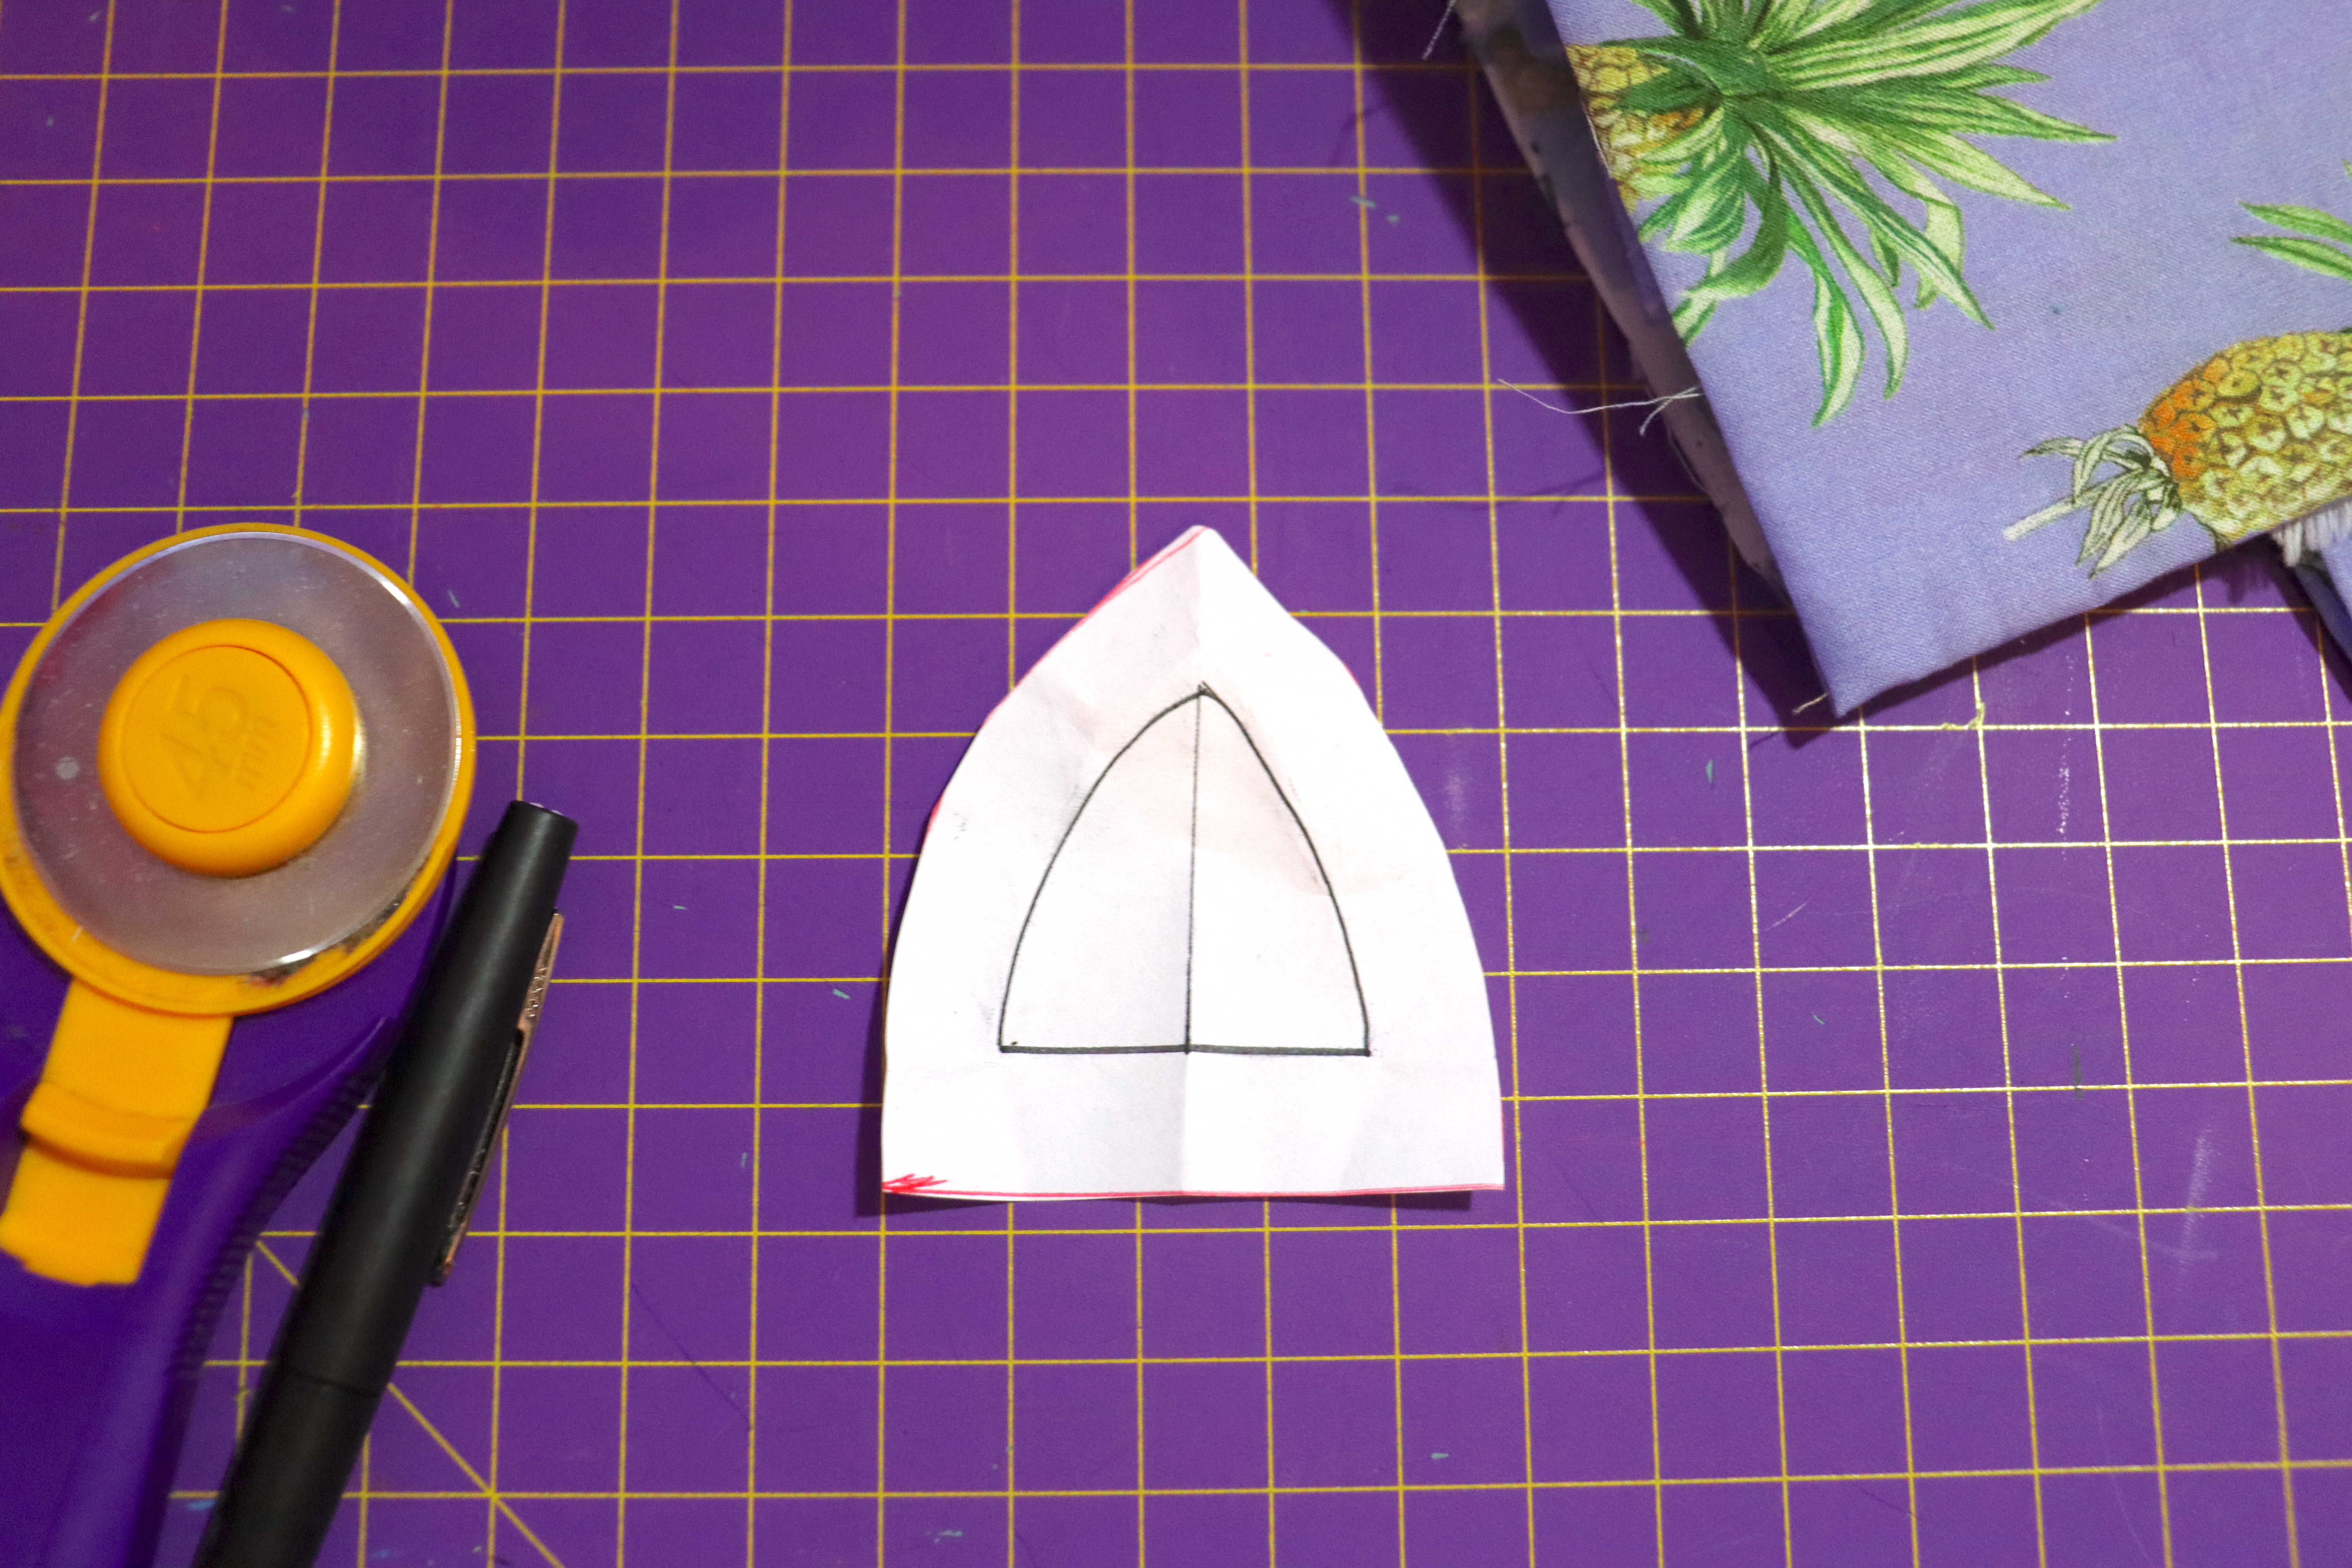
Create your ear piece using any desired shape. I chose this cat-like ear shape and used my previous measurement of 1.5” as my guide ( this measurement could really be any amount you desire). I made 2 perpendicular lines that measured 1.5” and then rounded out the sides like shown in the below. To complete the Ear pattern piece we will need to add seam allowance.

Now we can cut the pattern out of our fabric. (For the Ears piece you will need to cut 4 out of your fabric and 2 out of some fusible interfacing.)

Right Sides Together (RST), sew your ears along the perimeter, leaving the bottom portion open.

Clip the curves and turn the Ears right side out. Pin the ears along the notches of the Top/Crown piece. RST, sew both Top/Crown pieces and then follow the instructions for your hat pattern.


Bucket hats are known for the top stitching along the brim. This is where my Janome is a lifesaver, as sewing even top stitches for the brim are a breeze with the Quilting Guide Bar that comes standard with the machine. As the name of this attachment states, it is typically used for quilting, but it is super helpful for projects like these when you want to sew evenly spaced lines.


Once complete, you should have created the cutest little bucket hat for your favorite mini
