Hey there sewing bestie! Welcome back to another blog post! Today, I am sharing a fun upcycling project that you can do with some of your scraps from other projects. Plus, if you’ve been interested in learning more about patchwork quilting, this is another great project to learn on! The 8 pointed star is quite possibly one of the most common quilting techniques and a great way to show off your skills as a quilter. According to the National Parks Service of the Homestead National Park, an intricate star was a great way for a seamstress to show off their skills!
Fabric and Notions Required
For today’s project, you’ll need the following tools:
● Project Scraps for 8 pointed star (I used 9 fabrics, 8 for the star, 1 for background)
● Rotary cutter
● Cutting mat
● Square ruler or a straight edge ruler
● Pins
● Chalk or marking tool
● Satin Stitch Presser Foot
● ¼” sewing foot
● Stitch In the Ditch Quilting foot
● Sweater you’re adding your block to
Instructions
Getting started with cutting your squares. Since we are starting with HST’s, you’ll want to start by cutting two squares at 3”x3” of each color you’ll be using in your star. You’ll also want to cut 8 background squares at this size too. Be sure to square up your piece for matching and sewing later. For your corner squares, For the background, you will cut four 2 ½” squares for the corners of your block.

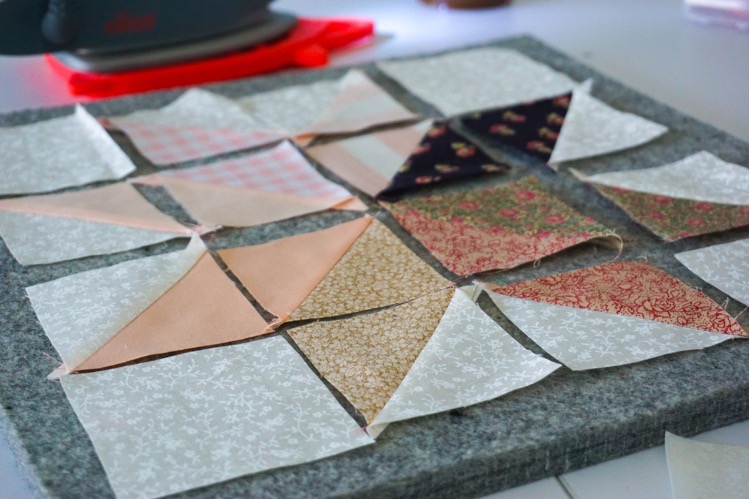
Plan your block color order, and start to pair your HST squares together. I chose to go from darkest to lightest in my star. You’ll then want to sew yourST and set them aside. Once they’re all sewn together, cut the squares at the diagonal, and press them open. Once these squares are pressed open, you can start to arrange your 8 pointed star and include the corners.


Using the ¼” quilting foot, piece together the rows, starting at the top and working your way down. Once all your rows are complete, press the seams open. Piece the rows together by matching seams and pinning them together. Sew the rows together and check that the seams have matched correctly after each stitch. Press your seams open on your block.

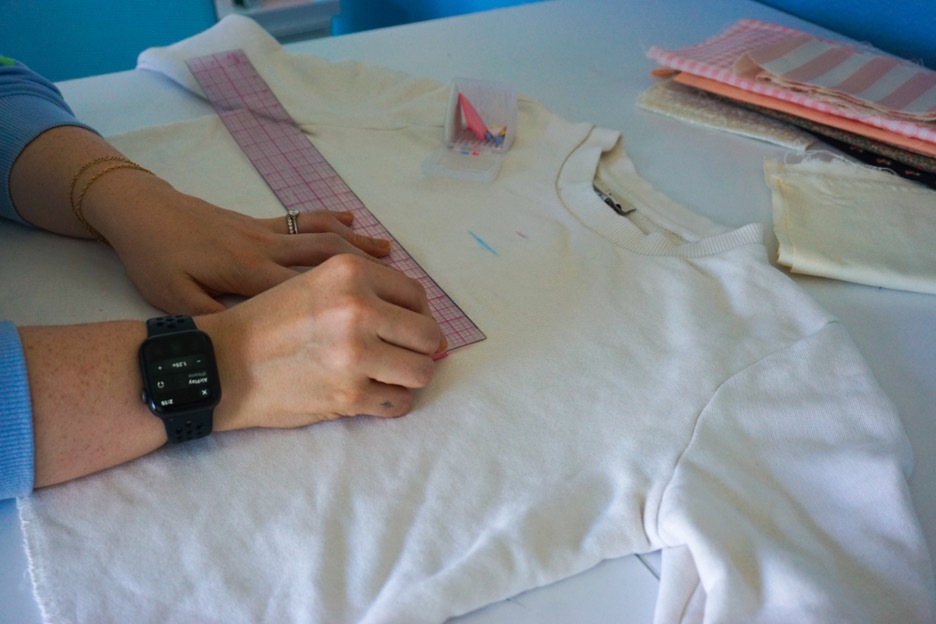
Gather your sweater and find the center by measuring across the chest. Mark it with chalk. Measure down from the neckline at the center roughly 3-5” and mark with chalk. This mark is where the top of your block will go. Measure down 8 ½” inches from this mark. This will be the bottom of your quilt block. Find the center of the block, and measure 4 ¼” out from each side of the center mark. This will be your block placement on your sweater.

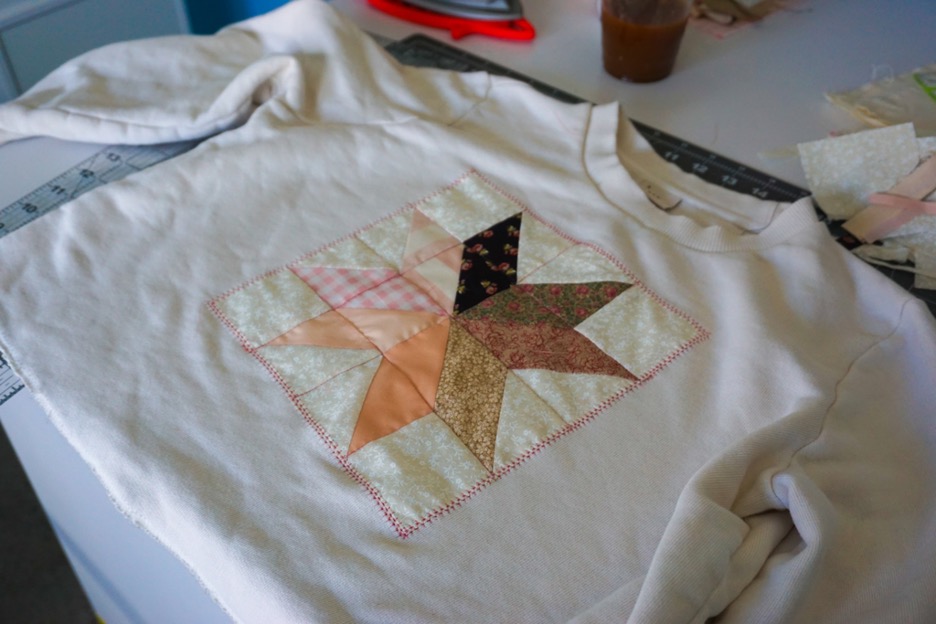
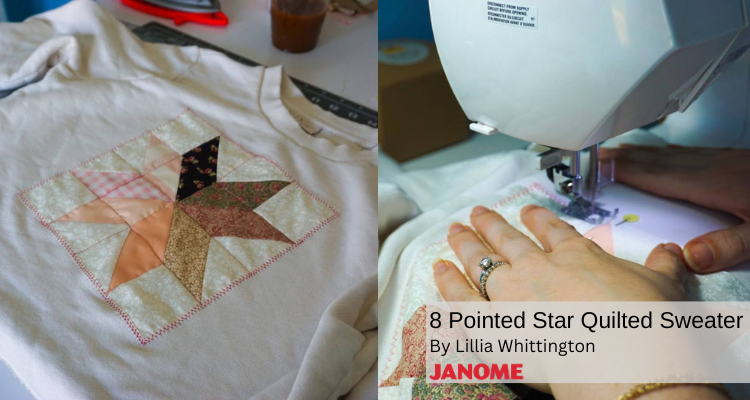
Trim up the edges of your block so they are straight and even. Place the block on your sweater within the markings and pin it in place. Swap your presser foot for the satin foot and set your machine to an applique stitch. As always, check your manual to make sure you’re using the right presser feet for your machine and stitch type. Sew around your block, centering the edge of the block seam to the presser foot. If desired, you can quilt using the stitch in the ditch foot to sew along the seams of your 8 pointed star.


Viola! Admire your handiwork and get ready to add these touches to any of your sweaters as an easy upcycle project to use your scraps on, or possibly a fun quick and easy holiday gift! Enjoy your new sweater, and as always, happy sewing friends!


