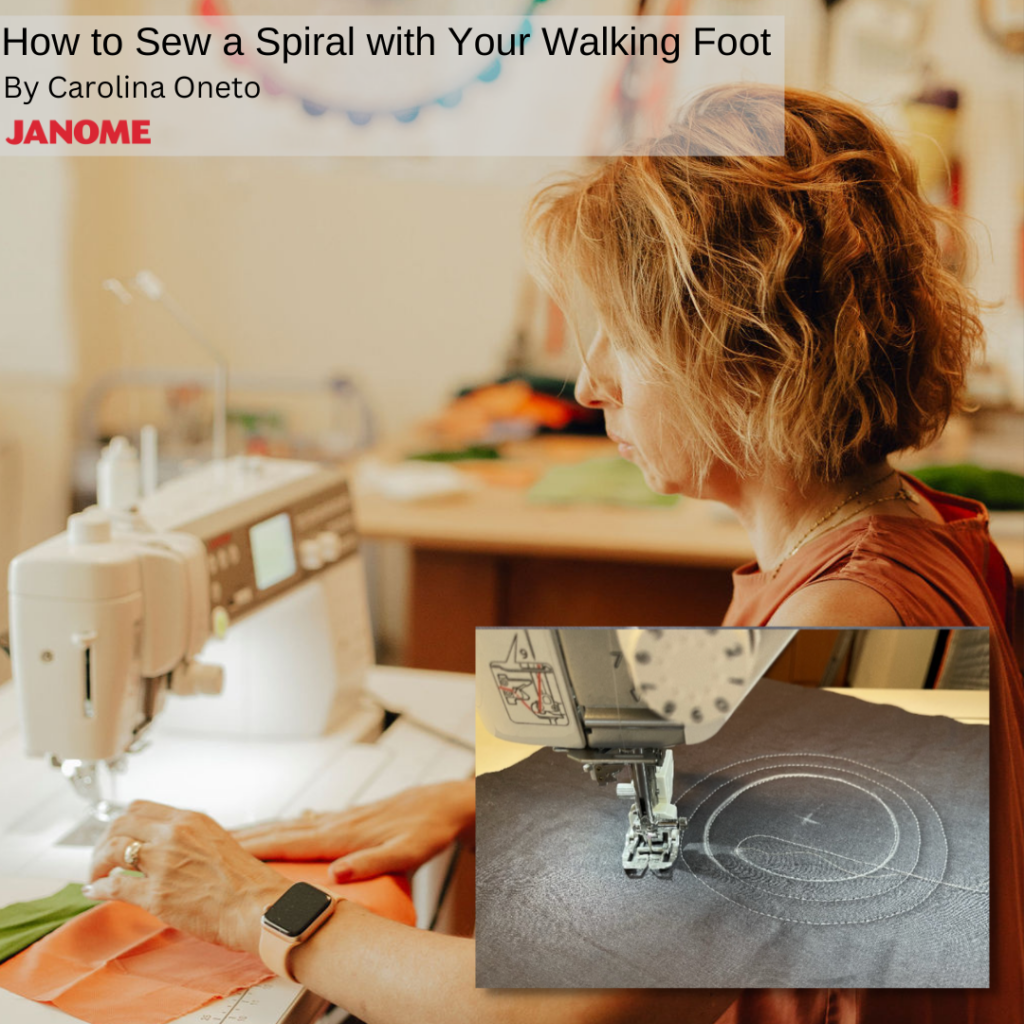
This quilting design is one of my preferred quilting design. Just using your walking foot, this design brings movement and it helps to enhance any focal point on your quilt and the best part is that it is easier than you think!
Janome Supplies Required
SUPPLY LIST
• Sewing machine
• Walking foot or dual feed foot (depending on your sewing machine Model. I use a Janome Memory Craft 6700P with a dual feed foot)
• Quilting ruler
• Any round object that allows you to draw a 5” – 6” diameter circle.
• Erasable pencil
• To practice a mini sandwich (12” square)
• Thread (to practice is good to use a contrasting color thread with your fabric)
Instructions
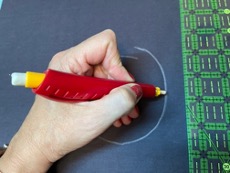
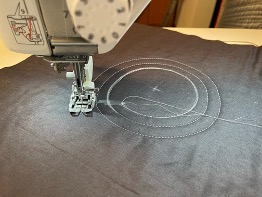
1. MARKS. For practicing find the center in your sandwich and there draw your circle wit an erasable pencil. It is important to NOT draw the complete circle, leave it with an open space of about 2”-3” as you see in the picture.
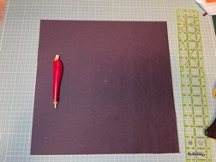

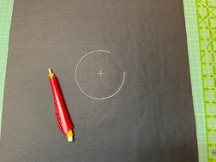

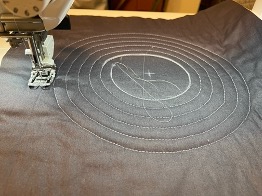
I will be using the edge of my foot because as a guide, so there will be 1/2” between my quilting lines, if you want a wider distance, the guide works of your walking foot will allows you to do that.
As the distance between the needle and the edge of my foot is 1/2” (this measure can be different in your own walking foot foot) I mark a line a 1/2” distance from the beginning of my circle (see the picture below) and then join that point with the other end of your circle drawing by hand a slightly curve.
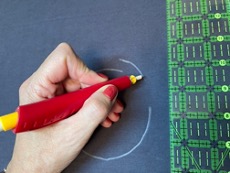
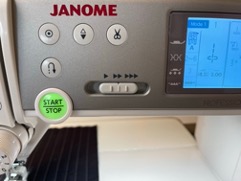
2. SET UP. Depending on your sewing machine, use your waking foot or dual feed foot. Important set up: use a stitch lenght between 2.8 – 3.0. Set your needle down. Sew slow! This is one of the most important recommendations that I can give you (I like to set my speed in medium so I can’t go faster)

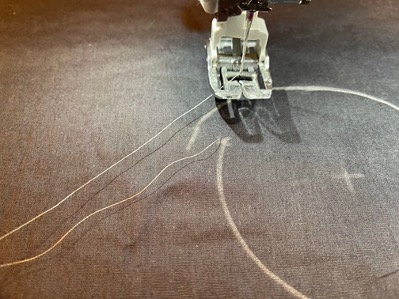
3. START QUILTING. Start quilting from the beginning of your spiral. Remember to bring both threads on top.
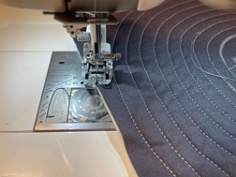
Quilt exactly on top of your drawing line. GO SLOW. Once your line finish, you will start just using the edge of your foot as a guide to continue quilting the spiral.
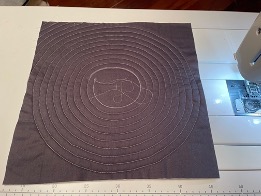
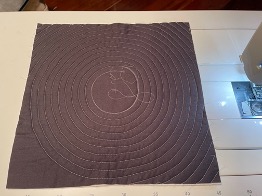
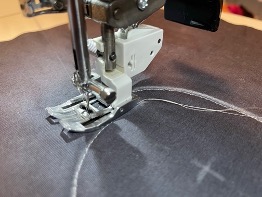
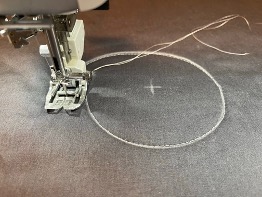
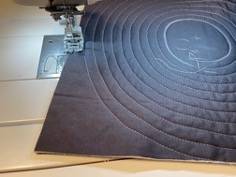
You will arrive to a part when you can’t continue quilting the spiral (the edge of your sandwich is the limit). When this happen,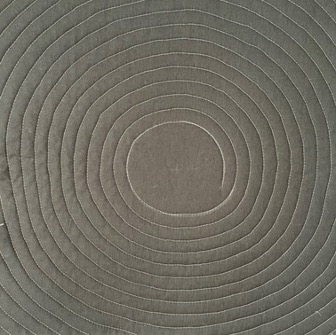
to fill the corners of your sandwich just follow the last stitched curve and echo that curve until you fill up all your 4 corners.

And that is it! Just practice a little bit and you will be ready to start quilting your own quilts.
Some considerations:
• Start practicing with small quilts, once you gain confidence and practice you can try bigger projects.
• You can quilt spirals in any place on your quilt! Not just starting in the center.
• You con overlap different spirals! It creates an incredible texture and design.
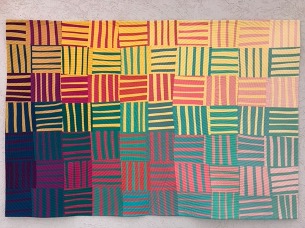
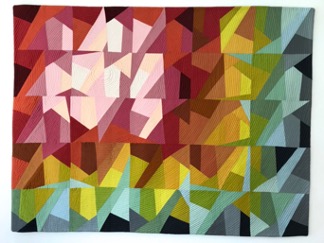
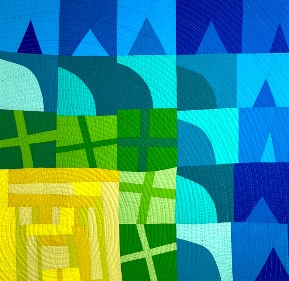
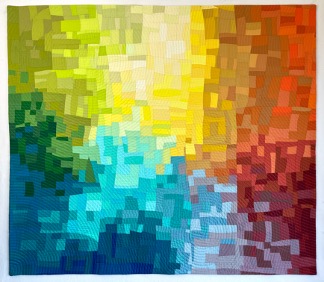
Below I want to show you some examples in my quilts using this design that I love!
