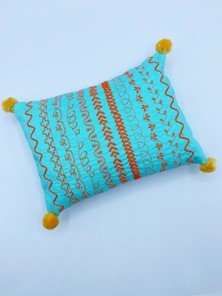
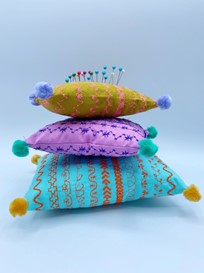
The perfect stitch reference is also the sweetest pincushion. This is a fun way to create a stitch sampler that is not only useful but also a lovely way to store your pins.
When I was teaching kids sewing classes, one of their most favorite projects was using all the decorative stitches on the machine to make their own special fabric. They would then turn their fabric into little bags, pillows and even the sweetest little bracelets. This got me thinking…….how could we utilize the stitches on our machines to make something sweet but also useful as a stitch reference? A sewing machine stitch sampler!
If you are like me, you may feel a little overwhelmed with all the beautiful decorative stitches on your machine. I sew on the continental M7 and just love the very wide variety of stitches available.
I loved the idea of making something that is super useful, but that also acts as a guide to help me easily see all my favorite stitches in one place instead of having a ton of scrap pieces of fabric that I test on.
I really love to have all my different pins organized for my projects, so a pincushion was the perfect way for me to see the stitches for future projects but also keep everything super organized in my studio.
Janome Supplies Required
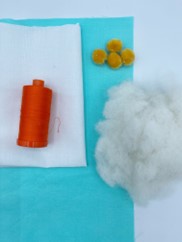
. Scrap of fabric, you can make it any size, but only a small piece is required.
. Any kind of sturdy stabilizer, the same size as your fabric piece – I prefer Pellon SF101
. Bright contrasting thread
. Fiber fill stuffing – I prefer fiber fill for this due to its dense, almost steel wool texture
. 4 small pom poms
. The usual suspects of basic sewing supplies.
Instructions
- I always recommend stabilizing your fabric prior to playing with the stitches. My go to, especially for pincushions is Pellon SF101. It’s a woven stabilizer with heat activated adhesive on one side and it makes my stitches stay super flat and perfect.
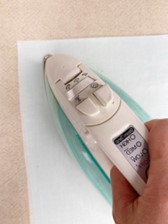
2. Start with a piece of fabric that is larger than your overall pincushion size. i like to complete my stitches and then fold the fabric in half and sew around 3 sides. For example, for a 7 x 5” pincushion, I would cut my piece of fabric to measure 11 x 16”. You can make your pincushion any size you like but I like this size for my abundance of pins!
3. Start by making sure you have a nice fresh needle in your machine. Now is also a good time for a good machine clean out. ( Baby dust bunnies can really affect the look of your stitches)I like to use a microtex super sharp needle for my decorative stitches but you may choose to use a universal needle.
4. Make sure that you have attached the correct foot for these stitches, your machine will show the foot selection on the screen after you have selected the stitch – In most cases it will be F foot.
To select the decorative stitches on the machine, press the decorative stitch button and then choose your preferred type of decorative stitch, there are so many to choose from.
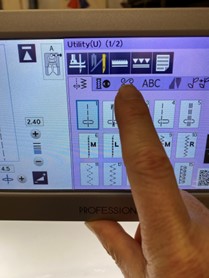
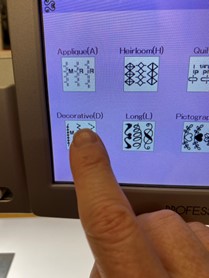
5. Using an erasable marker, draw a straight line down the center of the fabric piece, I prefer to sew with the stitches running lengthwise. Sew your first line of decorative stitching.
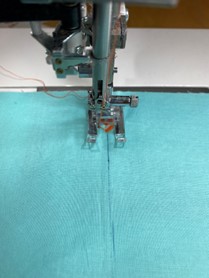
6. Continue sewing lines with all of the stitches that you love until you have completely filled your fabric piece. Try to leave around an inch free on both sides to allow for seam allowance – you don’t want to hide any of those beautiful stitches.
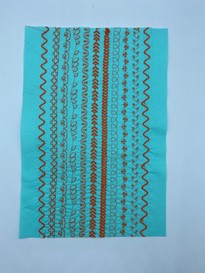
7. Fold your fabric piece in half, with RST, pin and sew around 3 sides, leaving a small hole on one end for stuffing.

8. Turn right side out and stuff with Fiber fill
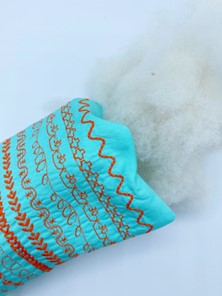
9.
Hand sew the hole closed and add some little pom poms if you choose.
Make one or make a few, they make the most perfect gift for your sewing pals and are also the most simple and fun project for kids. Think of all the cute doll pillows they can make!!
The best part, whenever you are looking for the perfect stitch for your project but are not sure how it will look, you can refer to the pincushion as your guide!
PS, my favorite Continental M7 stitch is number 91!
