The Upper Kite Units
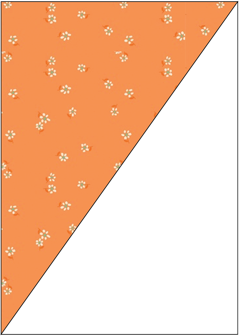
Gather one of the 4” squares and pair it with a 4” background square.
Mark the back of the background square along the diagonal and sew directly on the line you marked. Trim ¼” away from the seam. Trim to 3.5”. Open and press the seam open.
Repeat with the 2nd set of 4” print square and 4” background square.
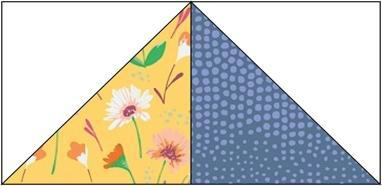
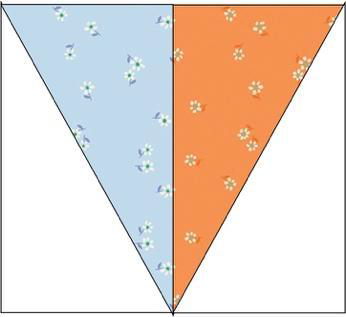
Take the two half square triangles and sew them together so that the prints are touching as shown in the diagram below. Press the seam open.
The Lower Kite Units (half rectangle triangles)
Gather one of the 4” x 6” print rectangles and one of the 4” x 6” background rectangles.
You will need to place the fabrics together so that the corners align as shown below. Prior to marking your sewing line, be sure that the fabrics will be oriented the way you want them in the kite.
Hold the fabric in place and flip it open as though there is a seam to check orientation prior to sewing.
RIGHT SIDE TRIANGLE ALIGN FABRICS
Match corners
Background Corner A to Print Corner B
Background Corner D to Print Corner C
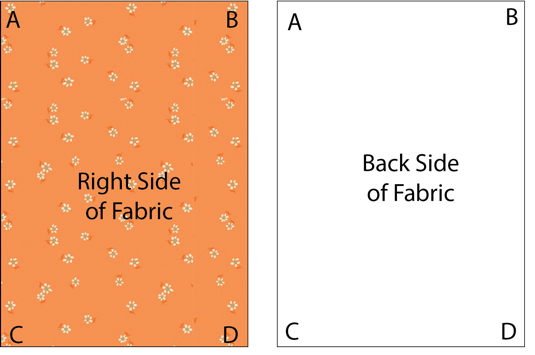
ALIGN FABRICS
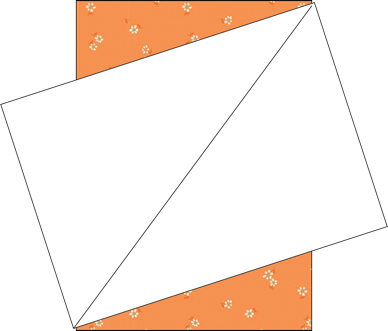
TRIM SEAM
PRESS OPEN
Once you have the fabrics oriented properly, mark a line on the diagonal on the back of the background rectangle. Sew directly on the line you marked.
Double check that fabrics are oriented the way you want them for the kite. If correct, then trim ¼” away from the seam. You can discard the trimmings or keep them for another project.
Trim to the block to 3.5” x 5.5. Press the seam open.
For a video on trimming HRT blocks, go here: https://youtu.be/7dhuV508Mh0
Repeat with the remaining rectangles to form the other lower kite piece. Align the fabrics the opposite way to make the left side of the kite.
Sew the half rectangle triangles together so the prints touch. Press the seam open.
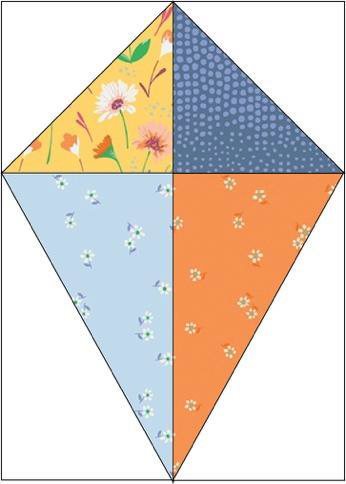
Assembling the Kite Block
Take your top half of the kite and align it with the lower half of the kite. Pin so the seams align at the intersection.
Sew together the halves and press the seam open.
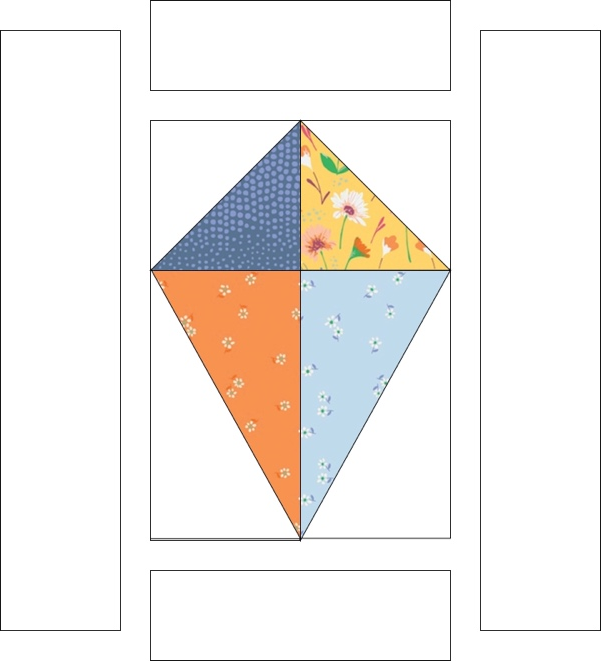
Adding Background to fit in the frame:
To fit into an 8”x10” frame, take one 4” x 6.5” rectangle and sew it to the top of the block. Press the seam away from the kite block.
Take the second 4” x 6.5” rectangle and sew it to the bottom of the block. Press the seam away from the kite block.
Take a 4” x 15.5” rectangle and sew to the right of the kite block and press seam away from the kite block.
Take a 4” x 15.5” rectangle and sew to the left of the kite block. Press the seam away from the kite block
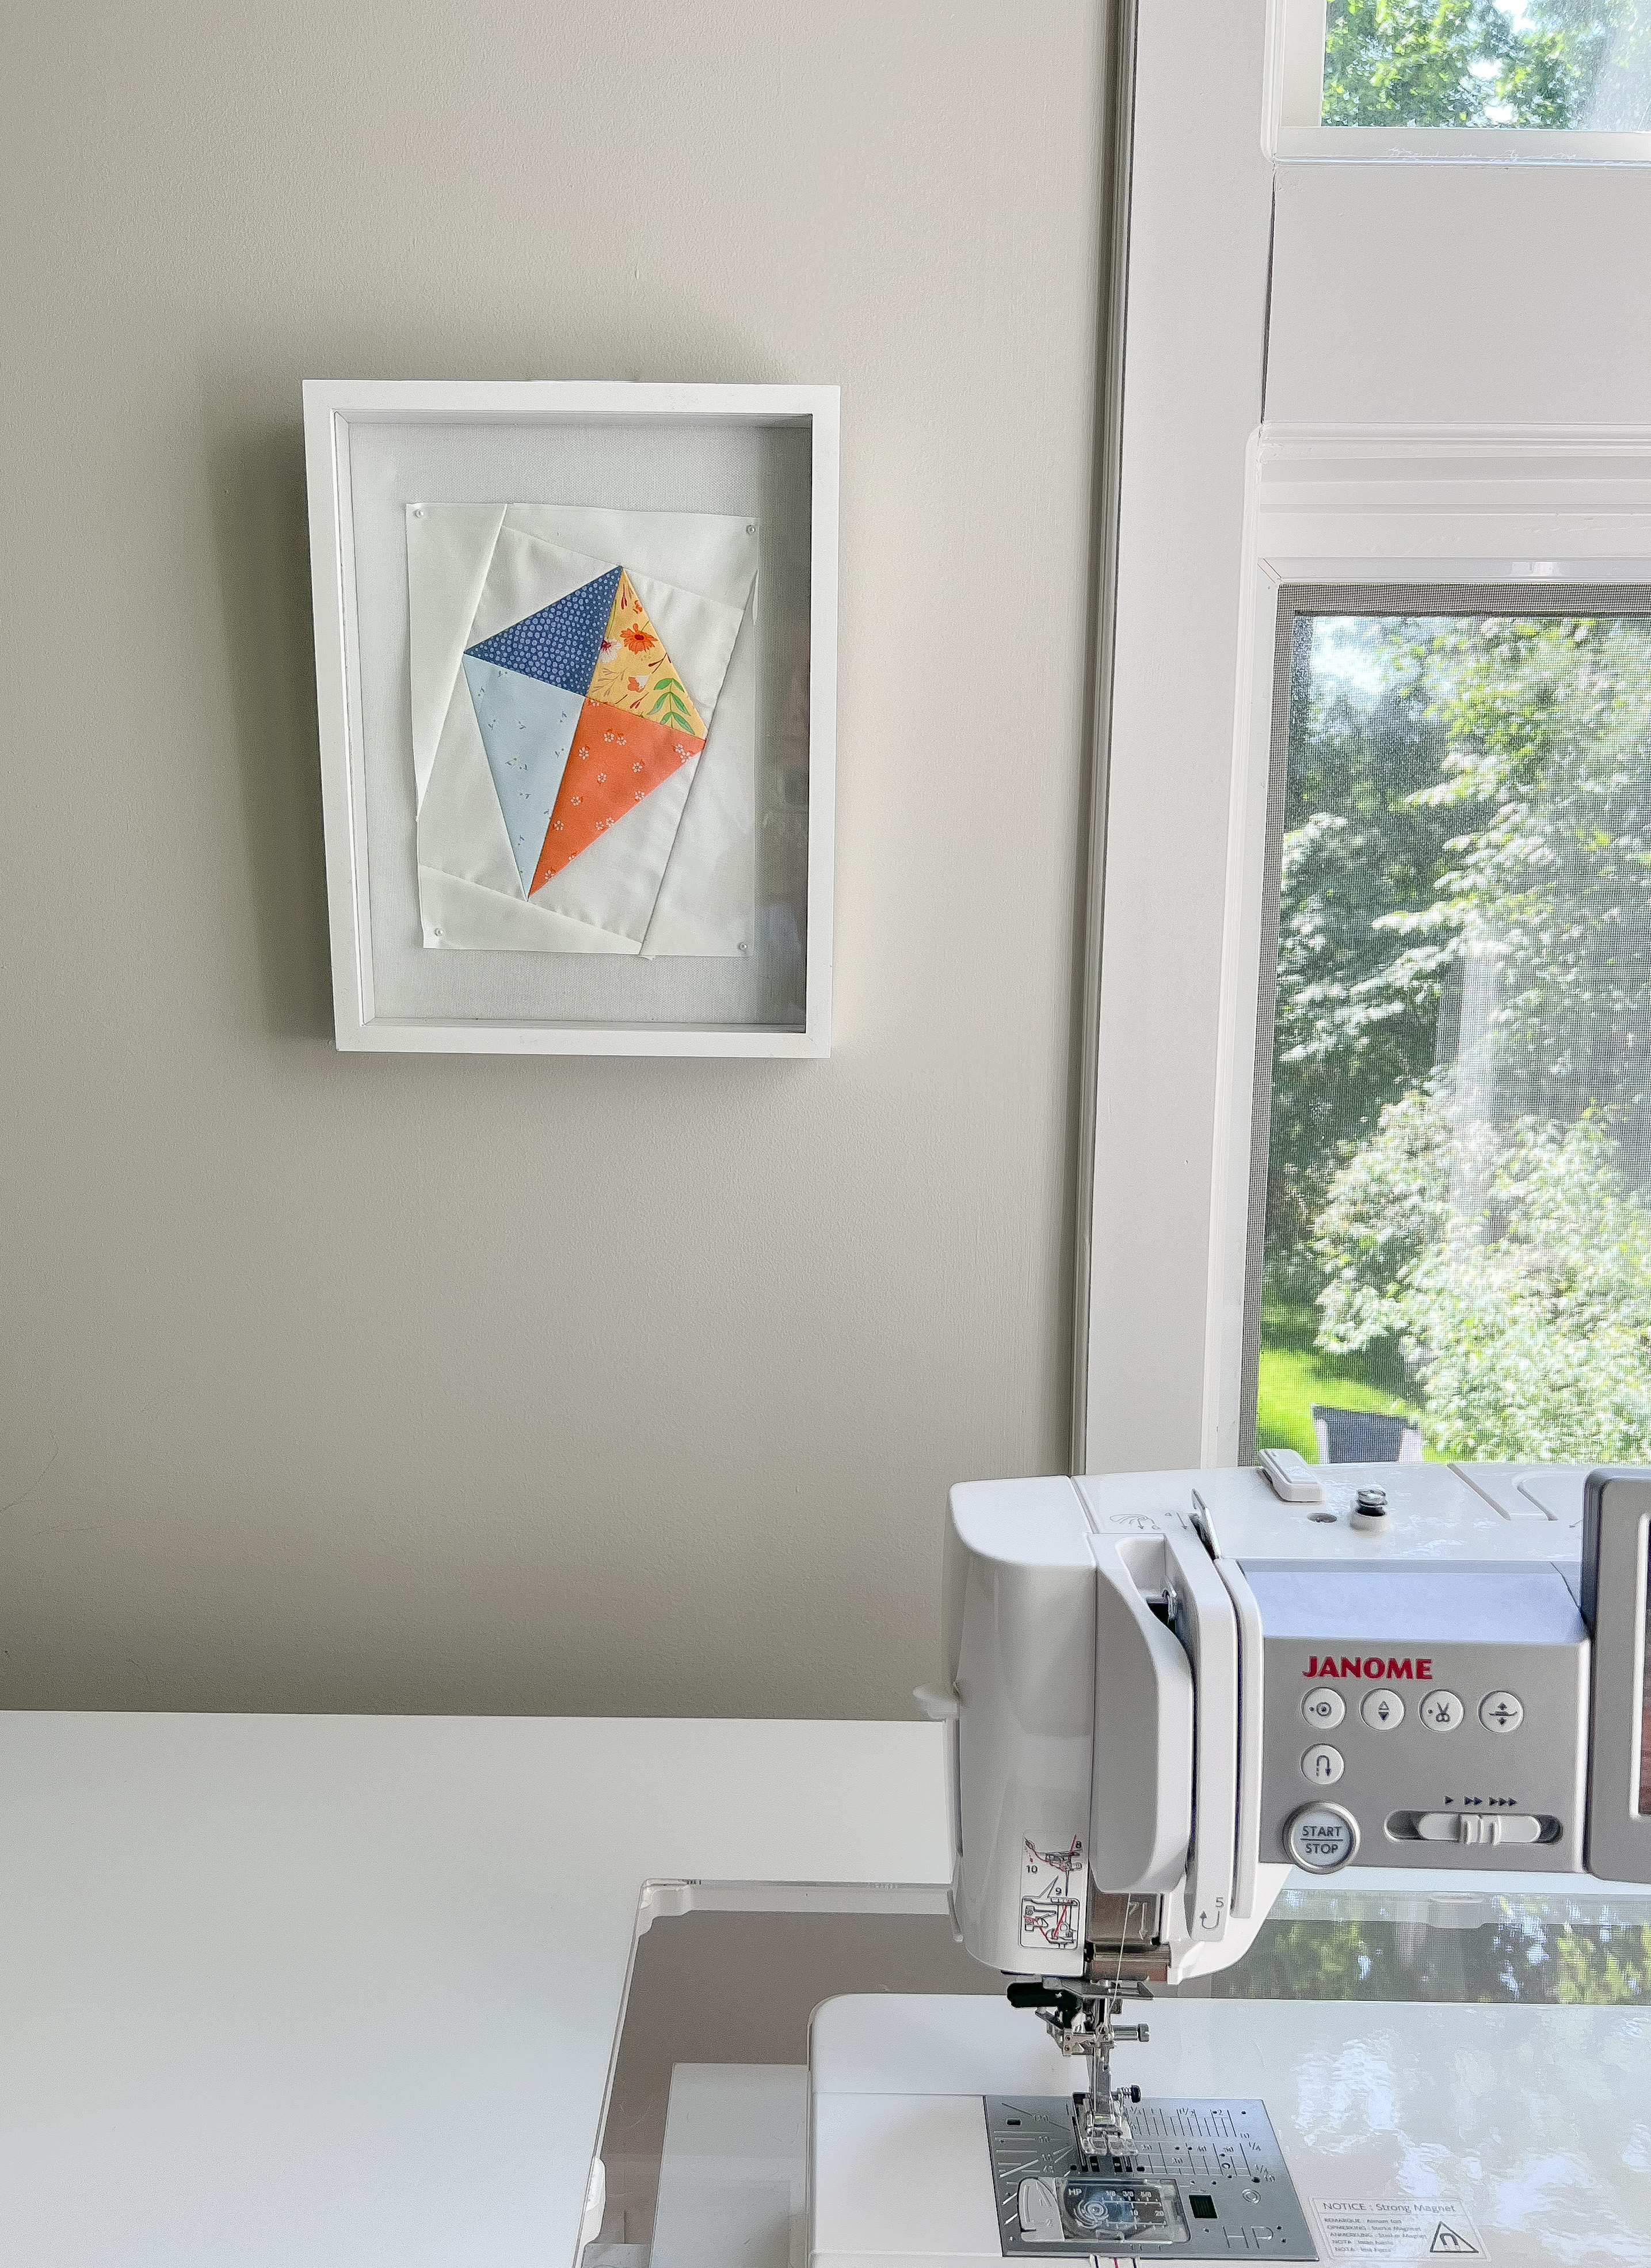
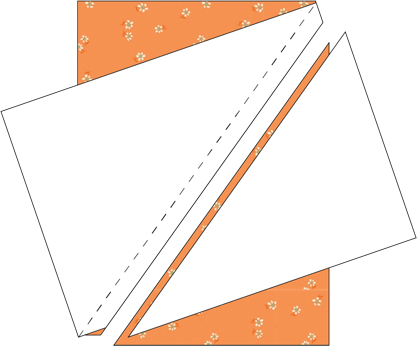
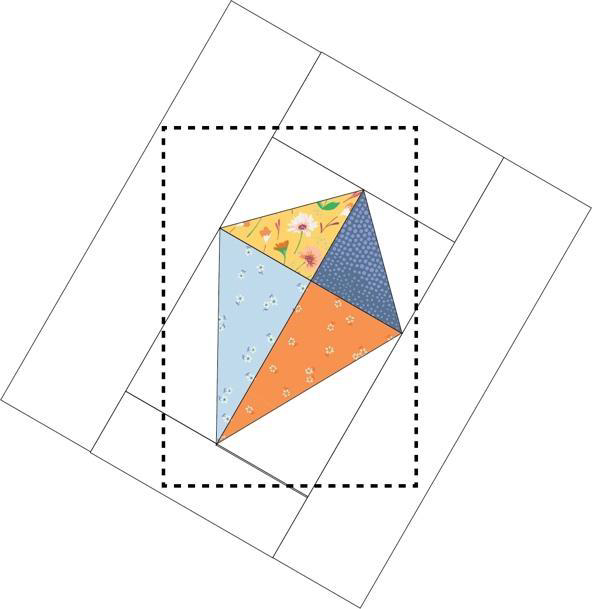
Orient the kite however you want. It can be straight up and down or on a diagonal like I did.
Once you have it how you want, you can use the frame glass or an 8” x 10” cardboard template to carefully mark around the edge to guide your trimming.
Trim down to 8” x 10”. You can frame it in an 8”x10” frame or use an 11”x14” shadowbox as shown.
Your kite block is ready to frame and hang!
If you prefer to quilt your block, add batting and a backing that measures 12” x 14” total. Baste, quilt and bind as desired. You can use a ribbon to hang it if you wish.