Projects

Pet Lounge

Created By:

Meredith Daniel

Skill Level: Intermediate

I’m all about making useful things pretty, and the latest thing in my house to get this treatment is beds for the dogs. I found a canvas-weight fabric that I was immediately
smitten with, and paired it with a fluffy fleece to create this pet lounge. I’ll walk you through how I made this bed, and I’ll give you some ideas for customizing it along the way!

Janome Supplies Required

3” thick foam cushion in size shown on cutting chart
• Poly-fil for stuffing the top walls
• 1.5-2.5 yards heavyweight fabric such as canvas
• .75-1 yard fleece/fur fabric
• 20” invisible zipper for S/M or 30” invisible zipper for L/XL

• Coordinating thread
• Hand sewing needle
• Optional: batting and cotton if you want the fleece portion to be quilted

Instructions

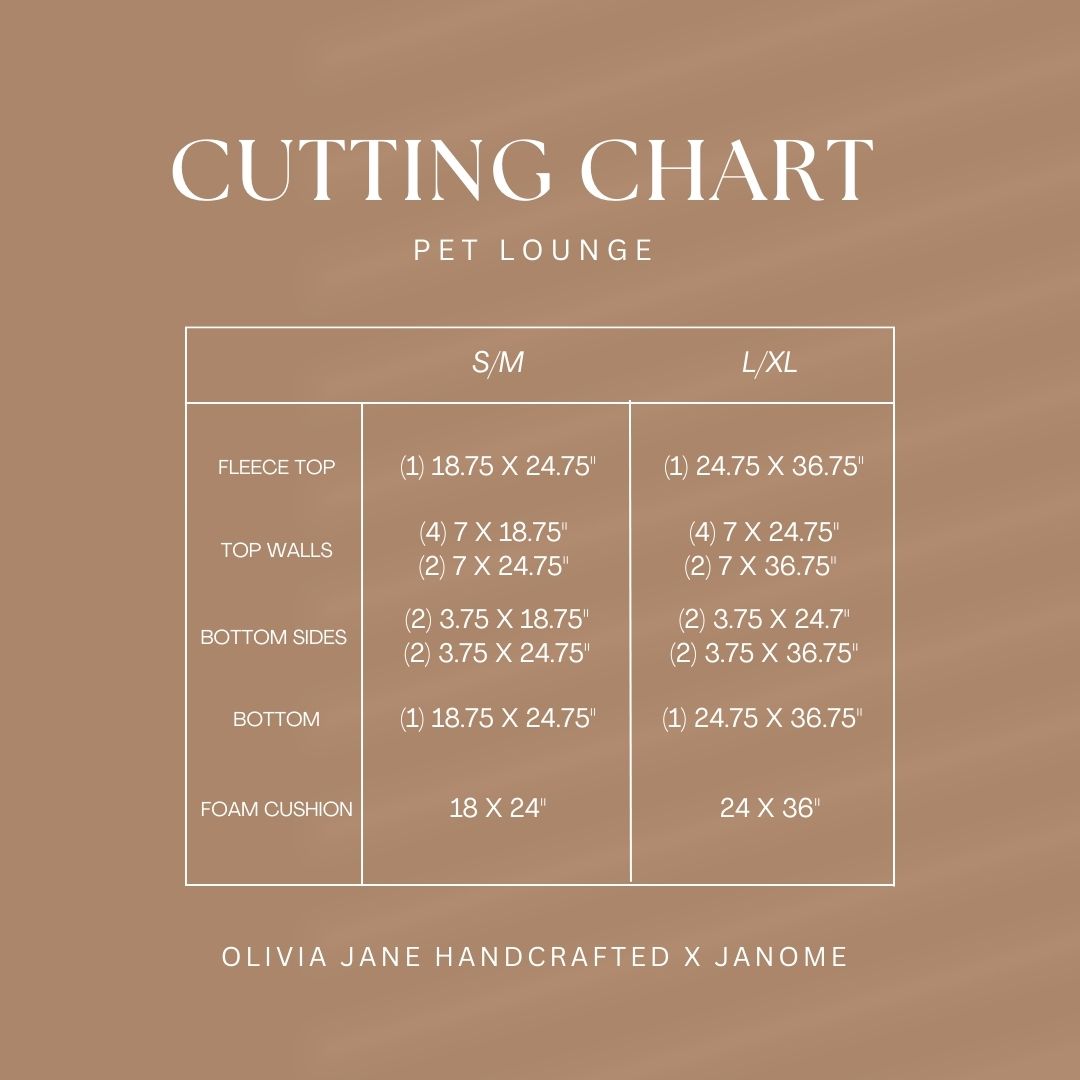
This pet lounge comes in two sizes, but you can easily customize to your pet’s needs. See note
below the chart. I have Boston Terriers and I made the S/M size which is 18x24”. The L/XL is
24x36”.
Use this chart to cut your pieces:

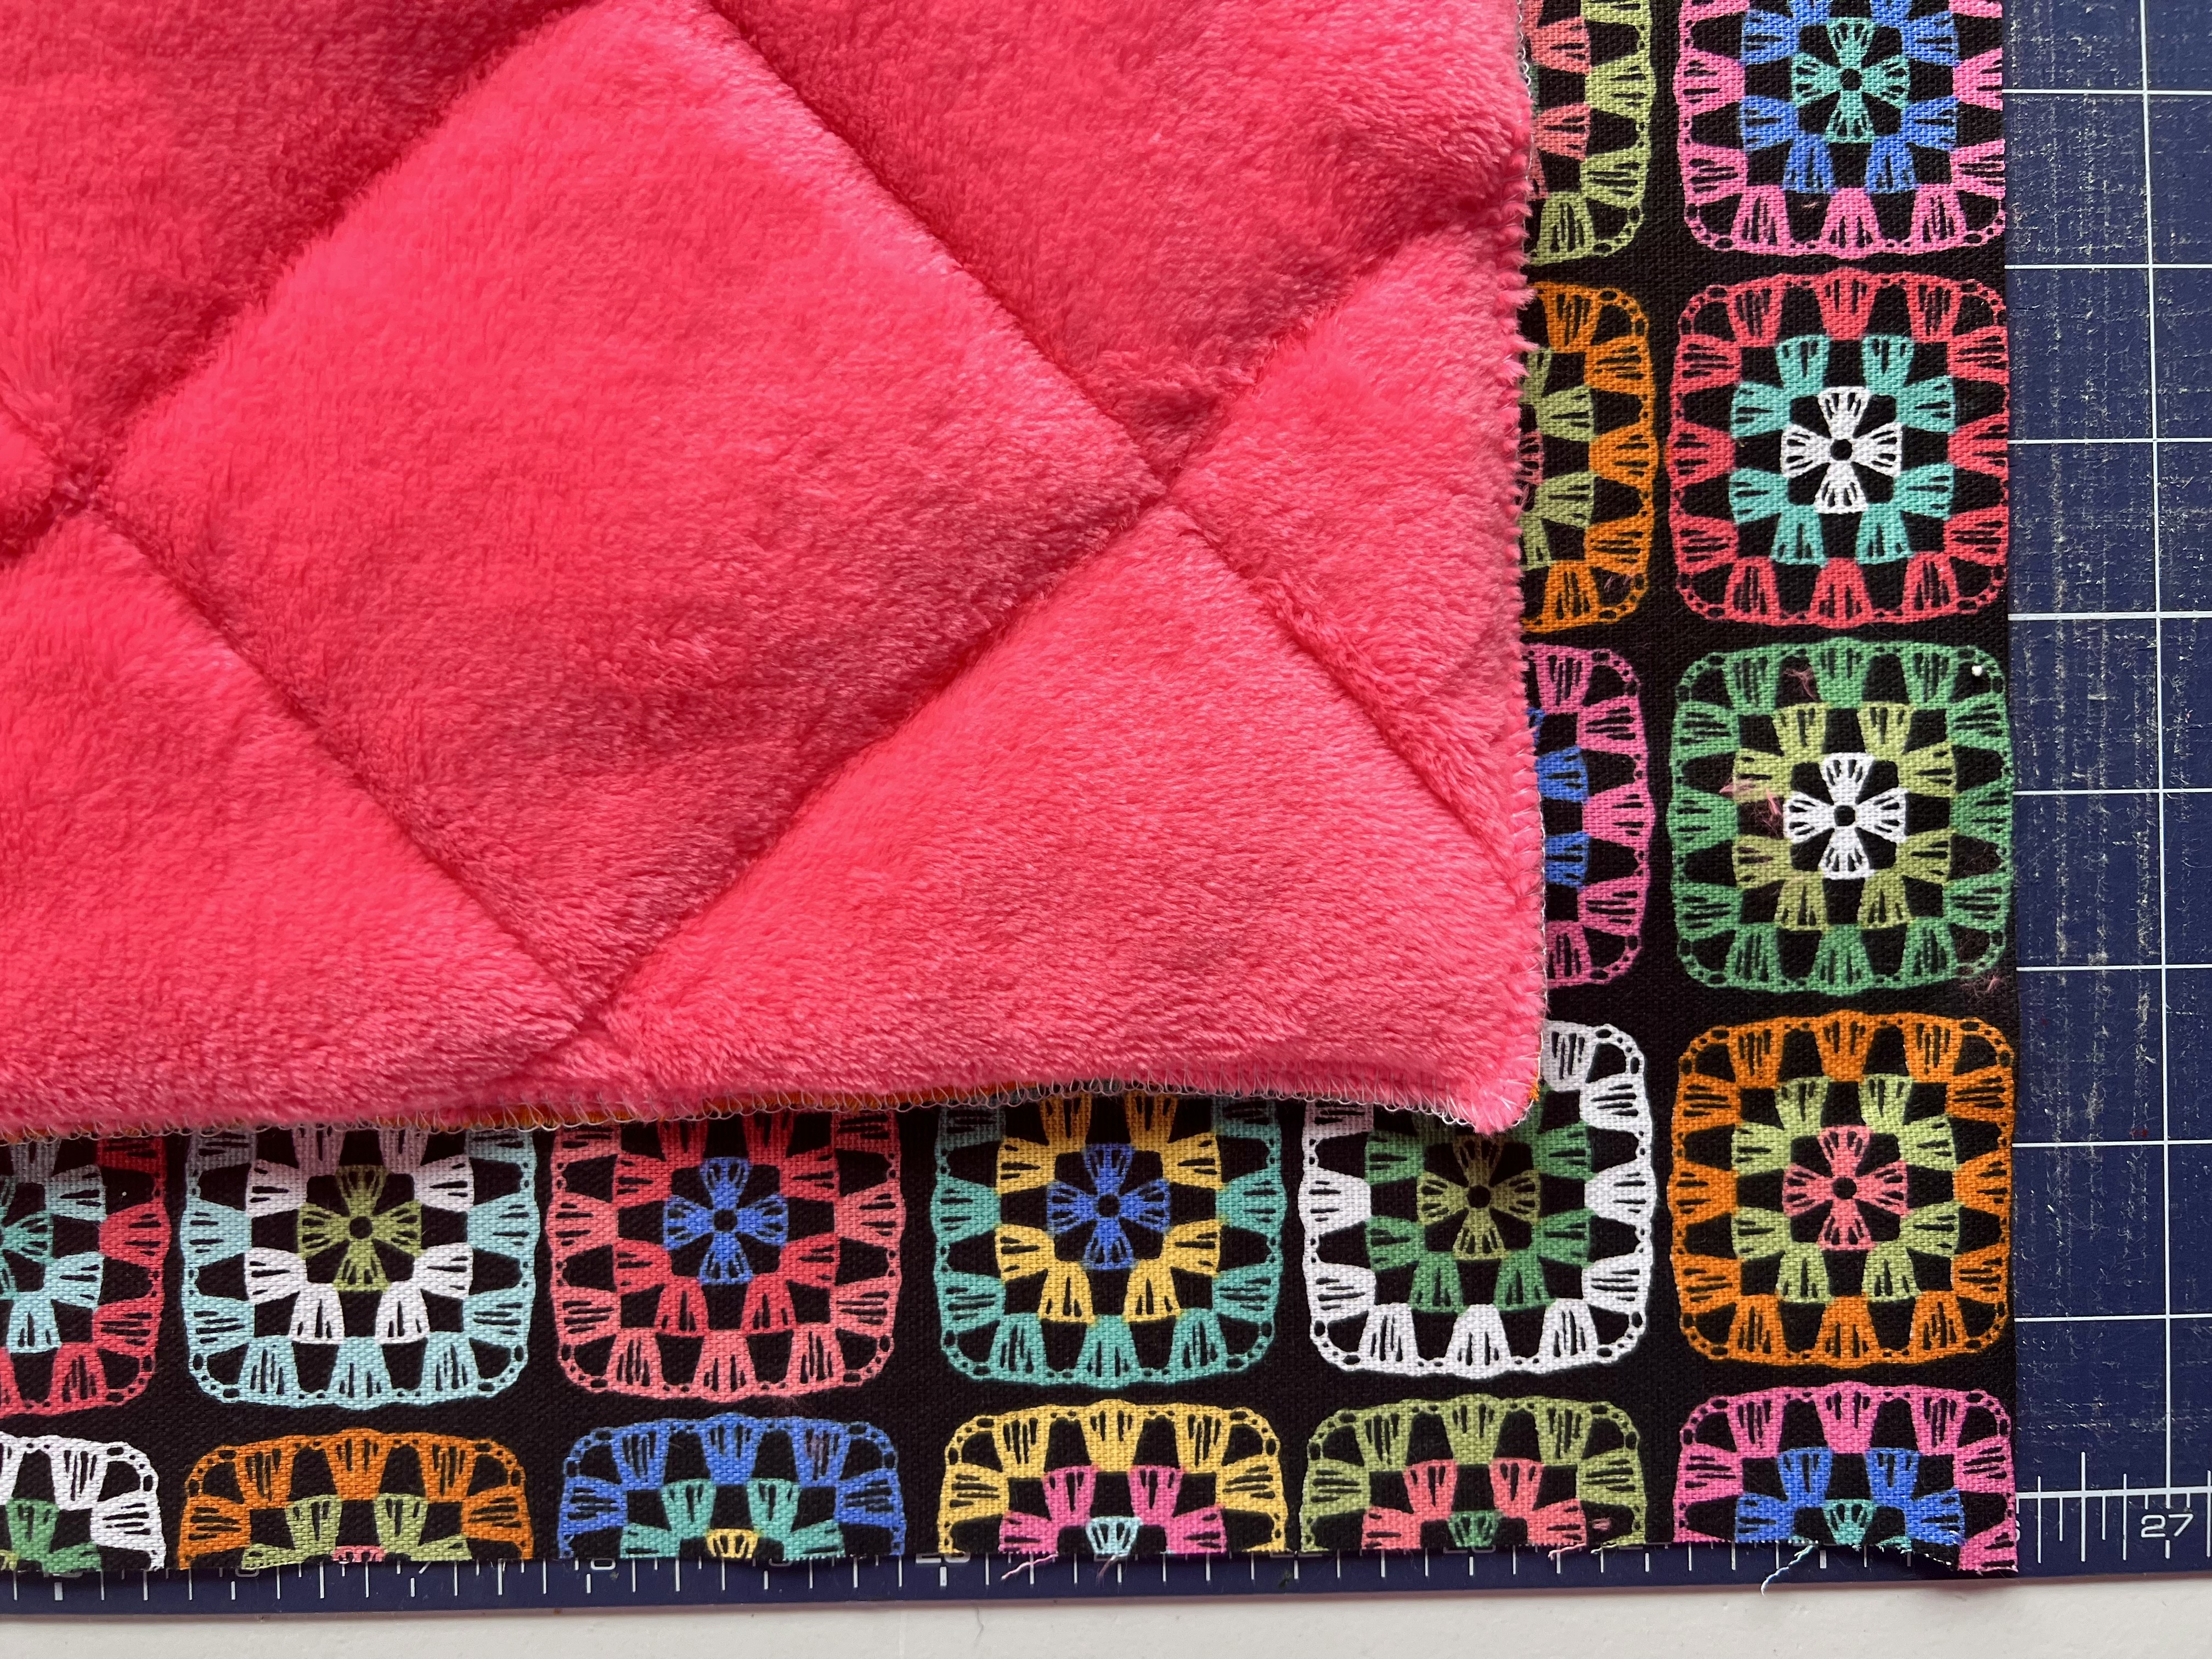
Notes: You can make your fleece section even more plush and durable by layering it on top of a
high loft batting and cotton fabric then quilting. I did this in the lounge that is shown. To make a
different size of bed, simply add .75” to your bed’s length and width when cutting the fabric.
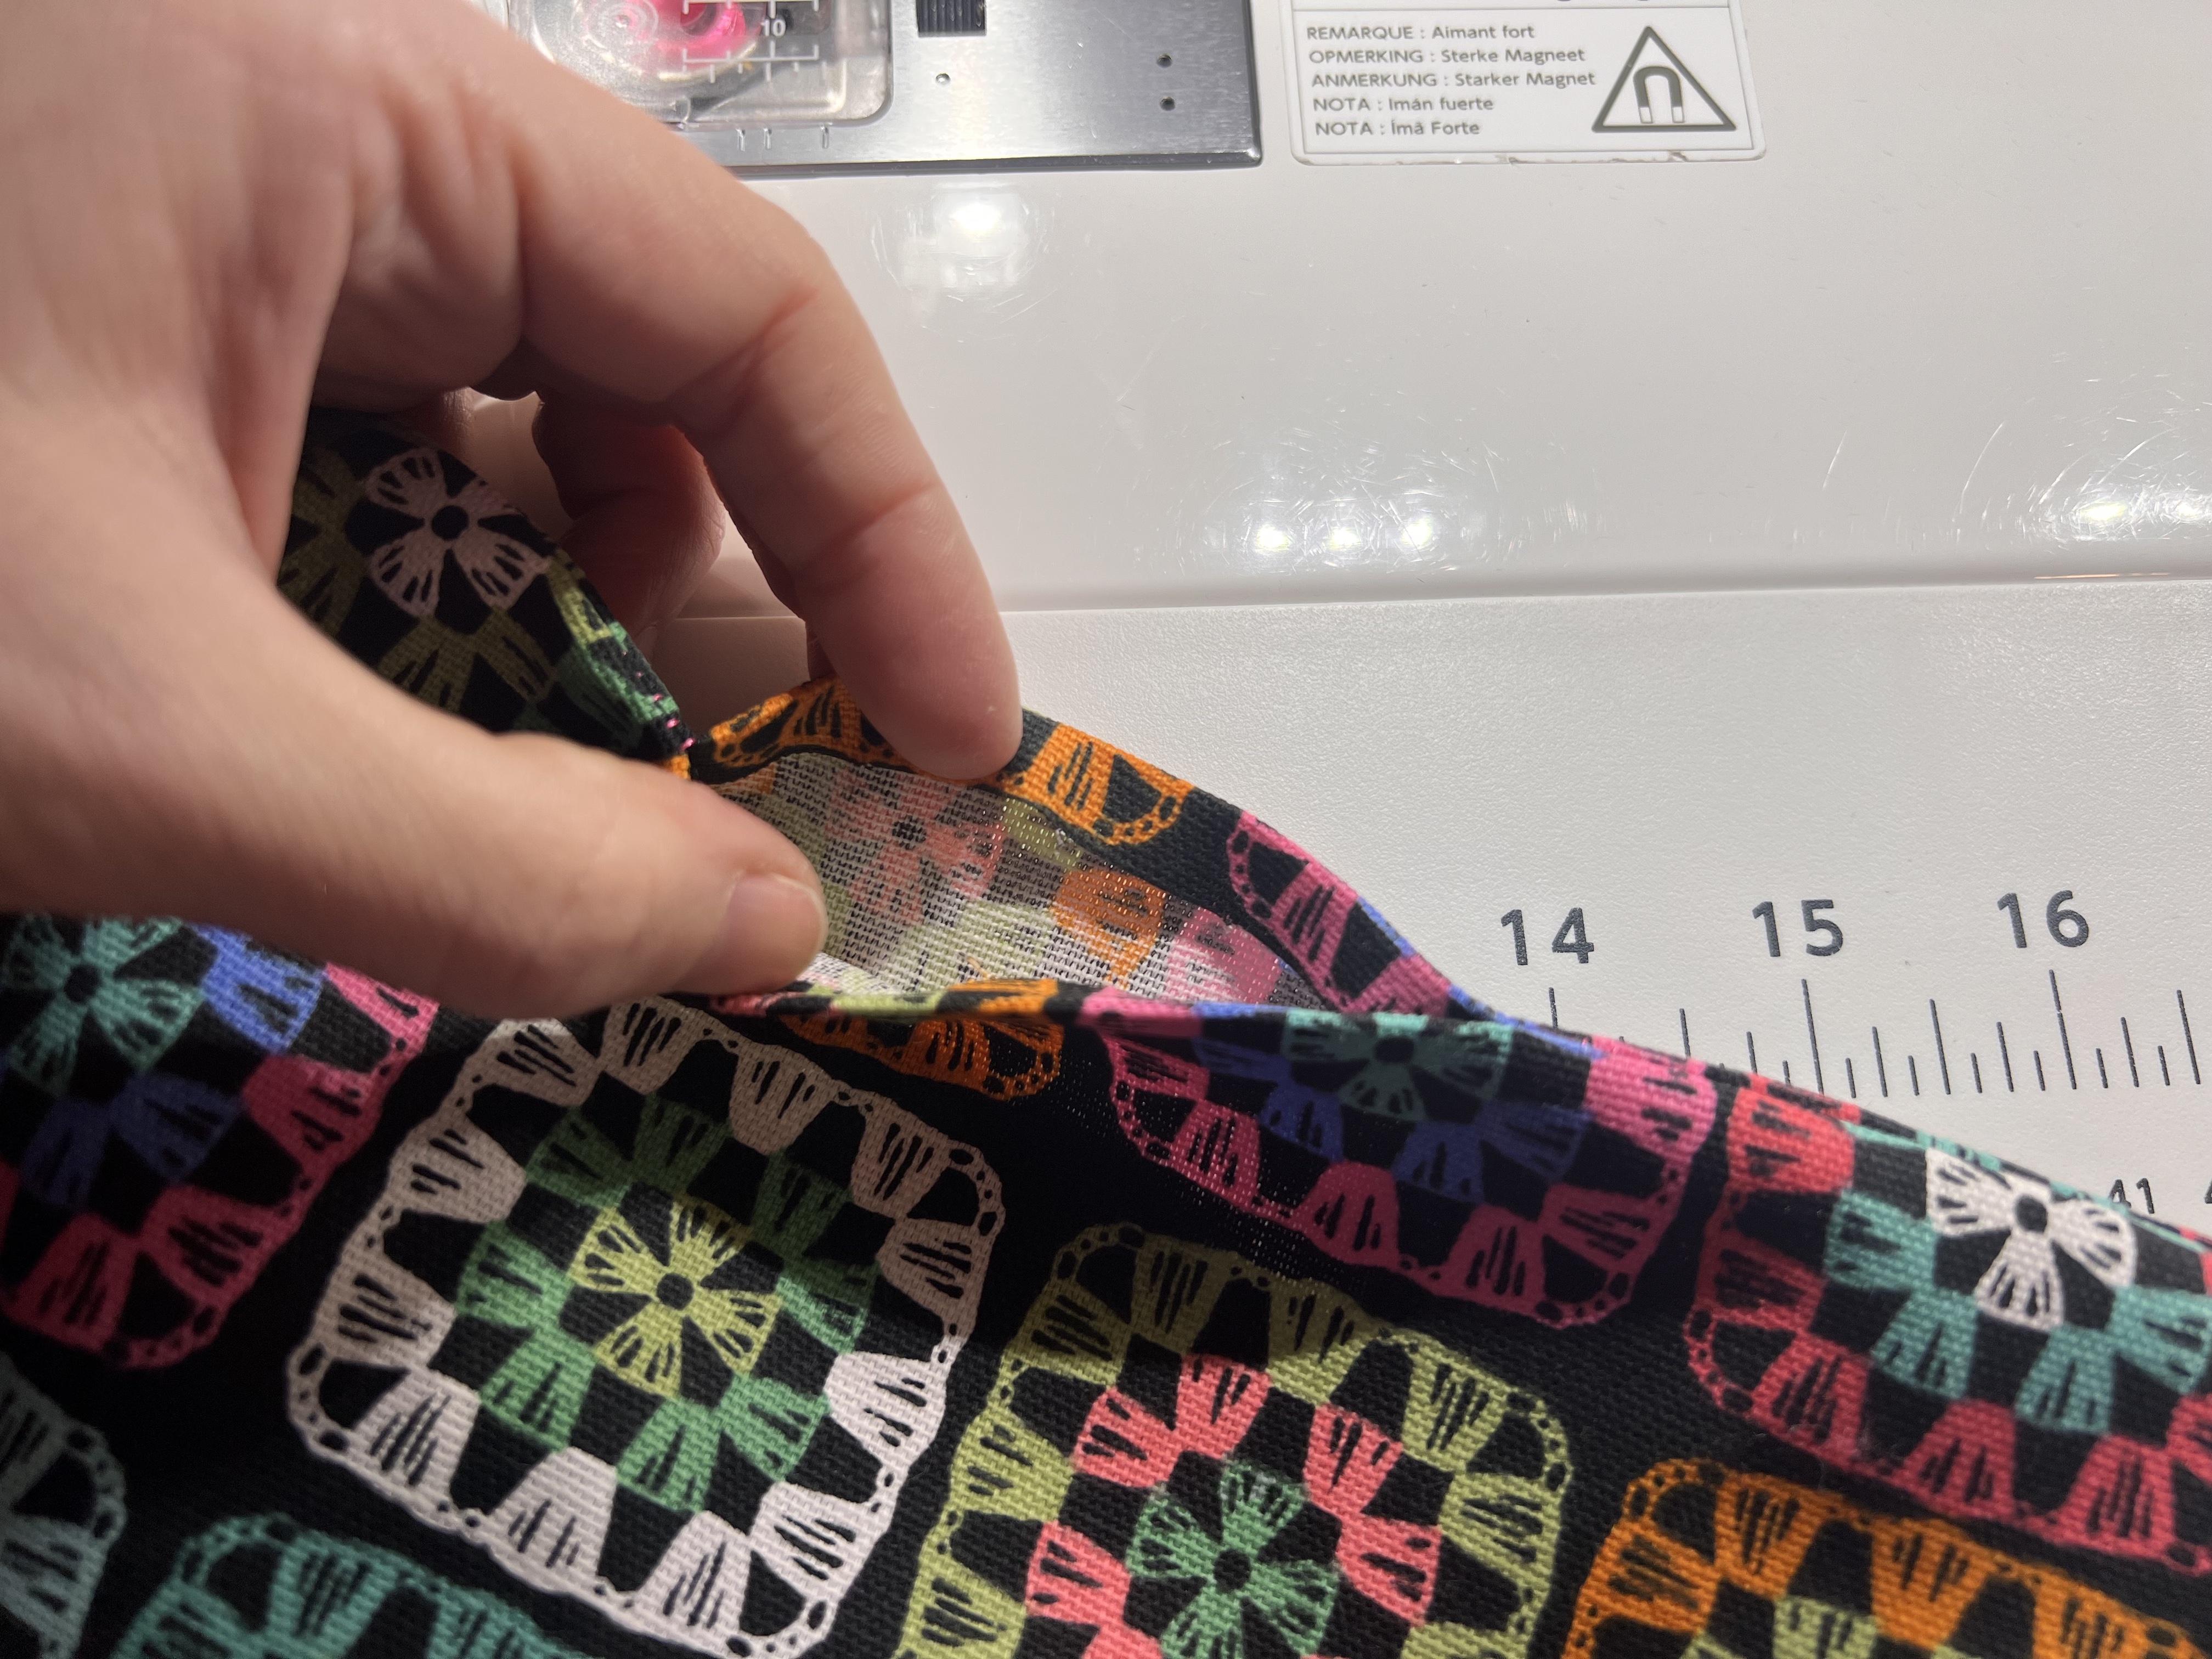
All seam allowances are 3/8”

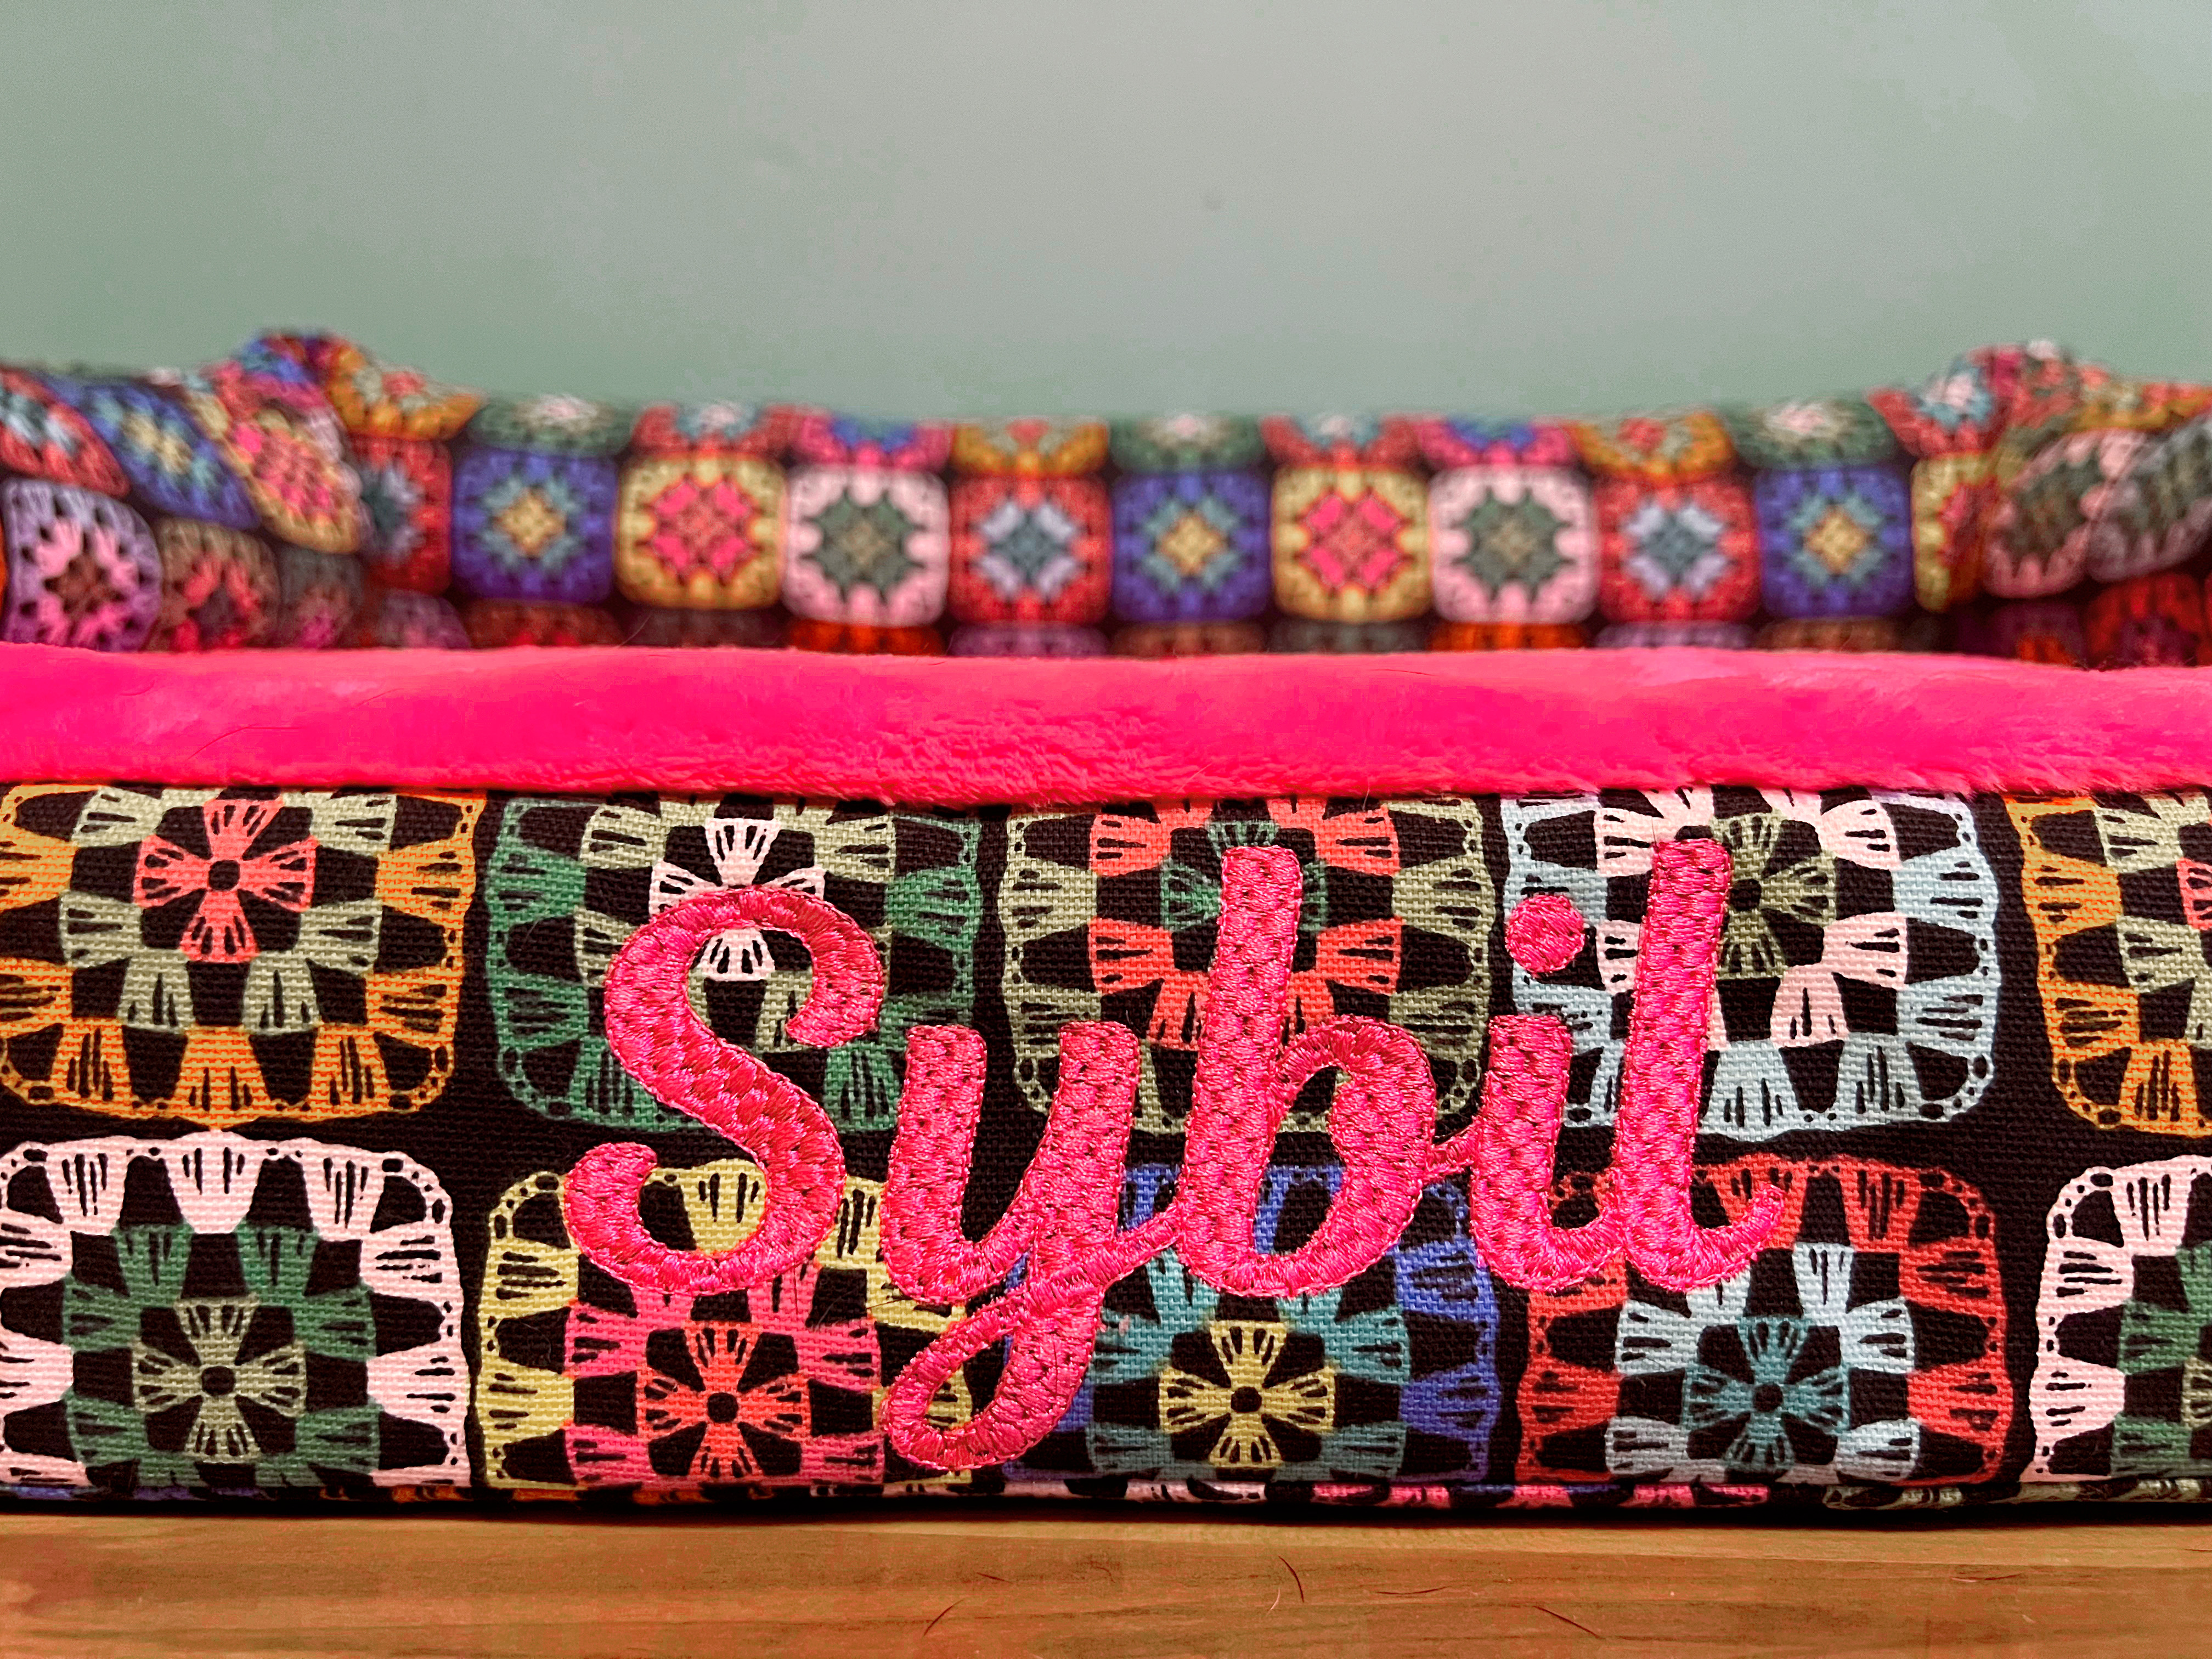
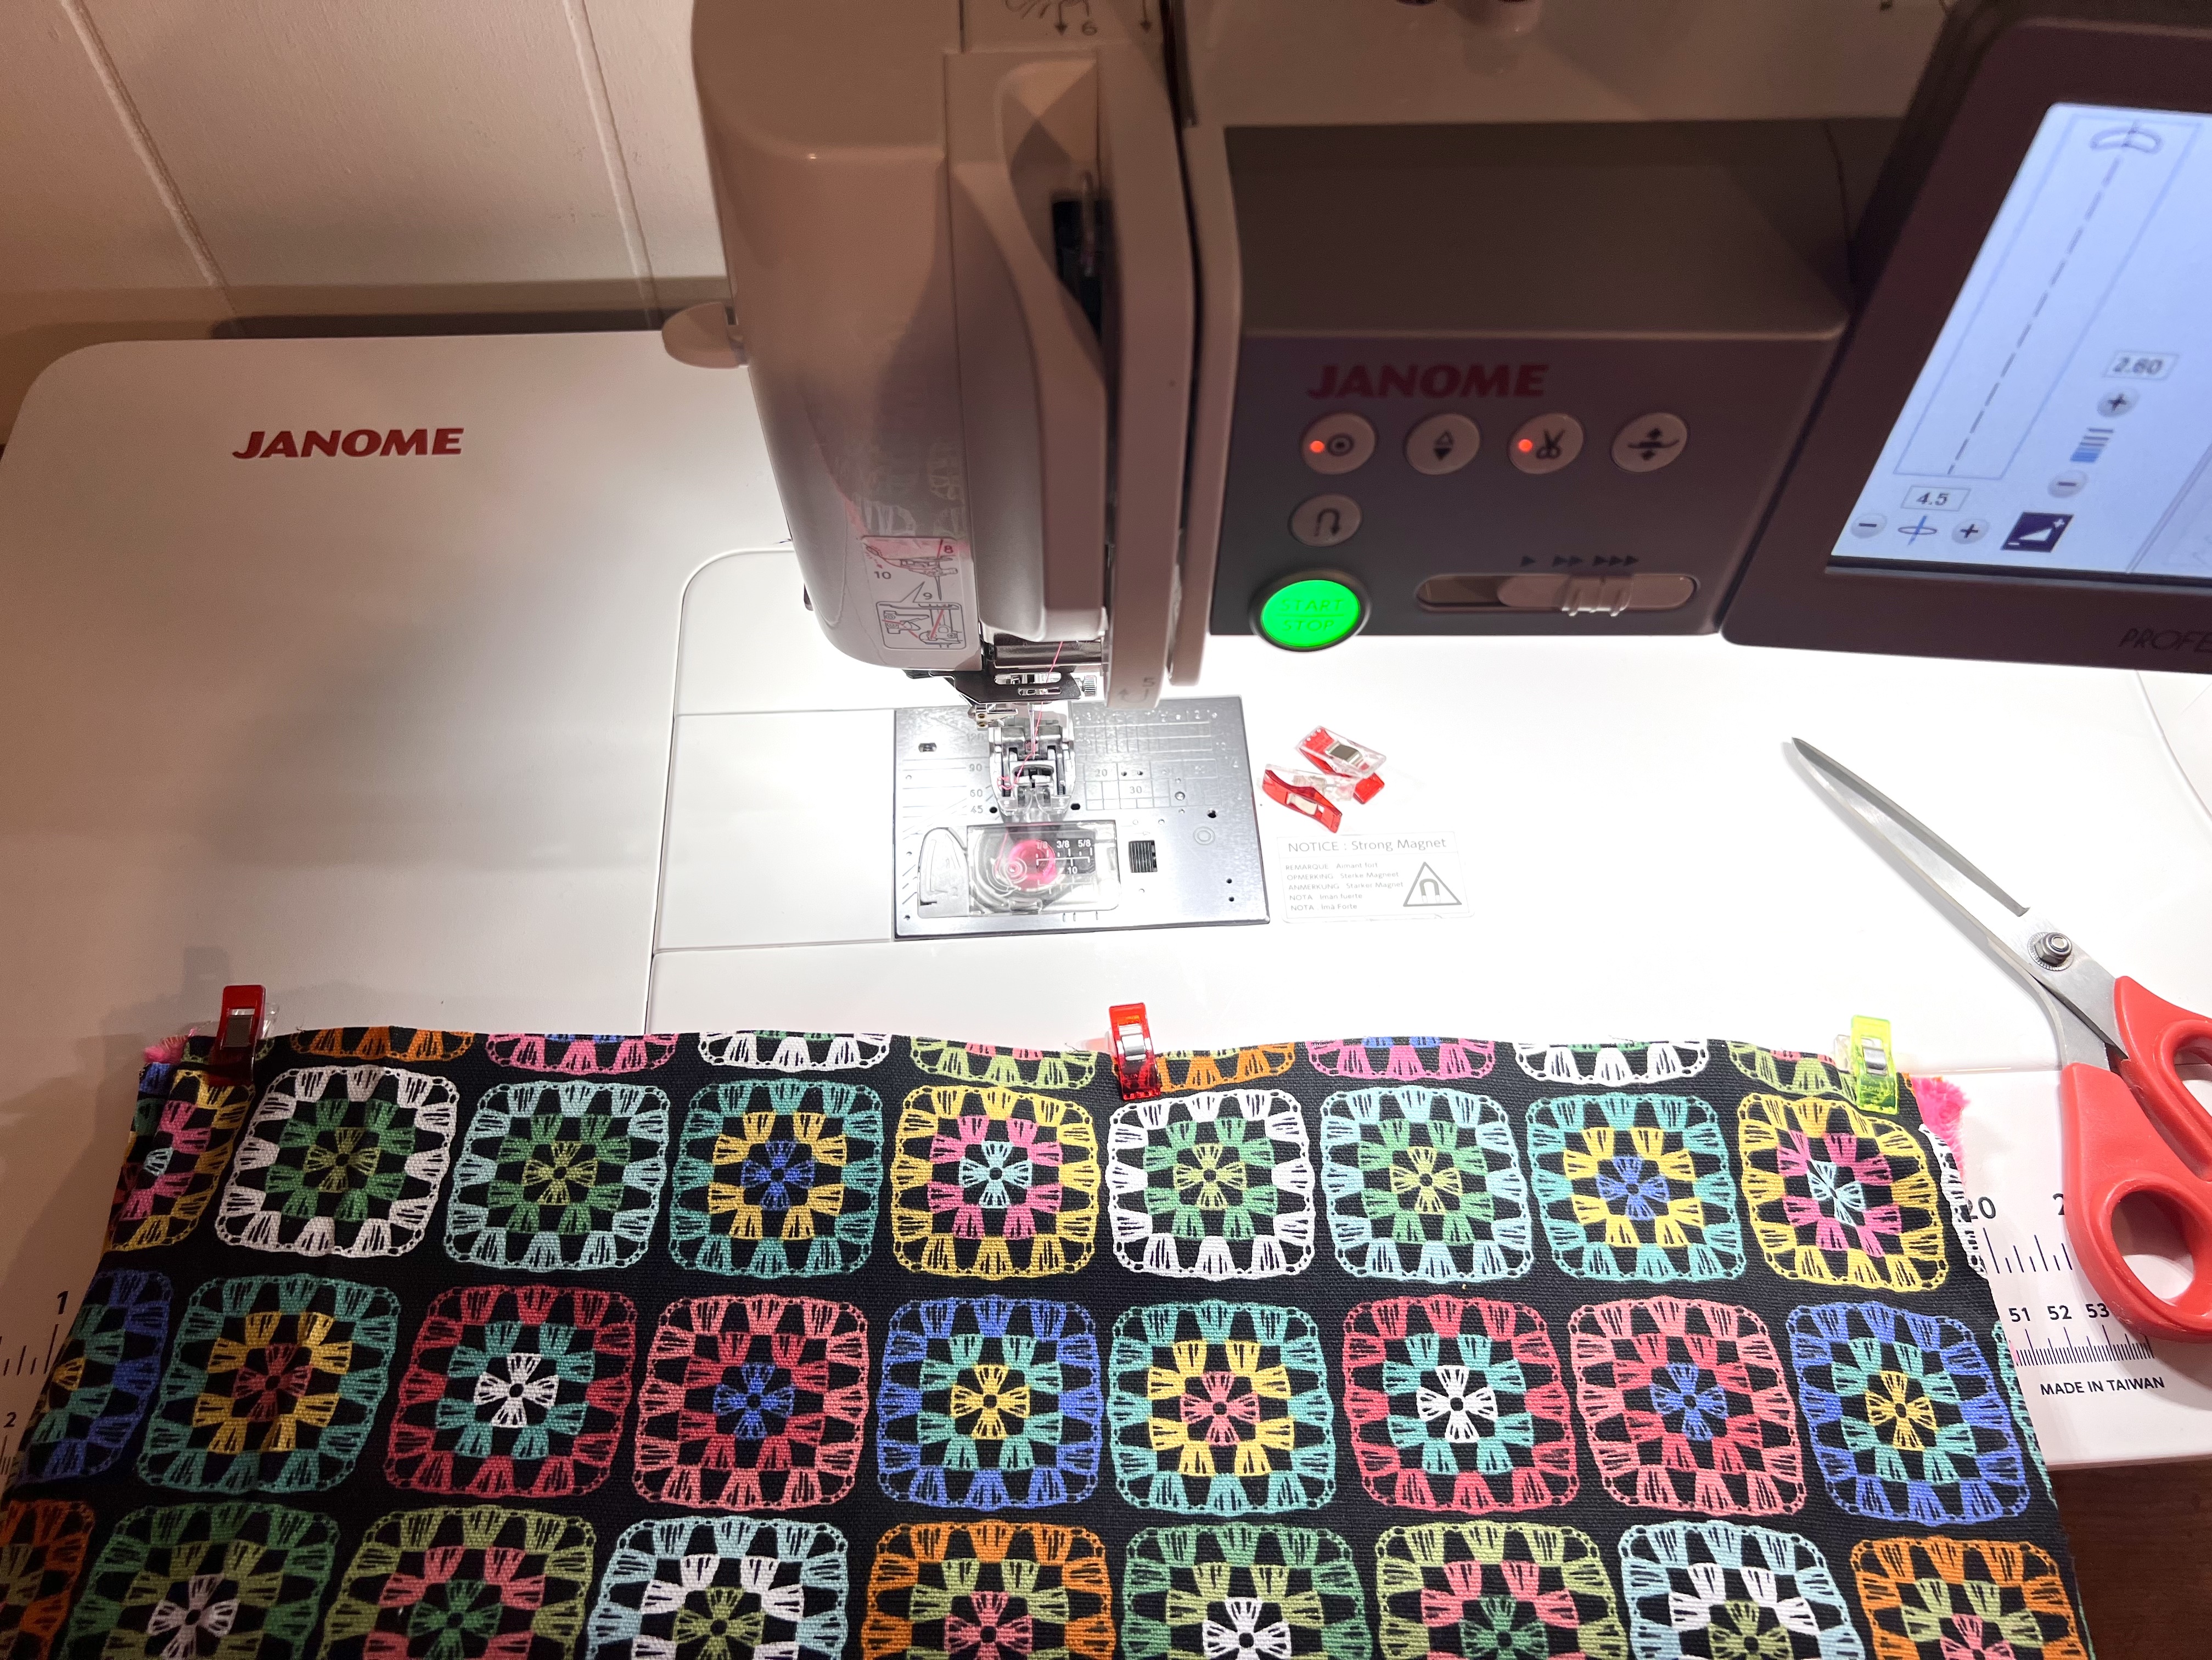
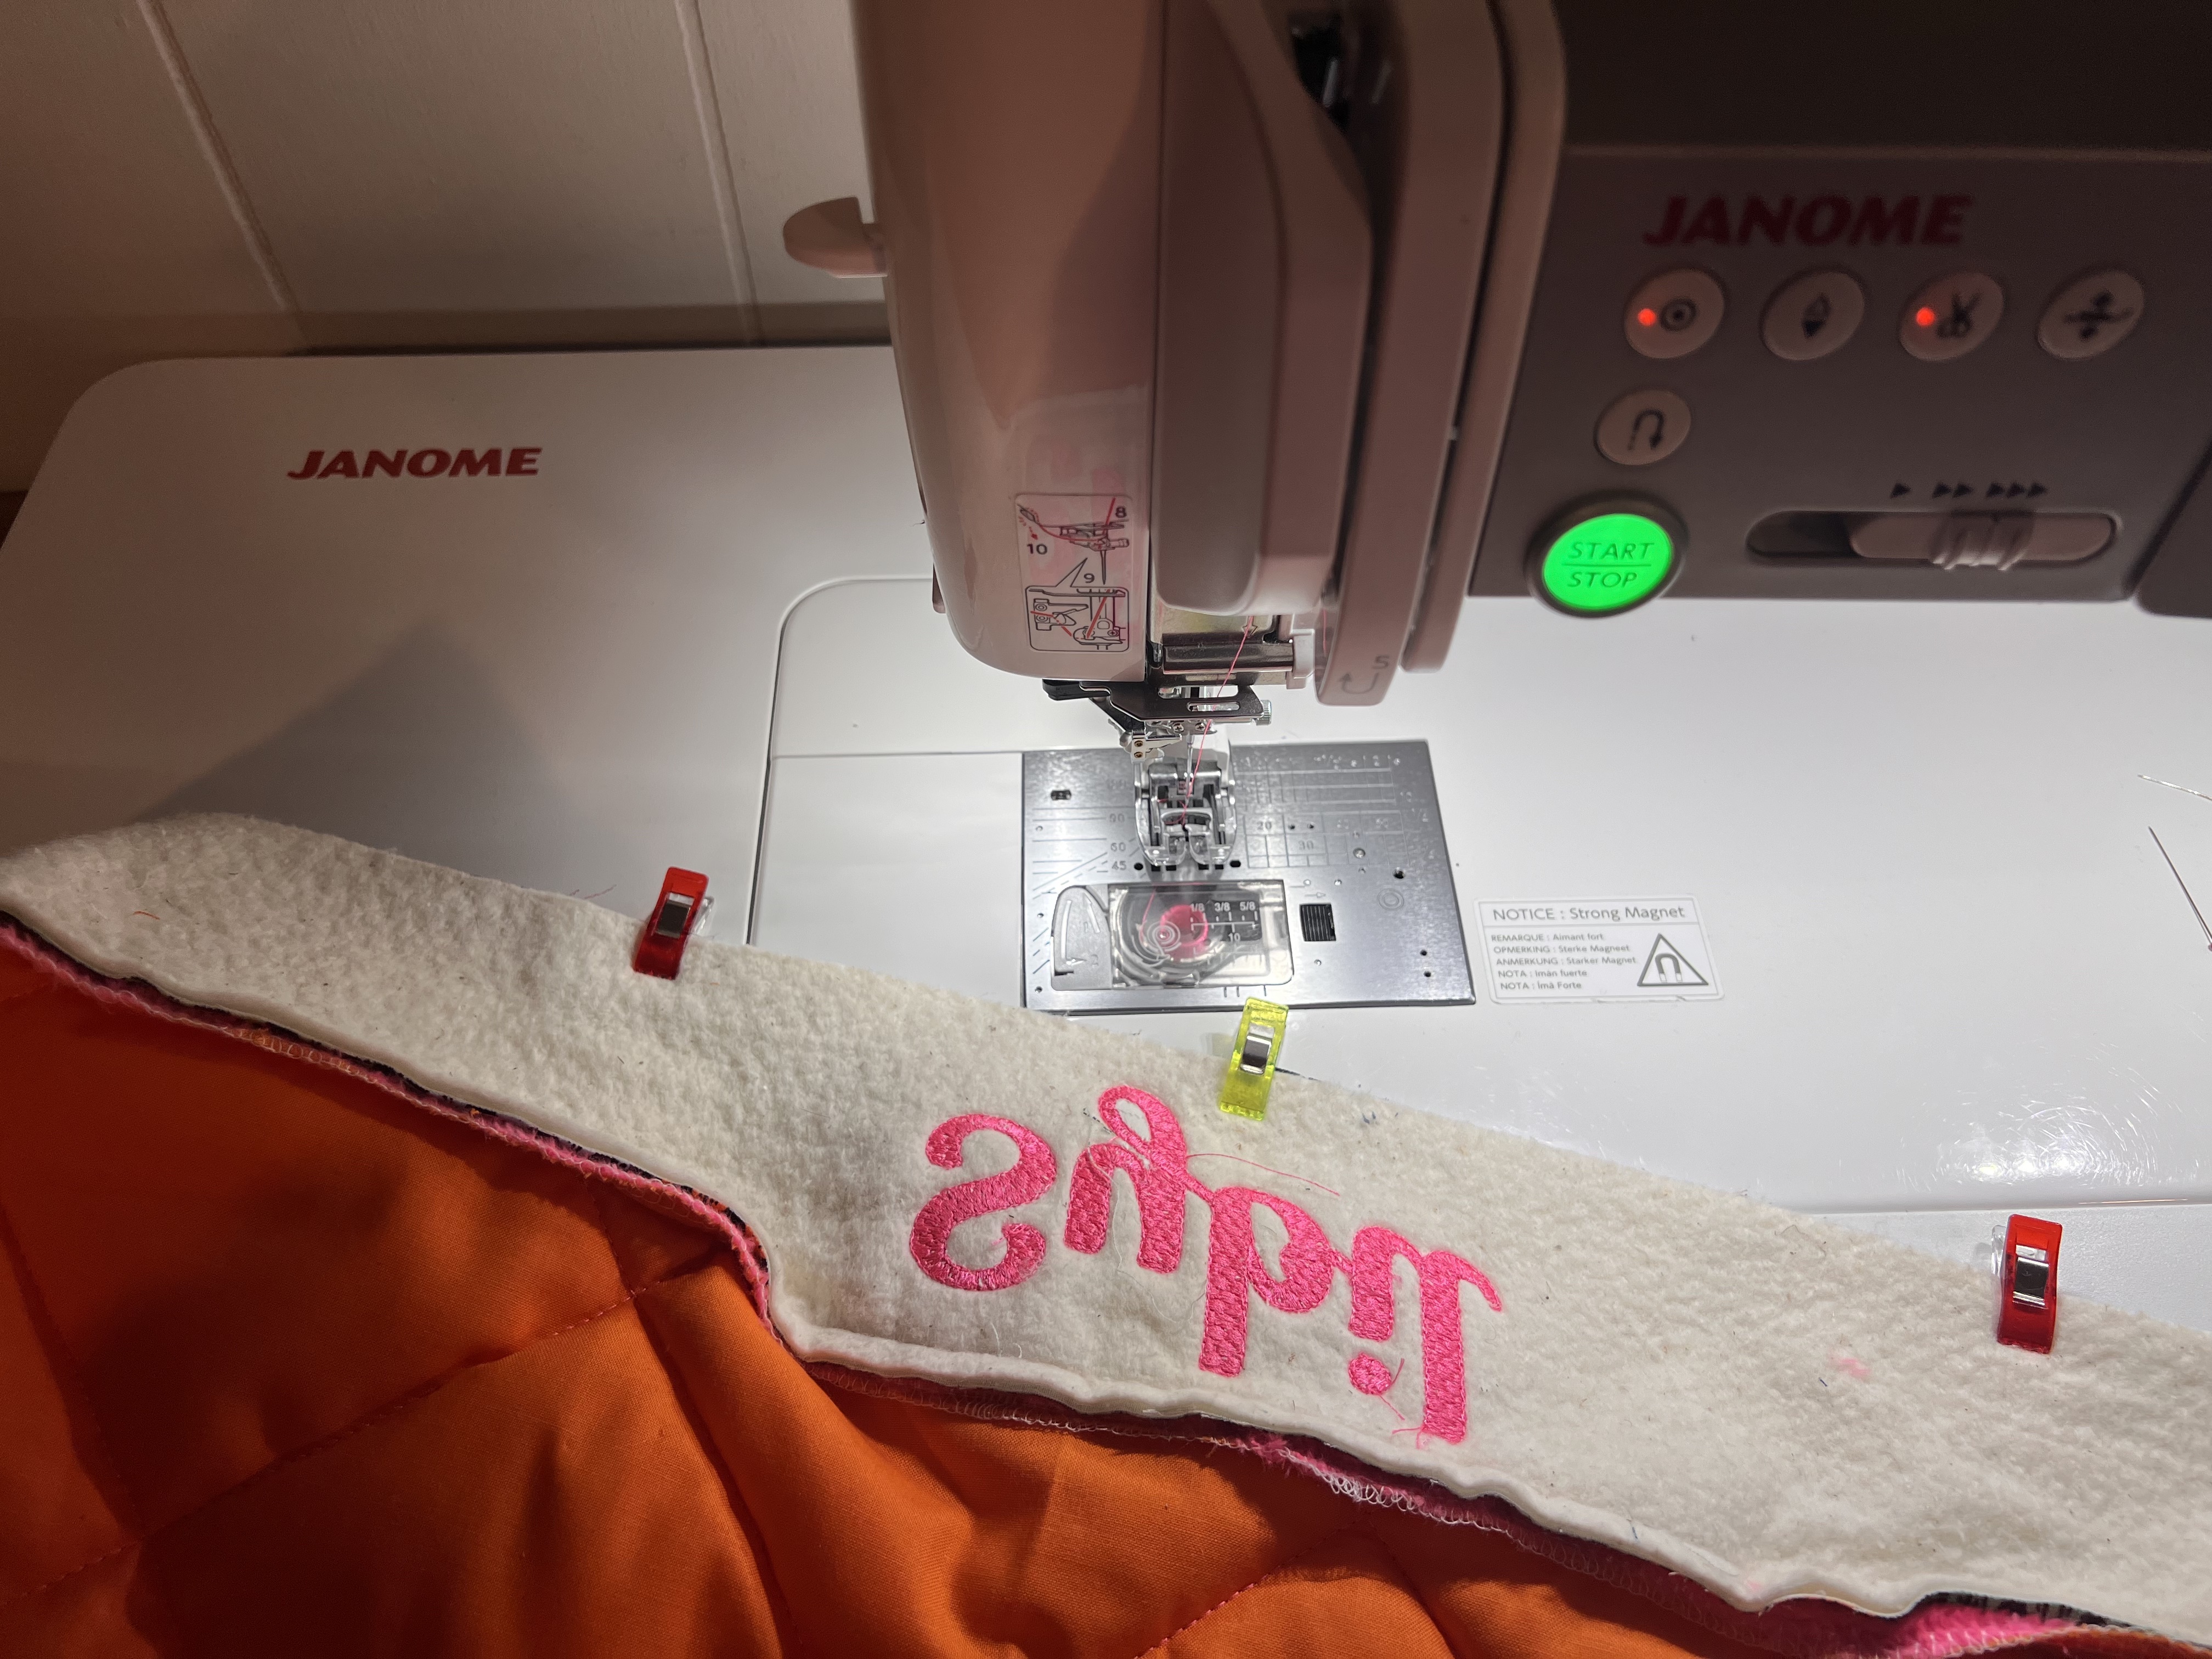
Before I began to make the bed, I designed a stitch pattern with my dog’s name in Janome’s
Artistic Digitizer software, and embroidered it on my Skyline S9. For the remainder of this
project, I have used my Continental M7.

If you choose to quilt your fleece section, go ahead and quilt in whatever way makes you
happy. I suggest finishing the edges with a serger or zigzag stitch to lessen the amount of
shedding that tends to happen with fur and fleece fabrics.

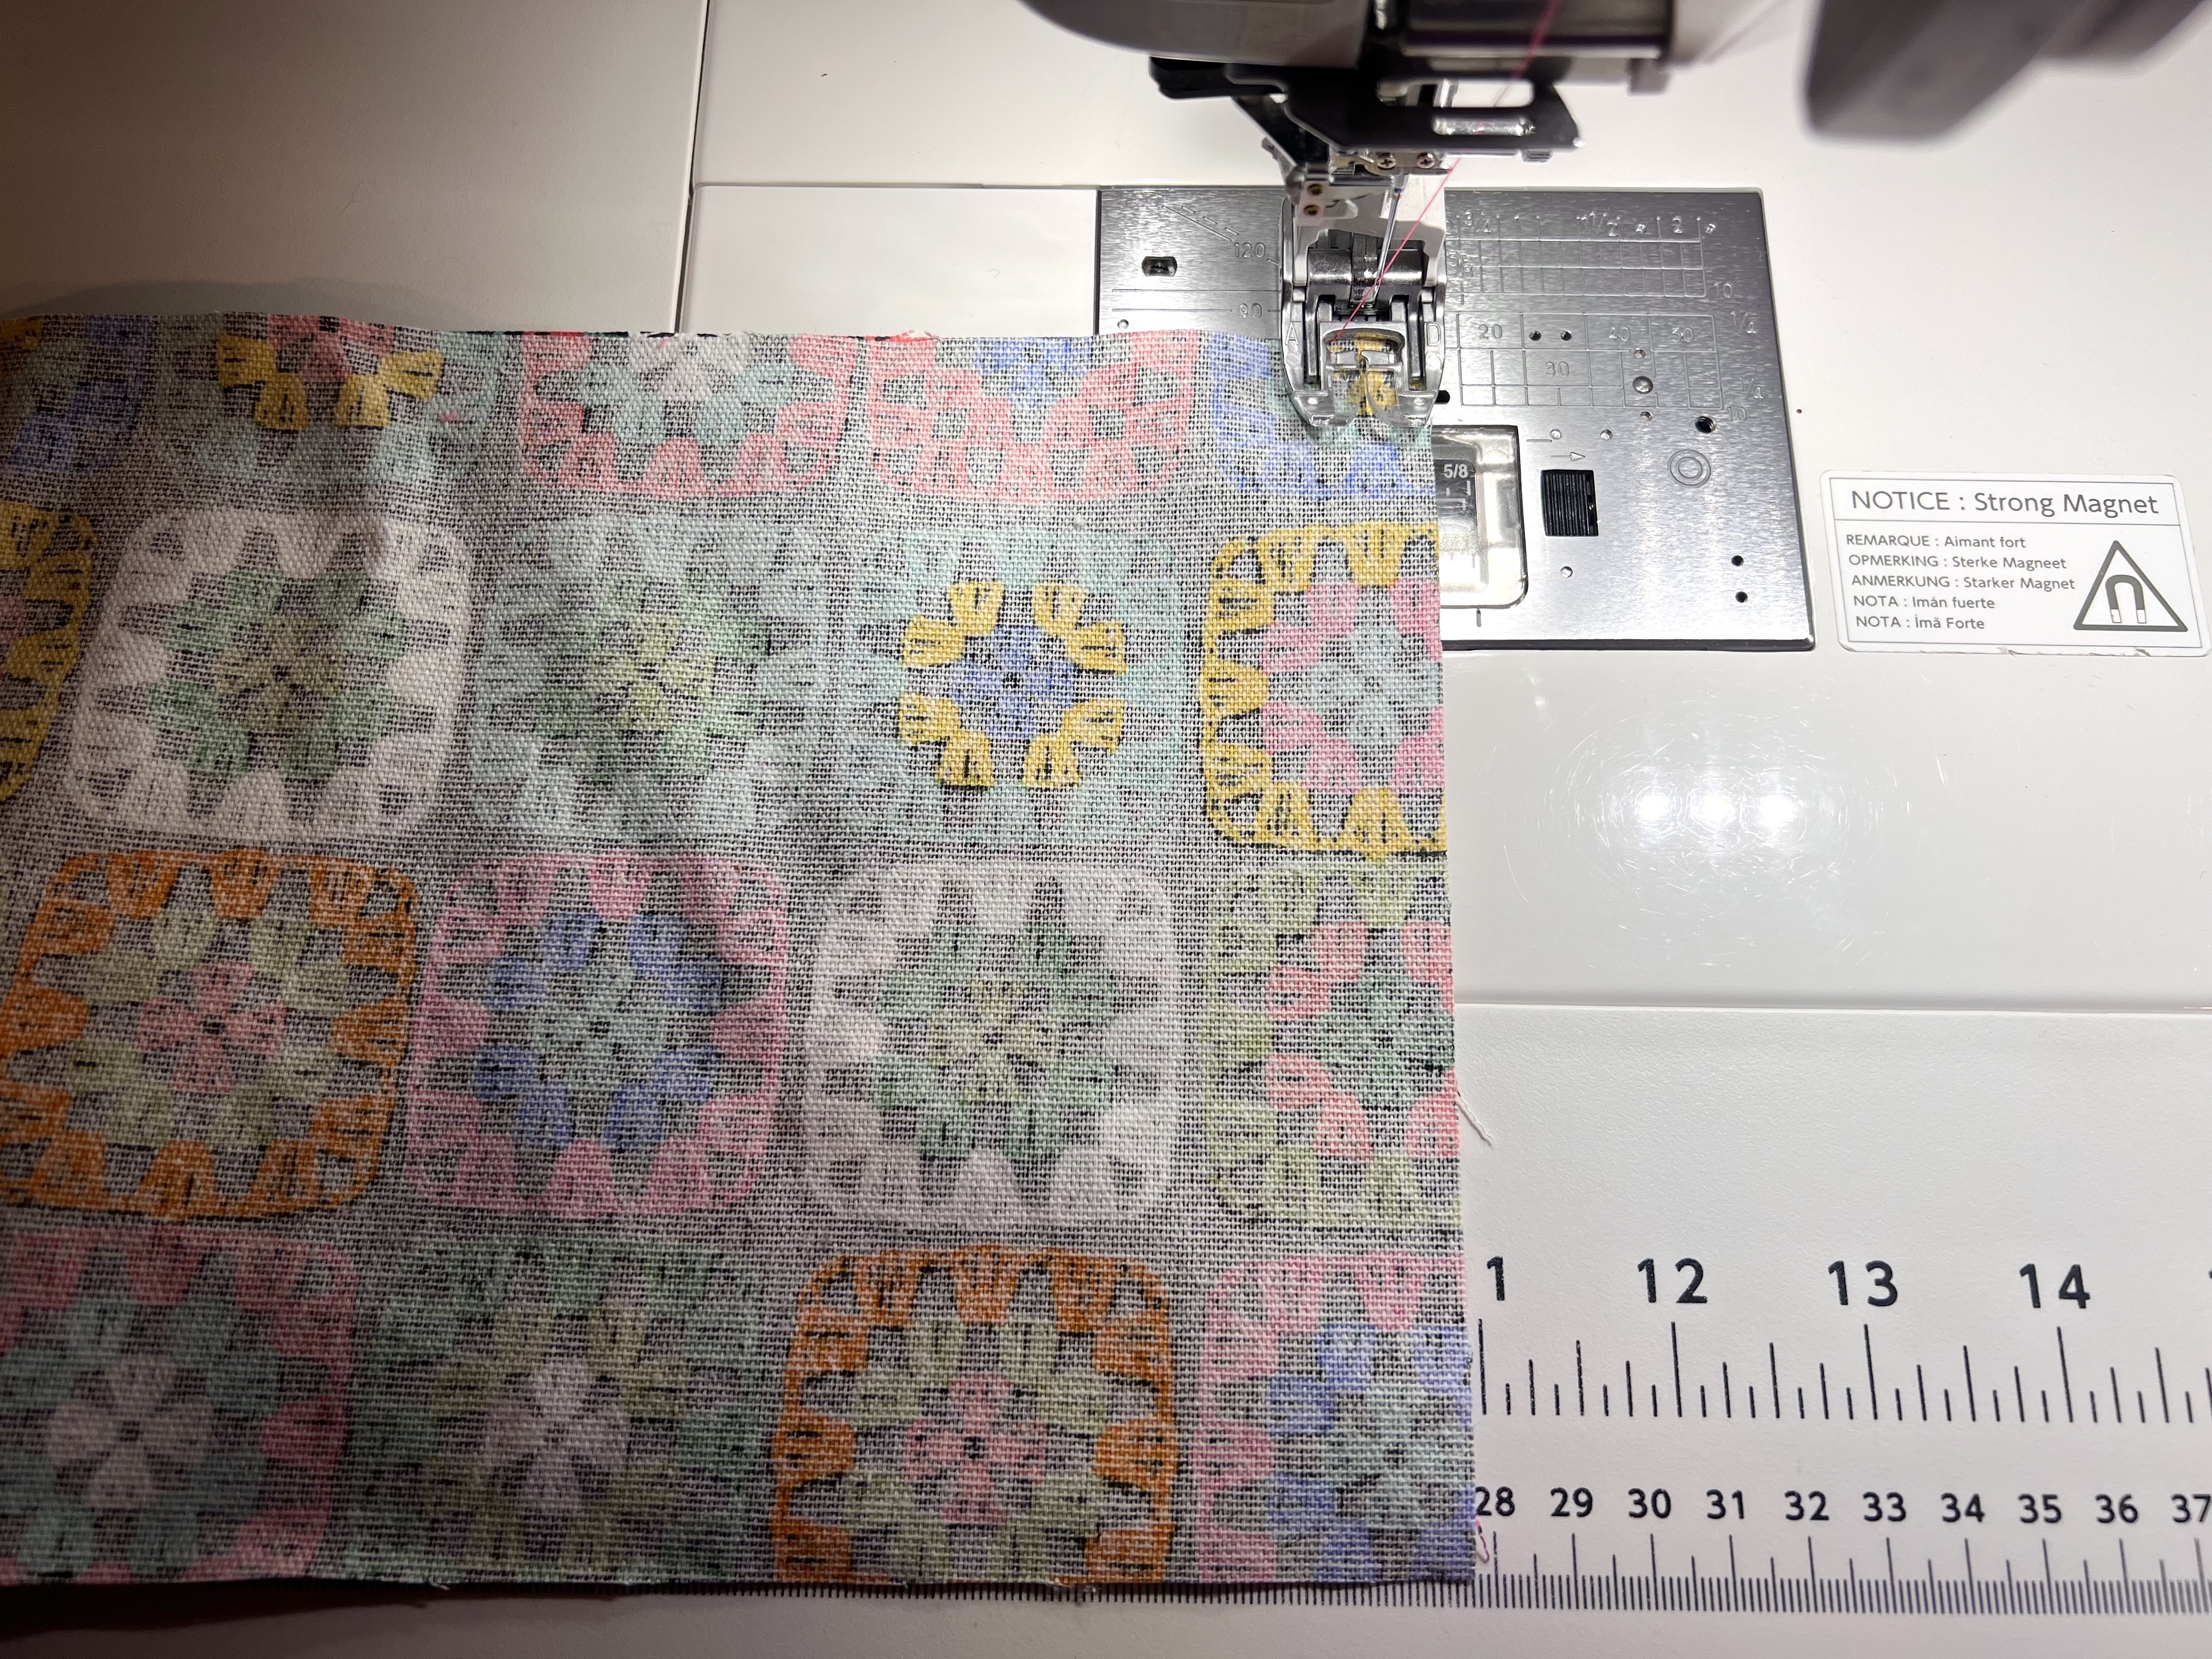
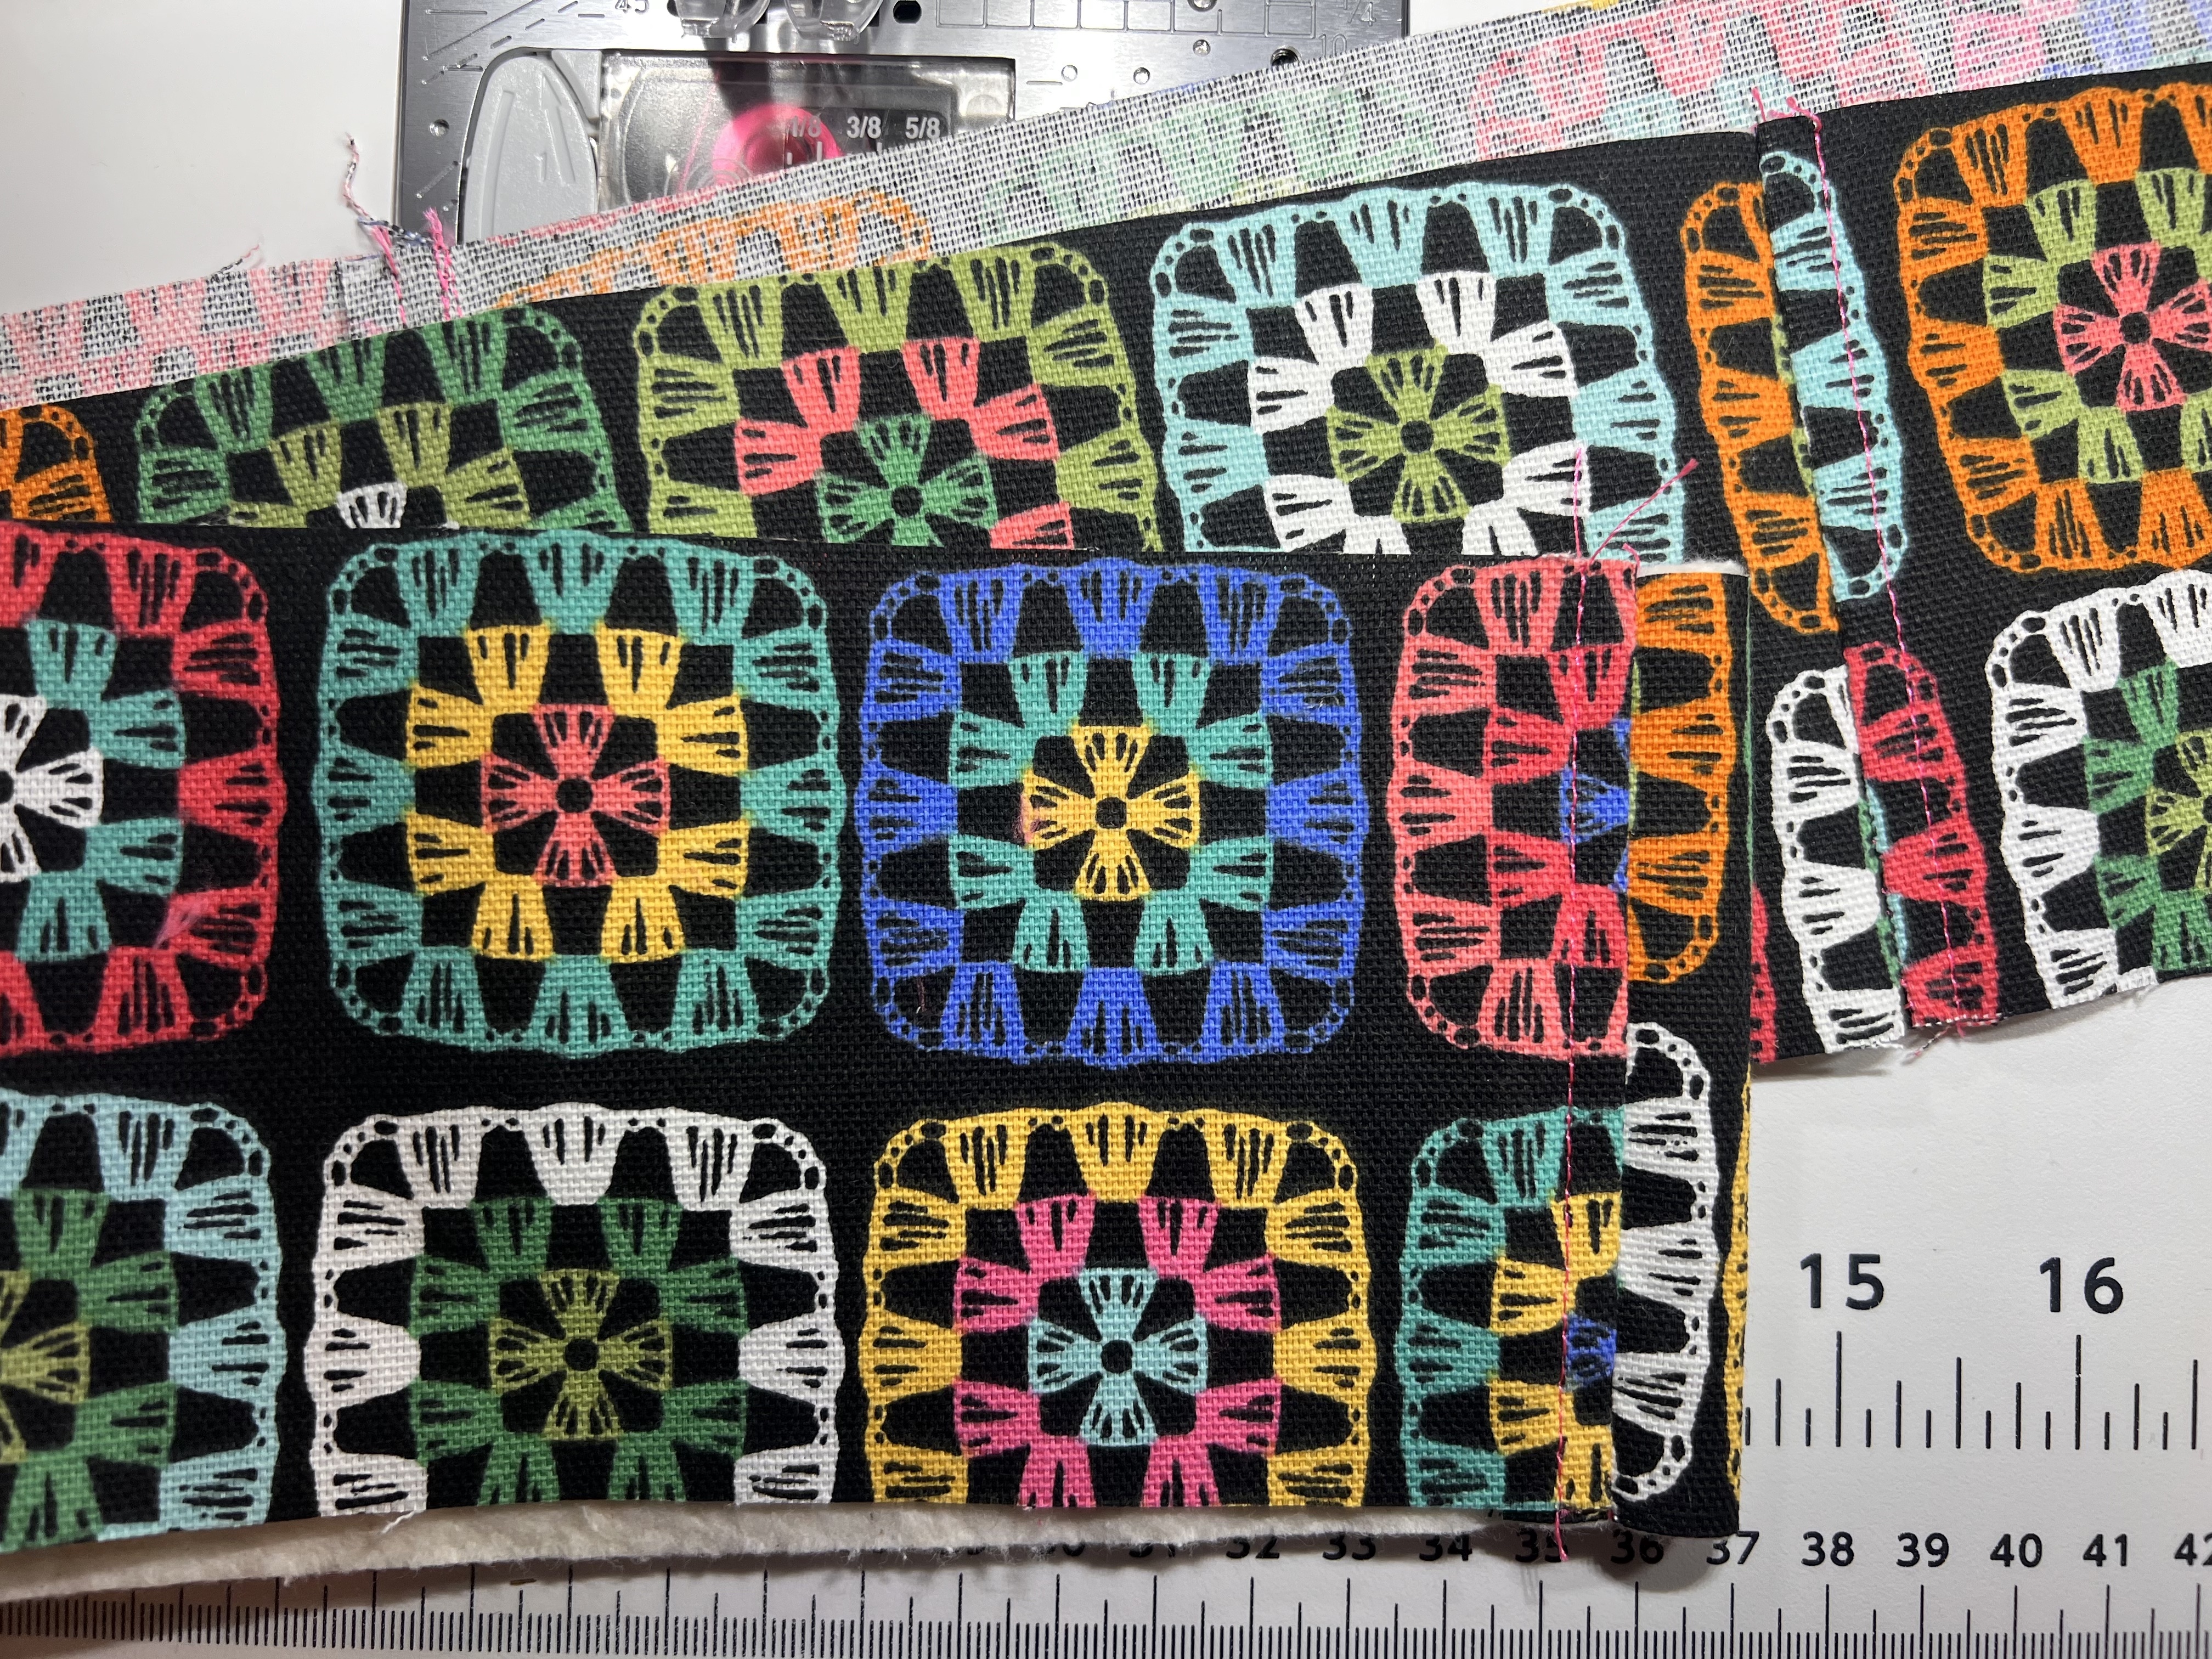
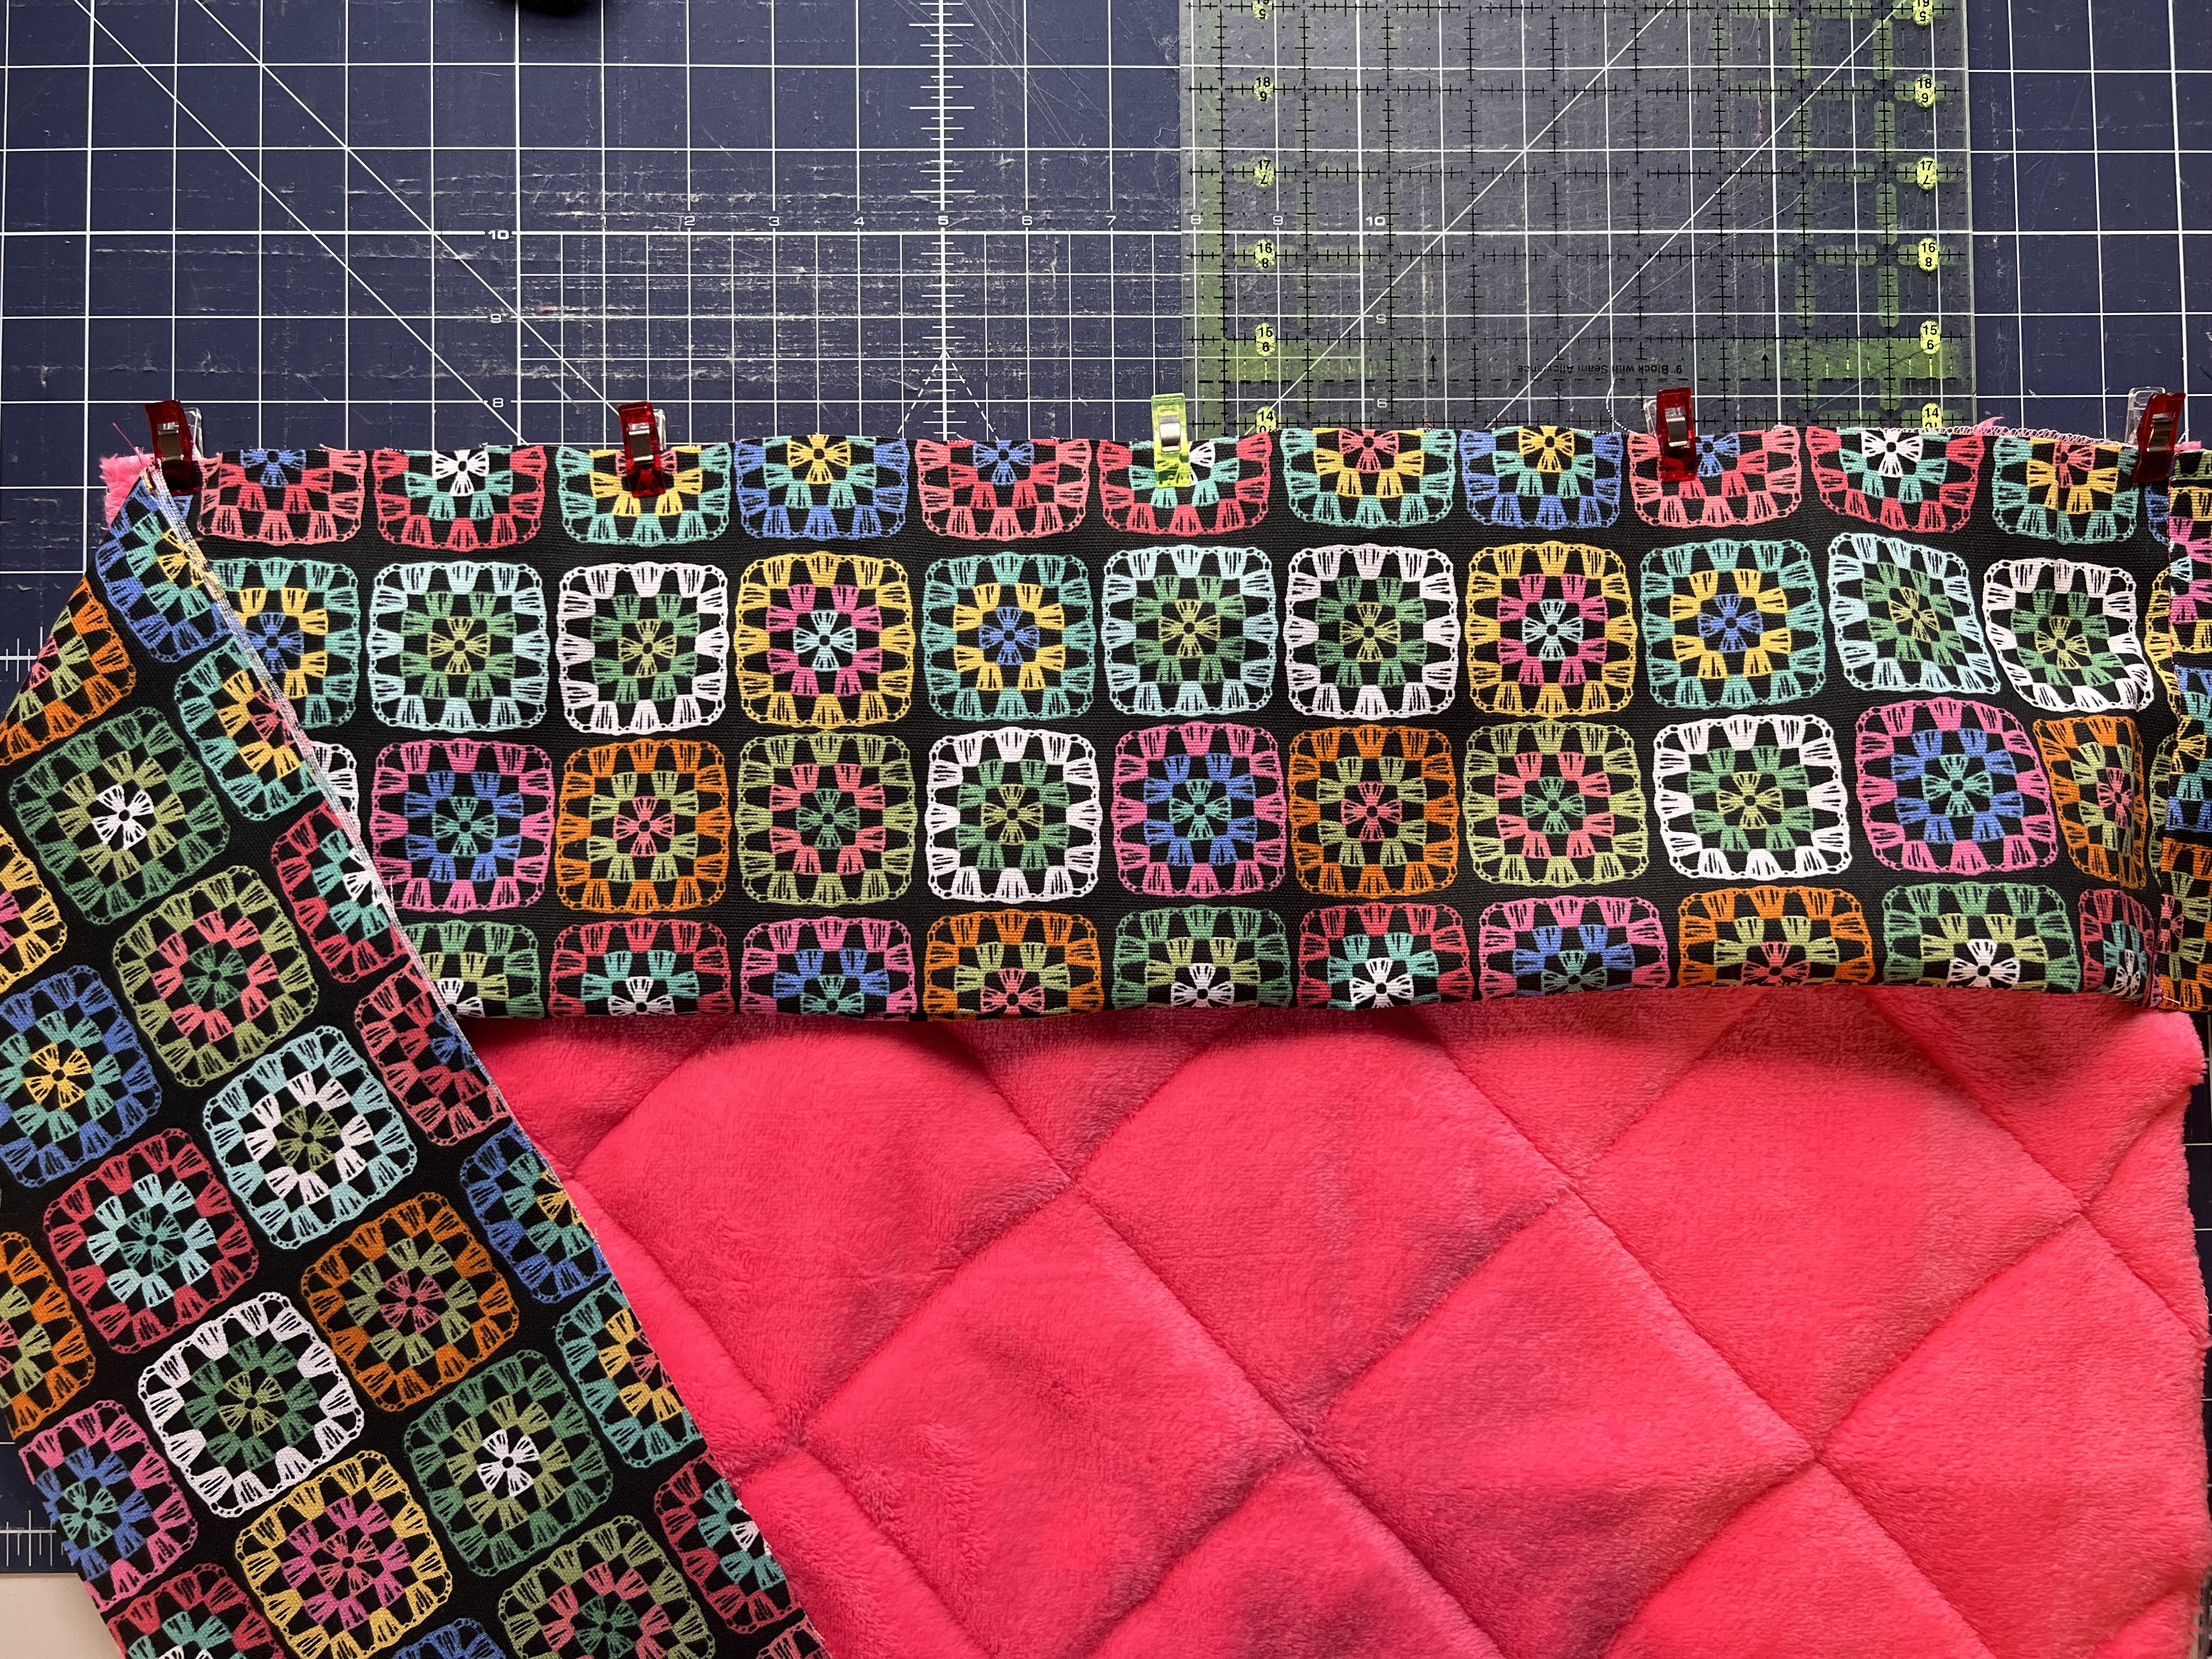
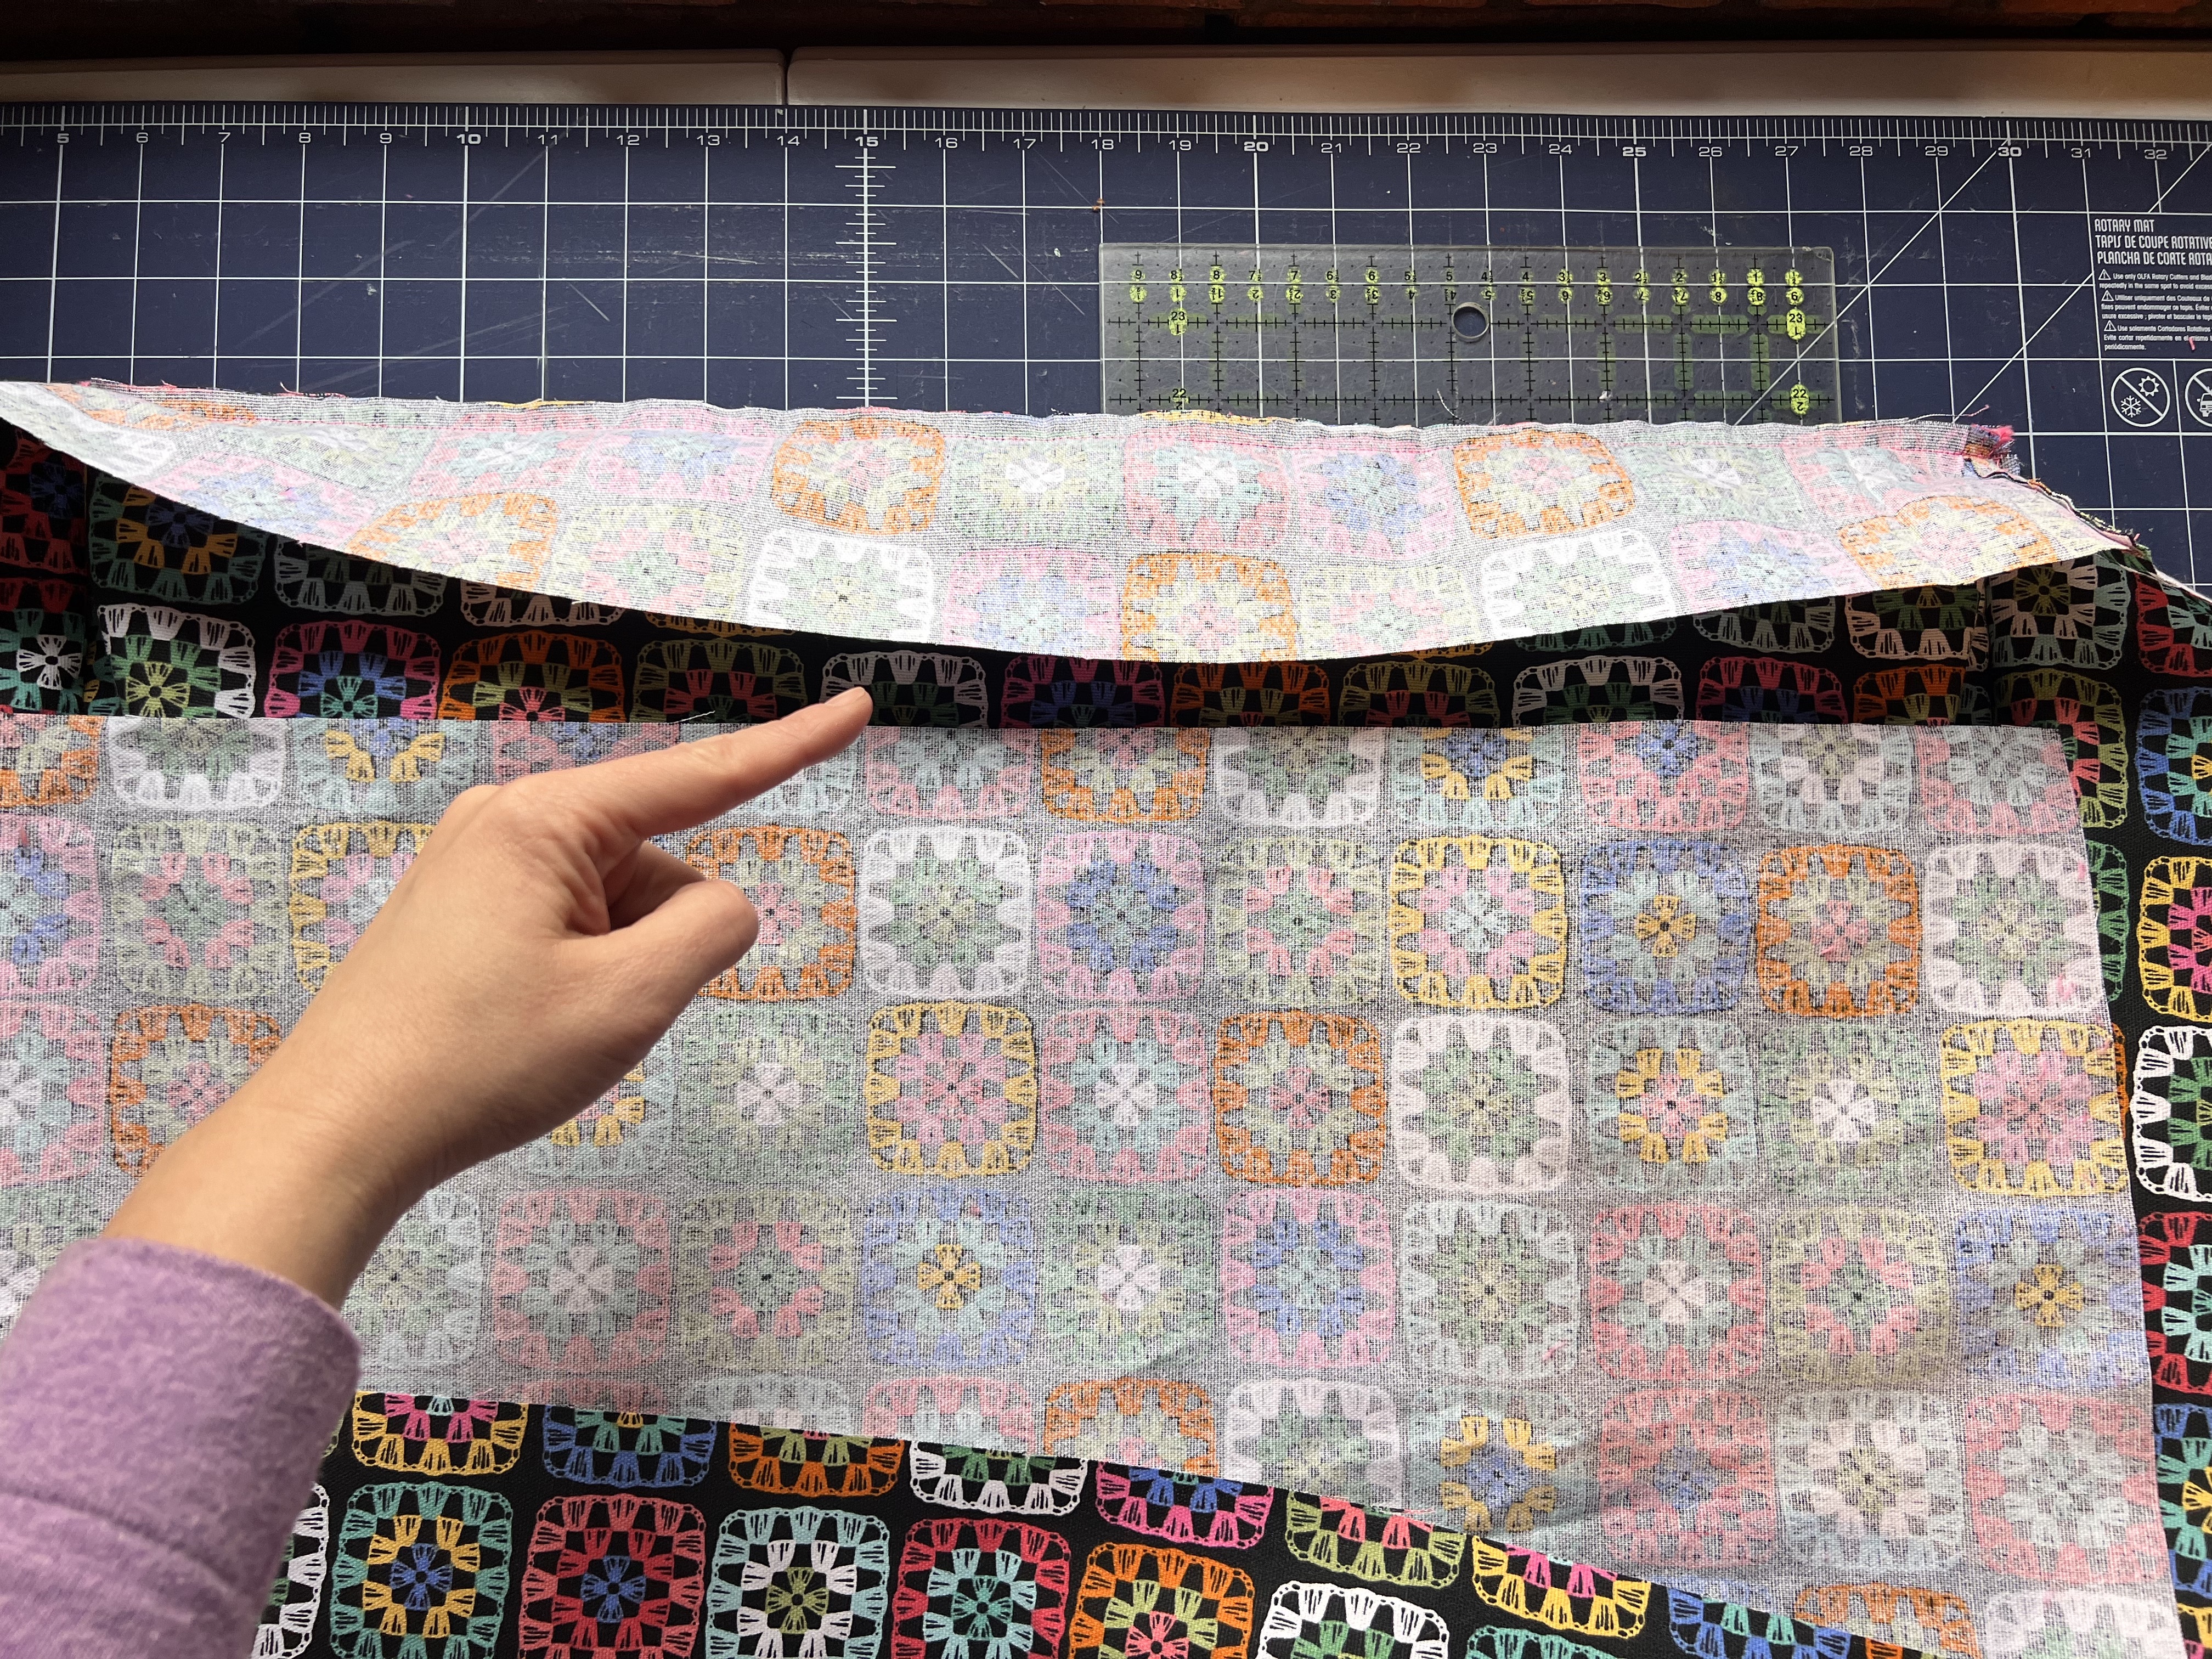
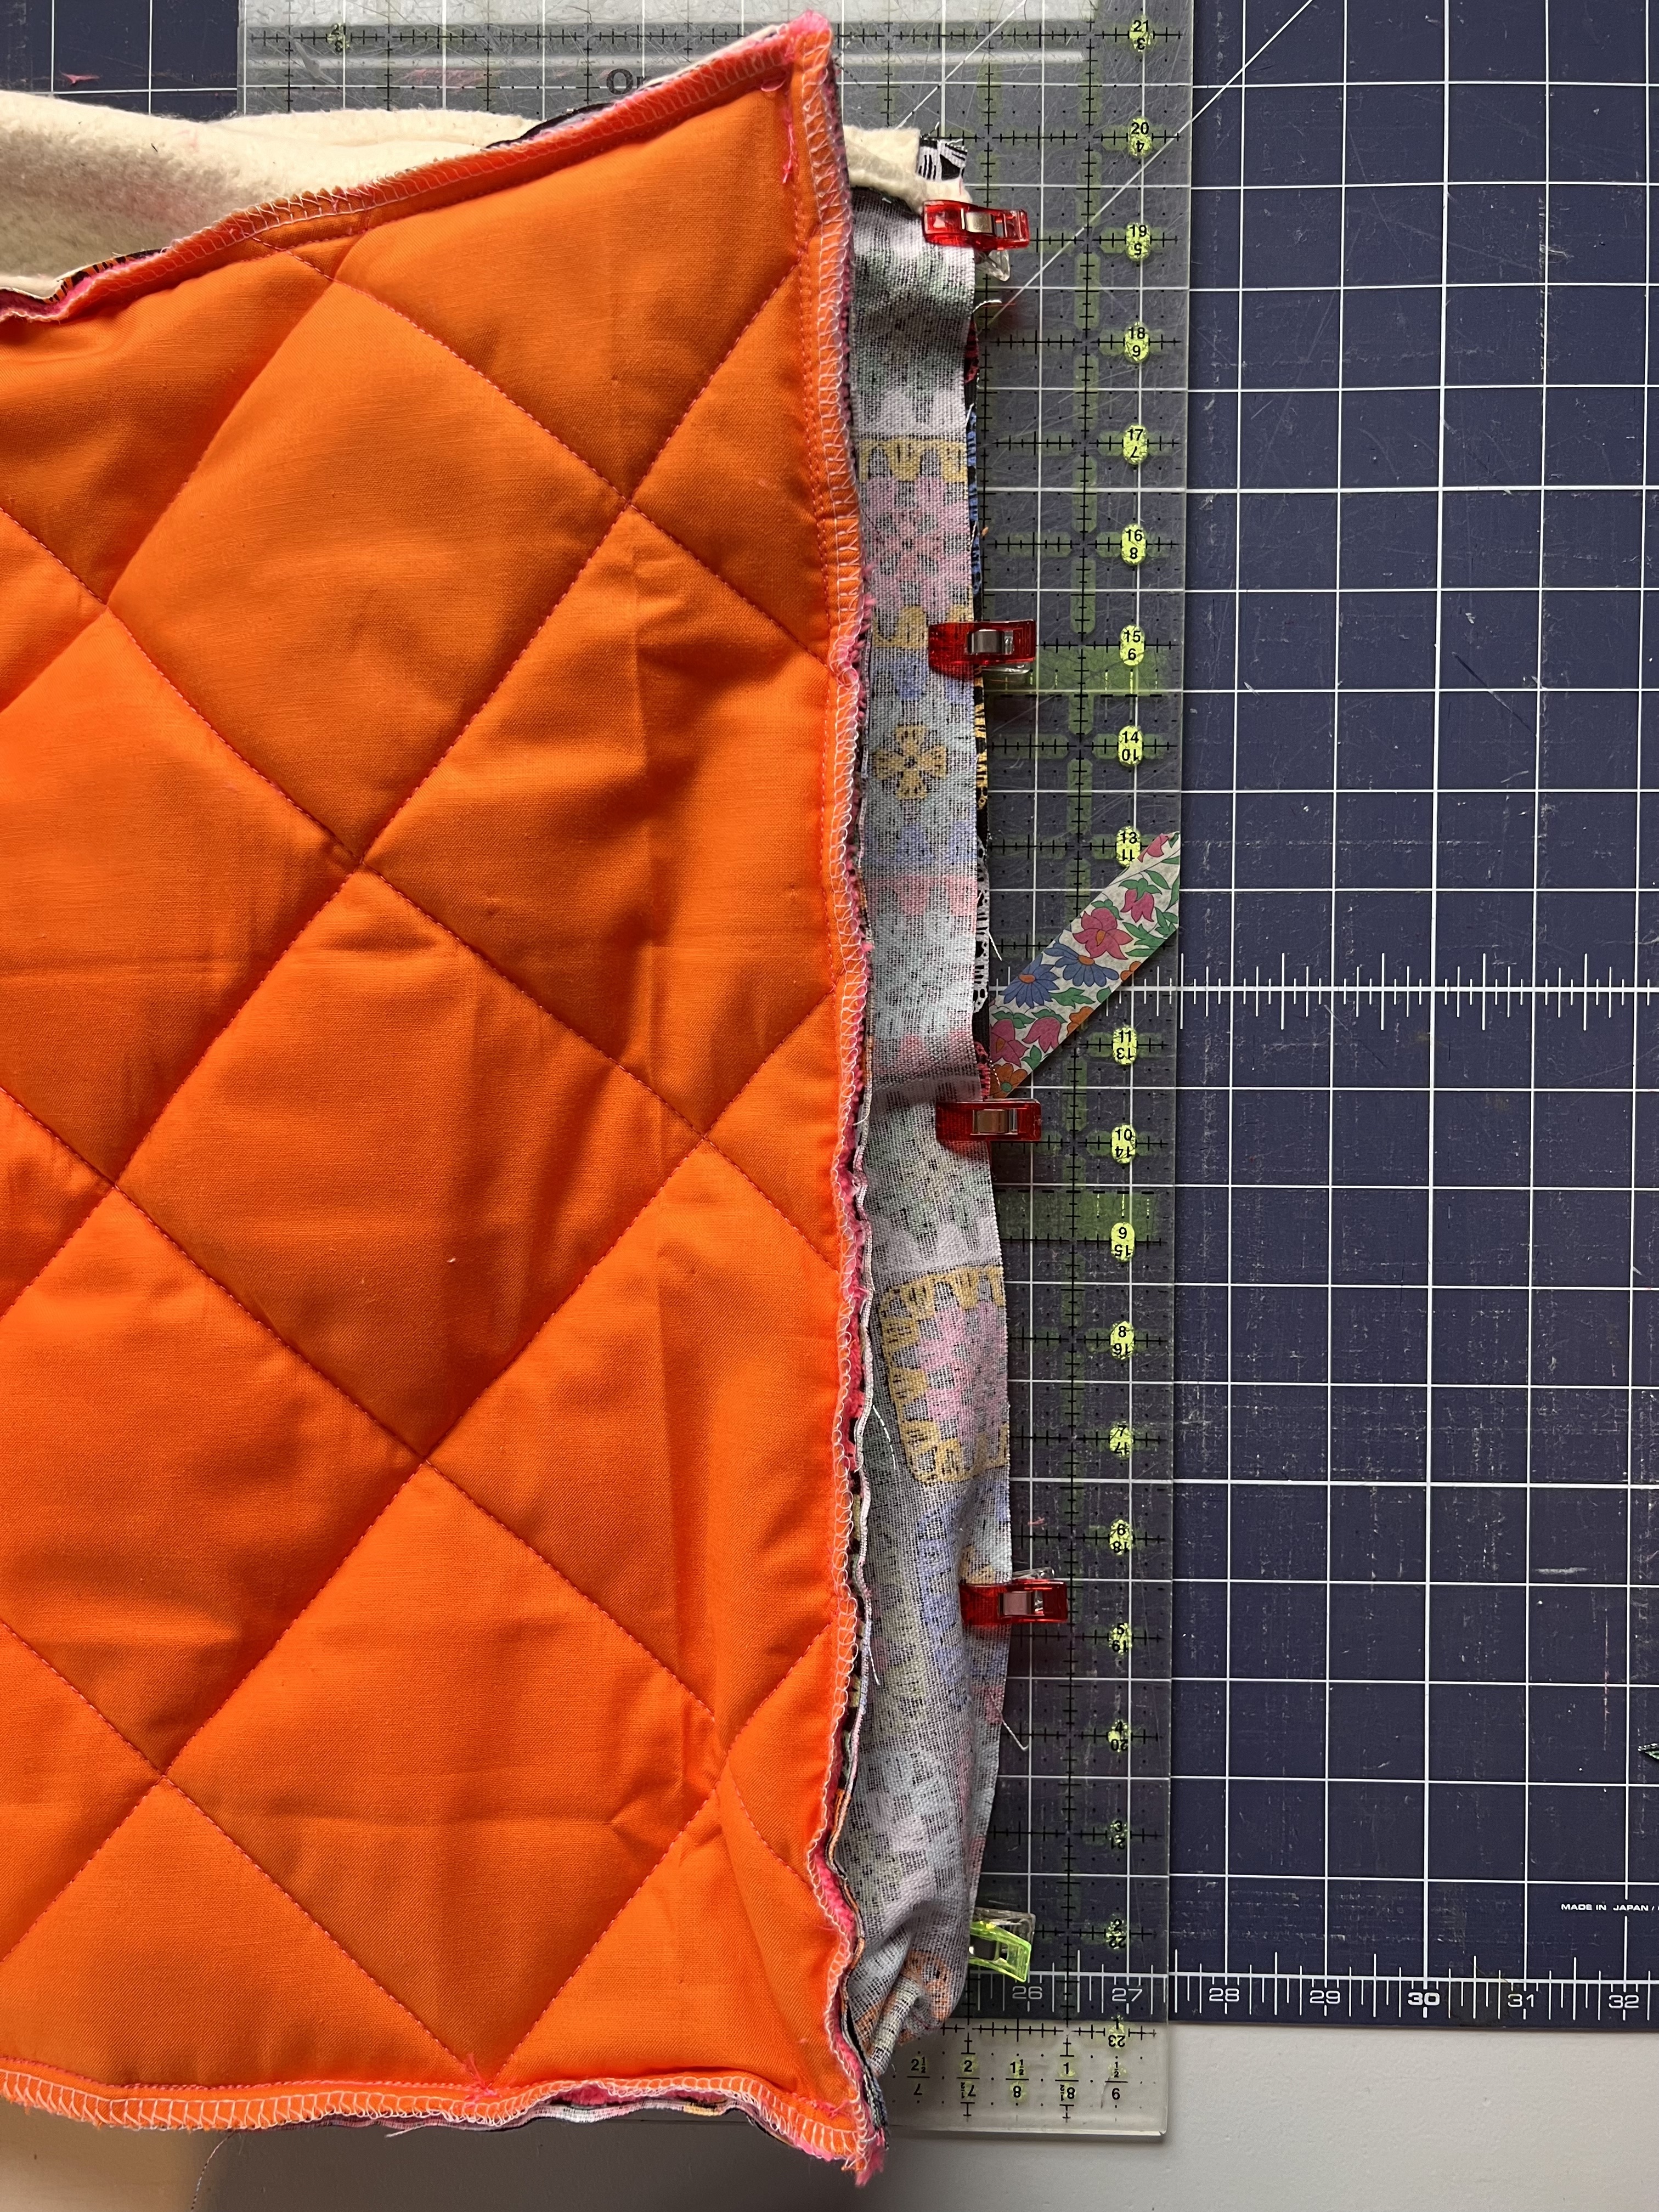
Begin by sewing the top wall fabrics with a 3/8” seam allowance. You will sew one short end of
the side fabric onto either end of the center fabric, right sides together. You will sew two sets in
the same order: side > center > side Press seams away from the center on one of the sewn
strips, and press seams toward the center on the other. This will help the seams to nest
together on the next step.

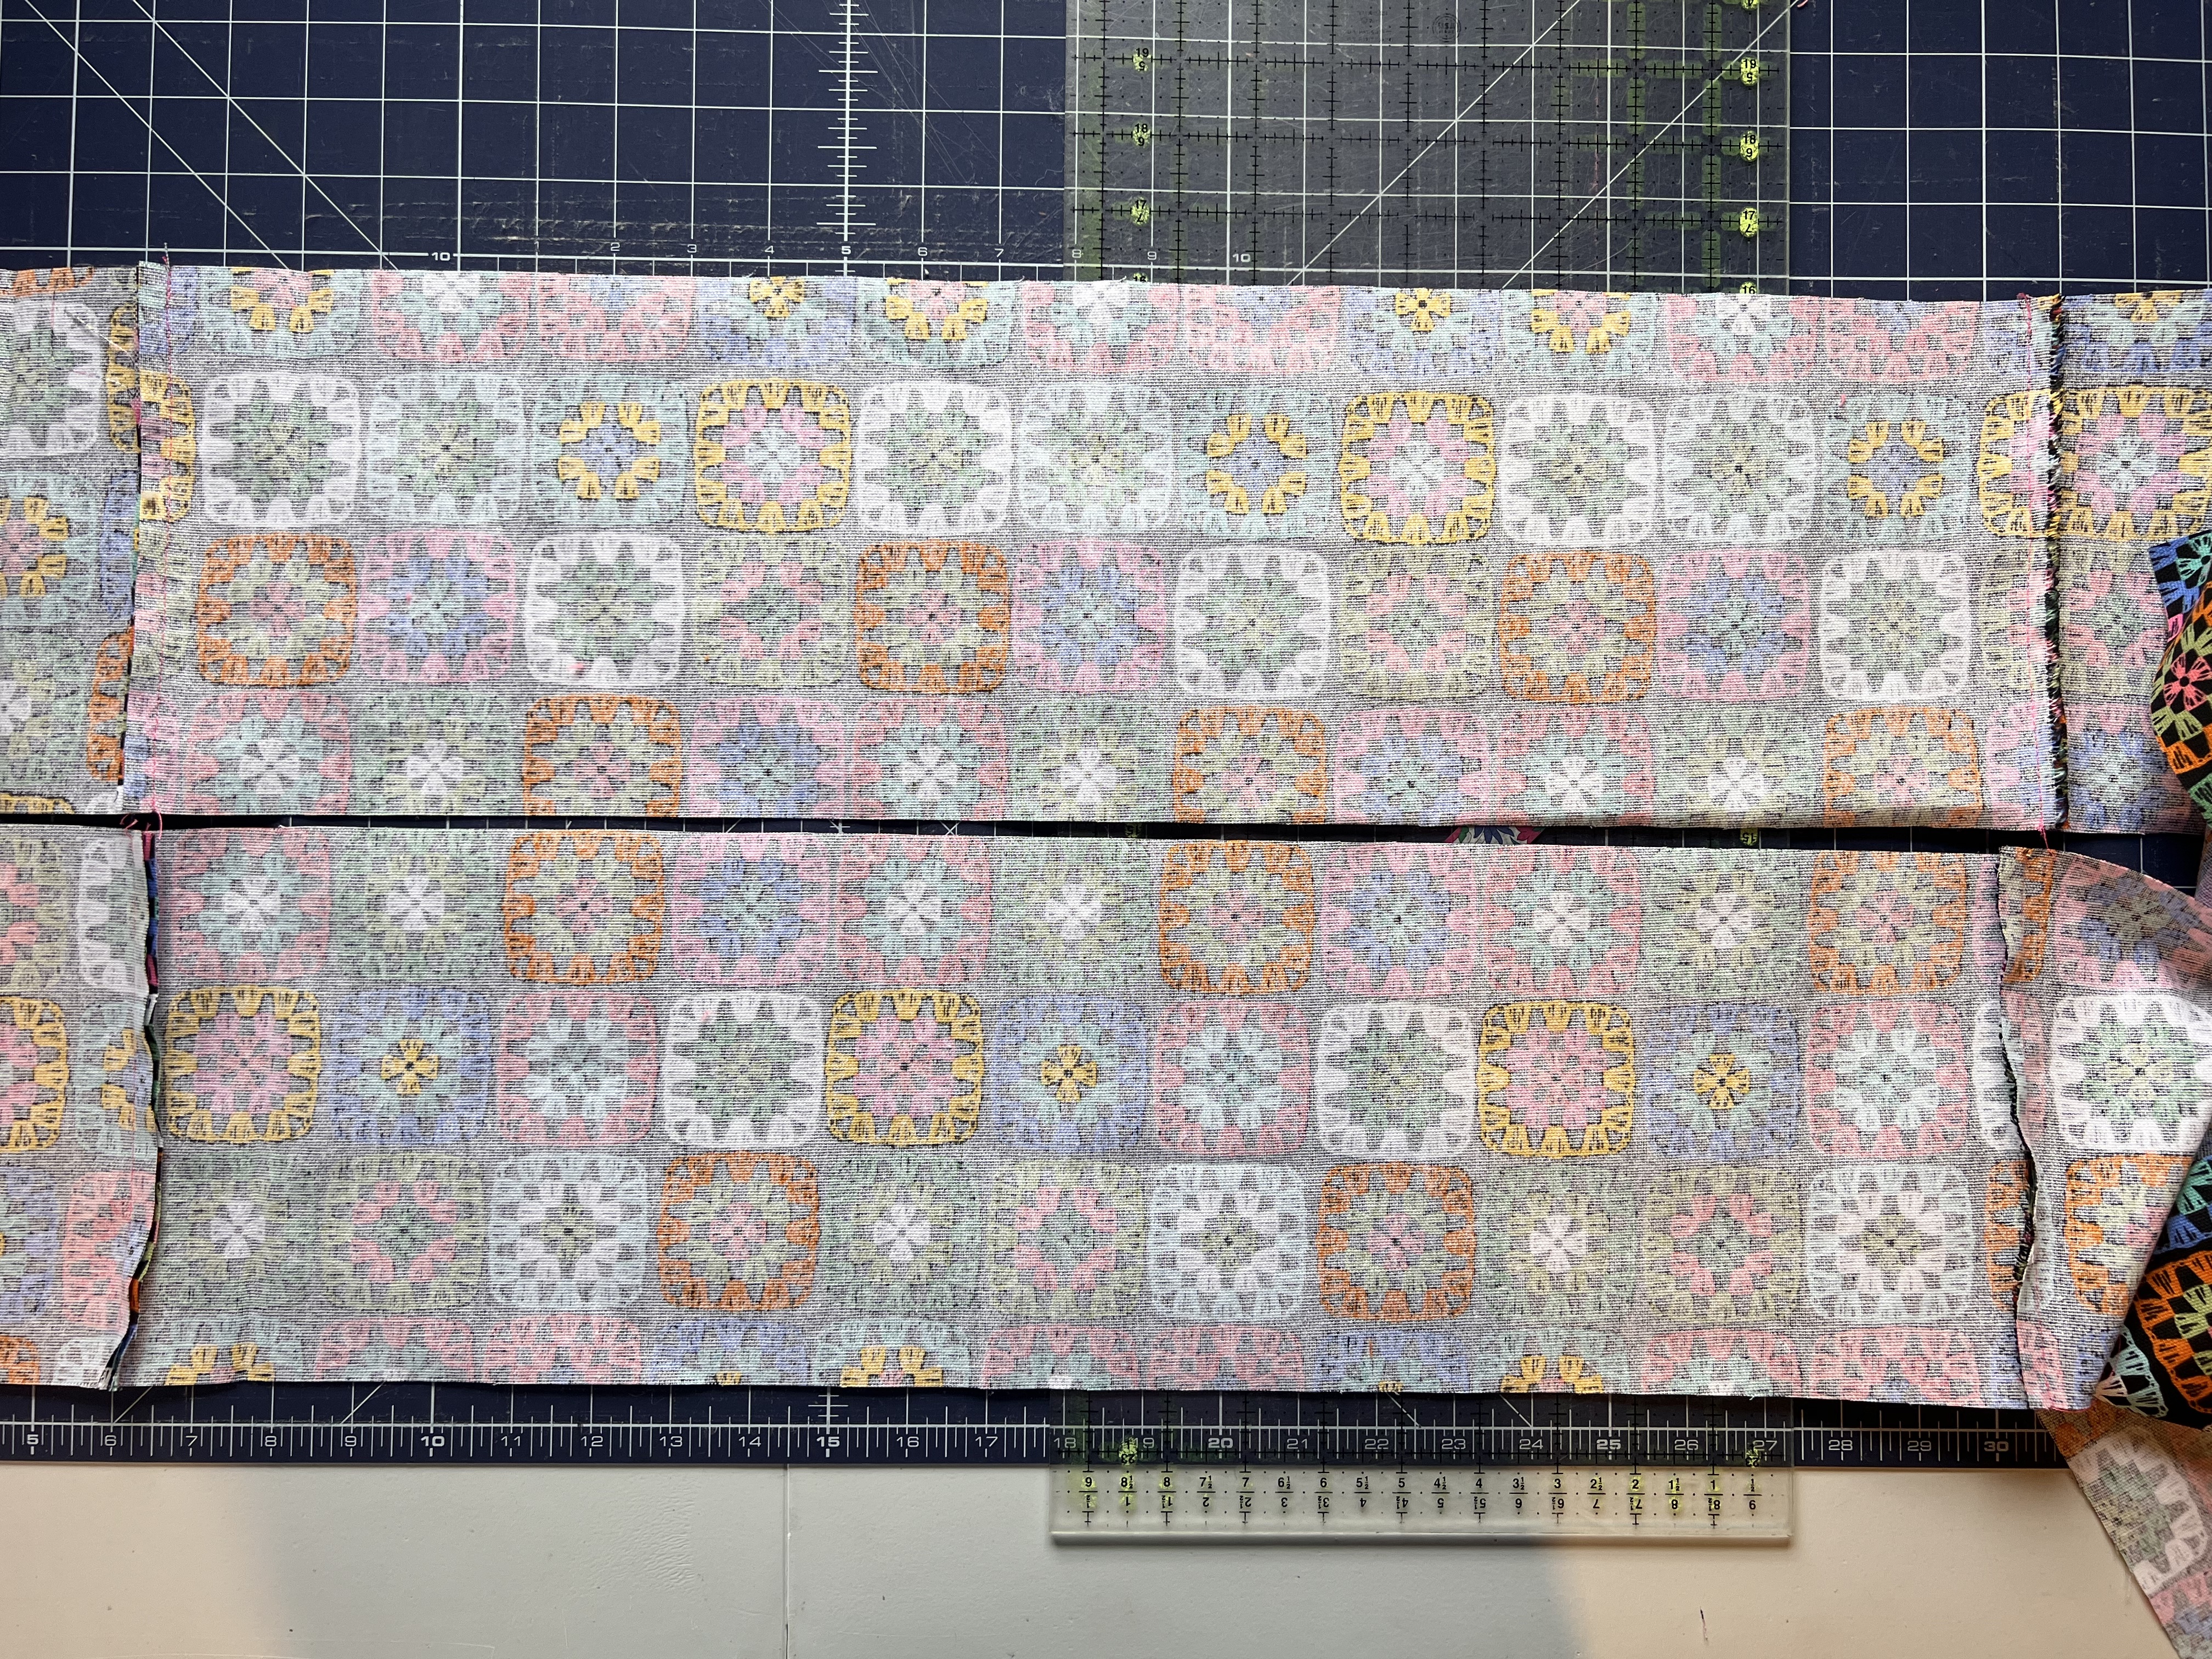
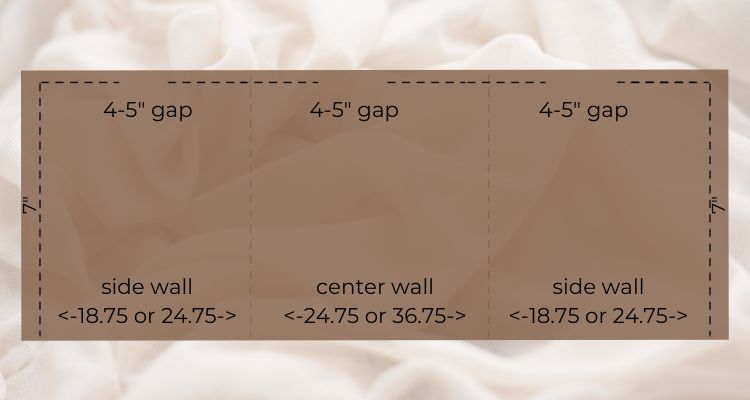
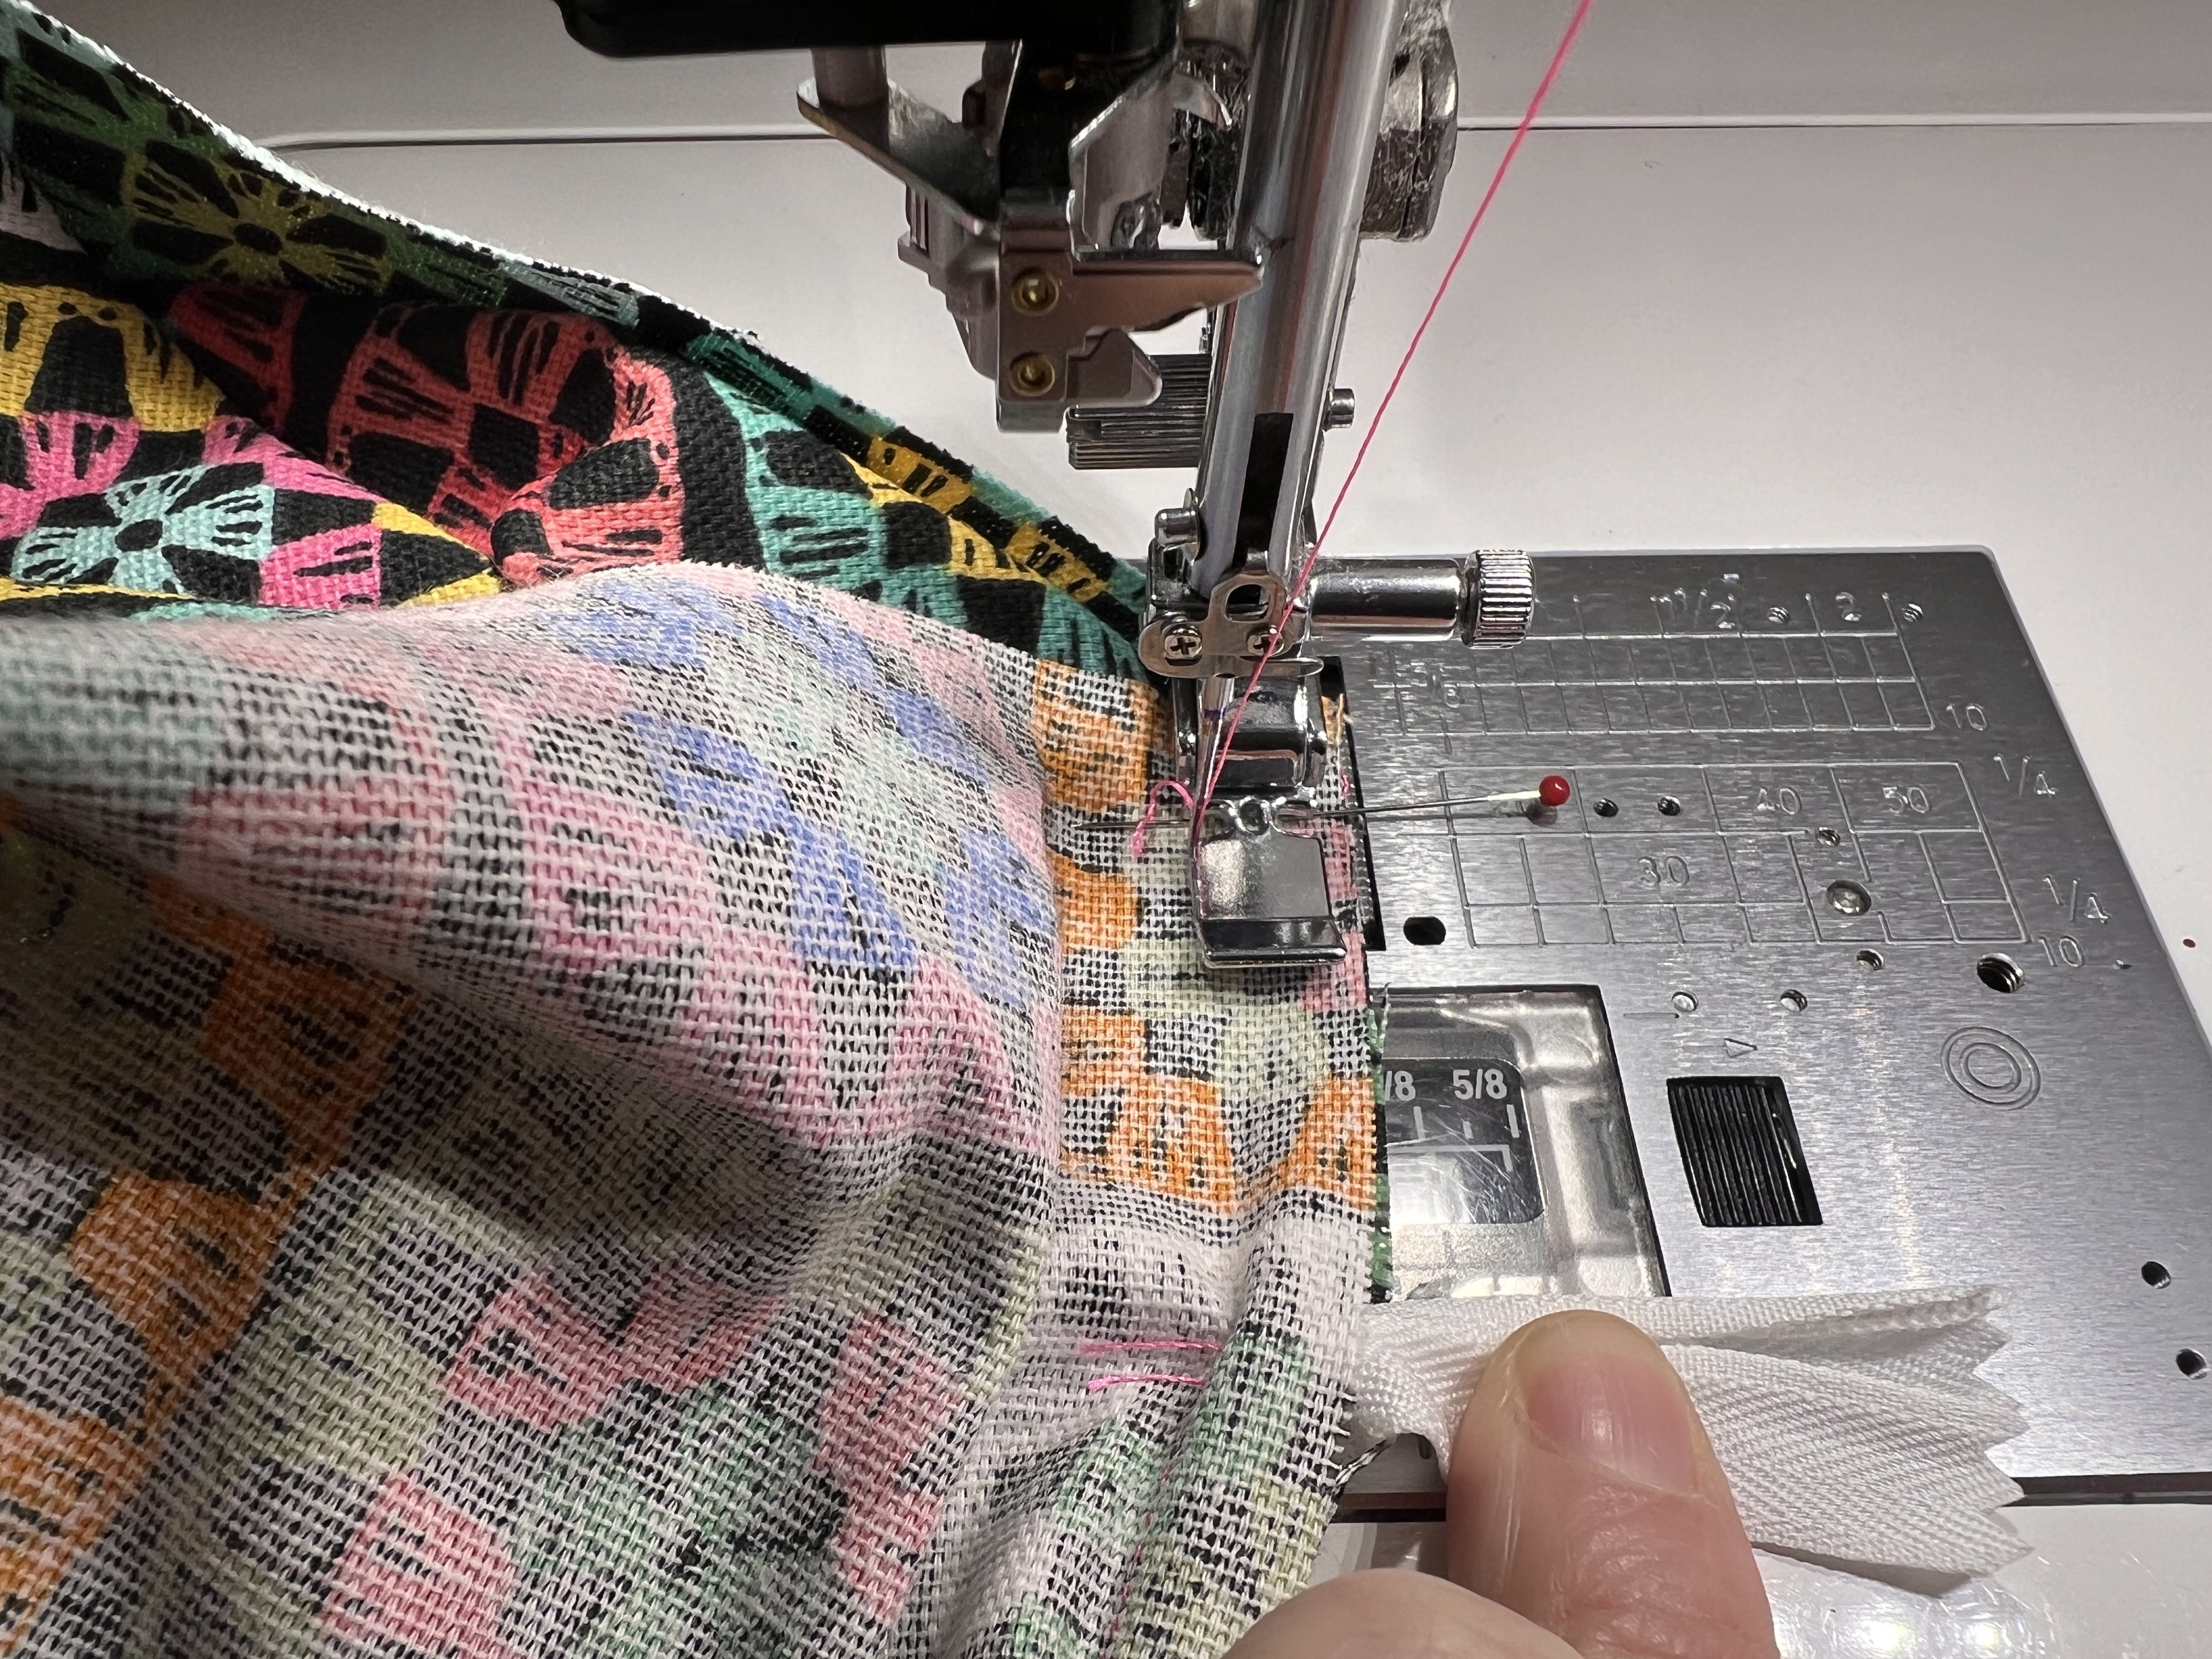
Pin the two long strips right sides together. Begin sewing at the bottom of one short end, pivot
at the corner and continue to sew. There are three sections, and in each section, you will need
to stop, backstitch, and leave a 4-5” gap around the middle of each section before continuing to
sew. These gaps are necessary for adding poly-fil at the end of the project. Continue to sew,
leaving the gaps in each section, until you reach the end of the strip, pivot, and sew down the
short side. See diagram below:
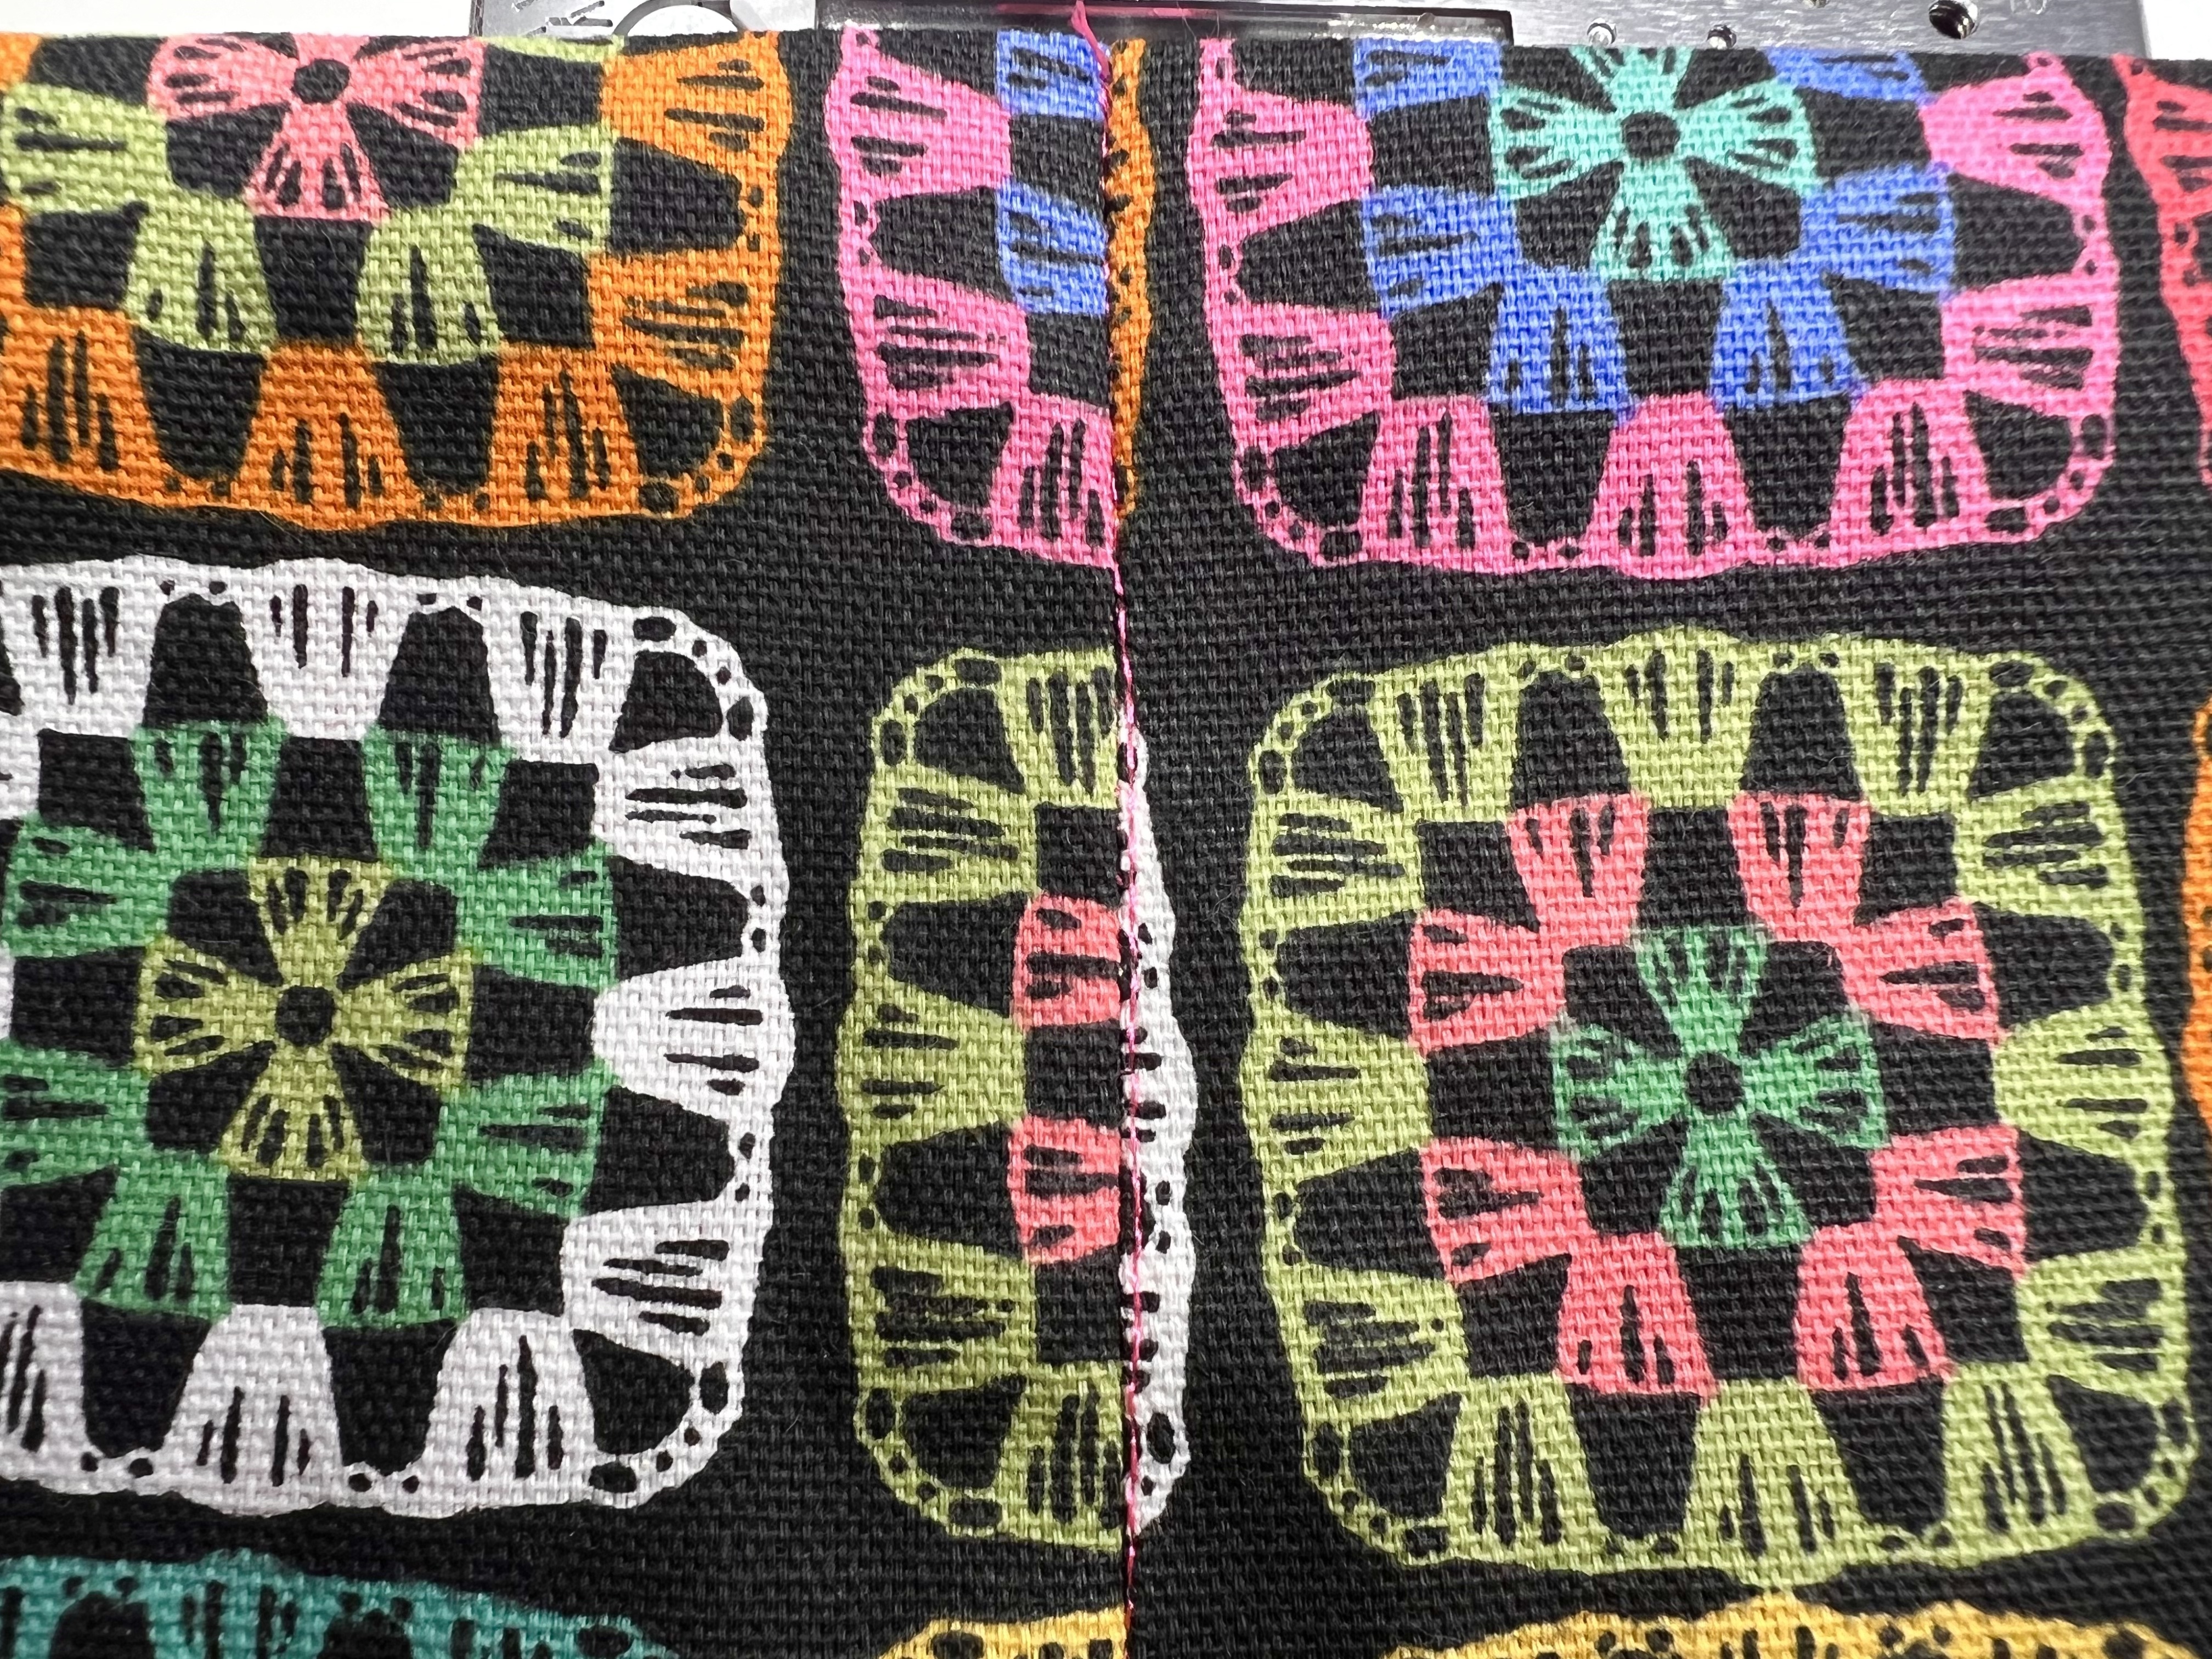
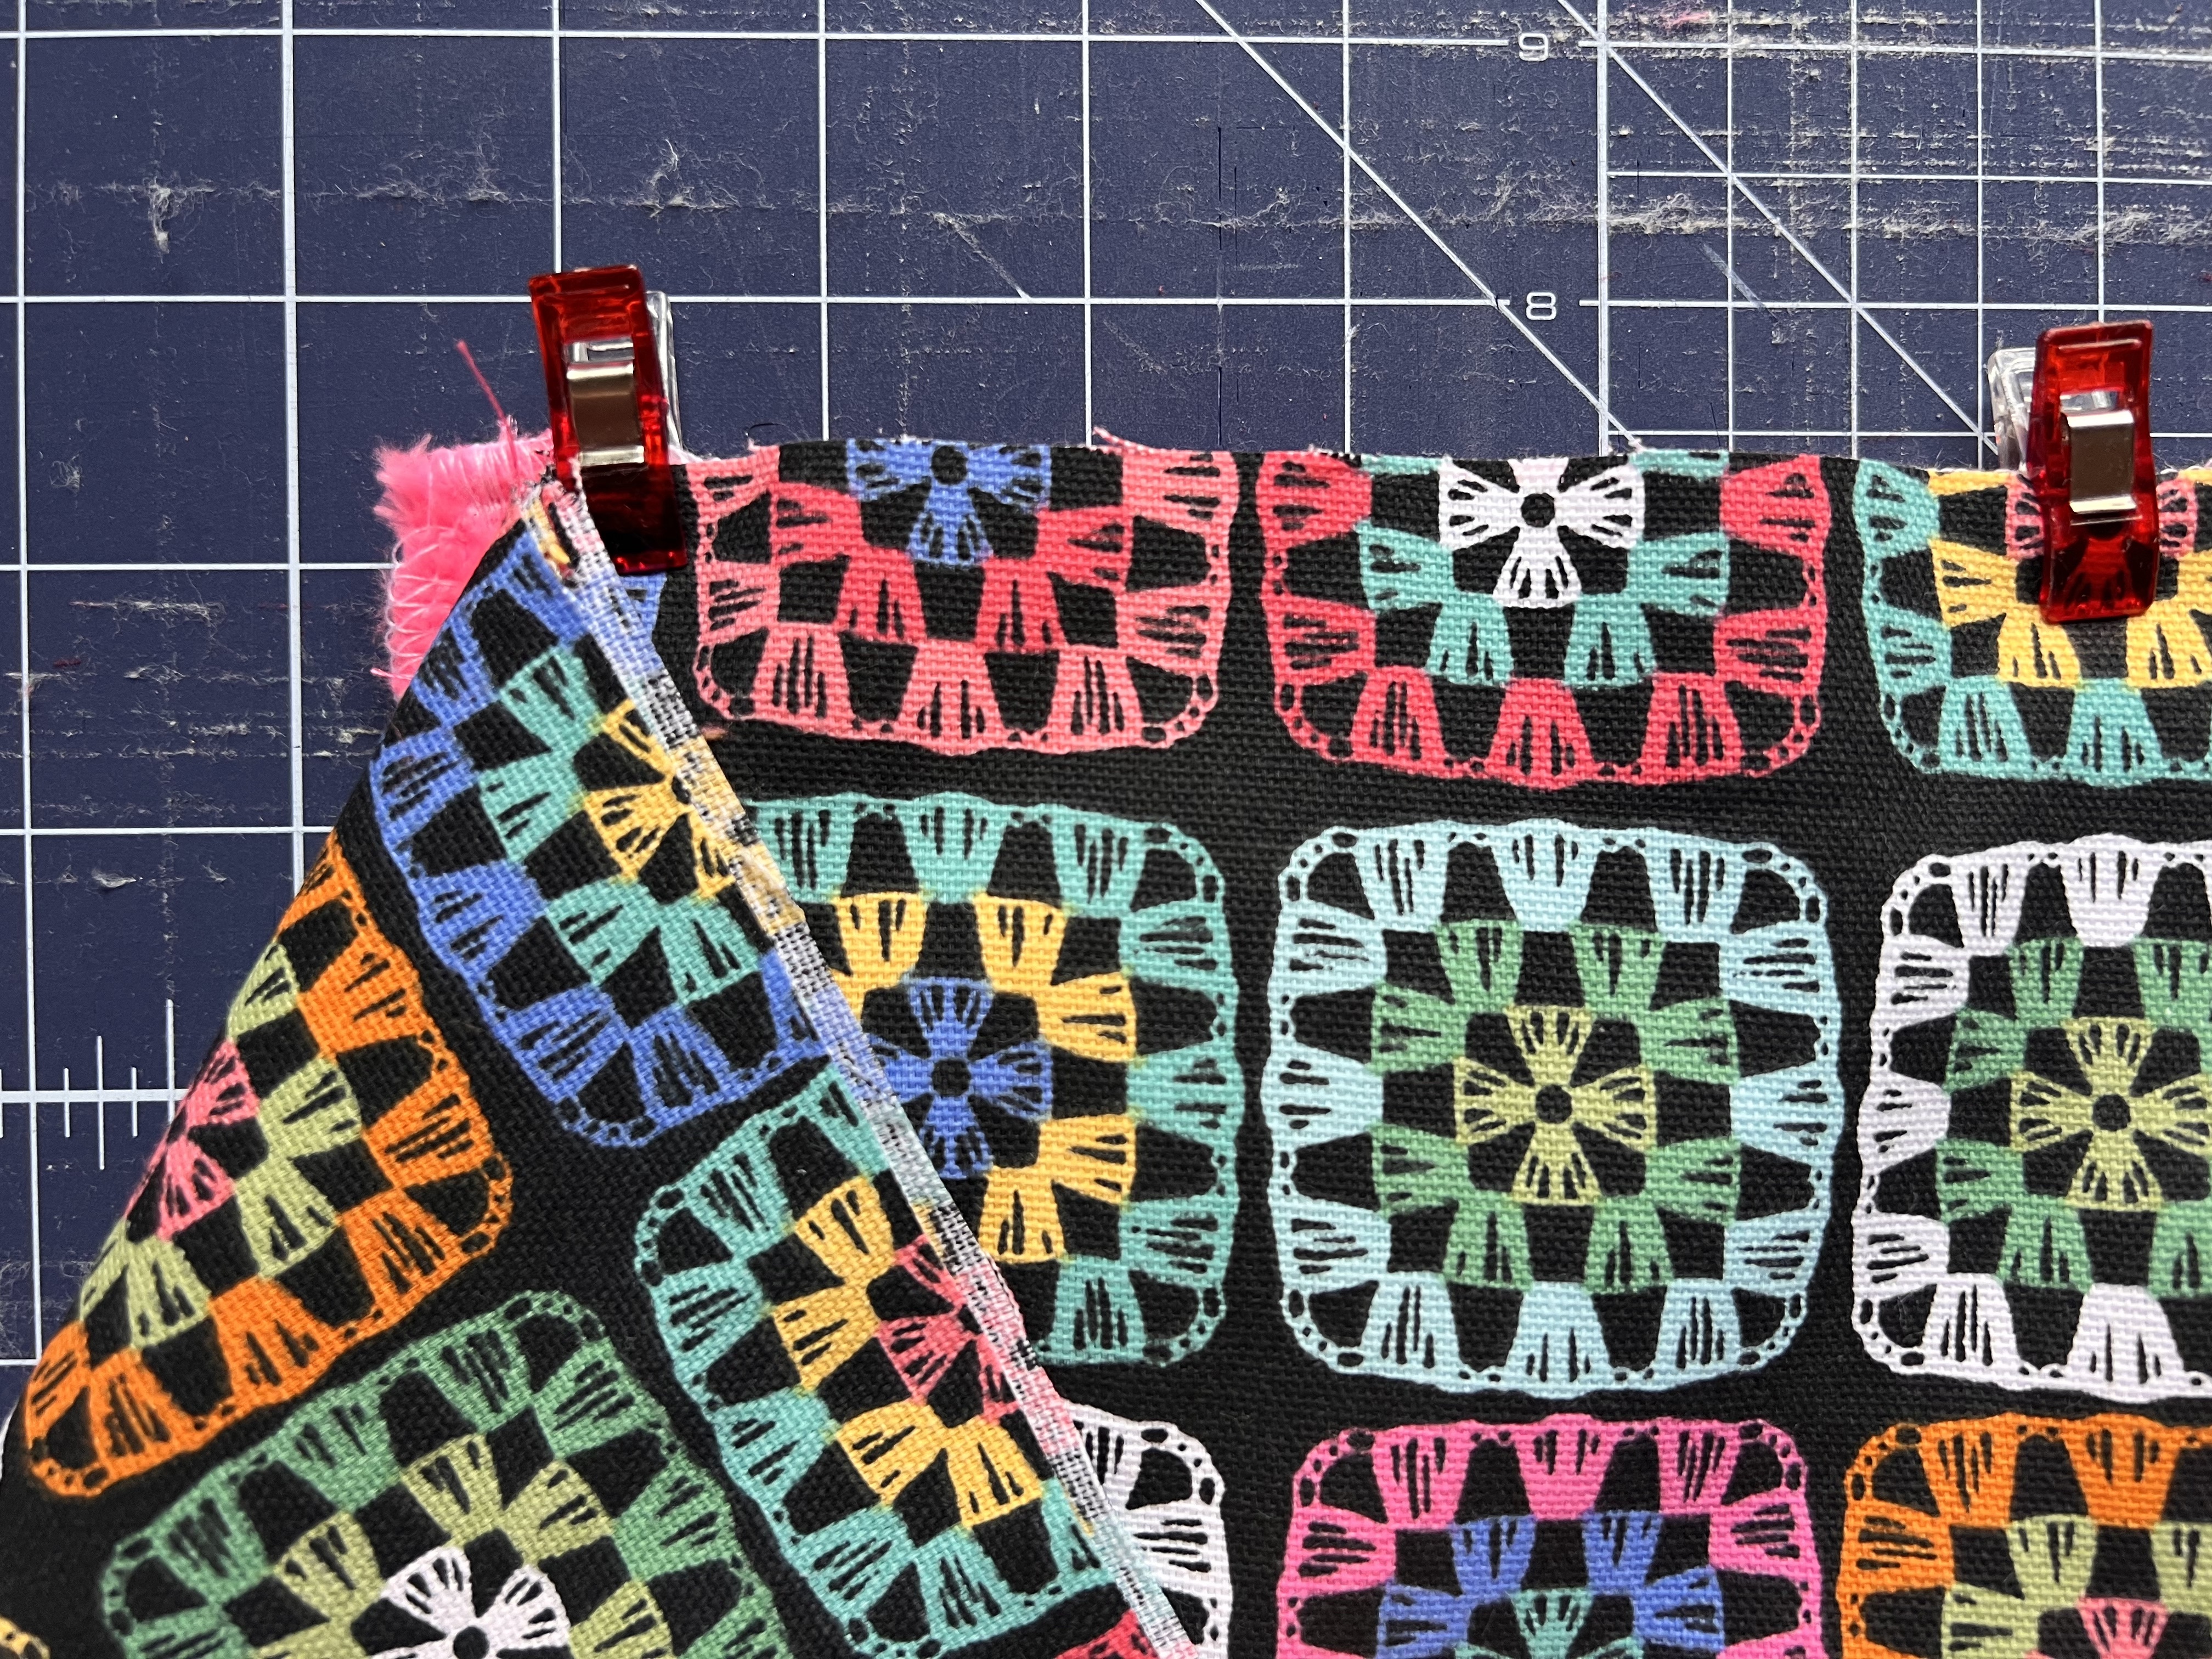
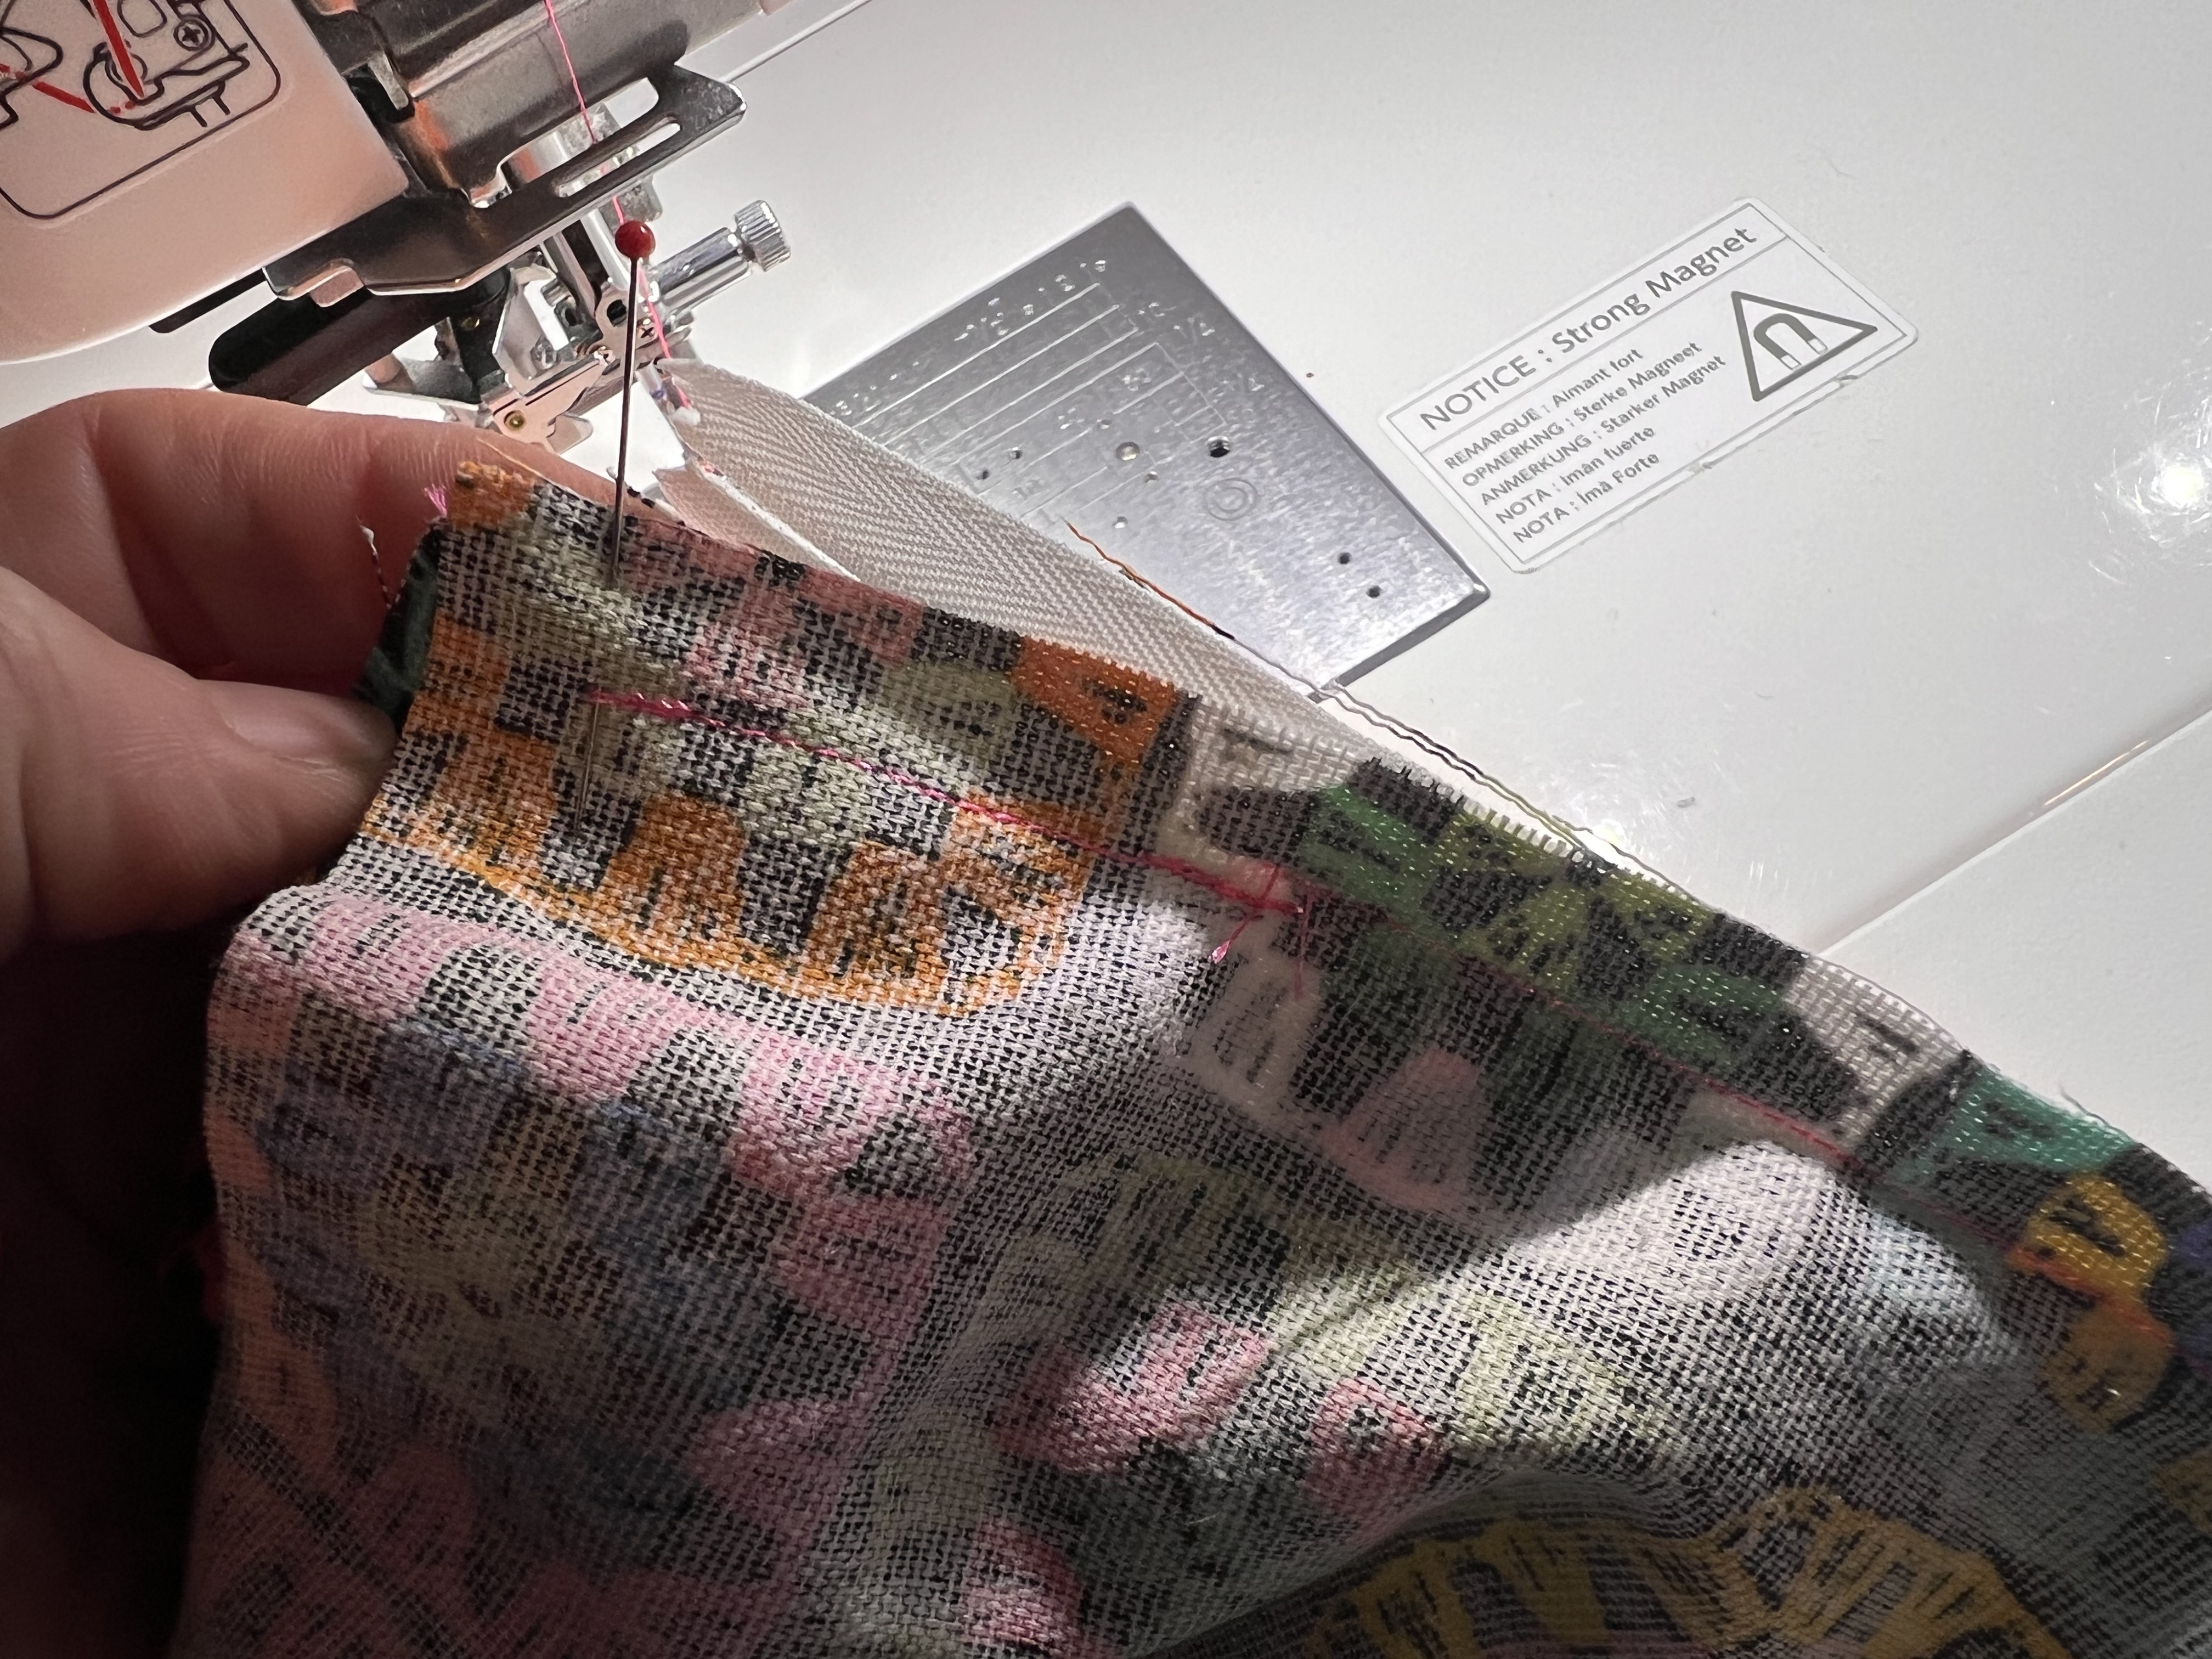
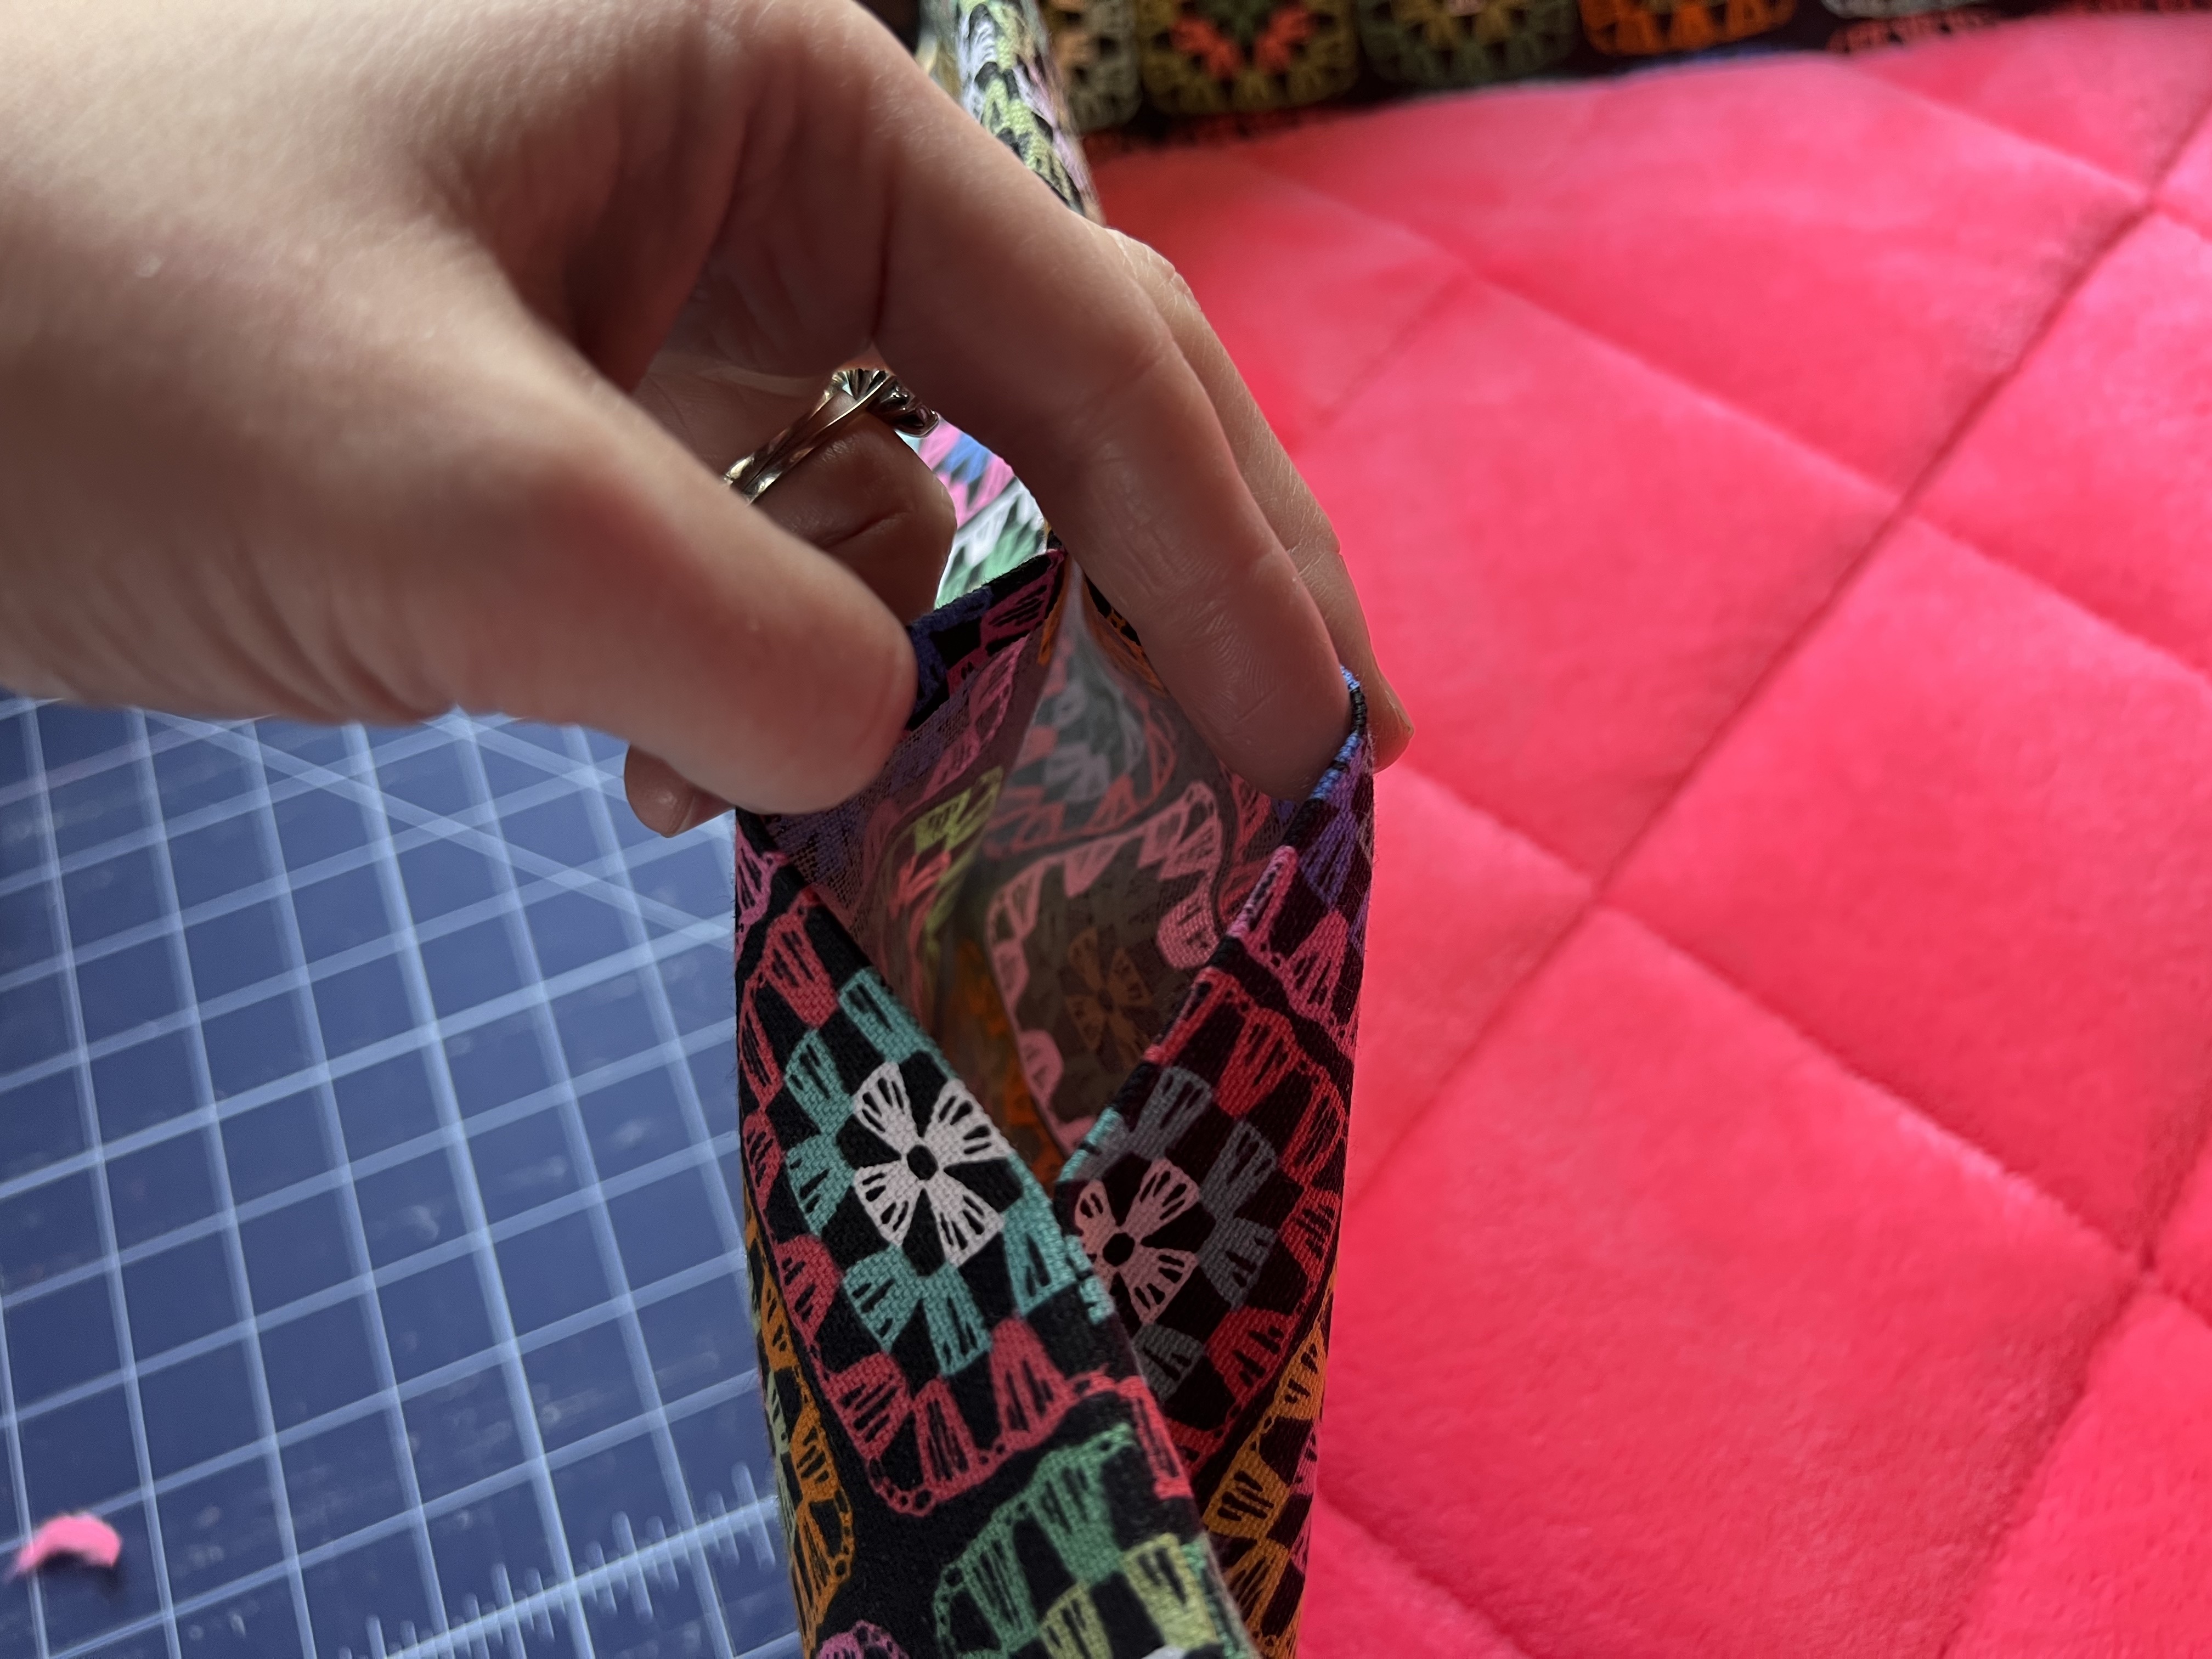
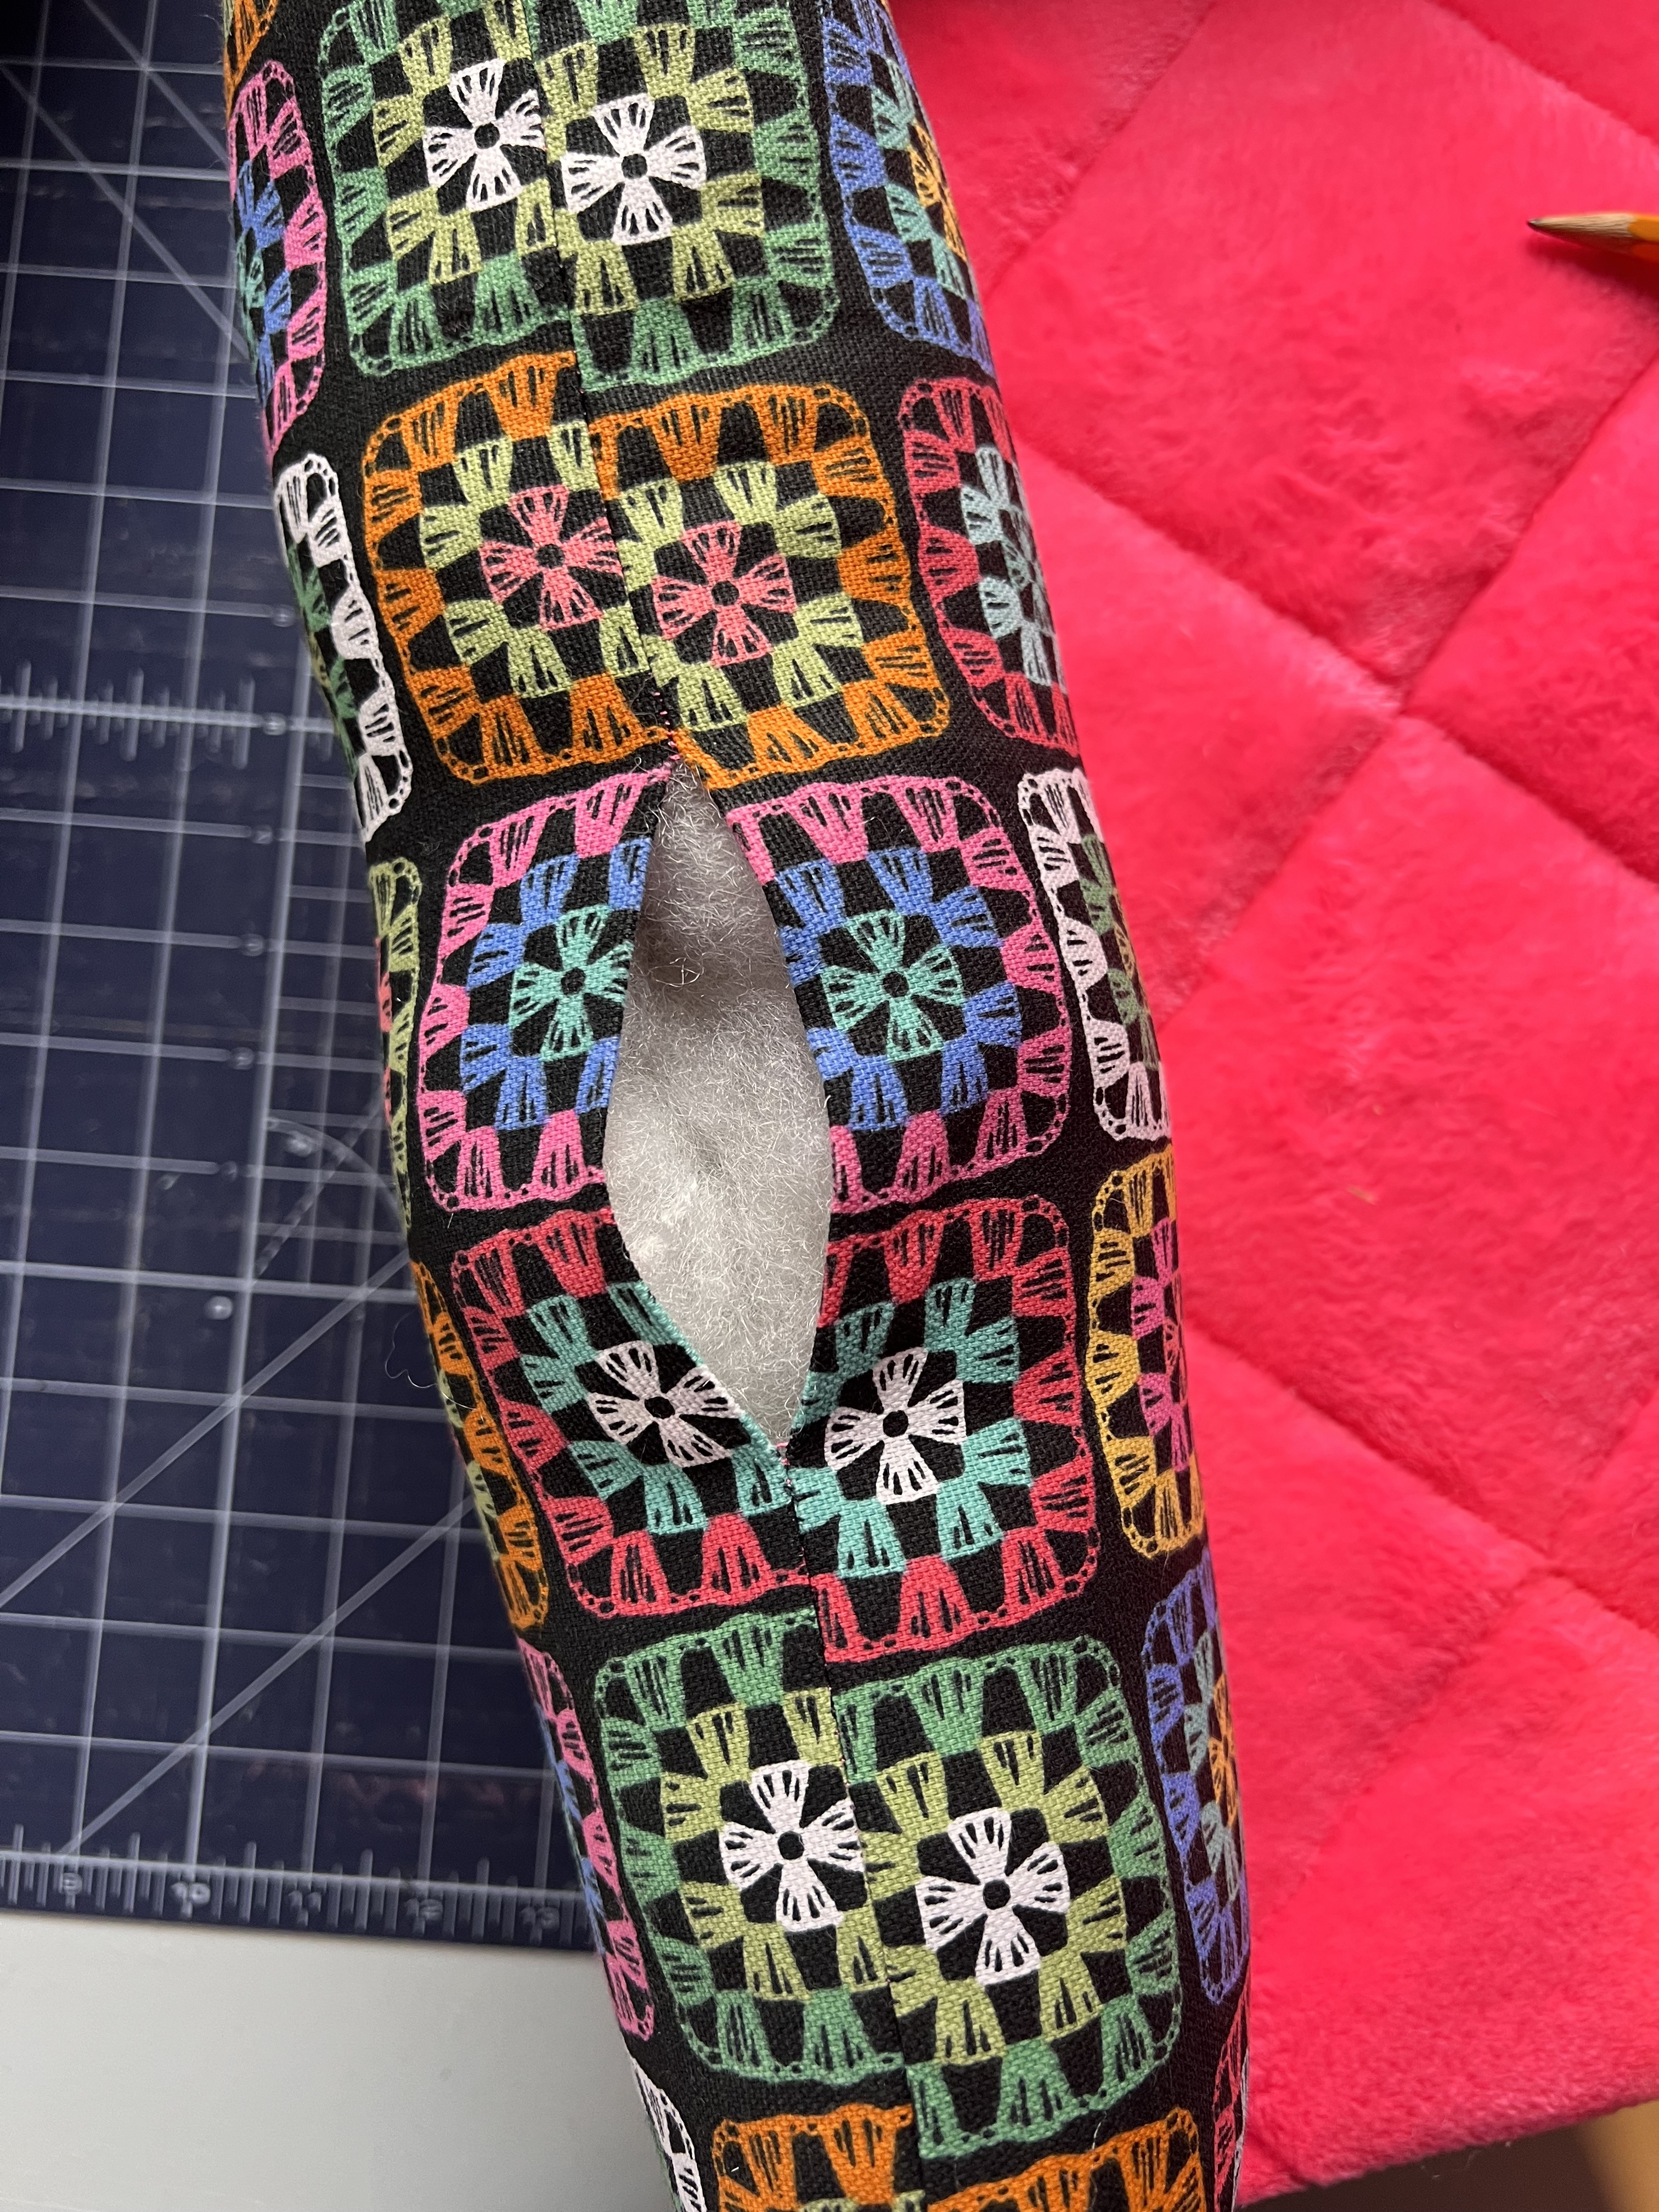
Clip the corners on either side of your strip, being careful not to cut your stitching. Open the

fabric, and press the seam allowance open as well as you can. This will make stitching the
openings closed after stuffing a breeze! Finally, place fabric wrong sides together, and topstitch
in the ditch where the seam allowances nest, so that you will have three distinct sections on
this wall: a left side, center, and right side. Set aside.

You will now sew your bottom sides together. Sew the two shorter pieces to either end of one
longer piece along the short sides. Sew the remaining long piece to the other ends of either of

those short sides so that you have a loop of fabric in the following order: long > short > long >
short > Top stitch the seam allowance to the shorter sides using a 1/4” seam allowance. Set
aside.

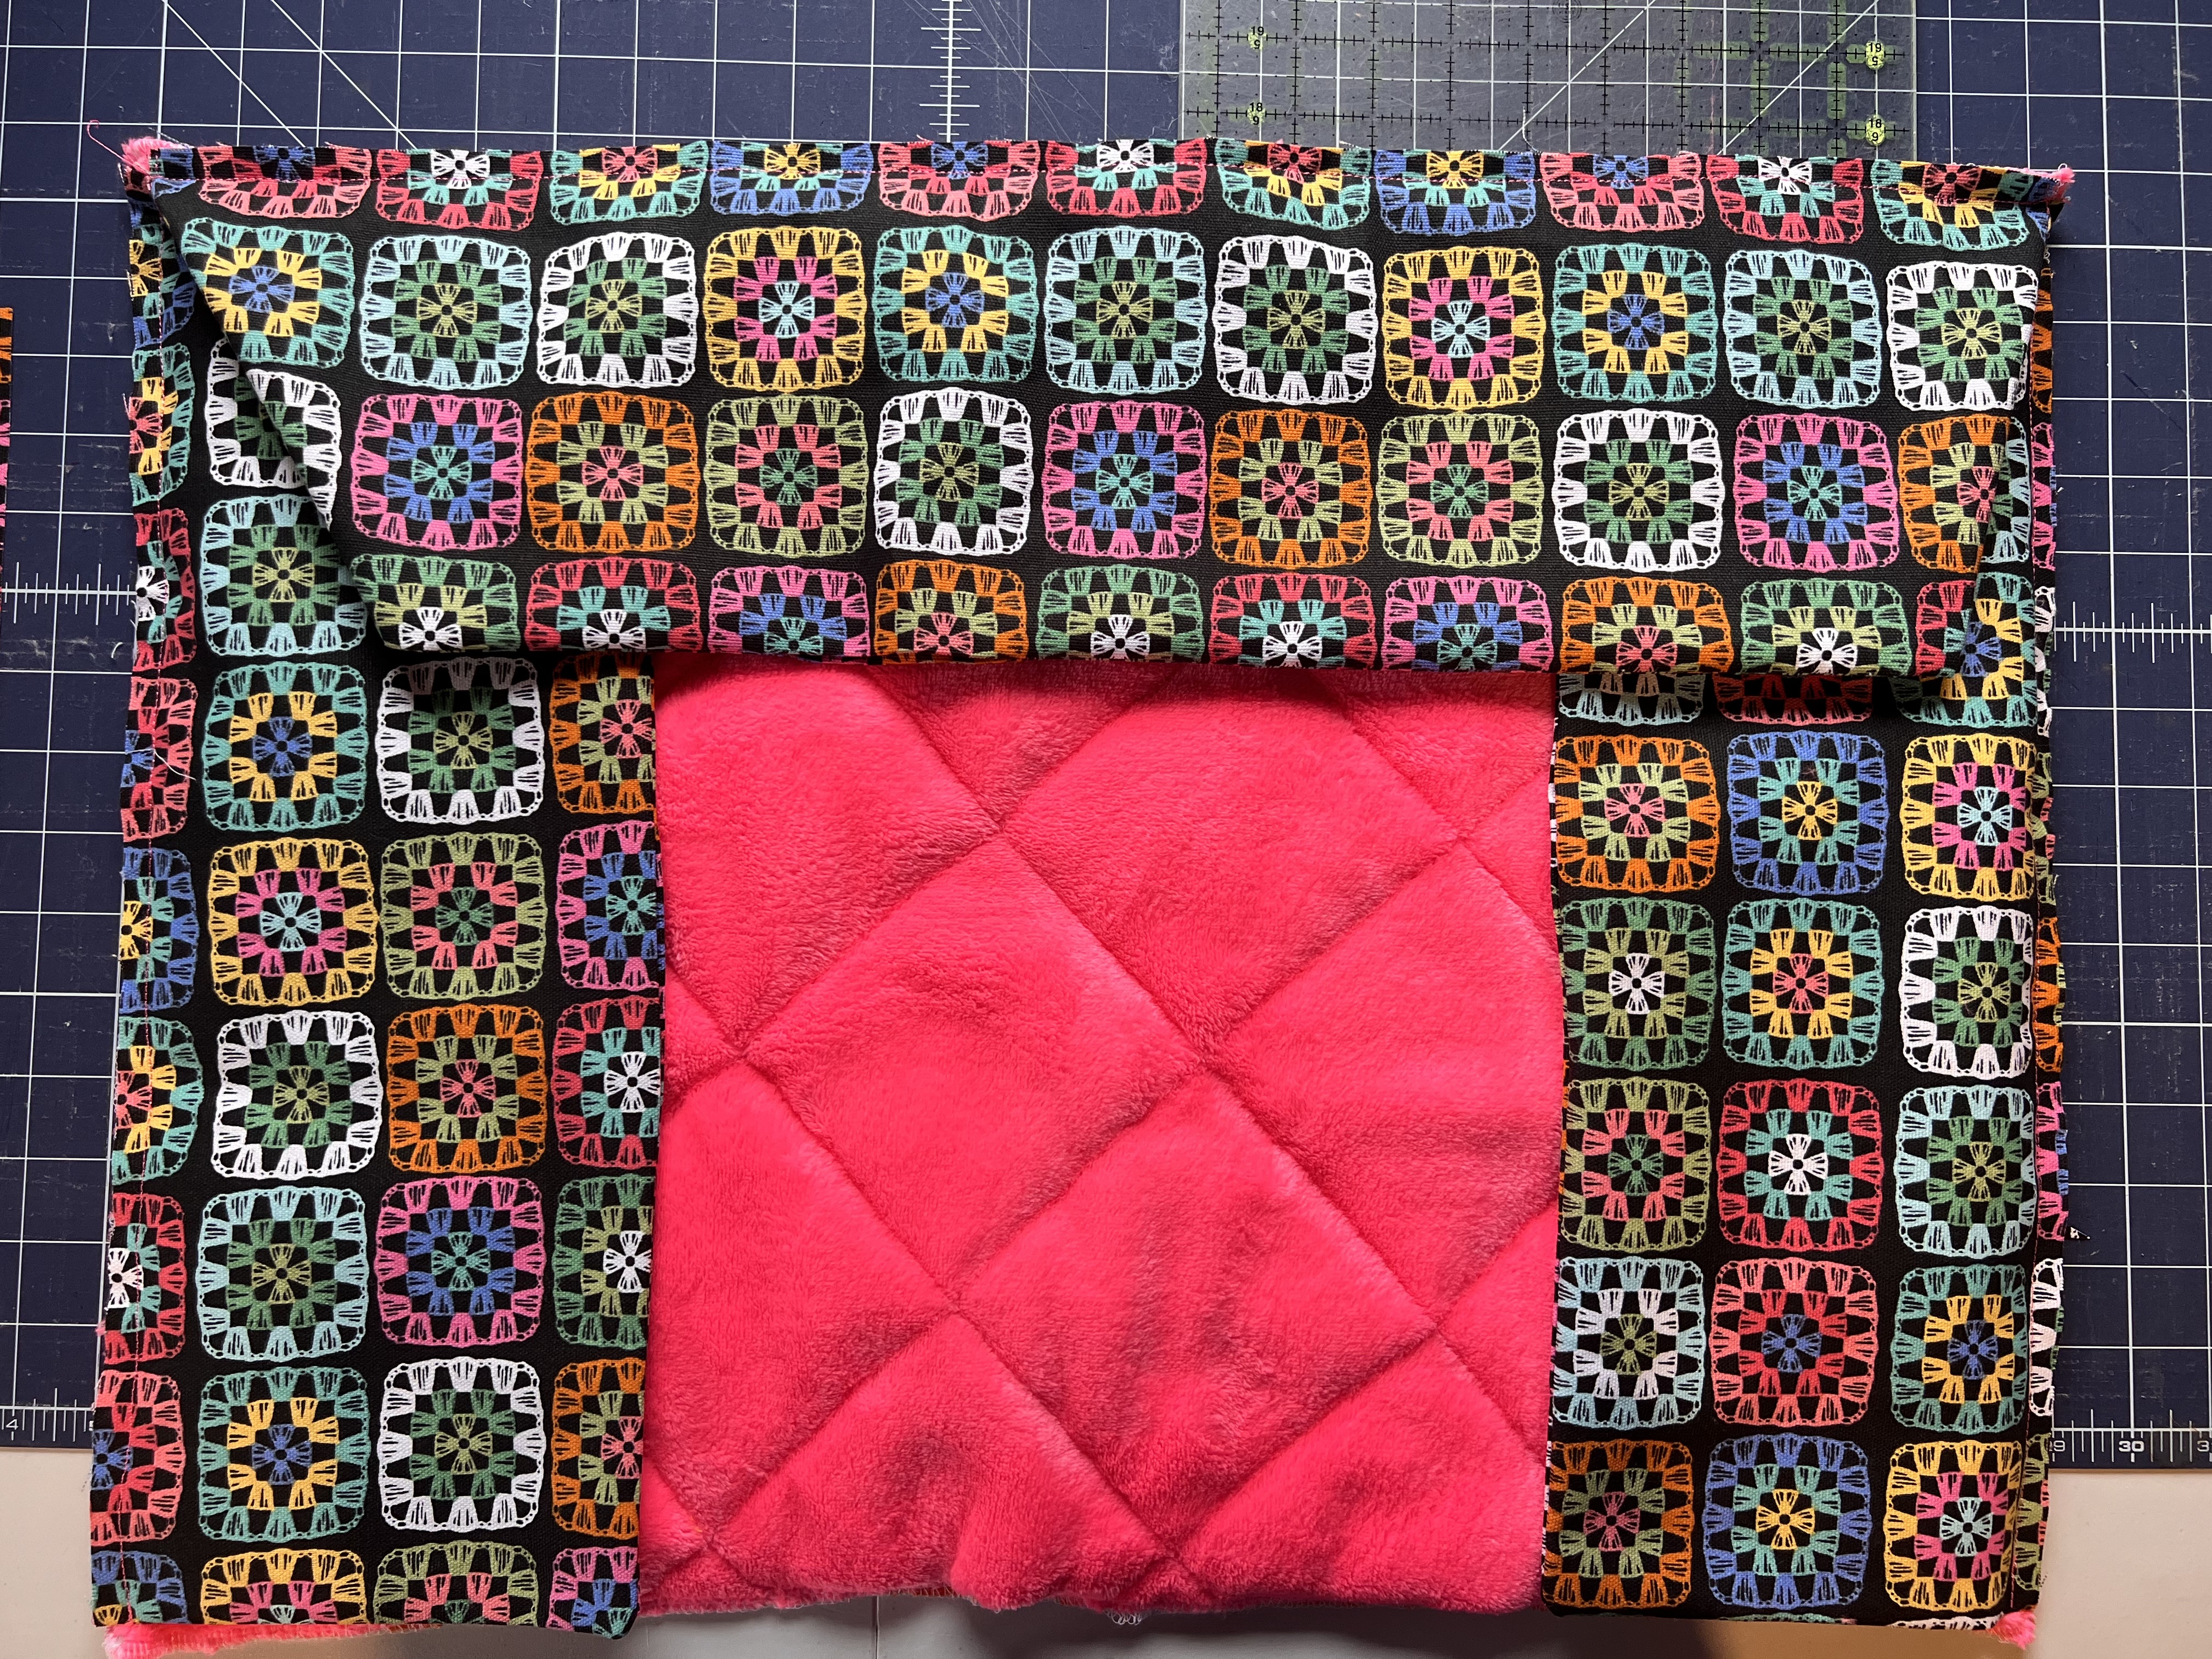
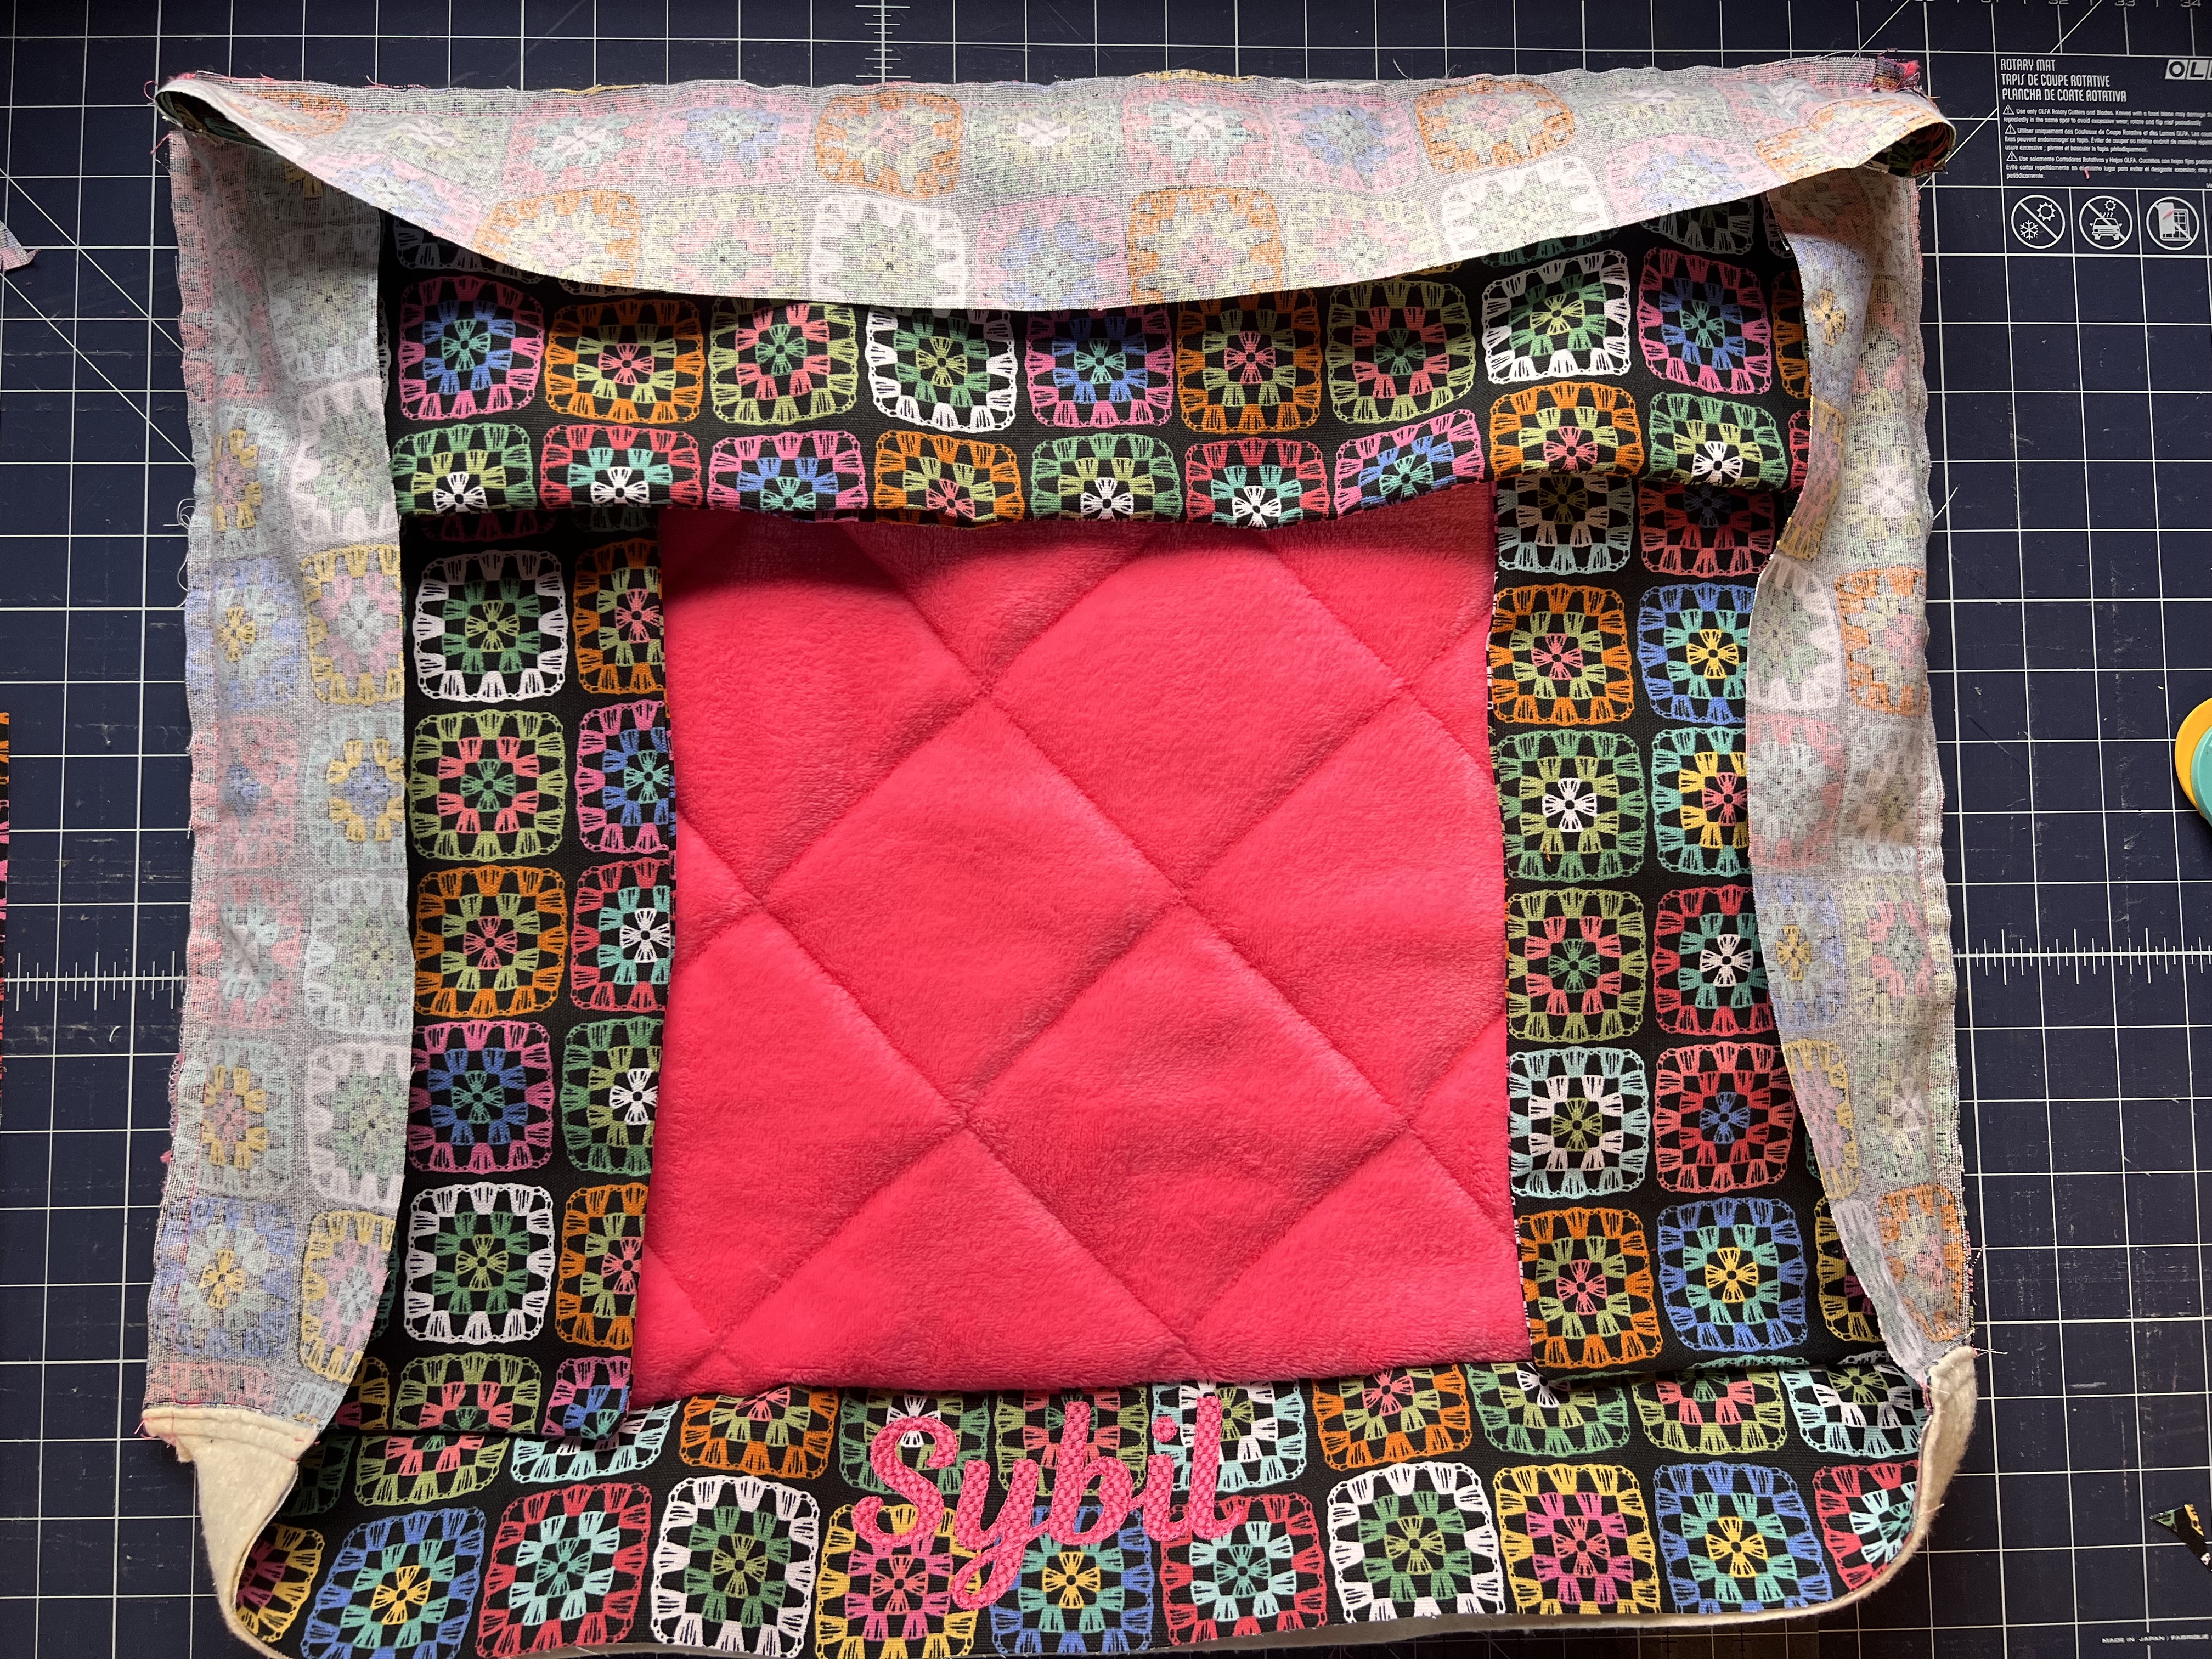
We will now stitch the three sides of the top wall onto the fleece. Begin by placing the center of
the wall section in 3/8” from either end of the fleece. The fleece should be 3/8” longer than this
center section on either side. Pin in place. Sew beginning 3/8” from the edge of the fleece, and
end 3/8” before the end of the fleece, where you pinned.


Clip the wall piece as shown, up to the line of stitching.
Insert: clip at corner.jpg
Next, align the side walls on the fleece 3/8” from either end of the fleece. Stitch in place.


The bottom side section is going to be sewn in much the same way as the top walls, but with
four sides instead of three. Fold the top wall sections out of the way, and layer the top edge of
one long side of the bottom section on top of the fleece on the front section which does not
have a wall piece. You will align these bottom sections 3/8” in from the fleece corners just like
you did in the last step. Stitch along this strip with a 3/8” seam allowance.

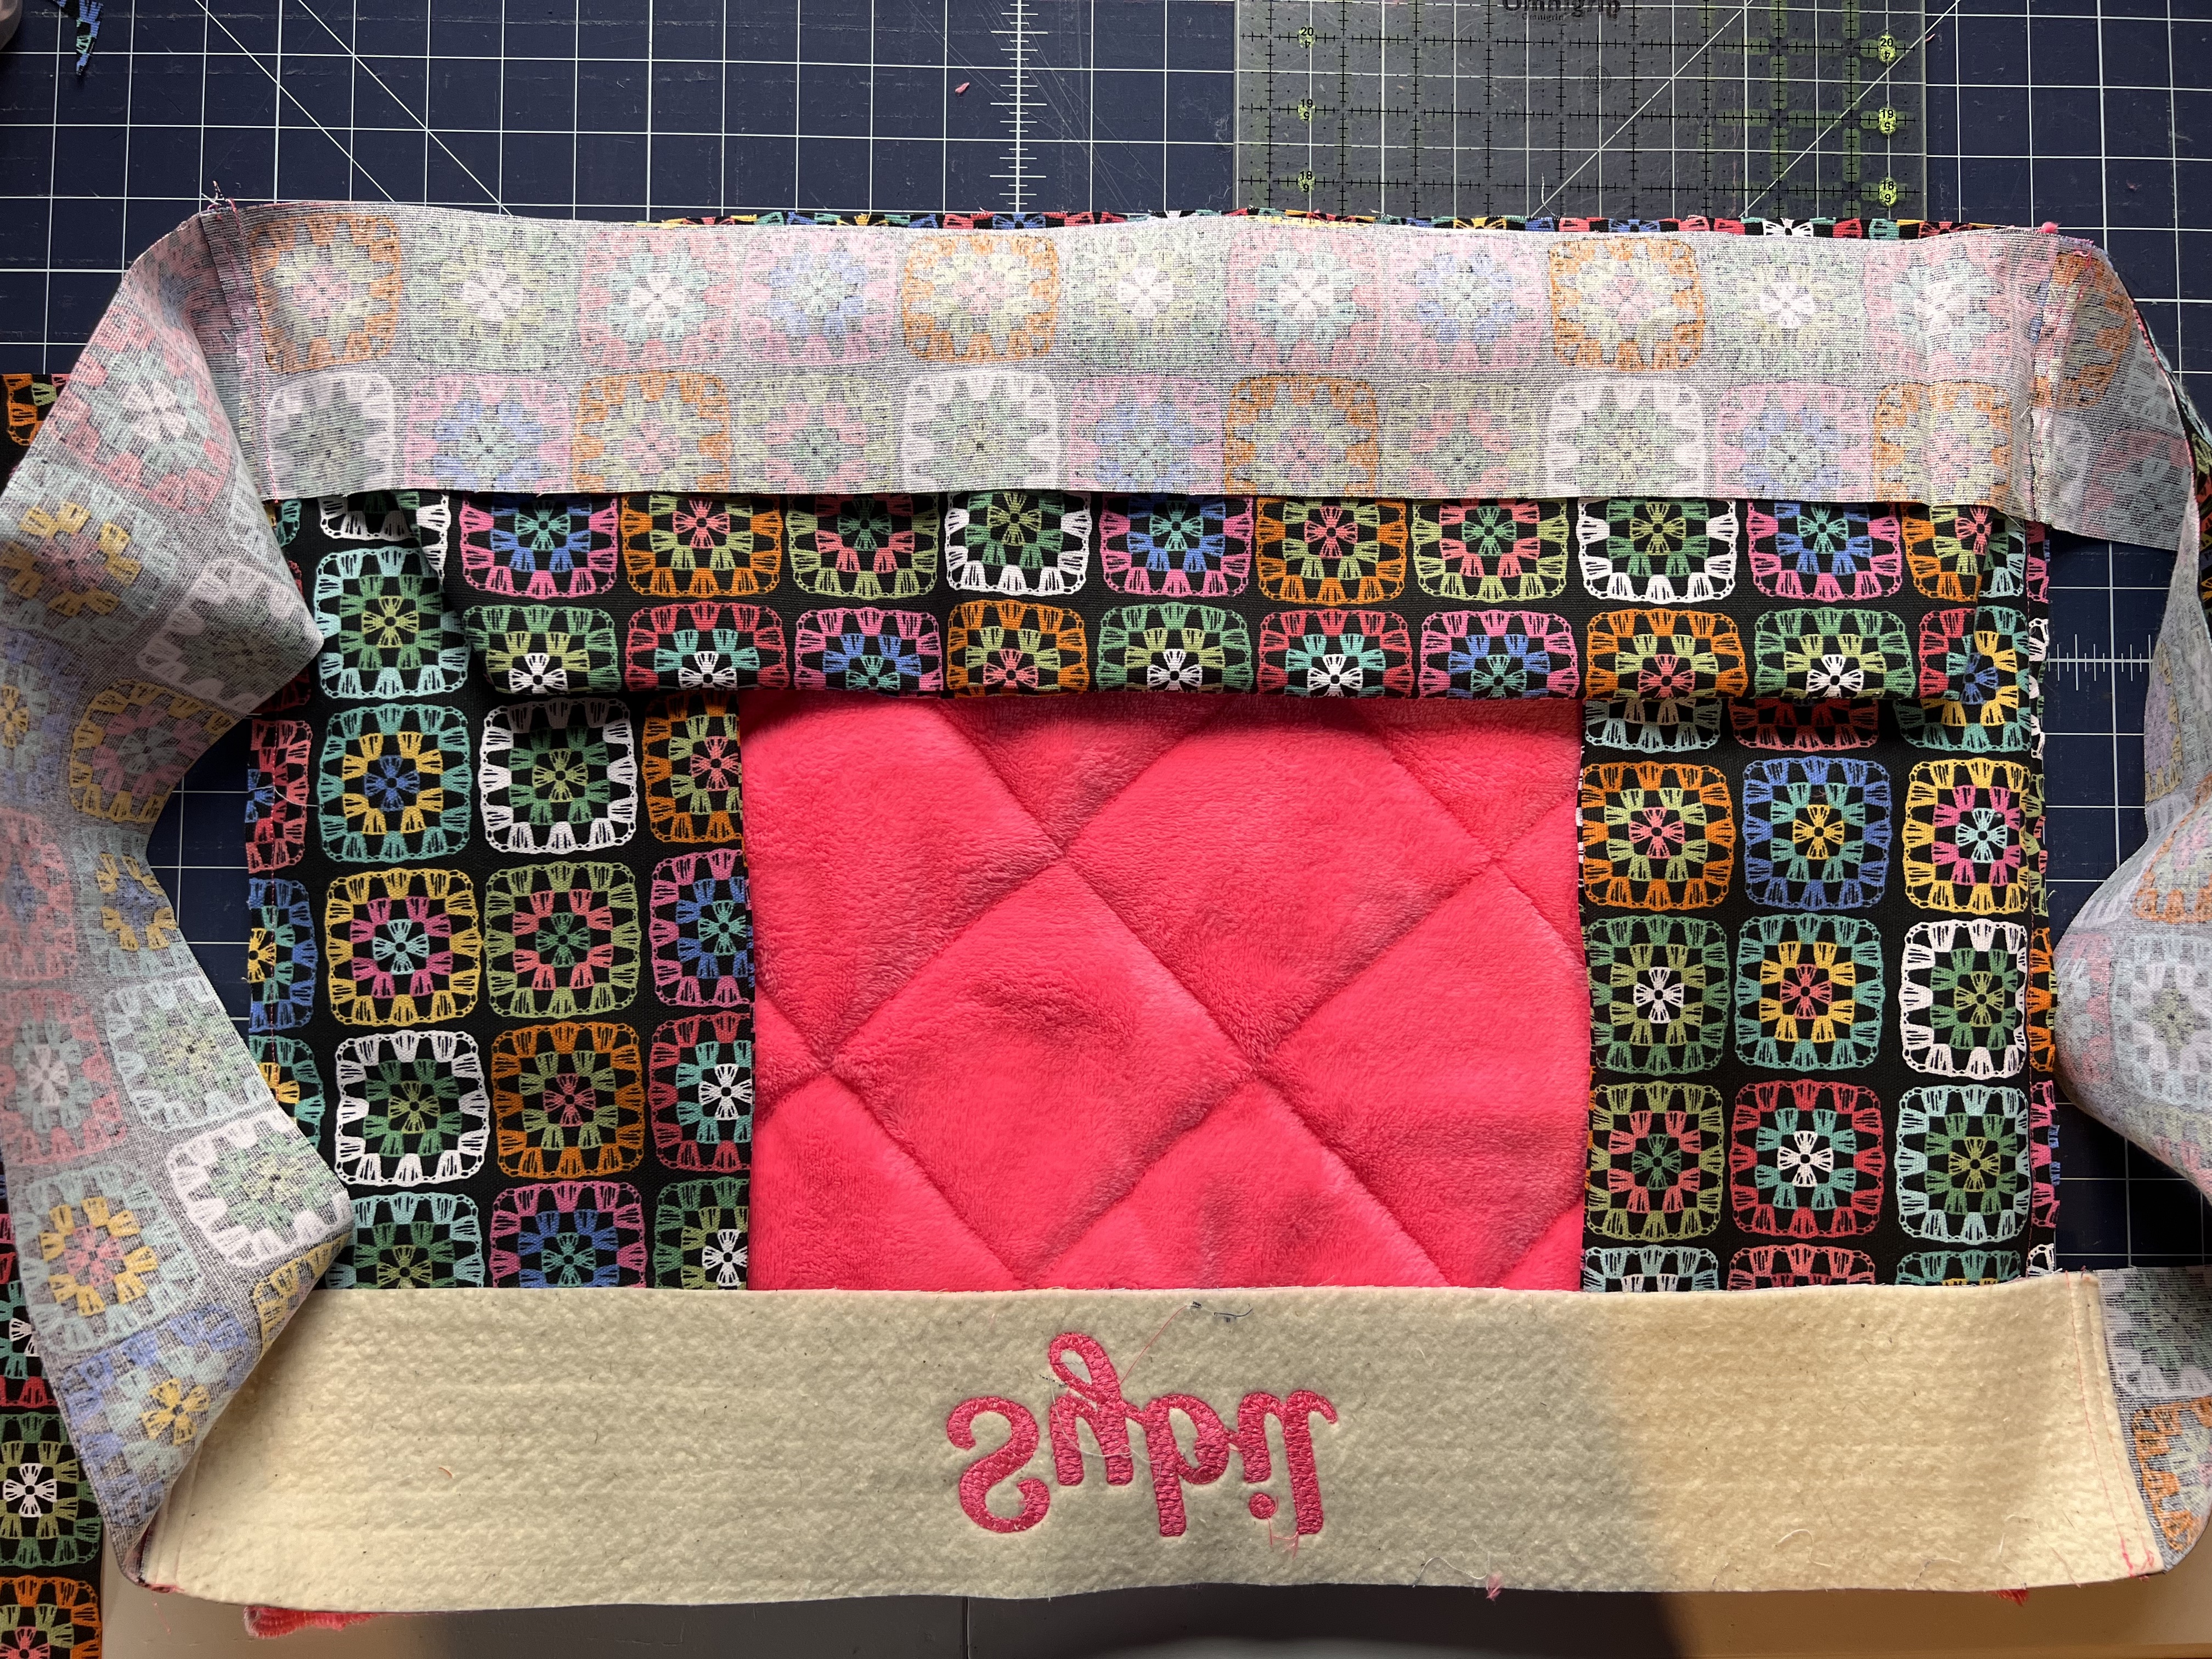
Repeat with the back center. This time you will also be sewing through the top wall layers. Place
the top edge of the bottom section face down onto the previously sewn top wall, and stitch in
place.
Clip along the seam lines of the bottom section in order to sew the sides in place. Stitch sides in
place. Your bed should now look like this:

Now we will attach the zipper foot to the machine, and stitch the zipper to the back bottom
wall of the bed and the bottom rectangular section. Center the zipper, and stitch in place using
a 3/8” seam allowance. Go back along the beginning and end of the zipper and stitch the fabric

together where necessary if the zipper is shorter than the fabric. I like to overlap just a little to
strengthen the seam. See photos.


Open the zipper at least halfway, then attach the bottom panel to the front of the bottom
section, right sides together.

Clip at the corners as you have now done several times, and then finish attaching the bottom
panel by stitching along the sides.

Finish seam allowances if desired, then turn the bed right side out through the zippered
opening.
This is exciting, but don’t be tempted to rush. If you are using a dense foam, do be patient
putting it through the opening and shifting it into place in the fabric. It should be an exactly
perfect fit!
All that is left to do now is to fill the top walls of the bed with Poly-fil. Gently fill up the walls as
much or as little as you like, then use a hand sewing needle to sew a ladder stitch to close the
openings.


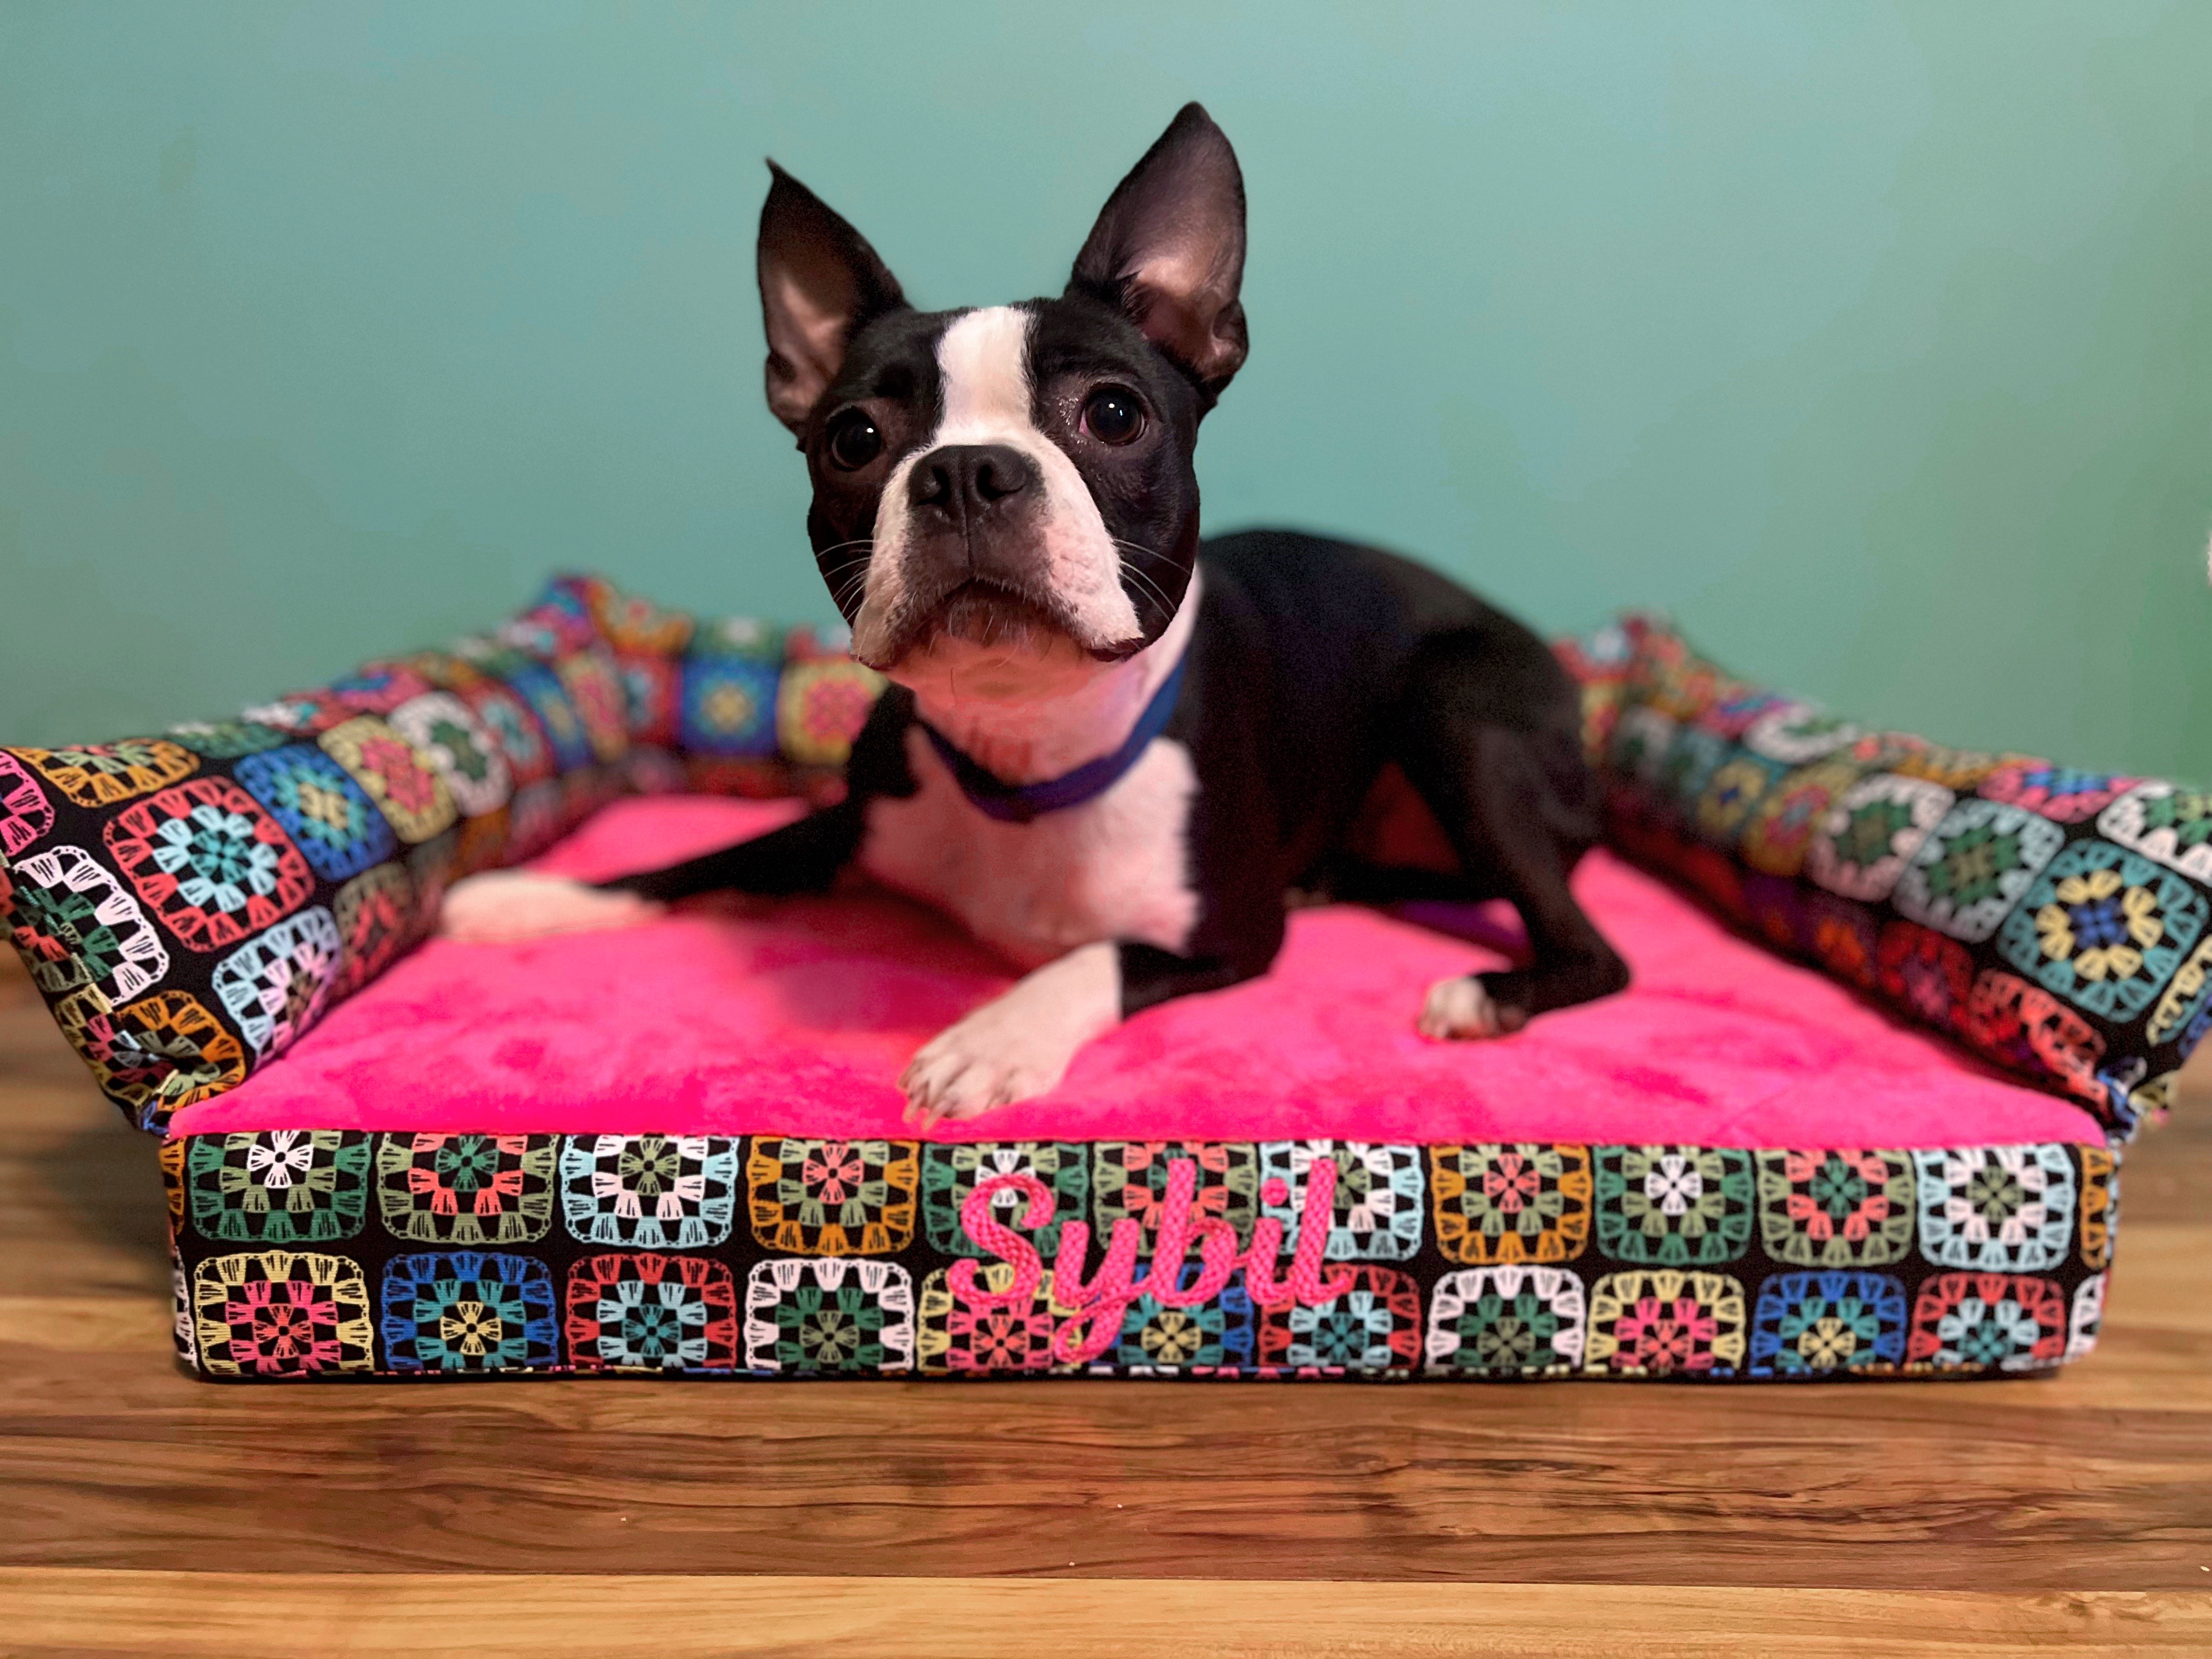
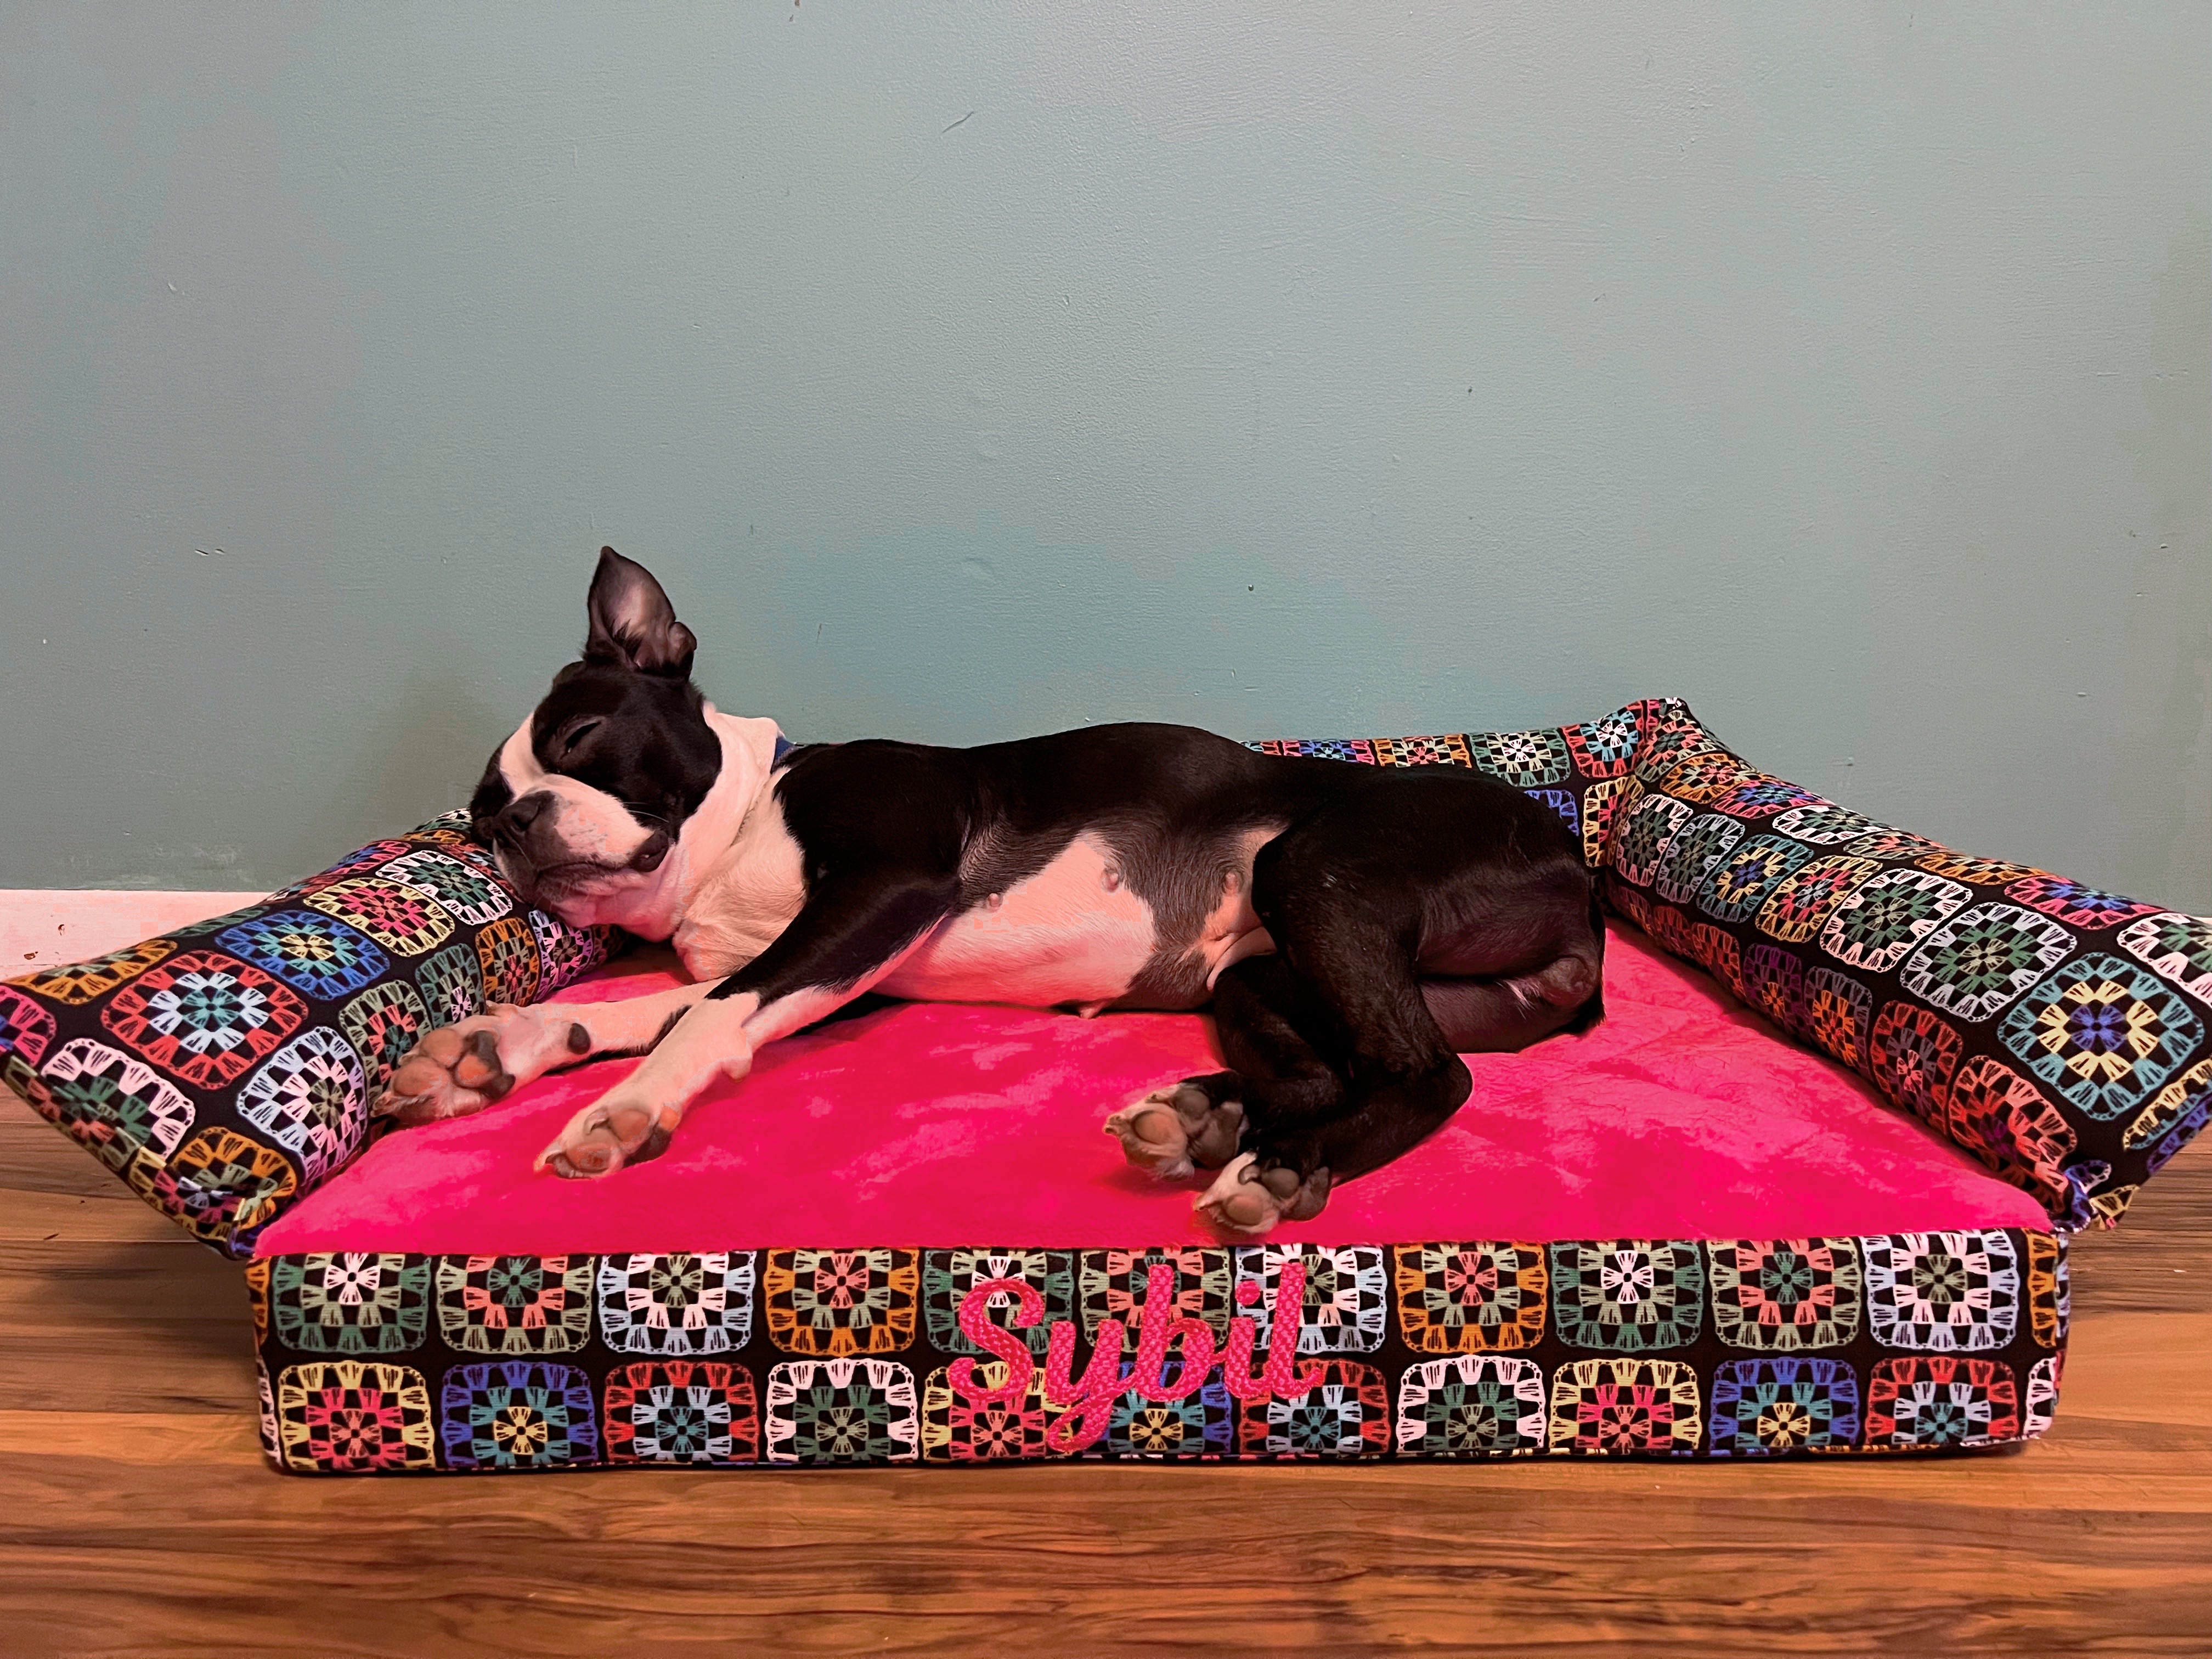
Grab your pet and have them model their new lounge! I hope it will take less effort for your dog
to look happy than it did for my Sybil. I told my family it was like getting a three year old to
cooperate for a newborn shoot. She didn’t want to be still!


Everyone is Talking about Pet Lounge
Reviews


Tako
Beautiful
Wednesday, November 23, 2016

cpindzola
Around the Table Dresden Placemats
Saturday, December 17, 2016

I like the concept, but the directions are "sloppy." Nowhere in the supply list does it mention the felt or the batting (how much?). Also, I would never use a high loft batting in a placemat, or a table runner, as I think that it would be too unstable for a glass. The next time I make these, I will cut out the batting (I use flannel) and spray baste it to the wrong side of the Dresden plate before I put the Dresden plate on the felt to cut out. I have not yet washed the finished placemat, and am hoping that the single layer of felt does not curl up, or become distorted after washing/drying.
Txmaid
Fun Great Gift!
Tuesday, February 21, 2017

MargieARK
Teatime Quilted Tablecloth
Friday, February 24, 2017

I made this today but your cutting directions need to be changed. You only need 4 of color 1 and color 3 4.5 squares for the triangles. Also the inner border, you only need 2 cuts as WOF is long enough to cut each in half to fit the sides.
MickelSews
Great Machine
Wednesday, August 30, 2017

I've had this machine for only a week now. I bought it used from a lady who makes her own clothes, but she no longer needed the machine. During the purchase, she noted that she is almost sad that it's better to give it away because of how well the machine performed. (I also bought it along side a computerized machine of another brand.} She demoed the machine for us, showing it worked and gave us everything (including the box it came in!) She took amazing care of this machine. I have used it a few times now, and the directions for threading were easy to follow (albeit my hands are quite large so the lower looper was a pain, but that is no fault to the machine or brand.) And I recommend this machine to anyone who wants to learn to serge and wants a machine that can grow with them. I will happily use this machine time and time again.
rvstan
S9 Review
Sunday, February 25, 2018

I love, love, love my S9! It's sews and embroiders beautifully and it's simplicity of use amazes me. I would recommend this machine for both a beginner and an experienced seamstress. If I would ask anything of Janome it would be to upgrade the programming to run a larger hoop size. I understand that it can't get much wider but there is most definitely room for it to go longer. That is the only limitation of this machine.
pjmnana
PJMNana
Monday, February 26, 2018

I purchased a Memorycraft 15000 a few years ago and it was the best purchase I ever made! This machine can do just about anything you would would ever want! I love the capability of using the Acuedit app to set up my embroidery pattern on my Ipad and then download it to the machine! I love how my embroidery looks upon completion and I love all the good lighting it has to light up your workspace. That way you don’t need to worry about where to set up your machine. It also has plenty of room to do machine embroidery on any size quilts! There are many decorative stitches from which to choose that are outstanding! It’s hard to choose which one to use! There are so many great features it is hard to decide what I love the most. If you want to buy only one machine to last a lifetime, I would recommend this one!
KLWash
S9 Review
Sunday, February 24, 2019

The S9 is amazing. I learned to sew by hand when I was just 5 and in my grandmothers way as she was quilting. I took seeing classes in high school until they would no longer let me sign up. The S9 makes me appreciate my current skills as well as motivate me to want to learn more. This machine is awesome.
SewSueMe2002
Horizon Memory Craft 15000
Thursday, November 19, 2020

My Janome Horizon Memory Craft 15000 is fantastic! I love, love, love this machine! When I came across the Eye for and Eye embroidery design today, I wanted to make it. However, the embroidery file is missing. Nothing downloads when I select the download button. Please help!
Jillfmischo
Treat Bag fun!
Monday, August 16, 2021

I made the Halloween treat bag for my new granddaughter and I’m sure it will last for years. No embroidery machine so I appliquéd the lettering. Need a little more skirt fabric for a better gathered look, and I used thin double-bias tape for the skirt hem, over edge stitch on skirt sides. I’m pleased with my results!
elenaz
Very helpful tutorial
Wednesday, October 25, 2023

I want to say thank you for teaching me this method of applique. I was able to do it with a small letters. This method is the best so far from all of those I've seen and tried.
plonkar
So useful
Thursday, November 30, 2023

I'd like to express my gratitude for teaching me this appliqué method. I successfully applied it with small letters, and, so far, it's the most effective among all the methods I've seen and tried.

DEALERS
The TWO Closest Dealers to you are:
705 Interchange Blvd , Newark DE, 19711
302-533-5215
http://www.bluehenquiltshop.com/
1716 SOUTH GOVERNERS AVENUE , DOVER DE, 19904
Find Additional Dealers